Hey Guys! I have a super fun and easy Christmas project for you today: a fun little DIY painted doormat. I really wanted a cute but simple Christmas doormat this year and couldn’t find anything online or in stores that I didn’t hate, so I decided to make my own, and it was so fun! I love my little “Merry + Bright” doormat.
This project is inexpensive, easy, takes less than half an hour to do, and at the end you’ve got the cutest little custom Christmas doormat ever. This was so easy, I want to make a new one each season! (Plus it’s so satisfying when you peel the stencil off!). And bonus, I’m including a PDF of the words I designed for my doormat, so if you want to make one of your own, you’re all set to go!
What you need for this project:
–blank Doormat. (you can find them on Amazon here or at IKEA)
-paint in whatever color you want. (I used the Benjamin Moore color Backwoods)
–vinyl and a vinyl cutter for stencil, or thicker cardstock paper and a printer, or any stencil you want to use
–straight pins (optional)
How to do it:
Step one is to cut out your graphic with a vinyl cutter (like this one or this one) or if you don’t have one, bring out the graphic on thicker card stock paper and use a razor to cut the words out of it.
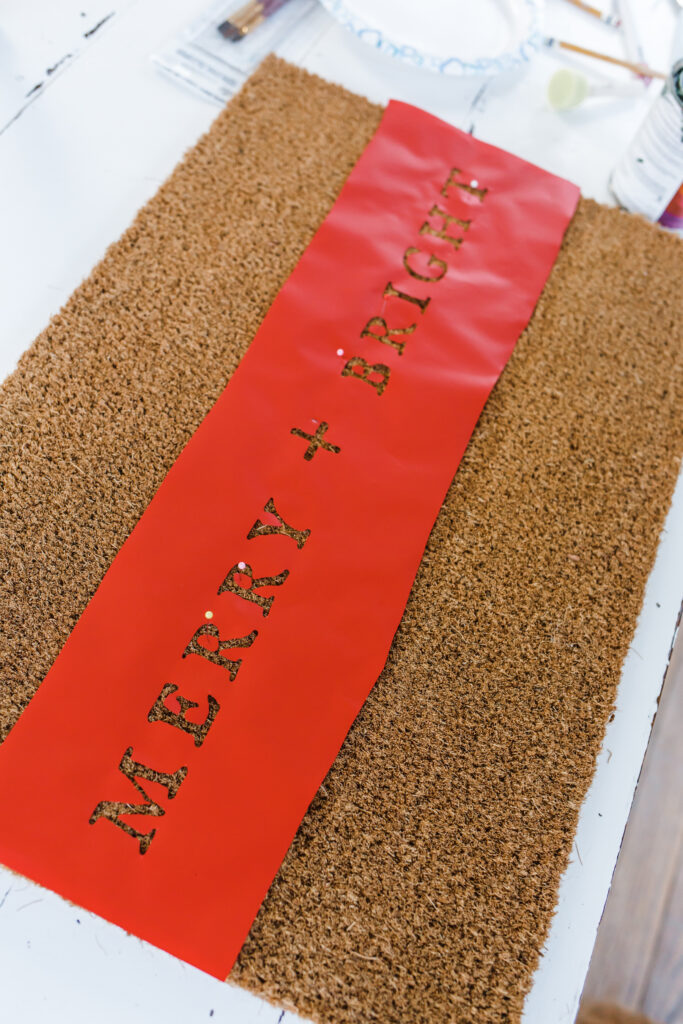
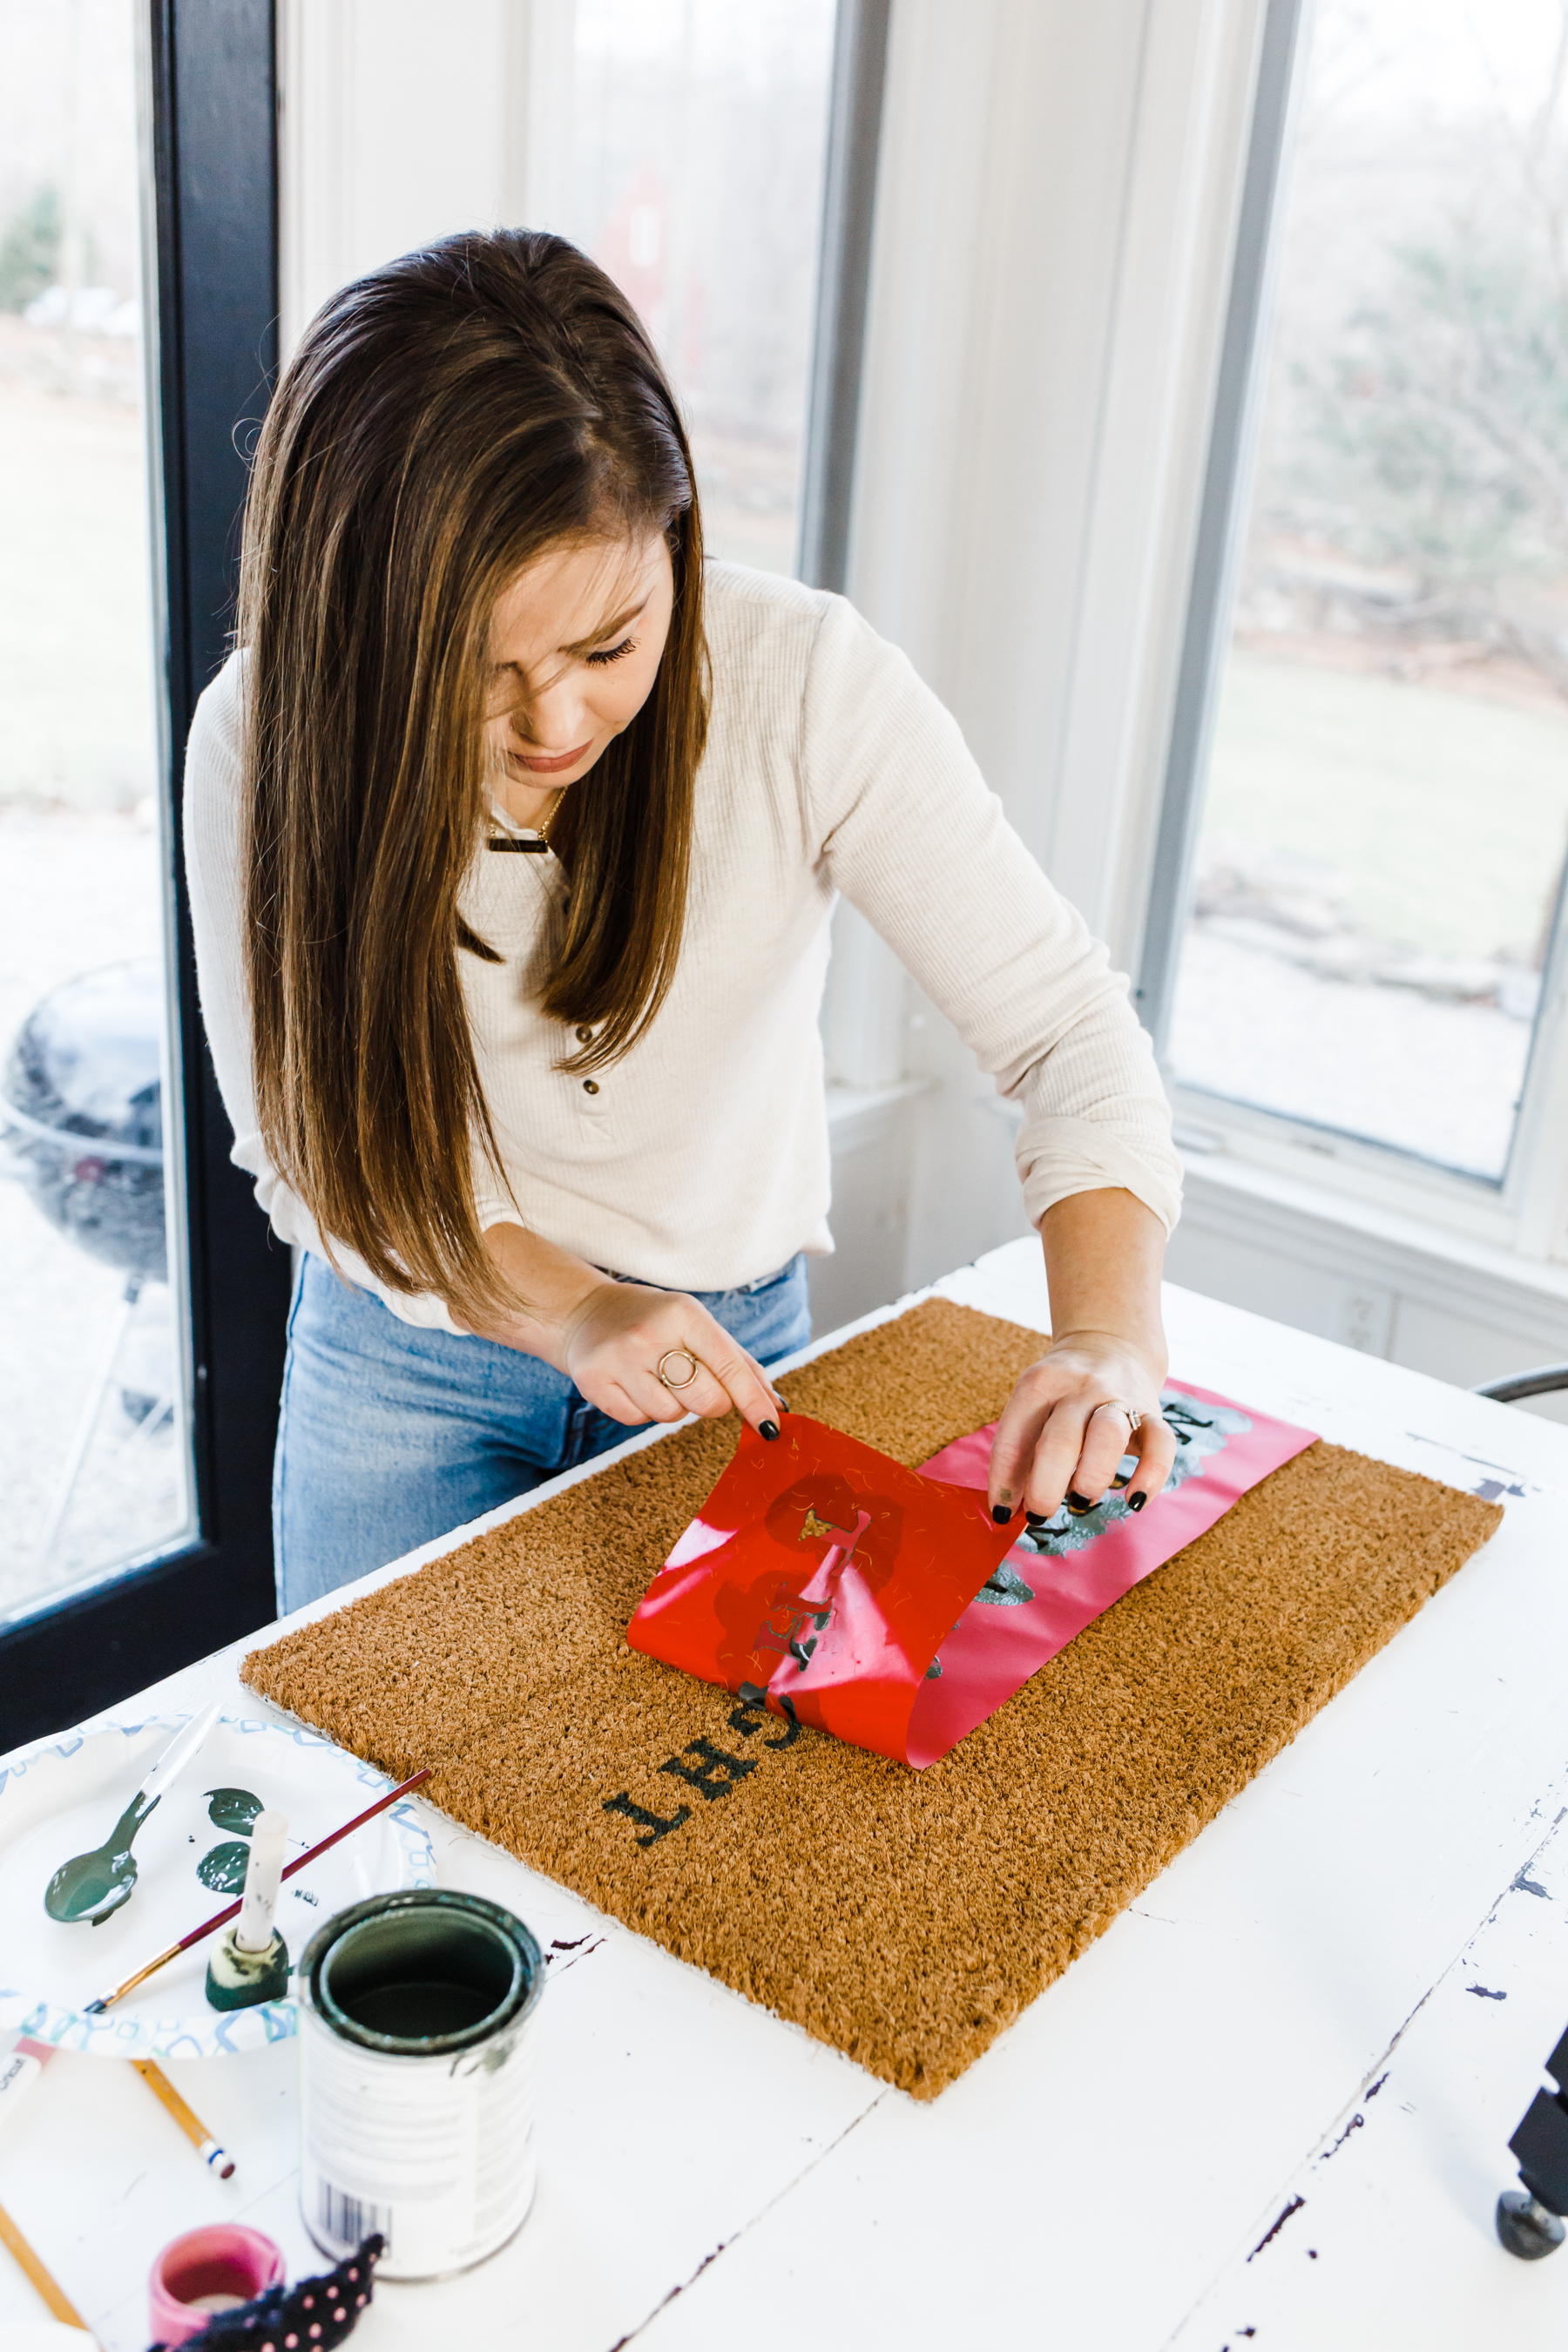
Next you’re going to line up the design in the center of your doormat. (I honestly think this was the trickiest part, just trying to get it perfectly lined up.) Little tip for you I learned years ago in a college graphic design class: always place your design just slightly above vertical center, otherwise it will look too low. I’m not sure why that is, but it’s true.
Once you’ve lined up the design just right, remove paper backing (if working with vinyl) and/or pin it down in the vulnerable places (like the centers of the R’s and B’s) especially if you are working with card stock.
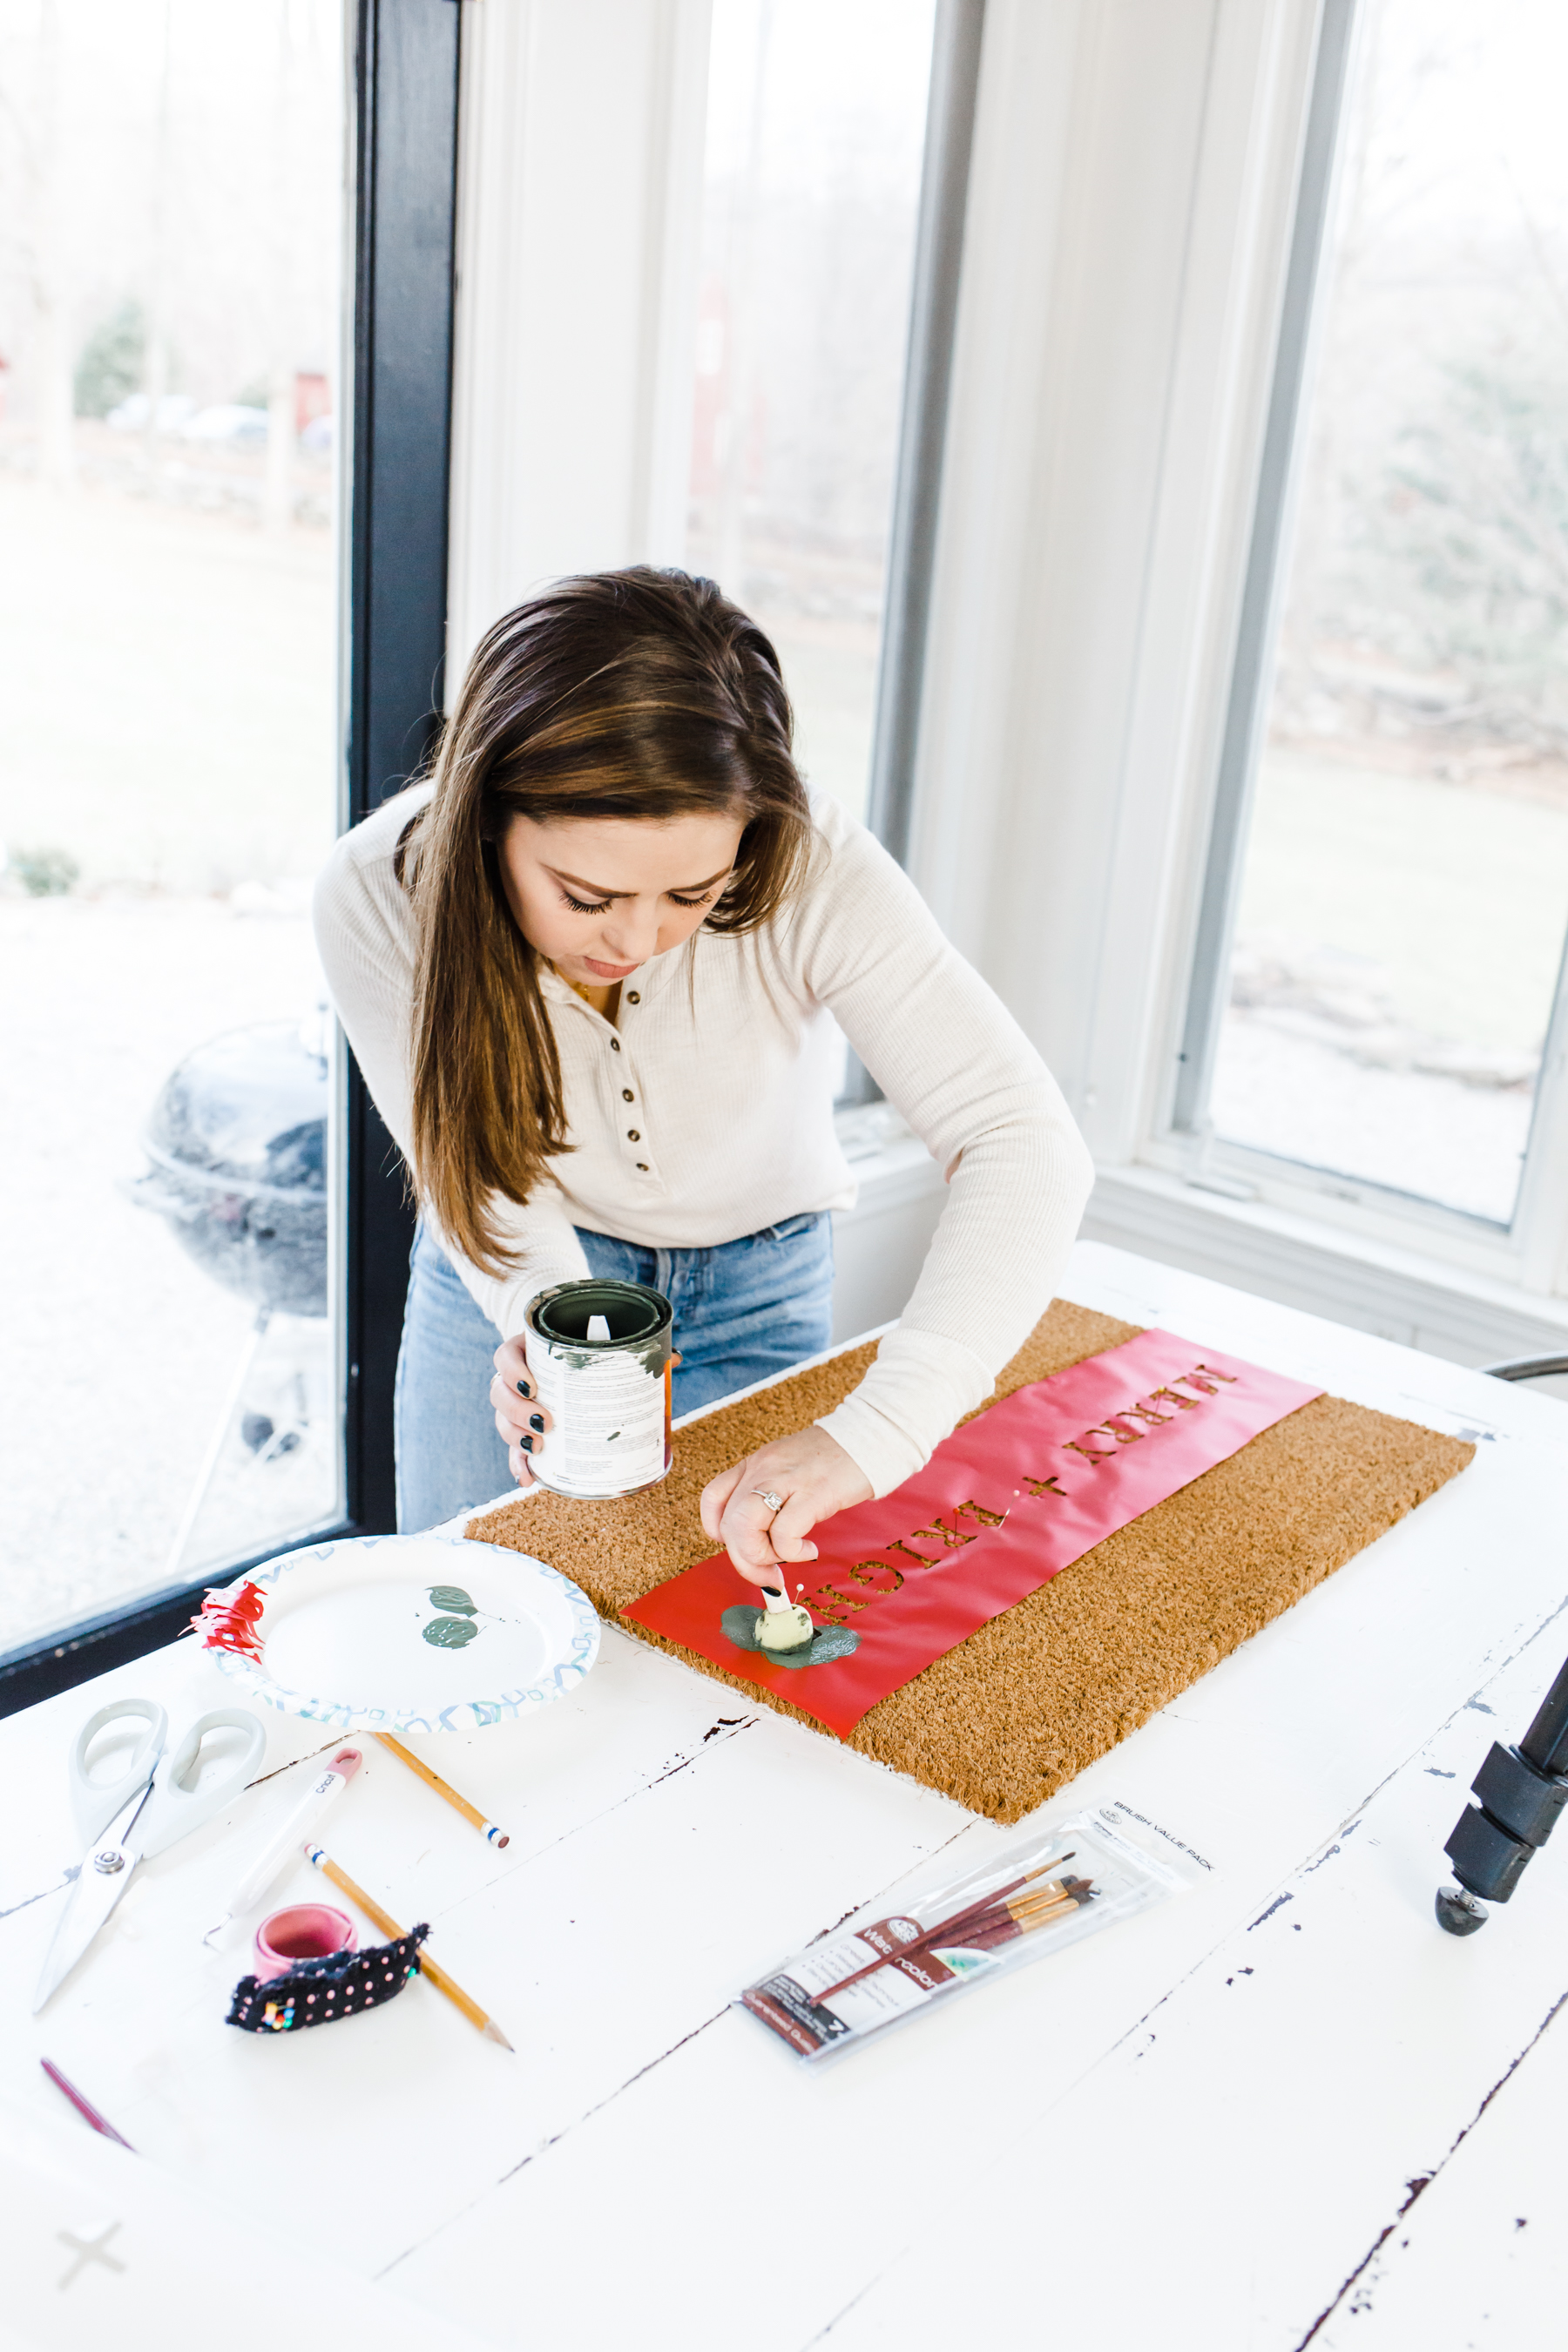
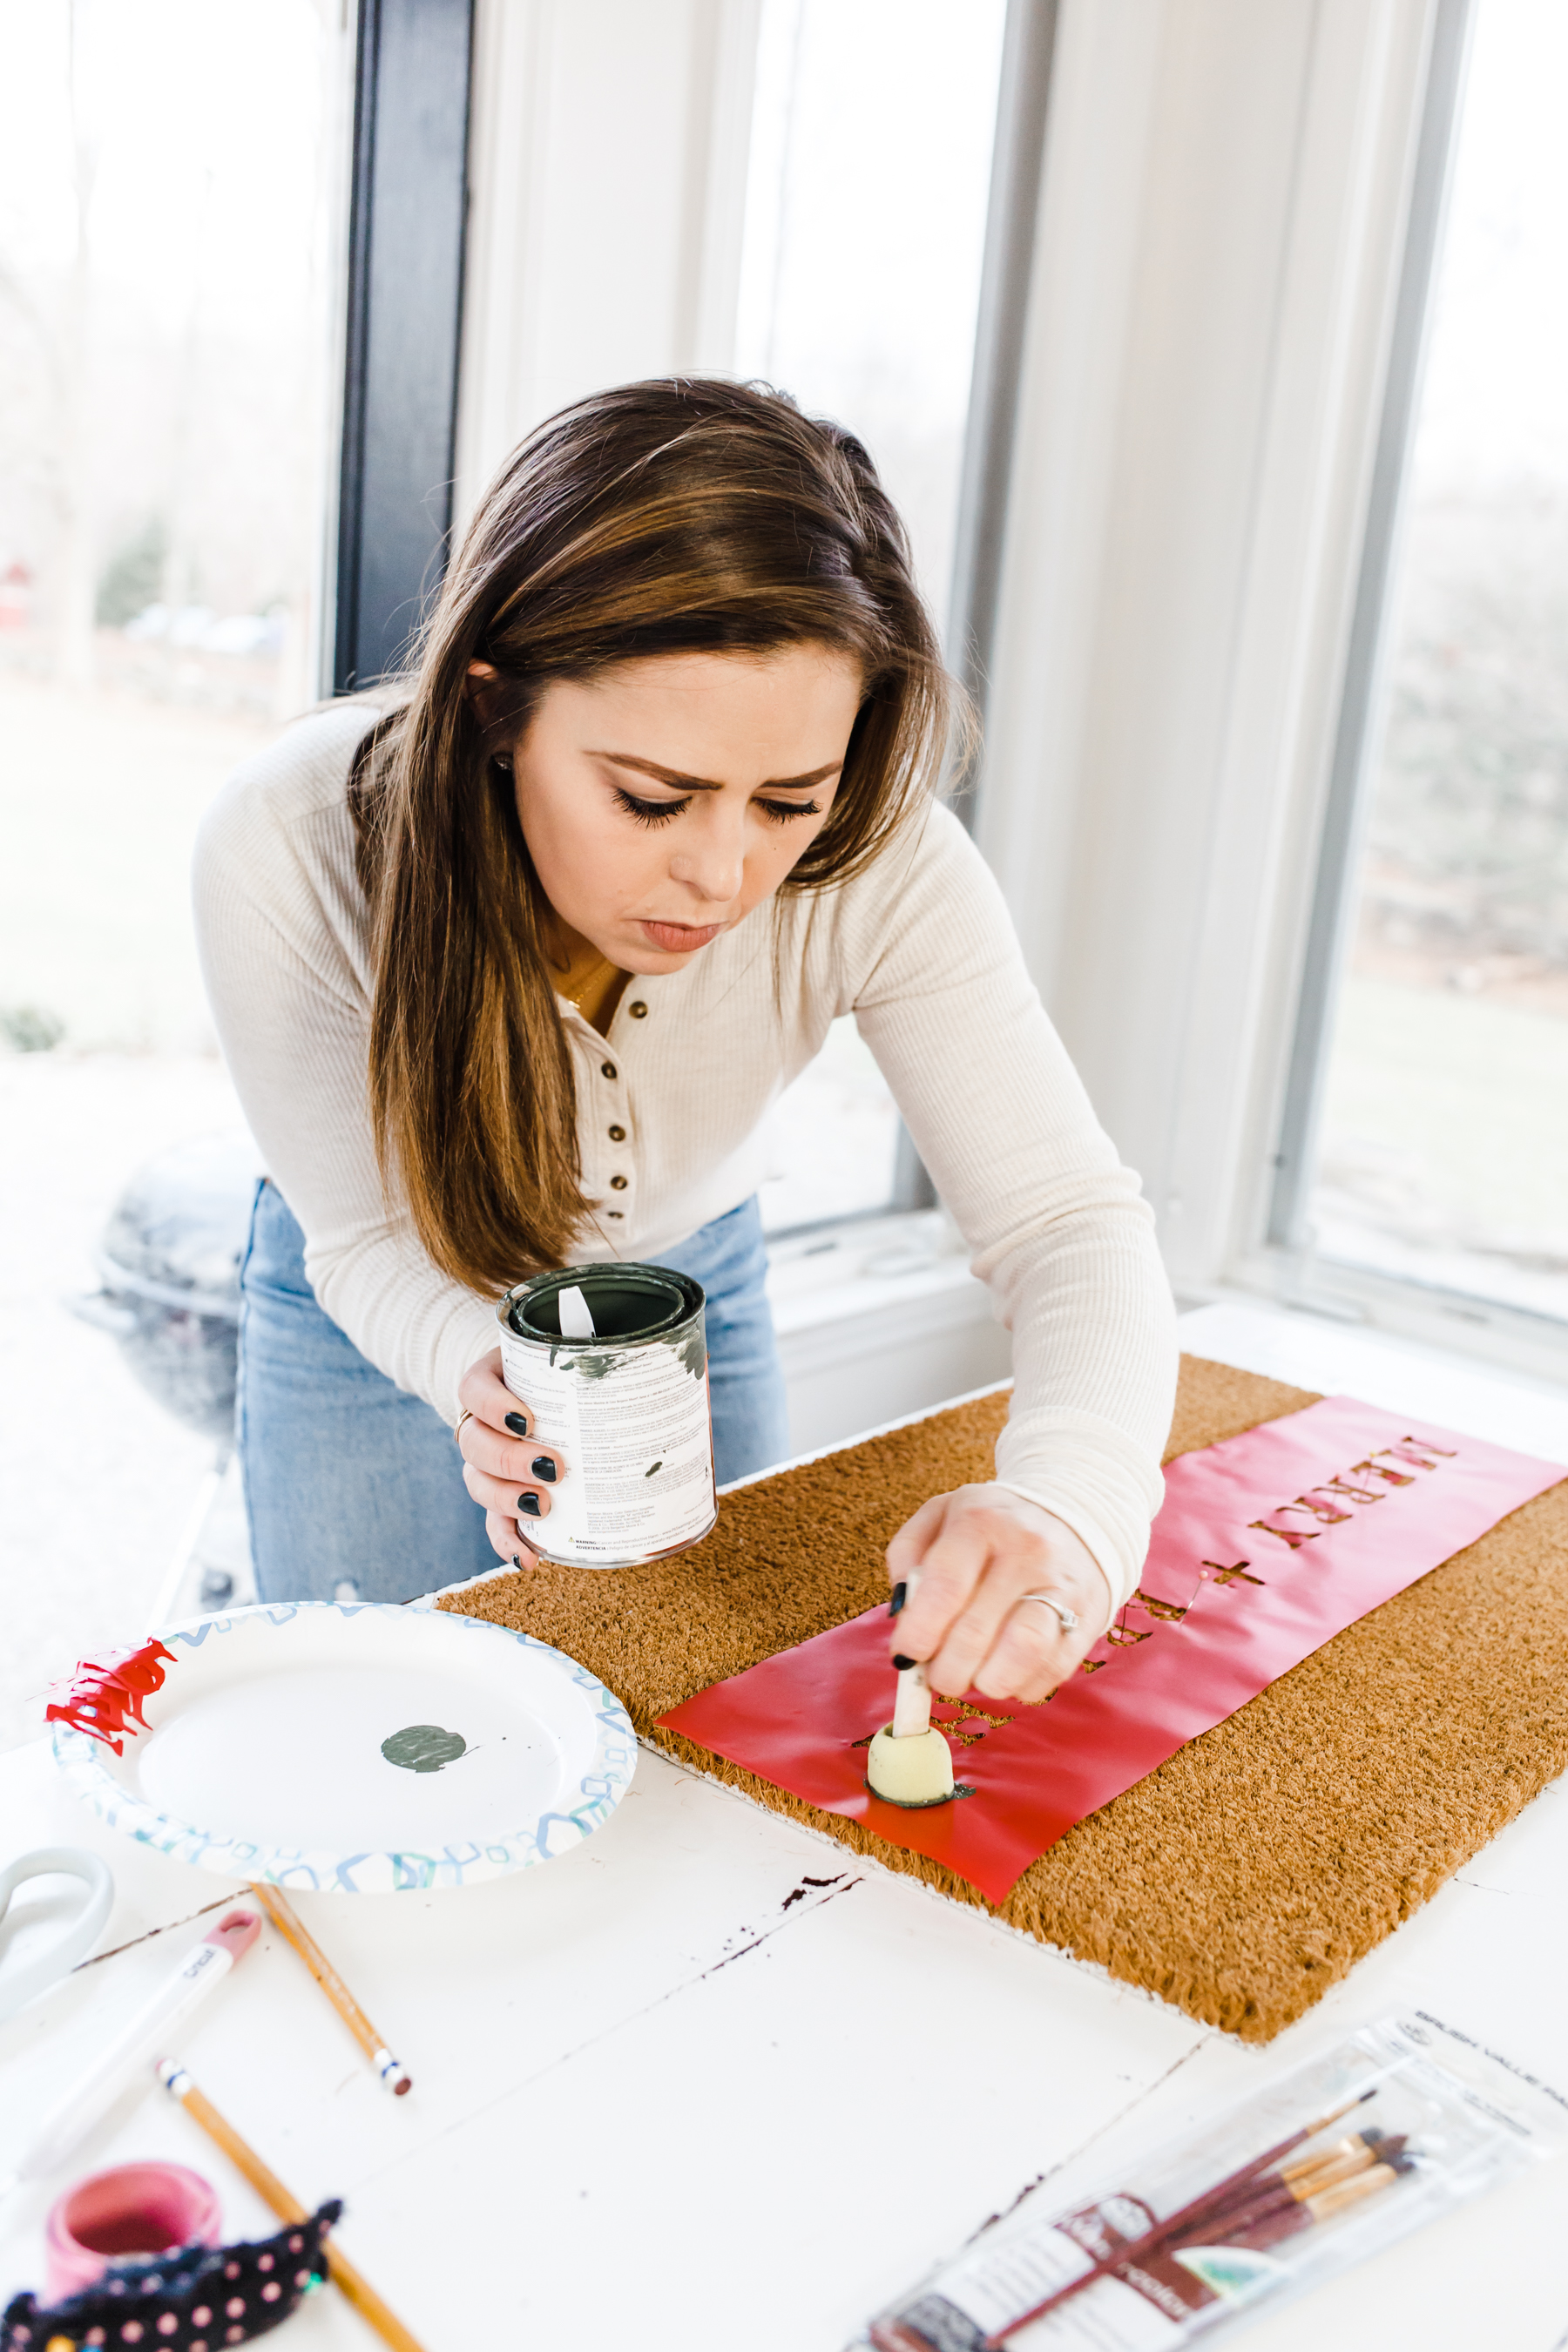
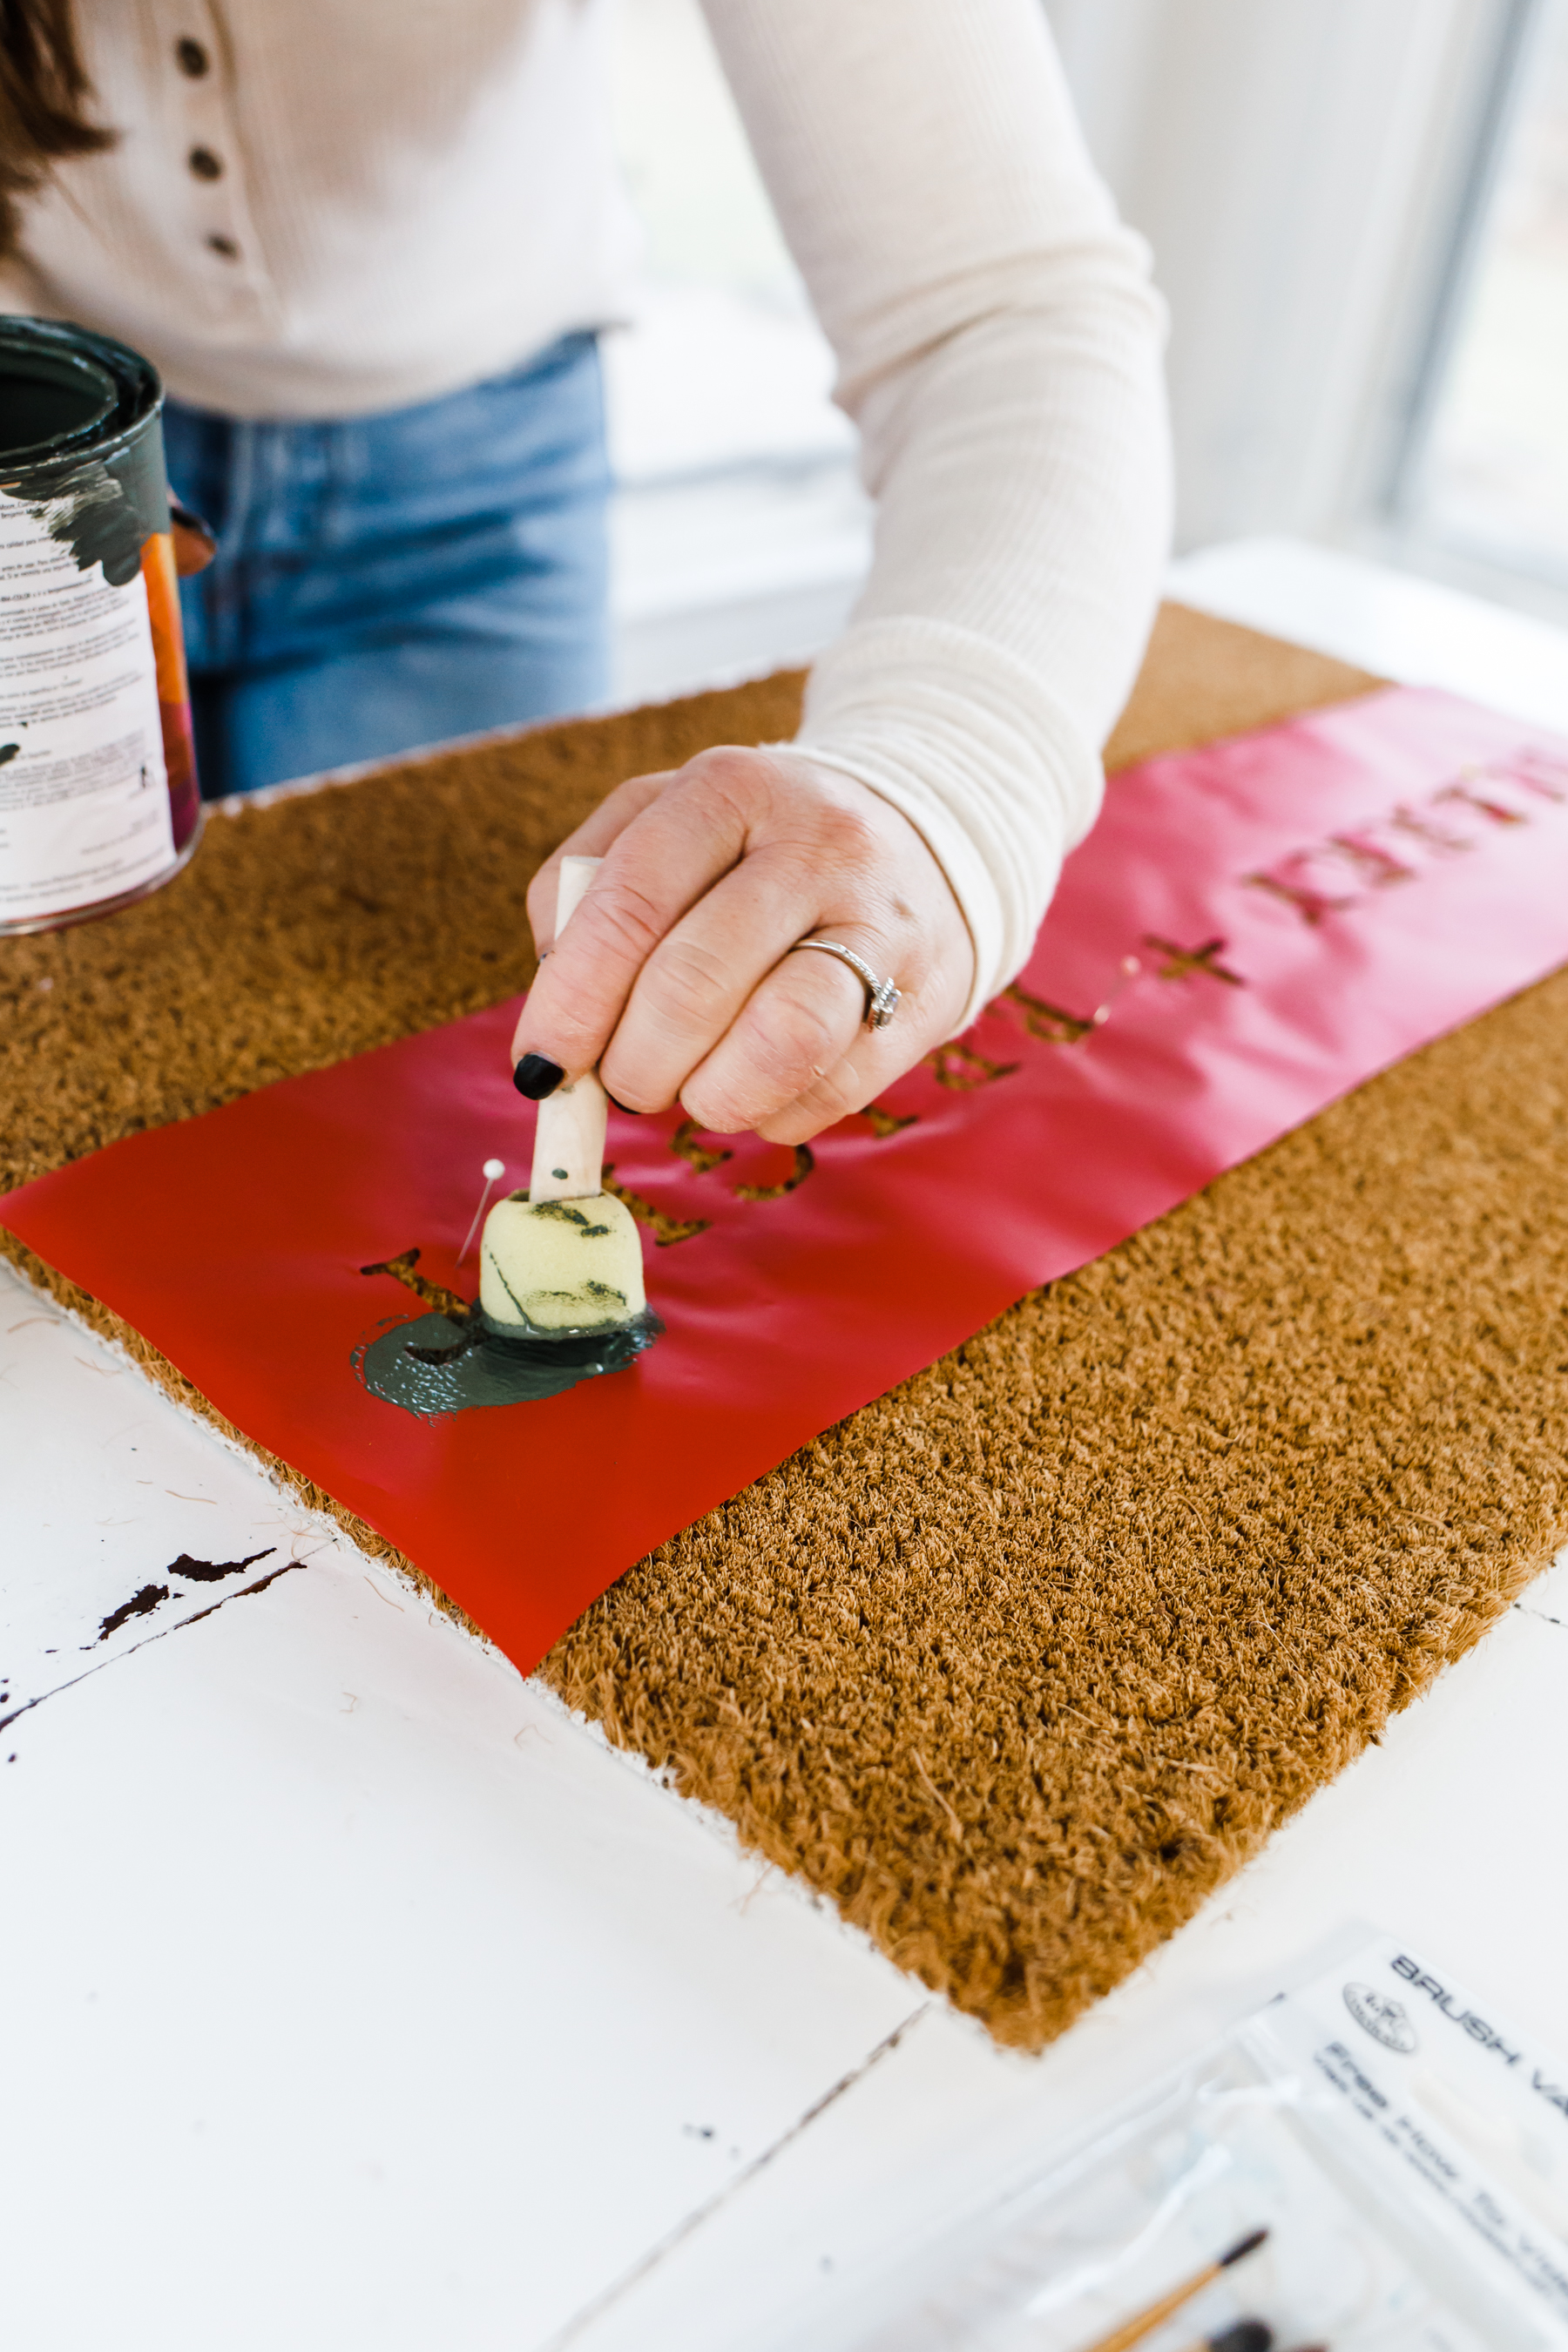
Next, in careful up and down movements, use the sponge to sponge the paint over the stencil. Make sure you aren’t using too much paint or it will bleed under the stencil. I like to keep a paper plate next to wear I’m working to blot it a bit.
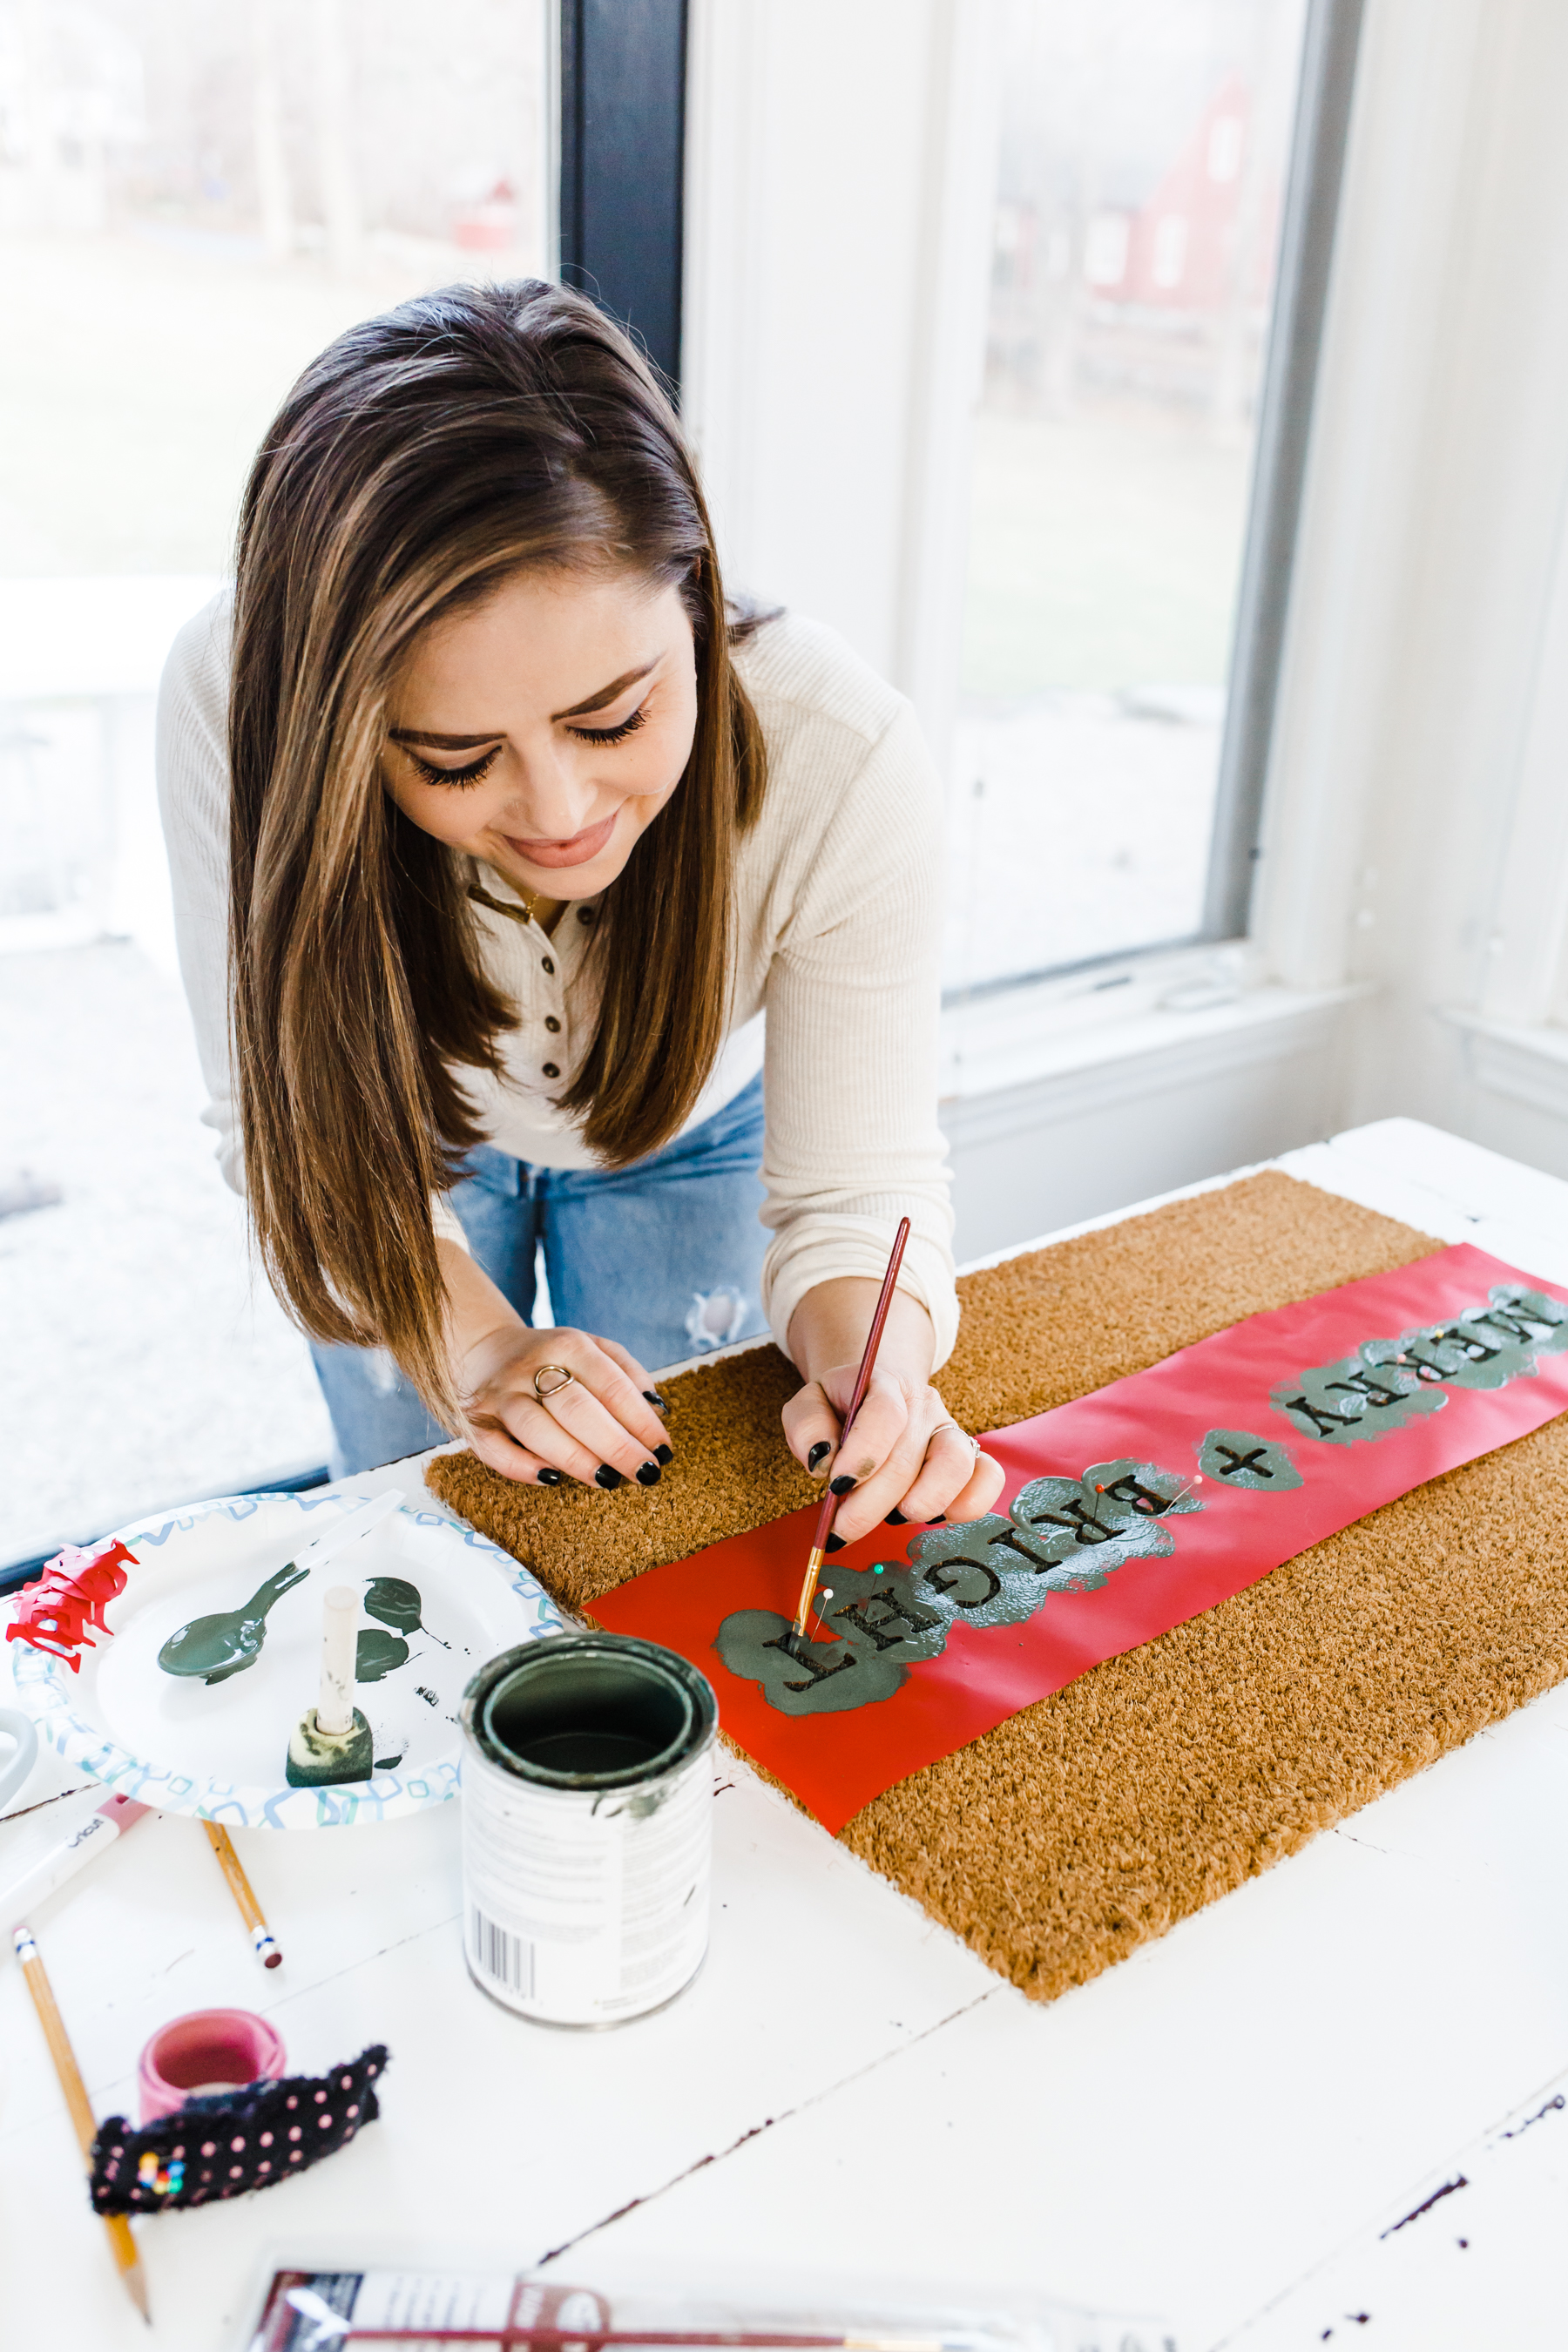
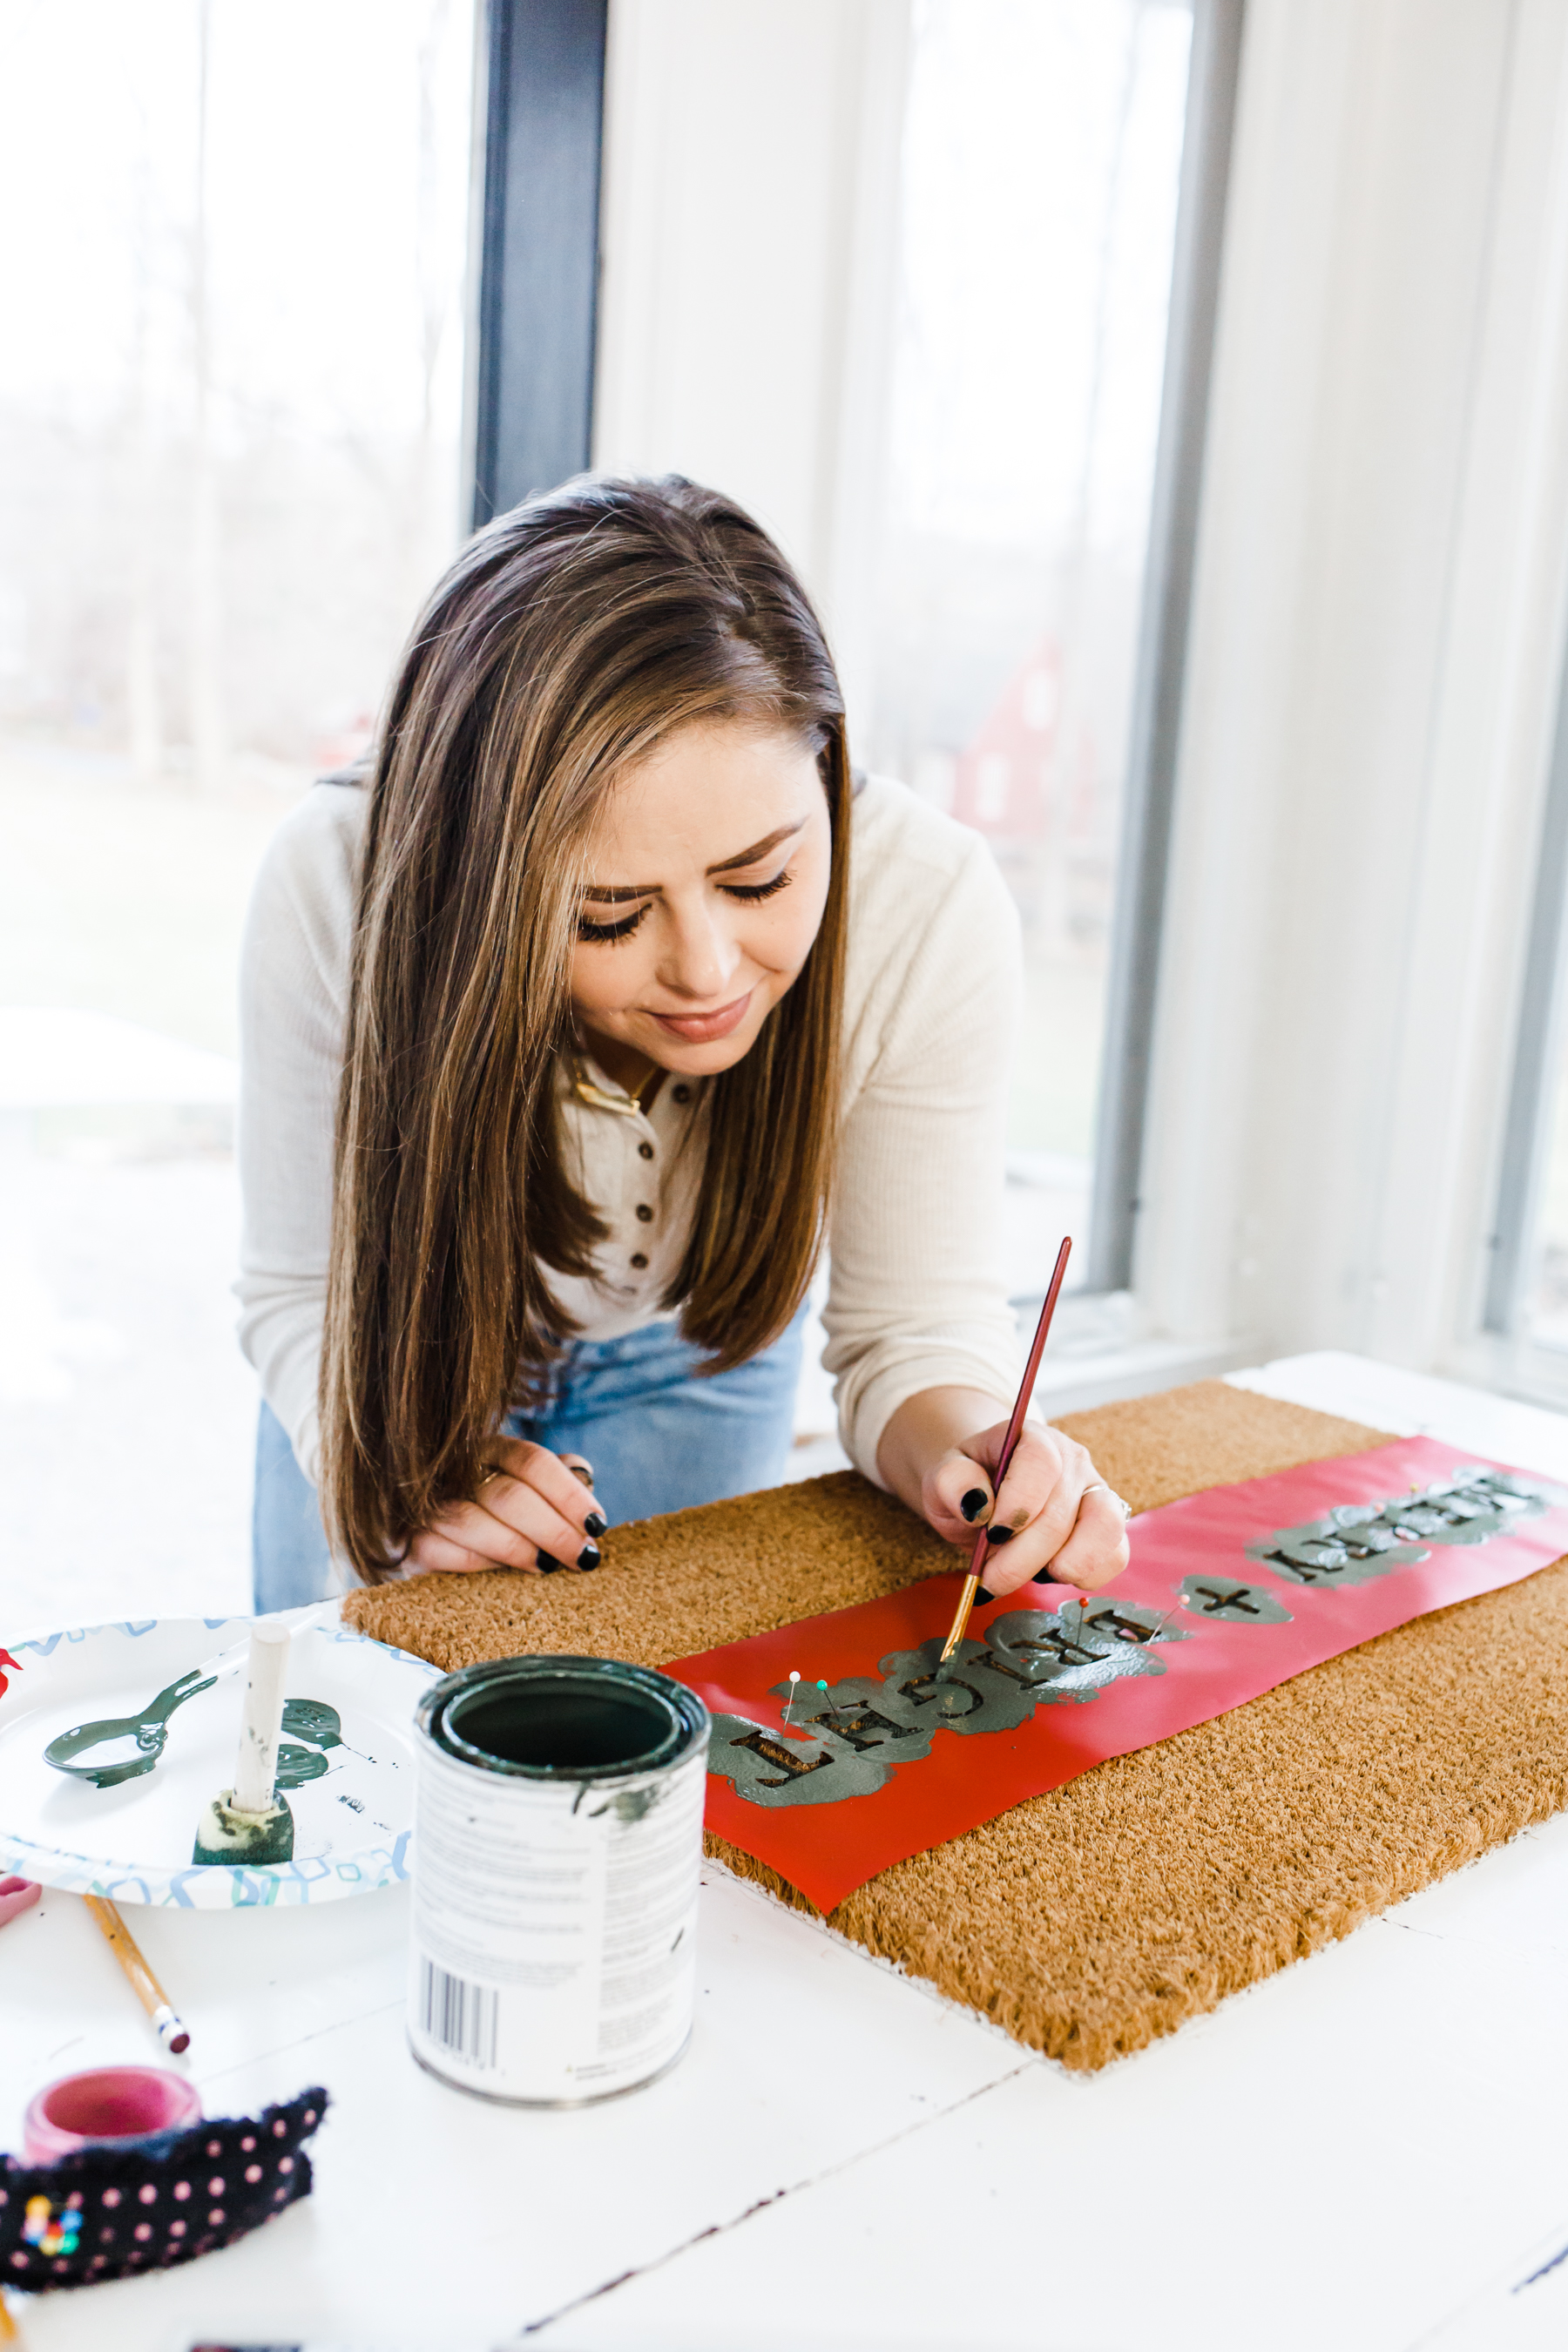
Once you’ve sponge painted the whole design, go back over it carefully with a detail paint brush and touch up any spots that you might have missed.
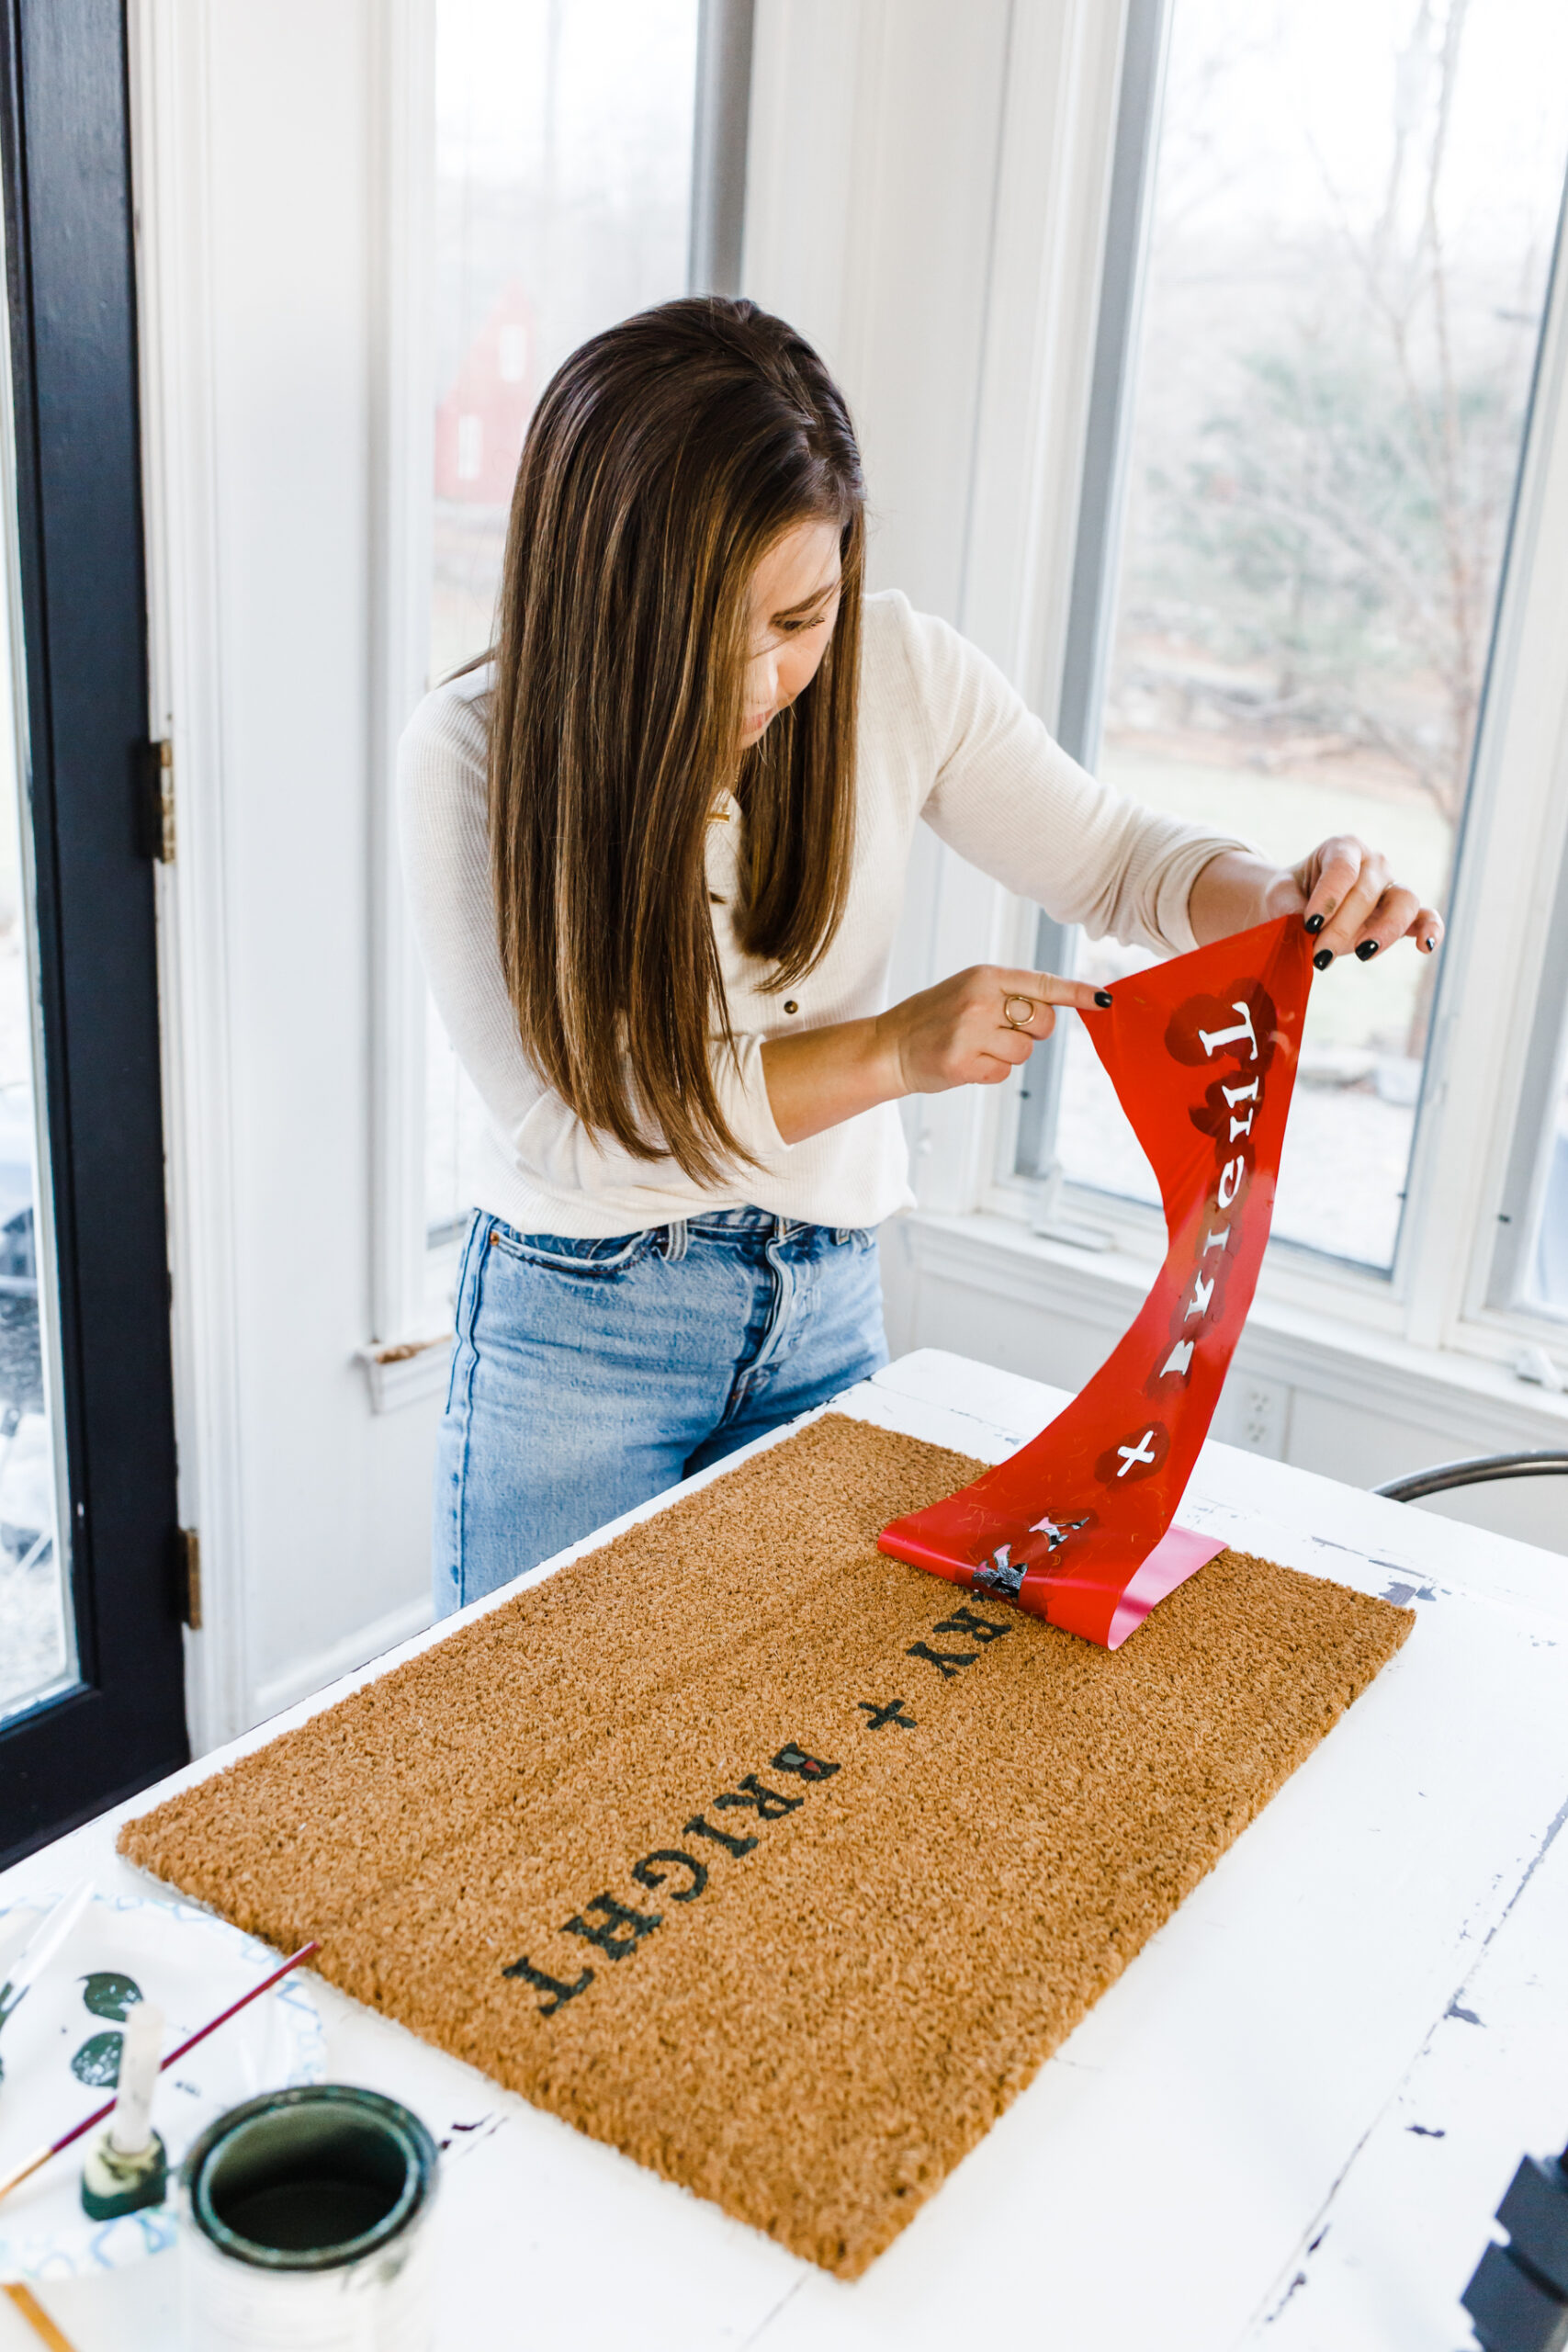
Once you’ve touched up the paint, carefully peel off your stencil and voila! You might need a small vinyl tool or tweezers to get the center sections from the B’s and R’s.
That’s it! Super easy, and super cute!

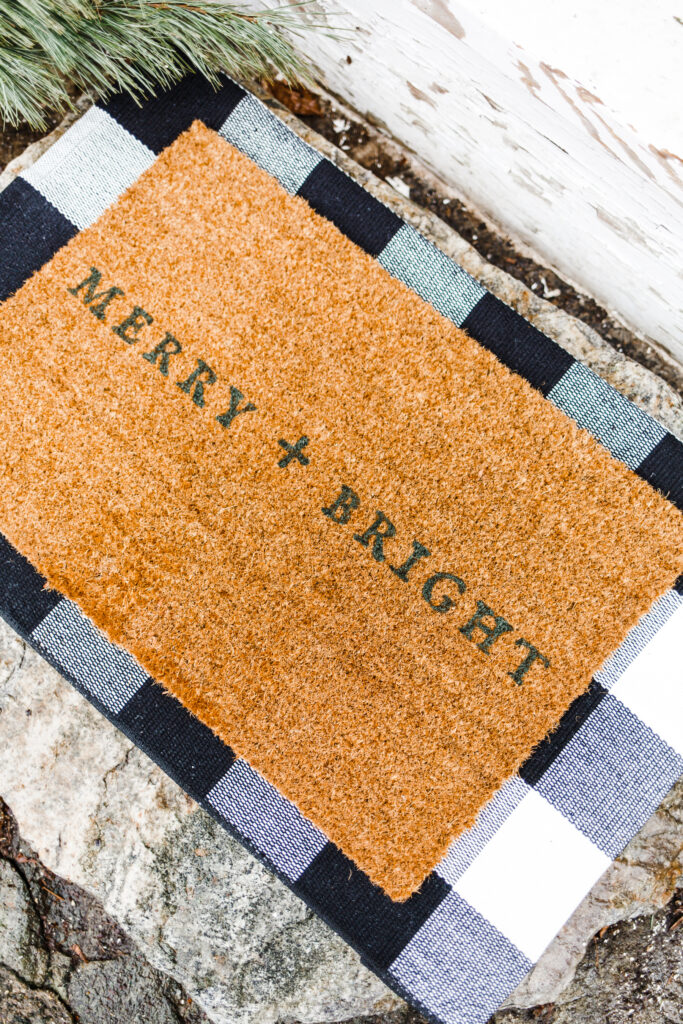
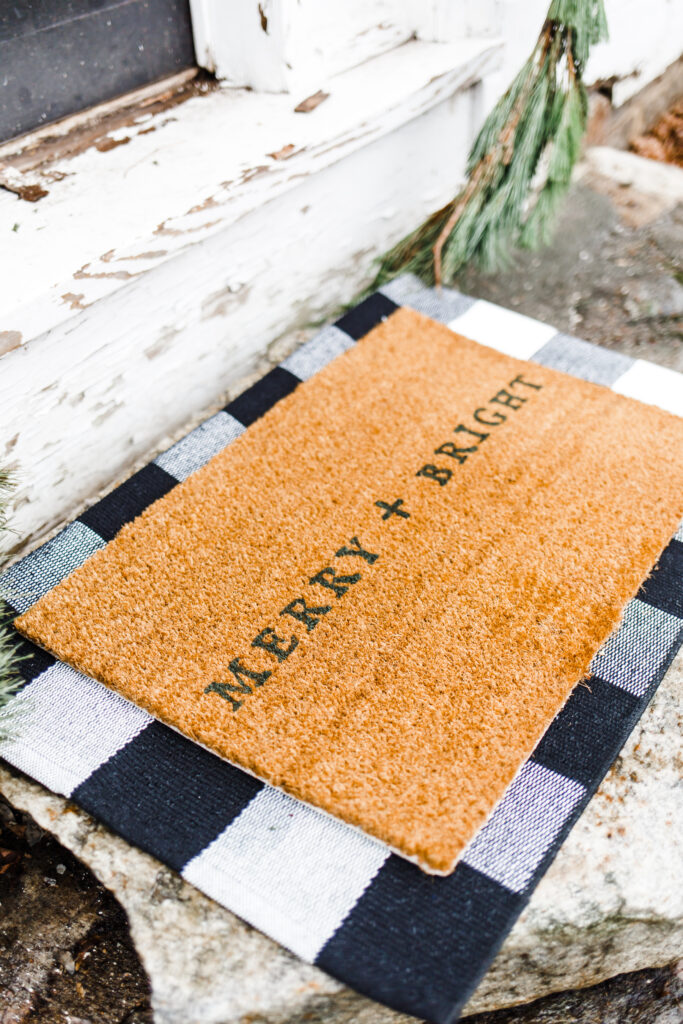
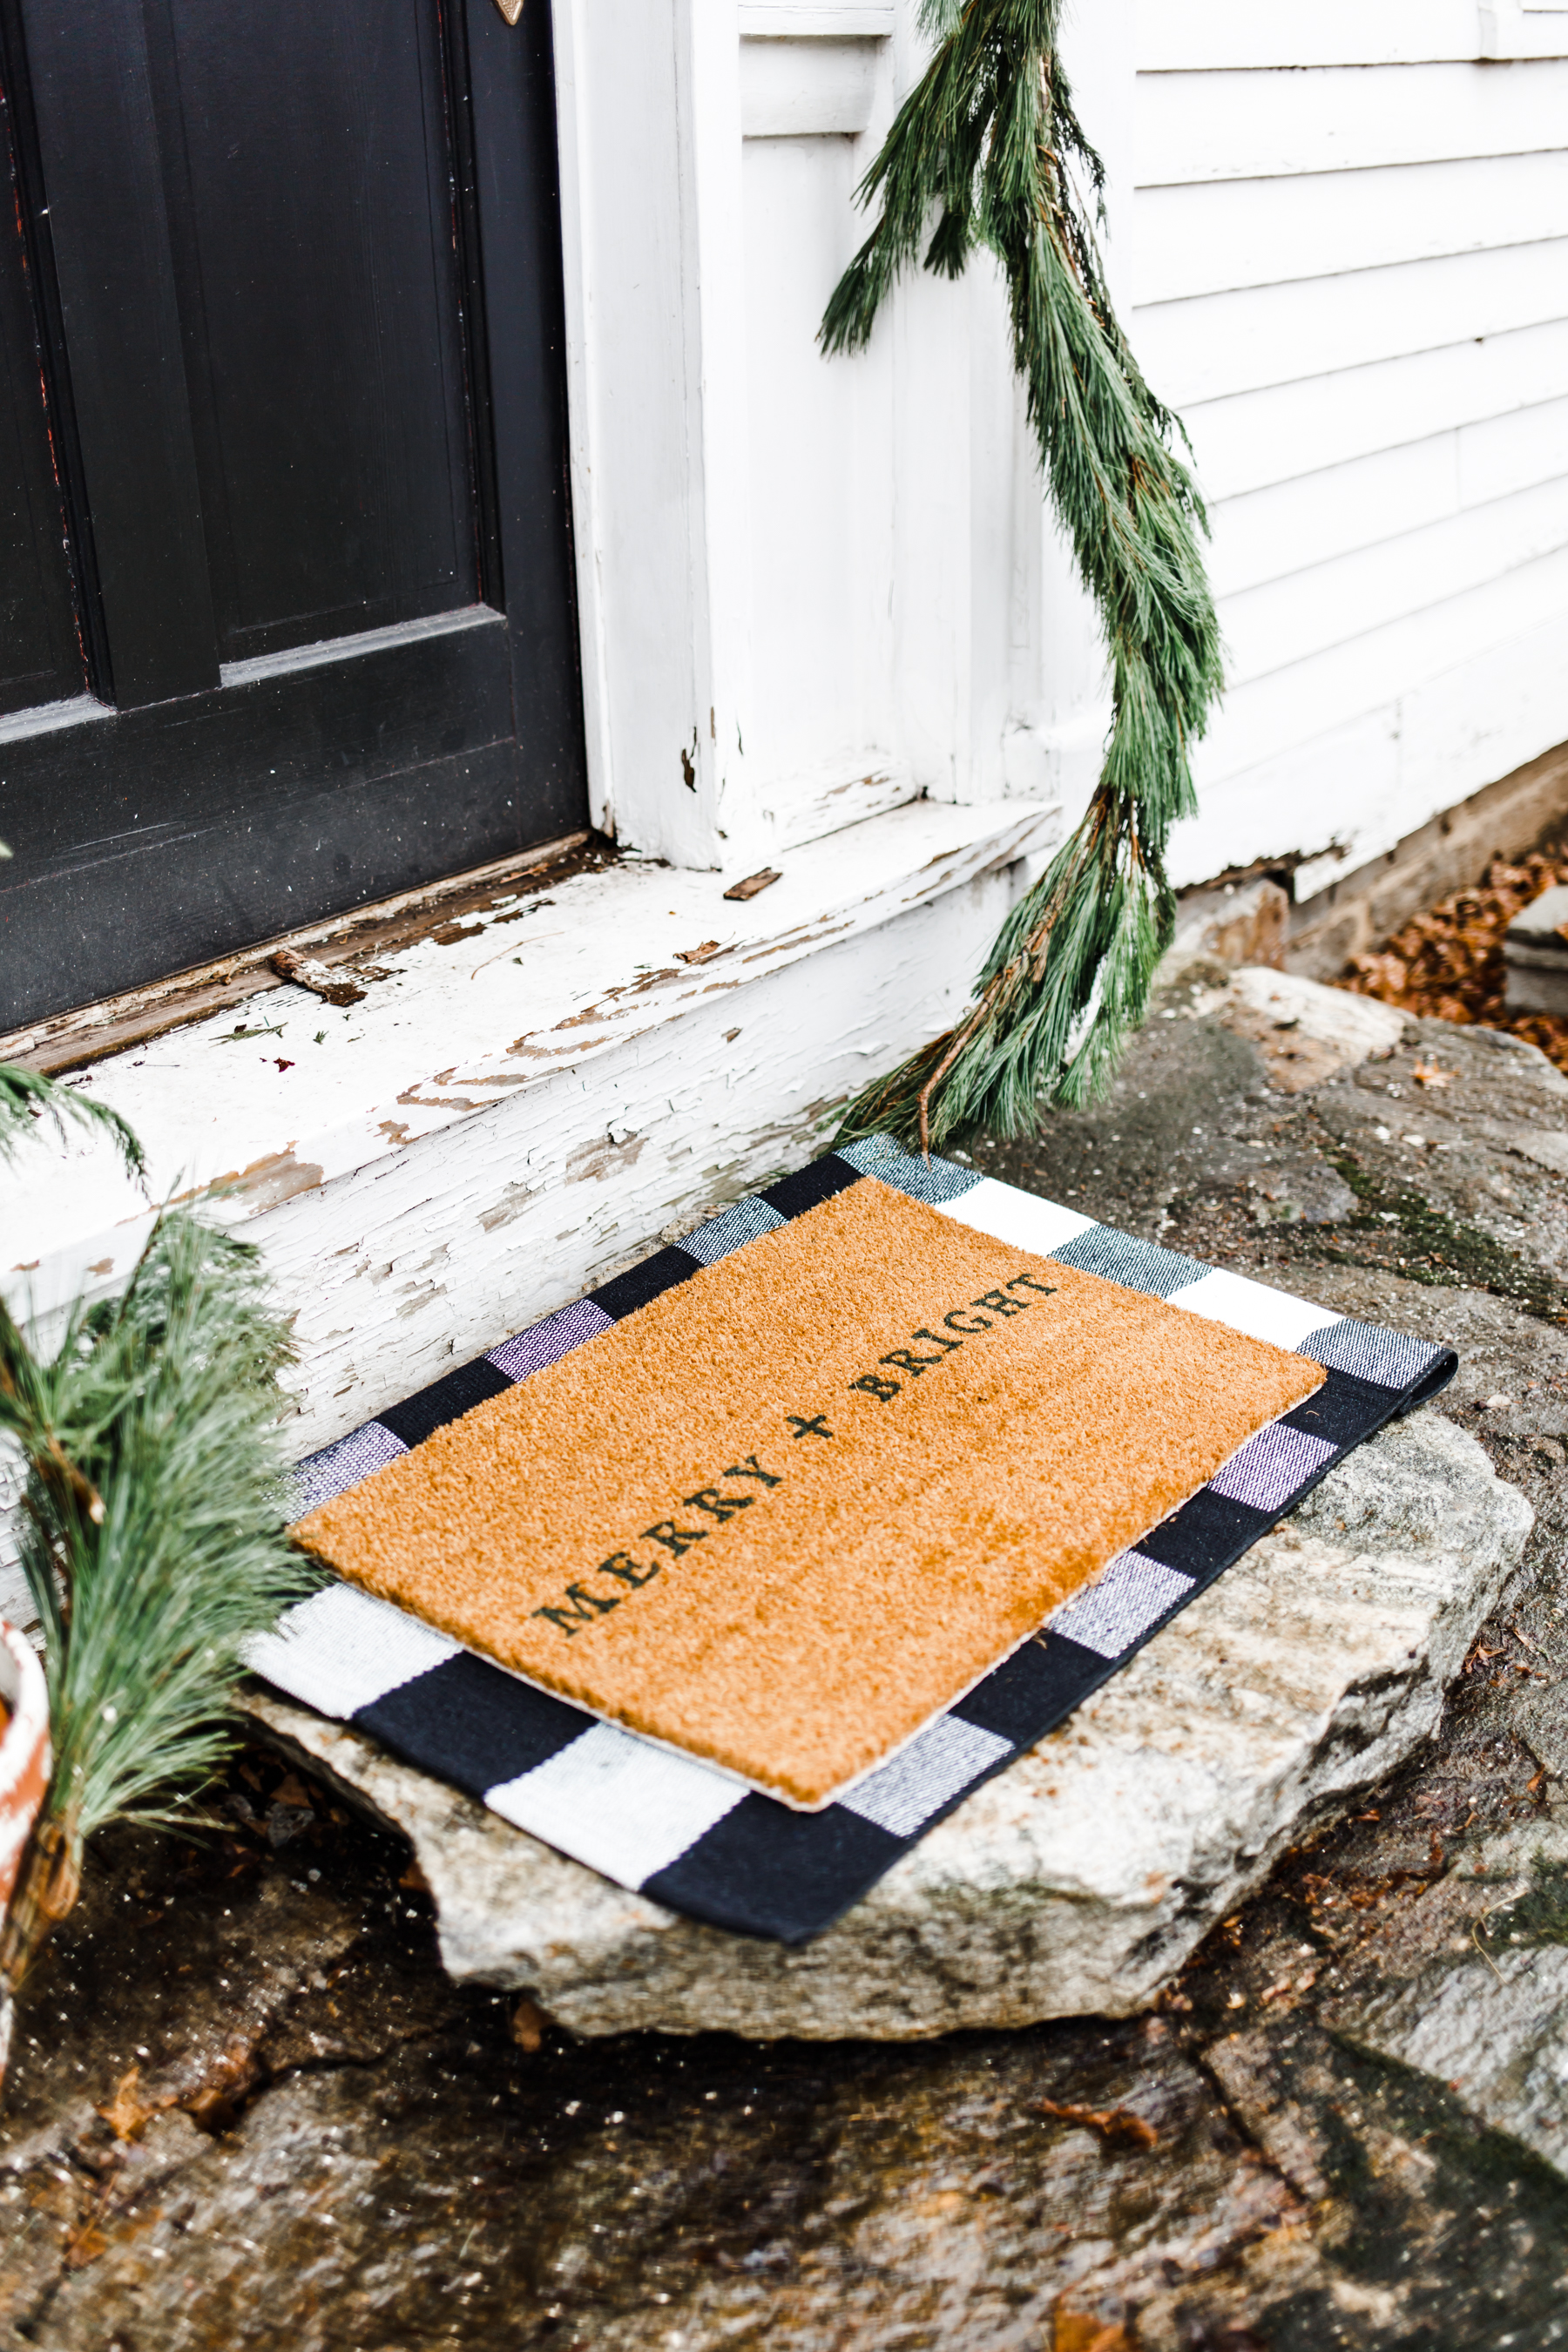
I put mine on our main doorstep and I love it! I went very simple with our Christmas decor this year (felt appropriate for 2020). Just a swag on the door and some fresh garland over it. I love how this little doormat adds just a little bit more fun.
If you want to try this DIY you can click here to download the graphic!
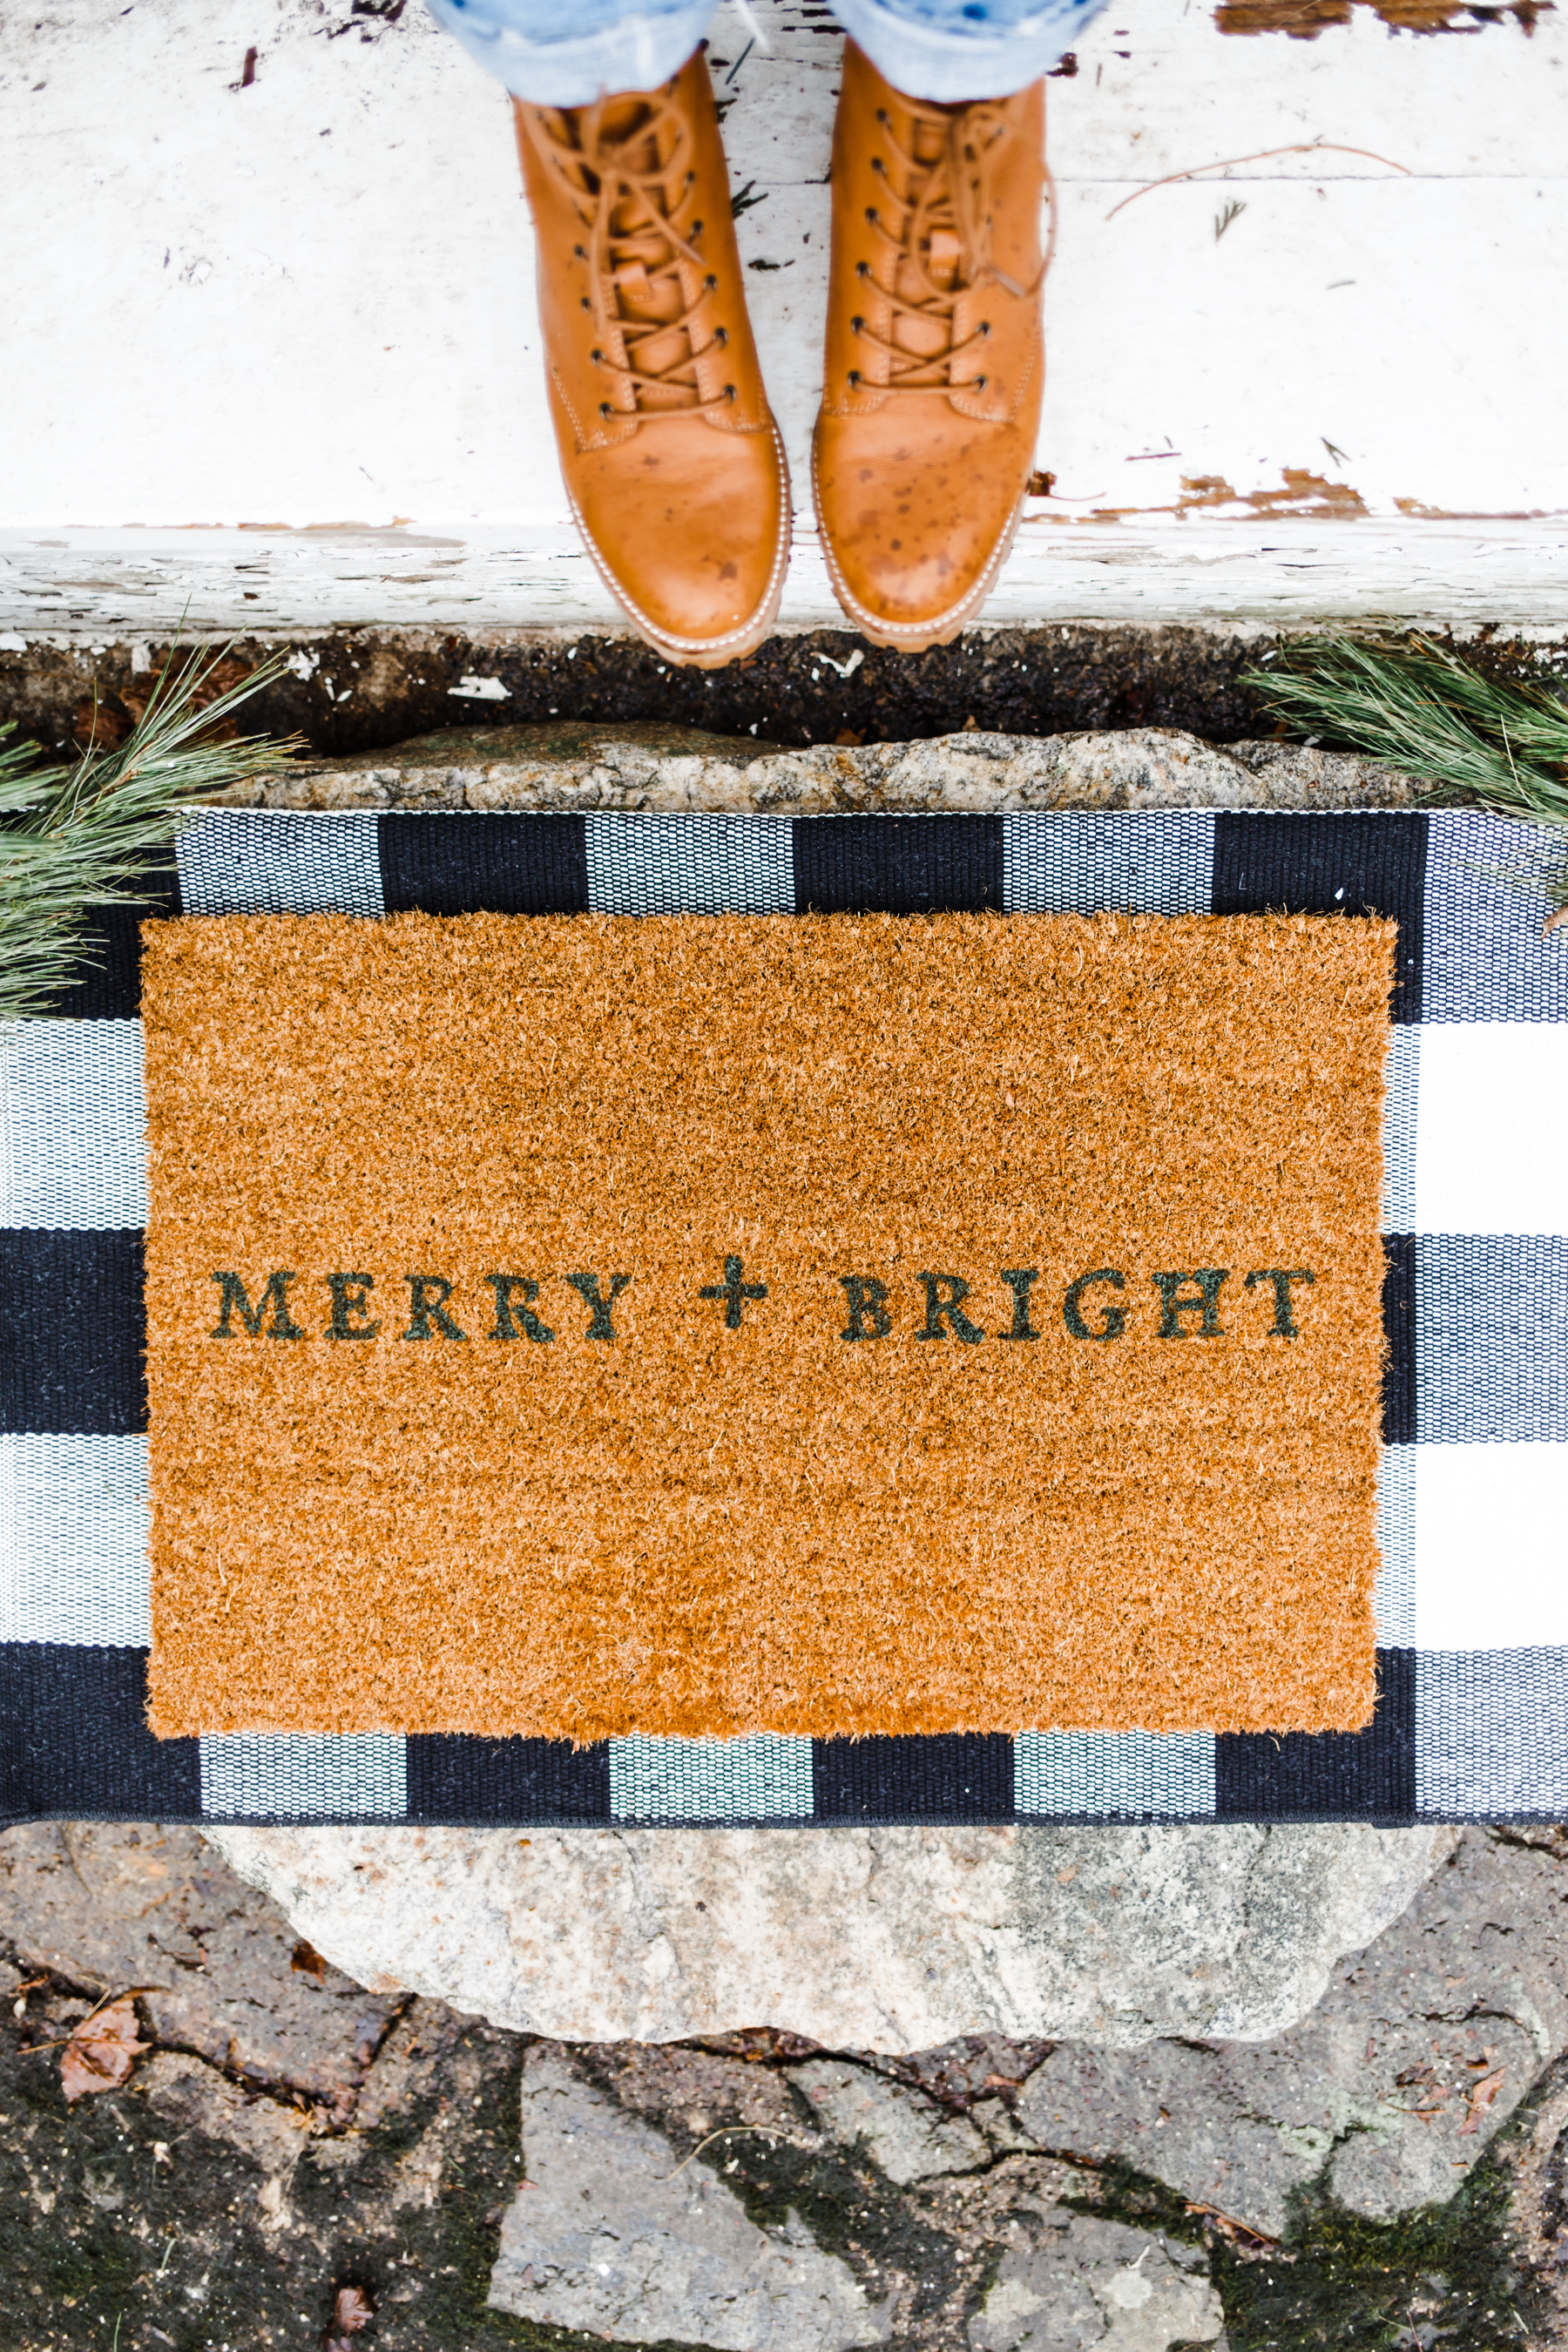
buffalo check rug. boots. blank doormat.
So what do you think? Are you going to make your own DIY Christmas doormat this year?