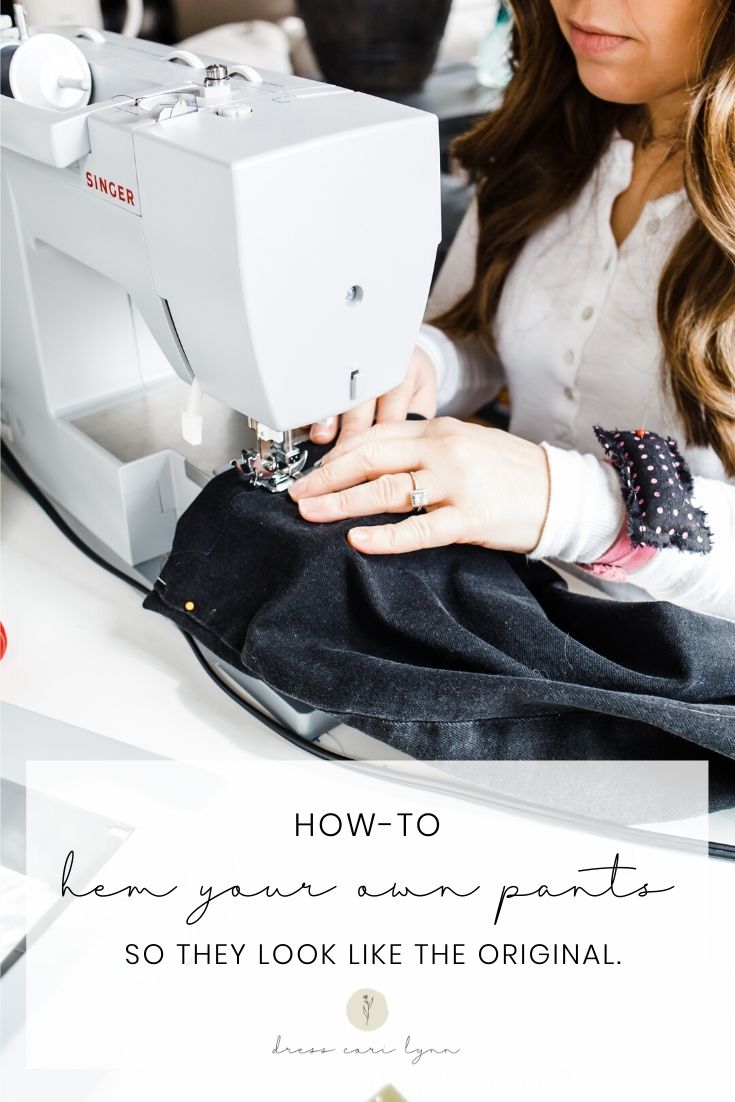
This post has been a long time coming. One of my most requested tutorials in fact, has been to show you guys how to hem your own pants, and I am so excited to share my process with you today. I started hemming my own pants when I was in high school, and there are few skills that I’ve gotten more use out of, especially being a petite woman. But honestly, you don’t have to be petite to use this skill. Most pants aren’t going to fit everyone perfectly (especially in length) but if you learn how to do this, you can have a custom fit every time. And bonus, I’m going to show you my super secret trick for making your newly hemmed denim look like the original hem!
Once you get the hang of it, this process takes around 20 minutes at the most and is so easy. So let’s get started learning how to hem your own pants! (I’ll link to all the tools I use in at the bottom of the post.)
Step 1. Wash and dry your pants at least one time (preferrably 2-3), so you get initial shrinkage out of the way. If you hem them before they’ve been washed, they are likely to end up too short, because there’s almost always some initial shrinkage.
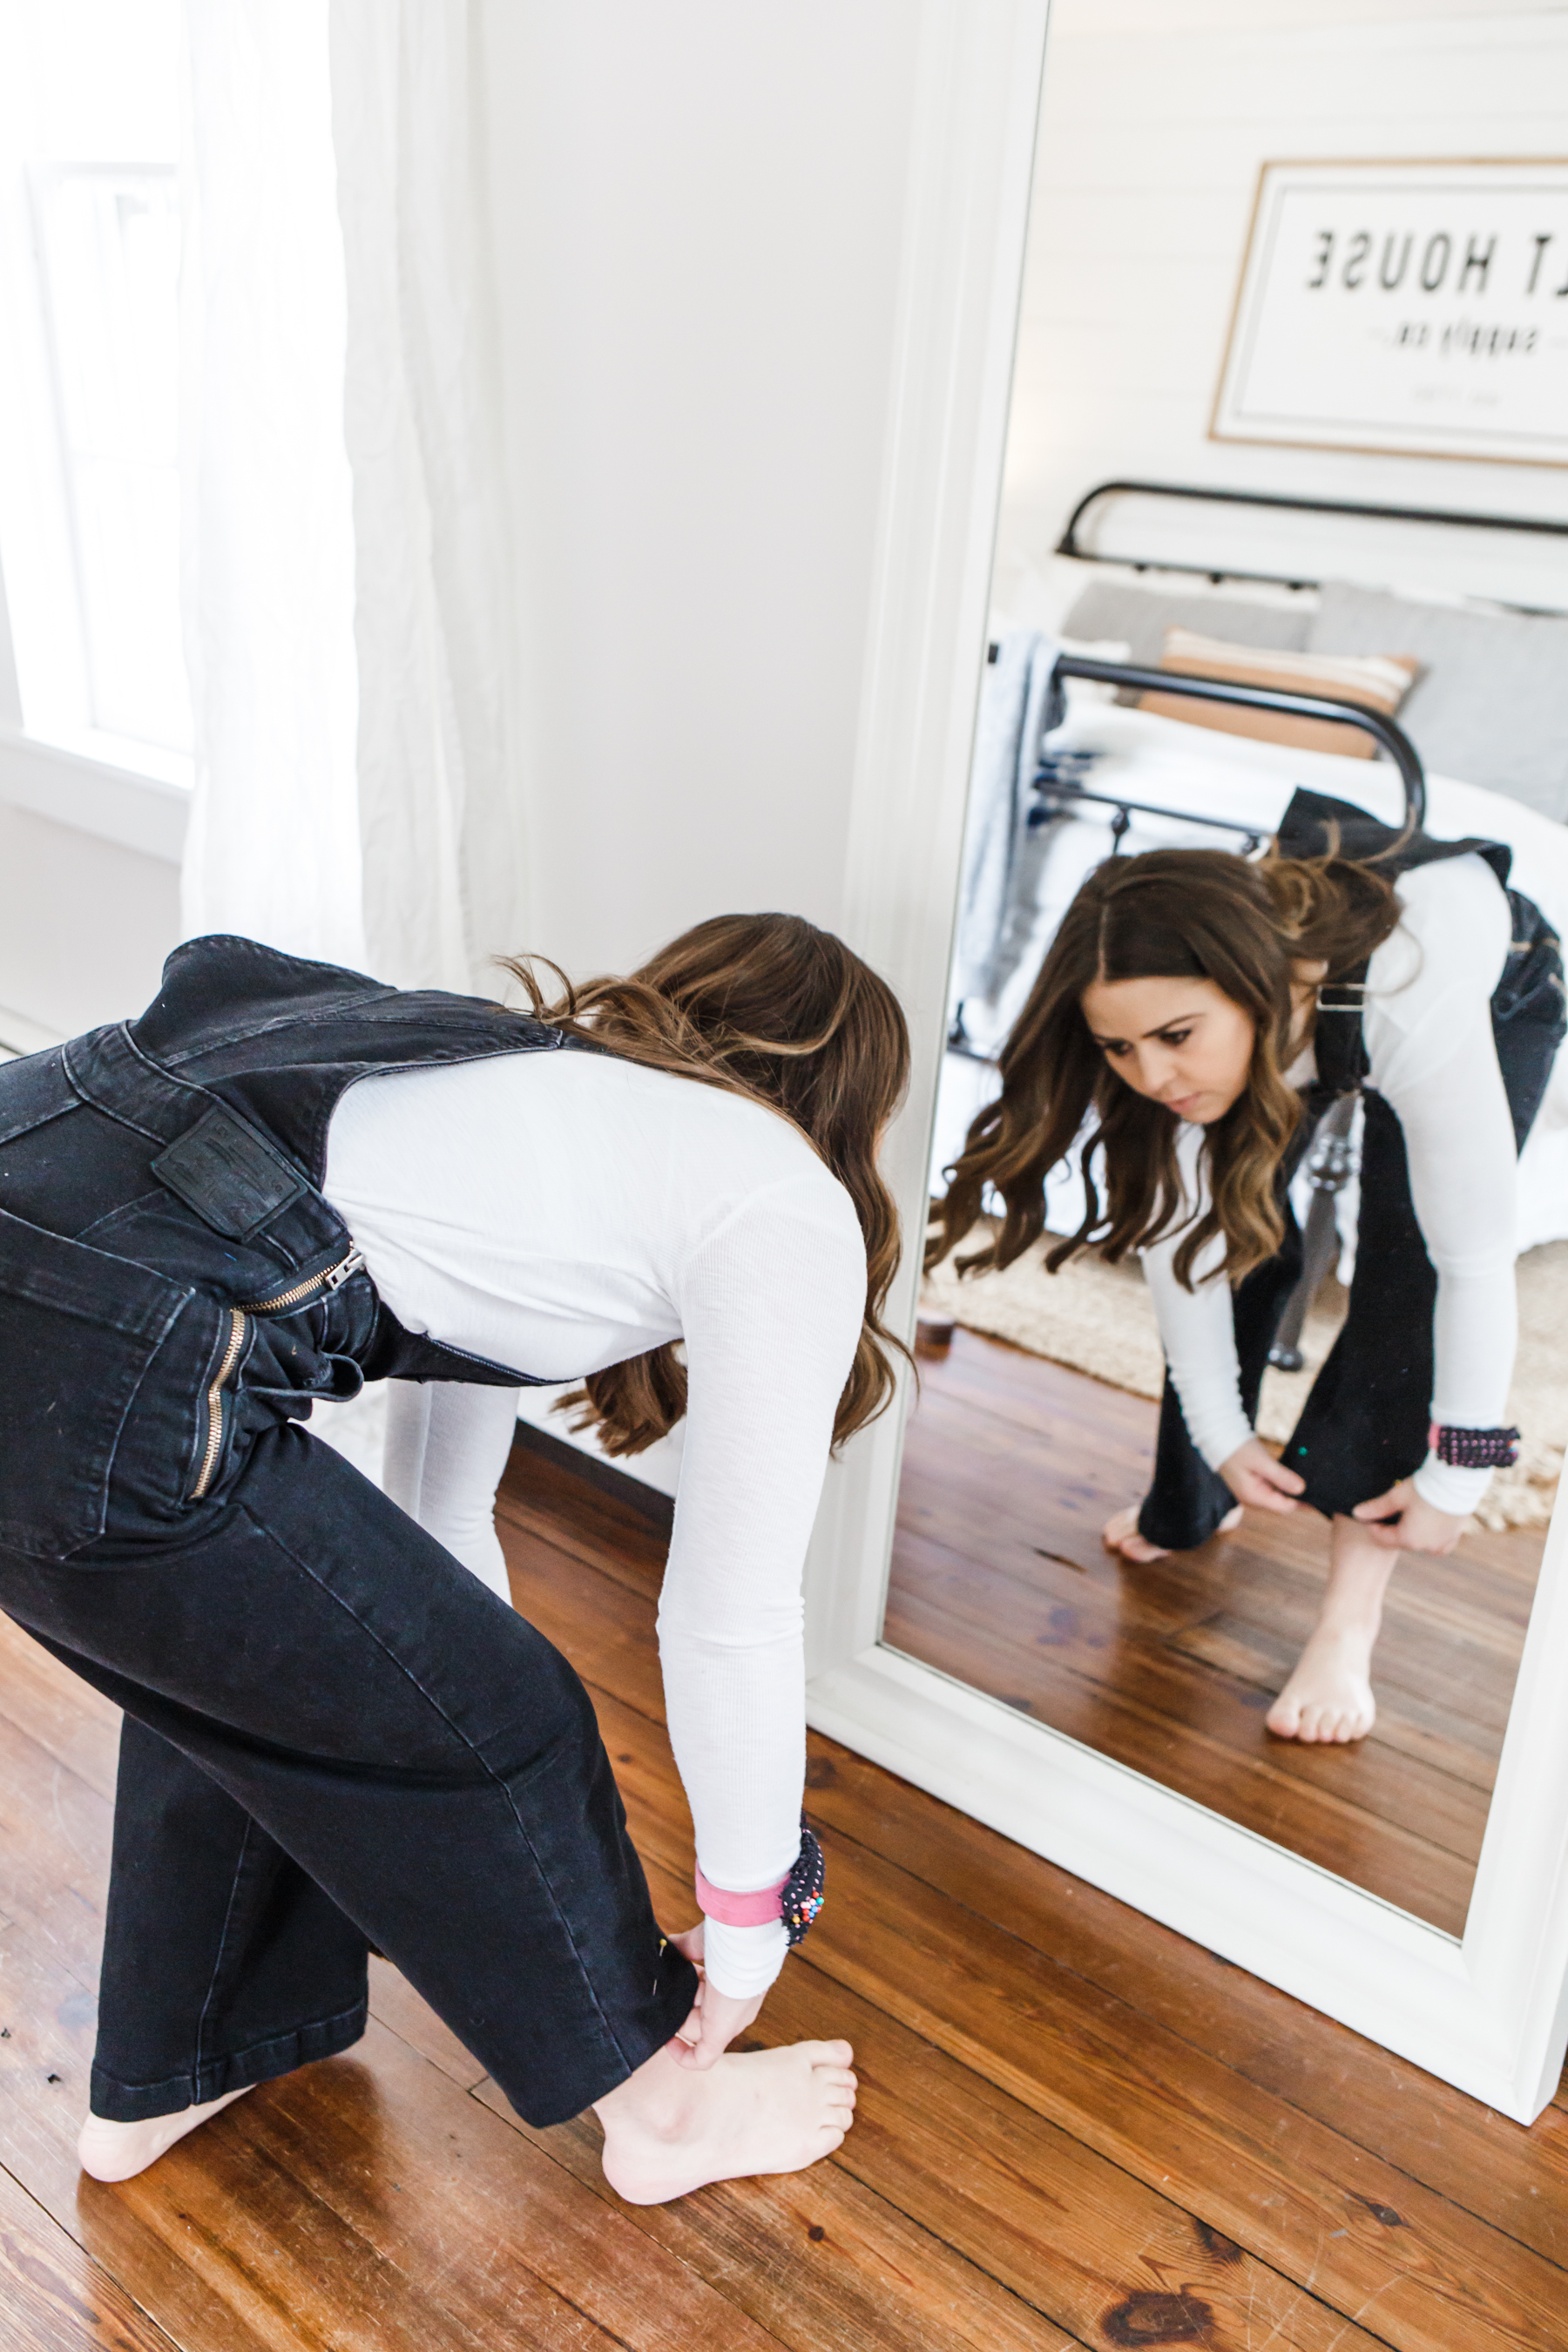
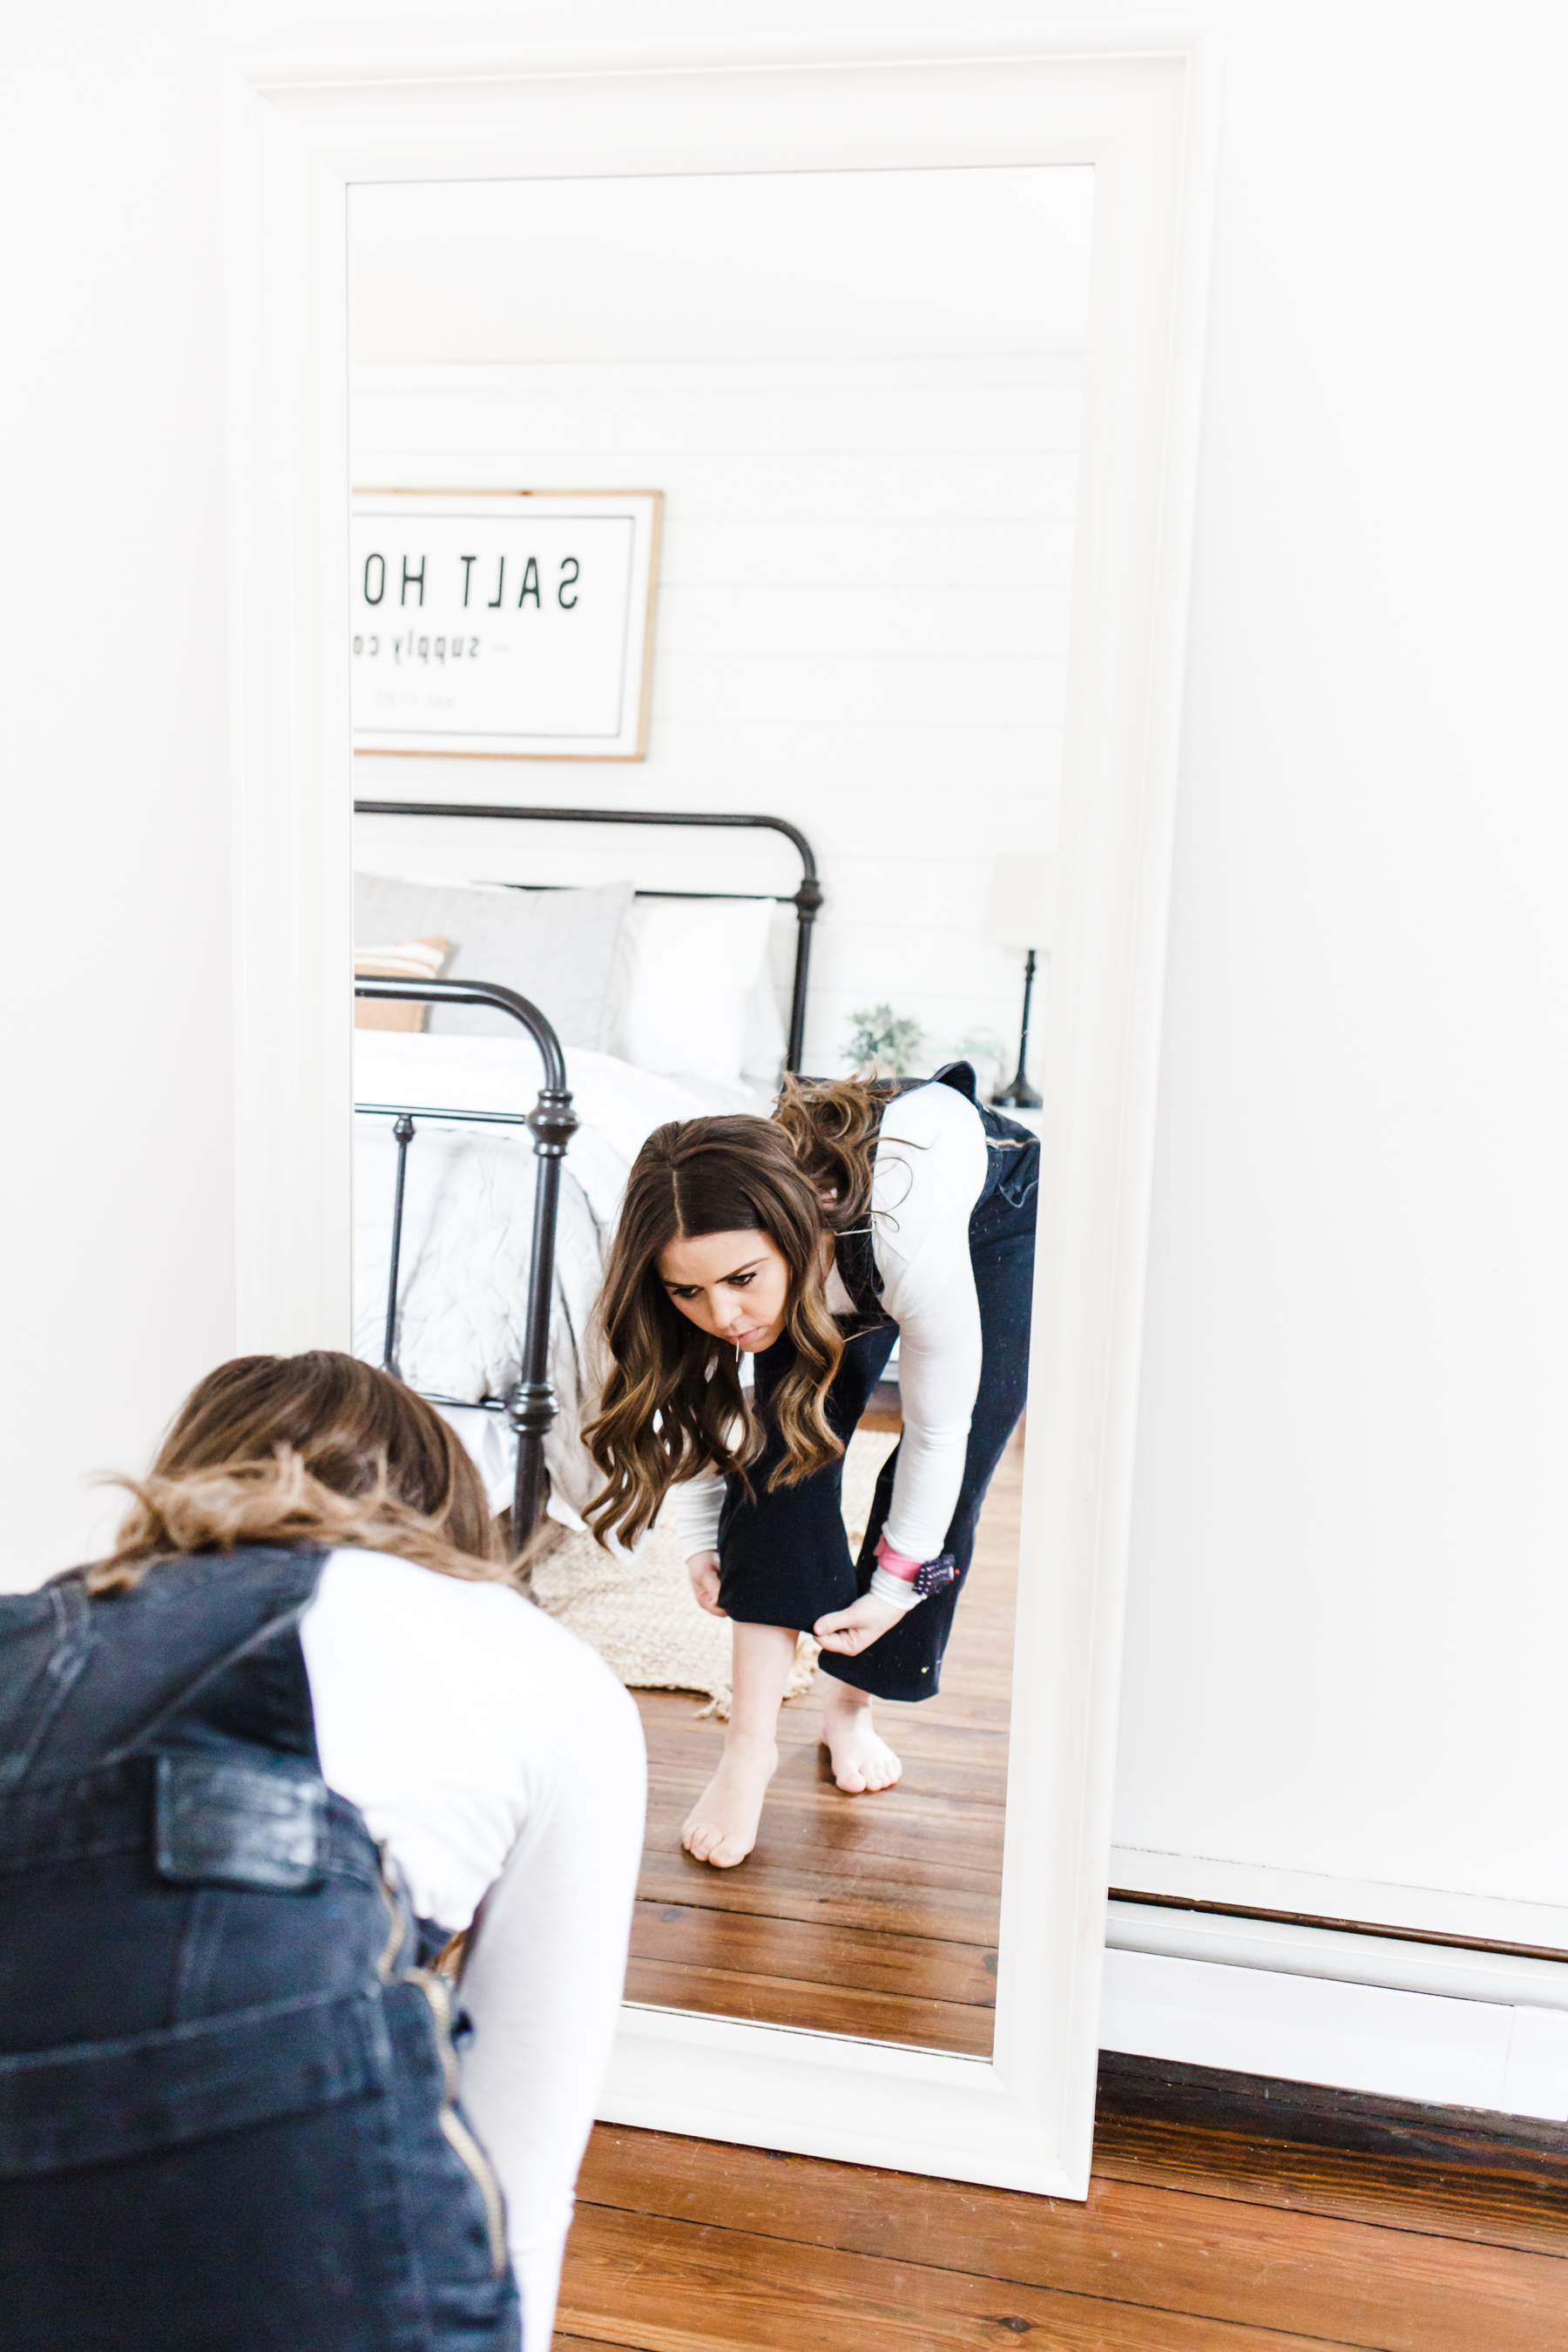
Step 2. Put your pants on, stand in front of a mirror and cuff the ends under to the length you would like. (I like most of my pants to fall just above my ankle bone.) Make sure to stand up straight, check the length and make adjustments. Pin the cuff in place. Do this on both sides individually. Garments are often not symmetrical and we often have one leg longer than the other, so you want to do each side individually to make sure they match.
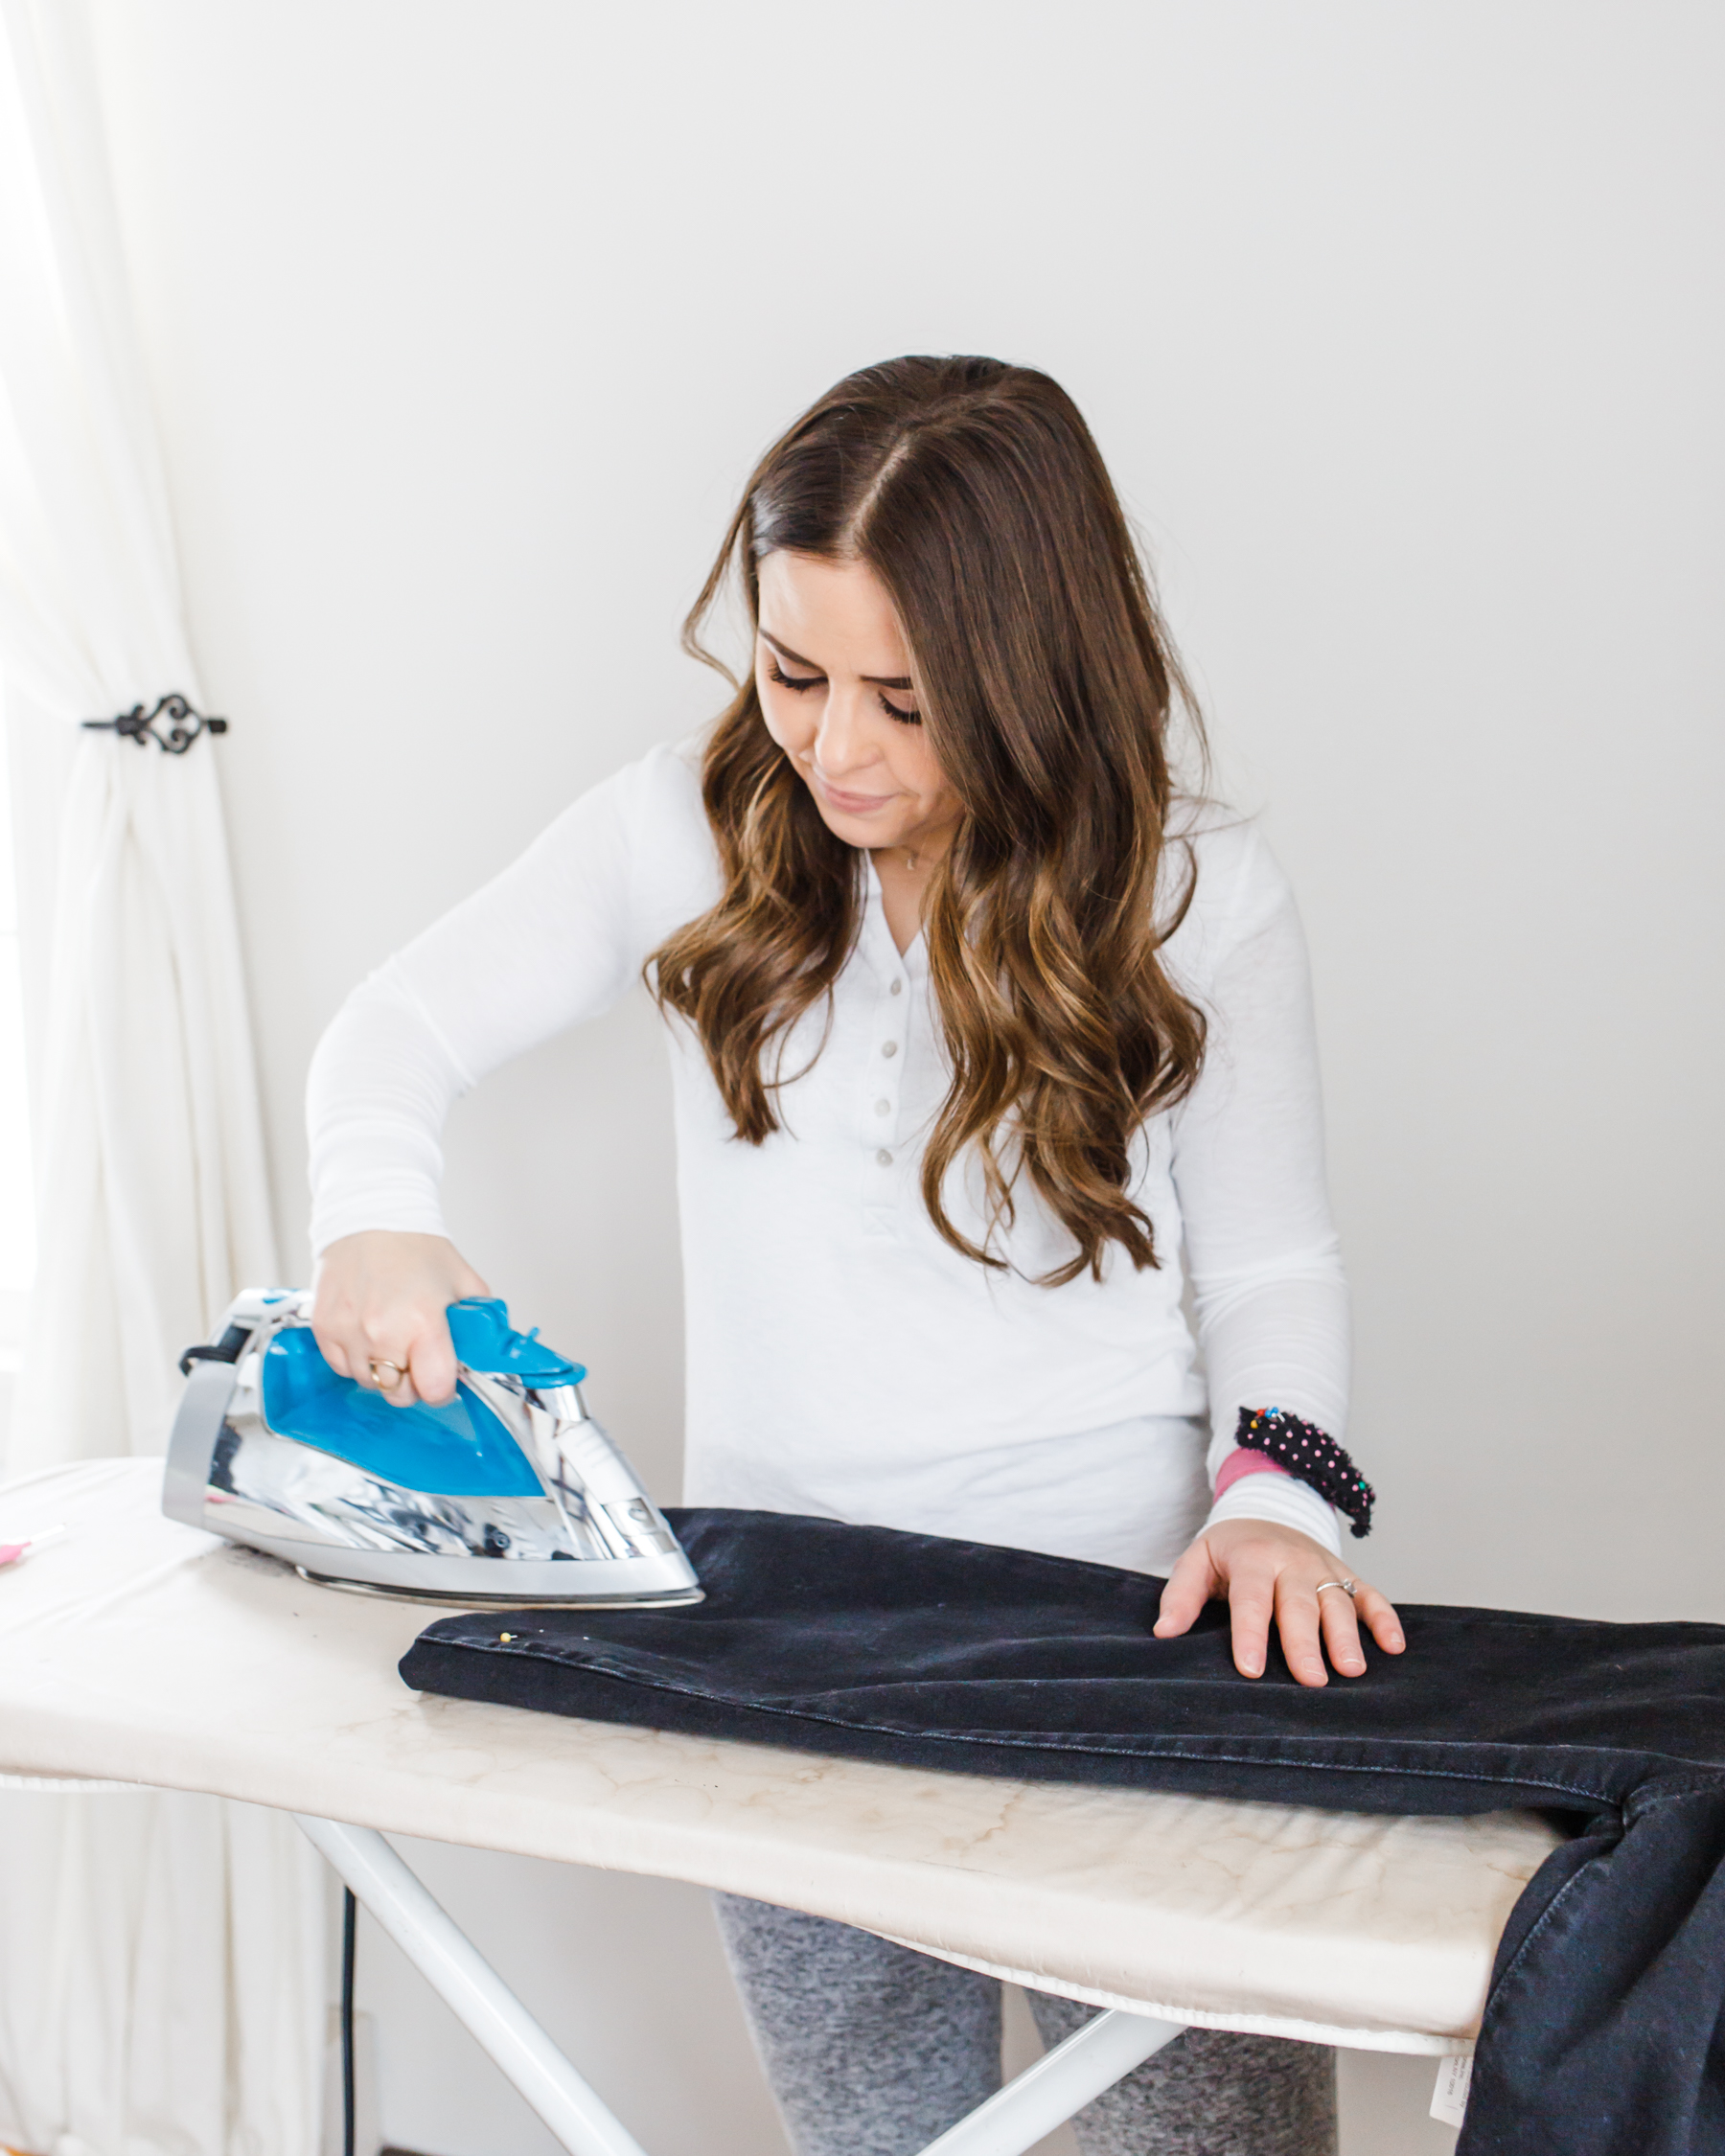
Step 3. Iron down the fold of the cuff to create a crease to mark your length. This makes it easy to do the rest of the hemming and is easier than marking the length.
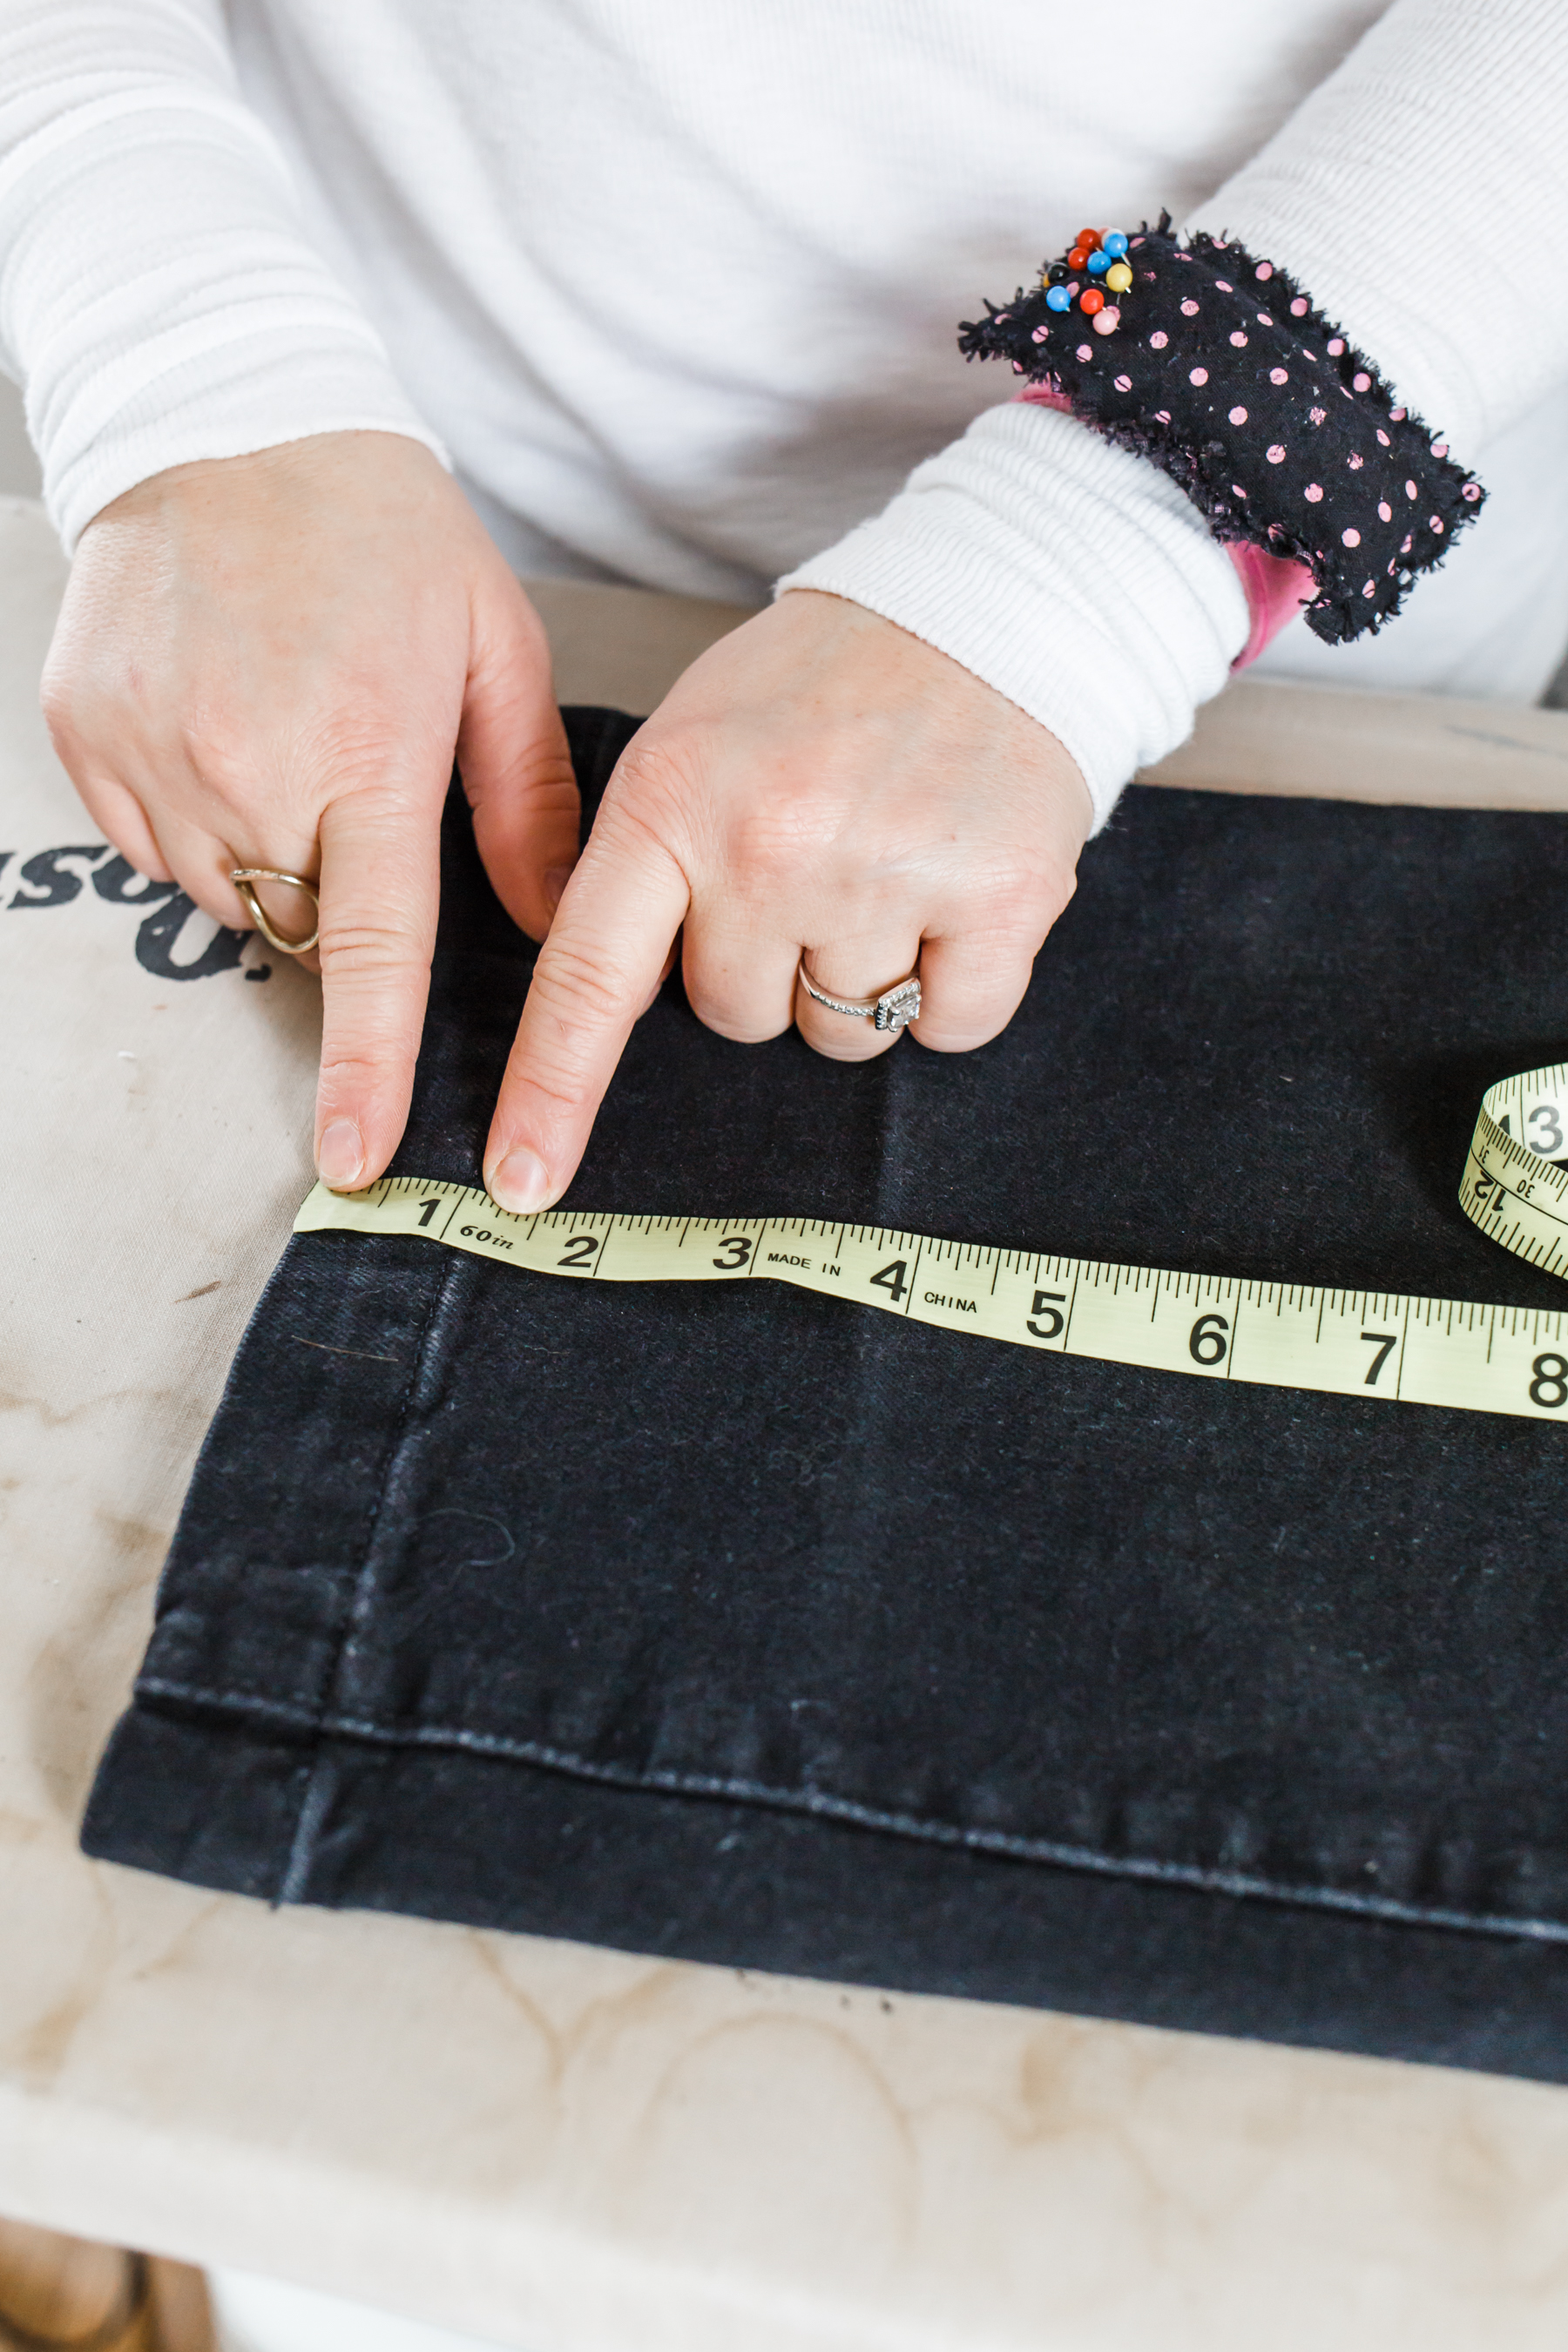
Step 4. Measure the current seam. This is so you know where to cut your pants off. For example: the current hem on these pant is 1 inch and the inner fold is 1/2 an inch so I know I need to cut down 1.5 inches from the marked crease.
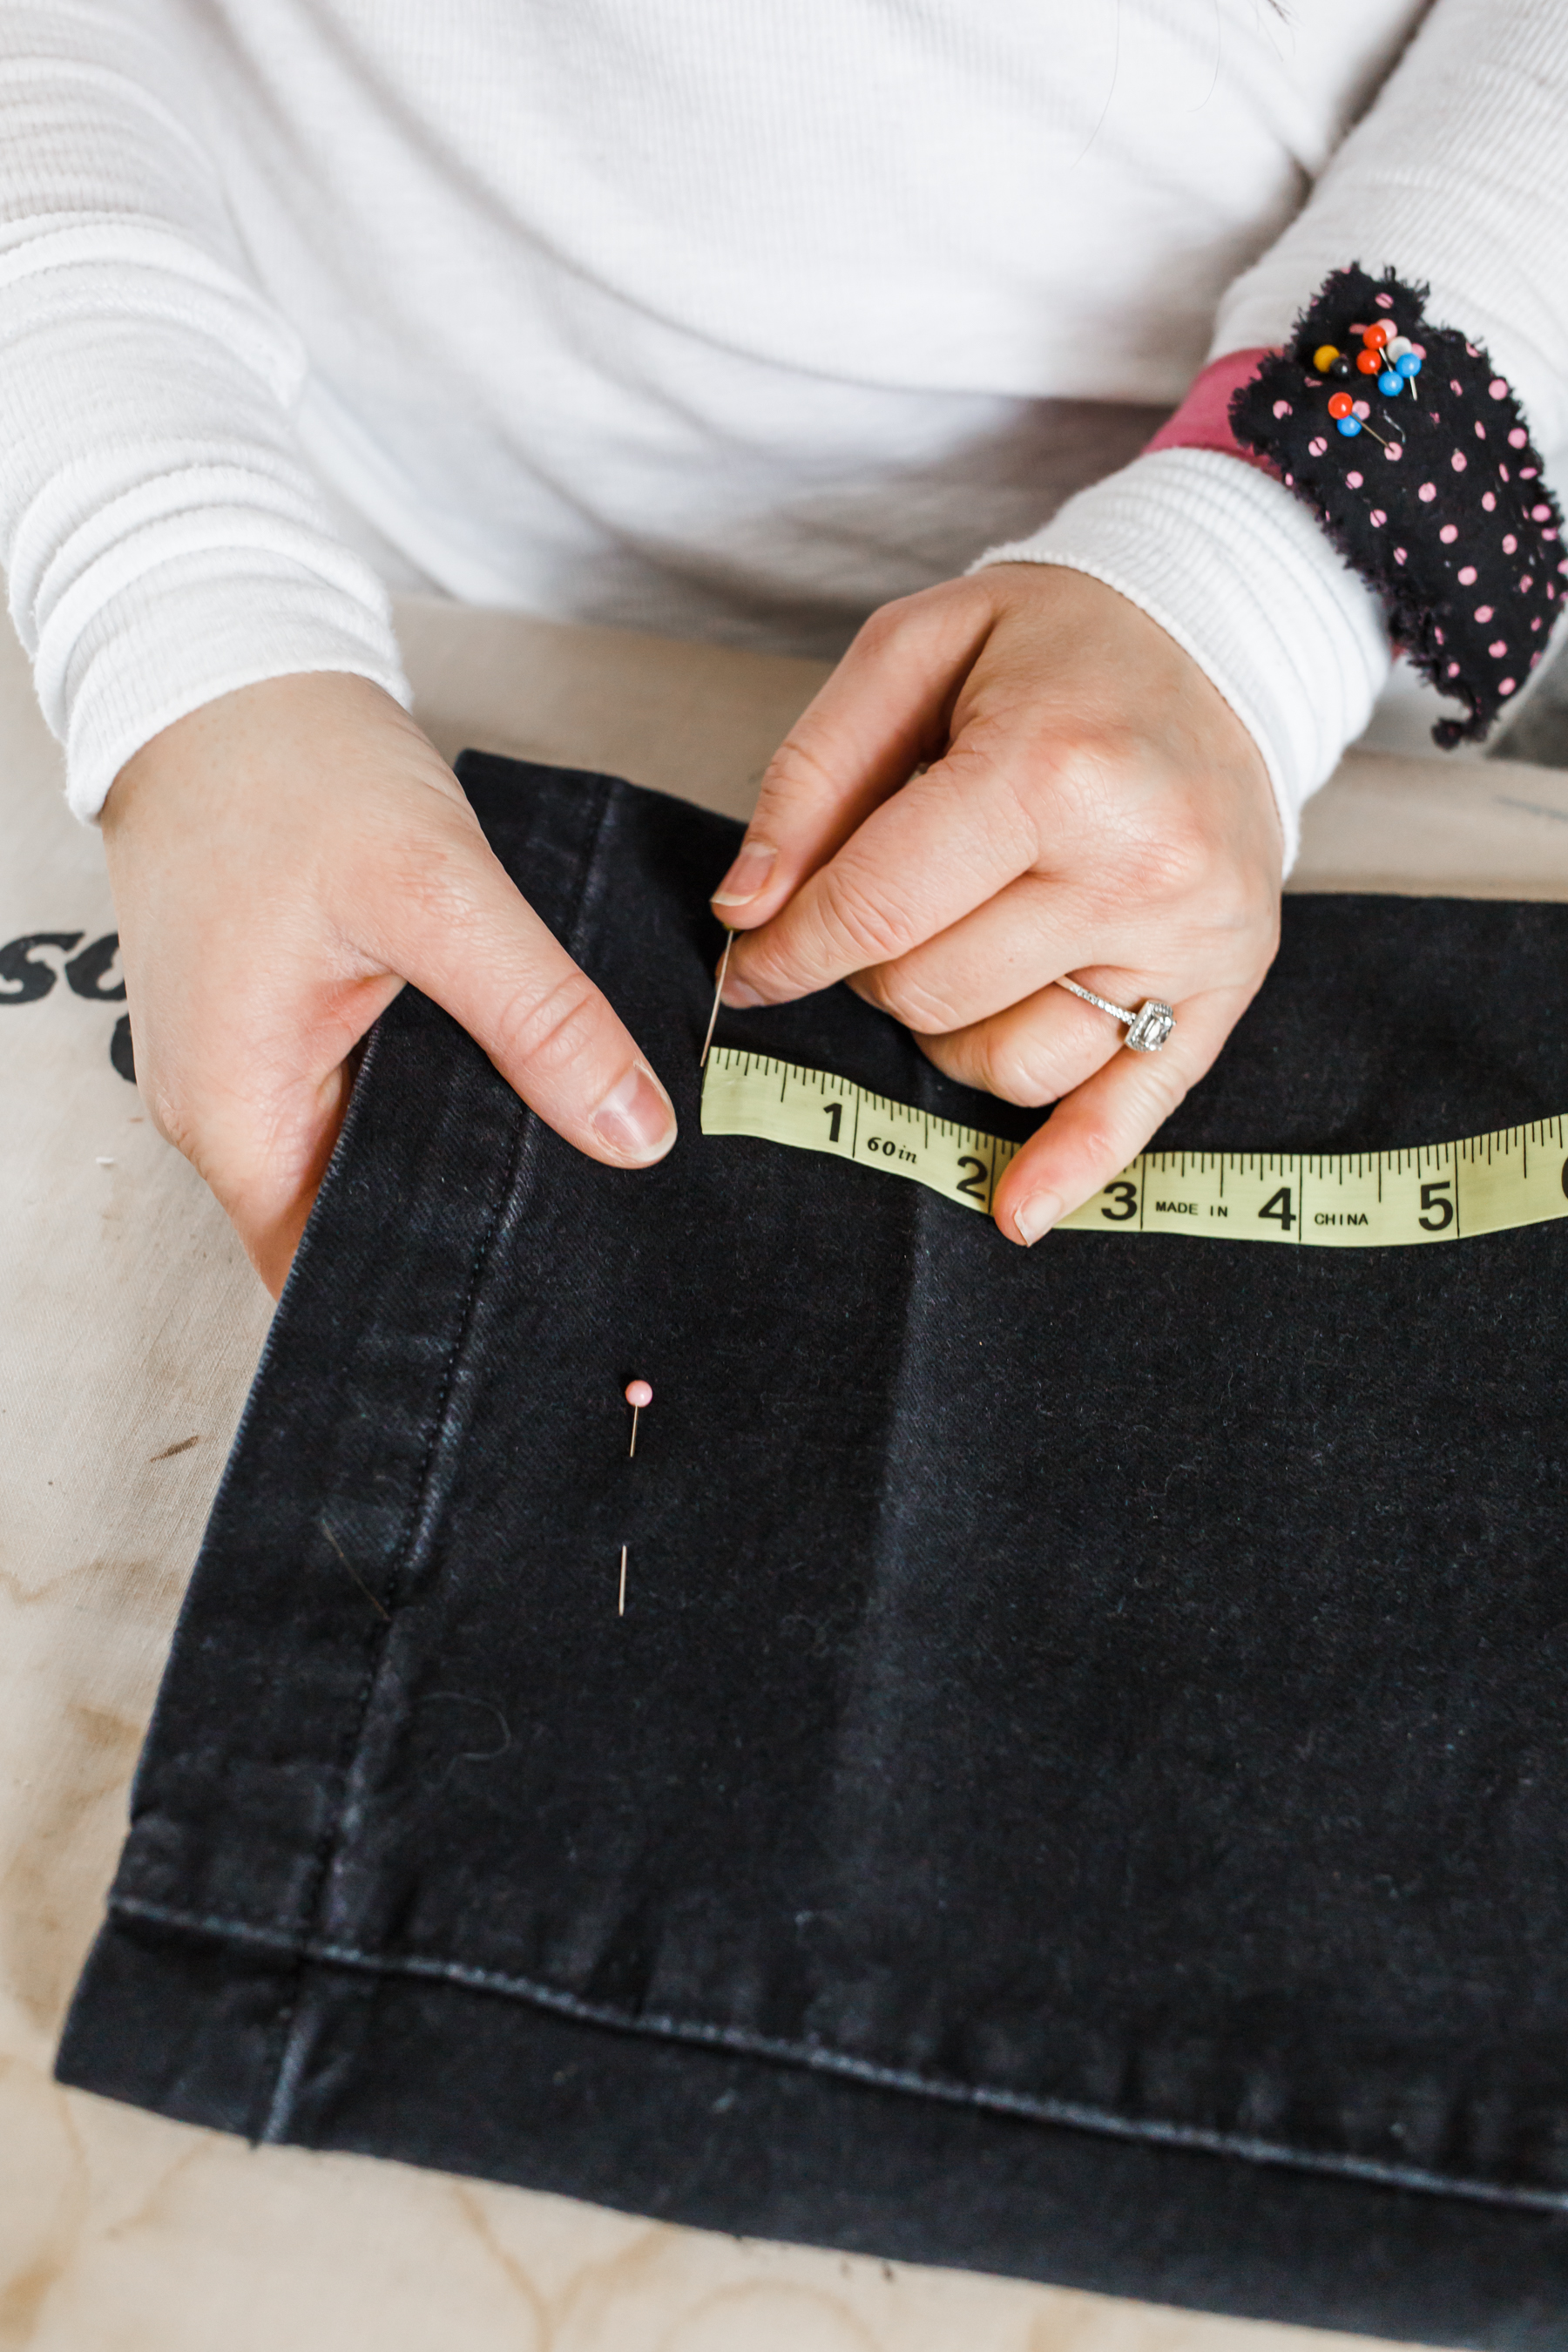
Step 5. Measure your cut line. Measure down from the crease, and pin along the line (or mark in some other way, this is easier on lighter colored pants, because you can use a pen or pencil.) Cut the bottom of your pants off along the marked cut line.
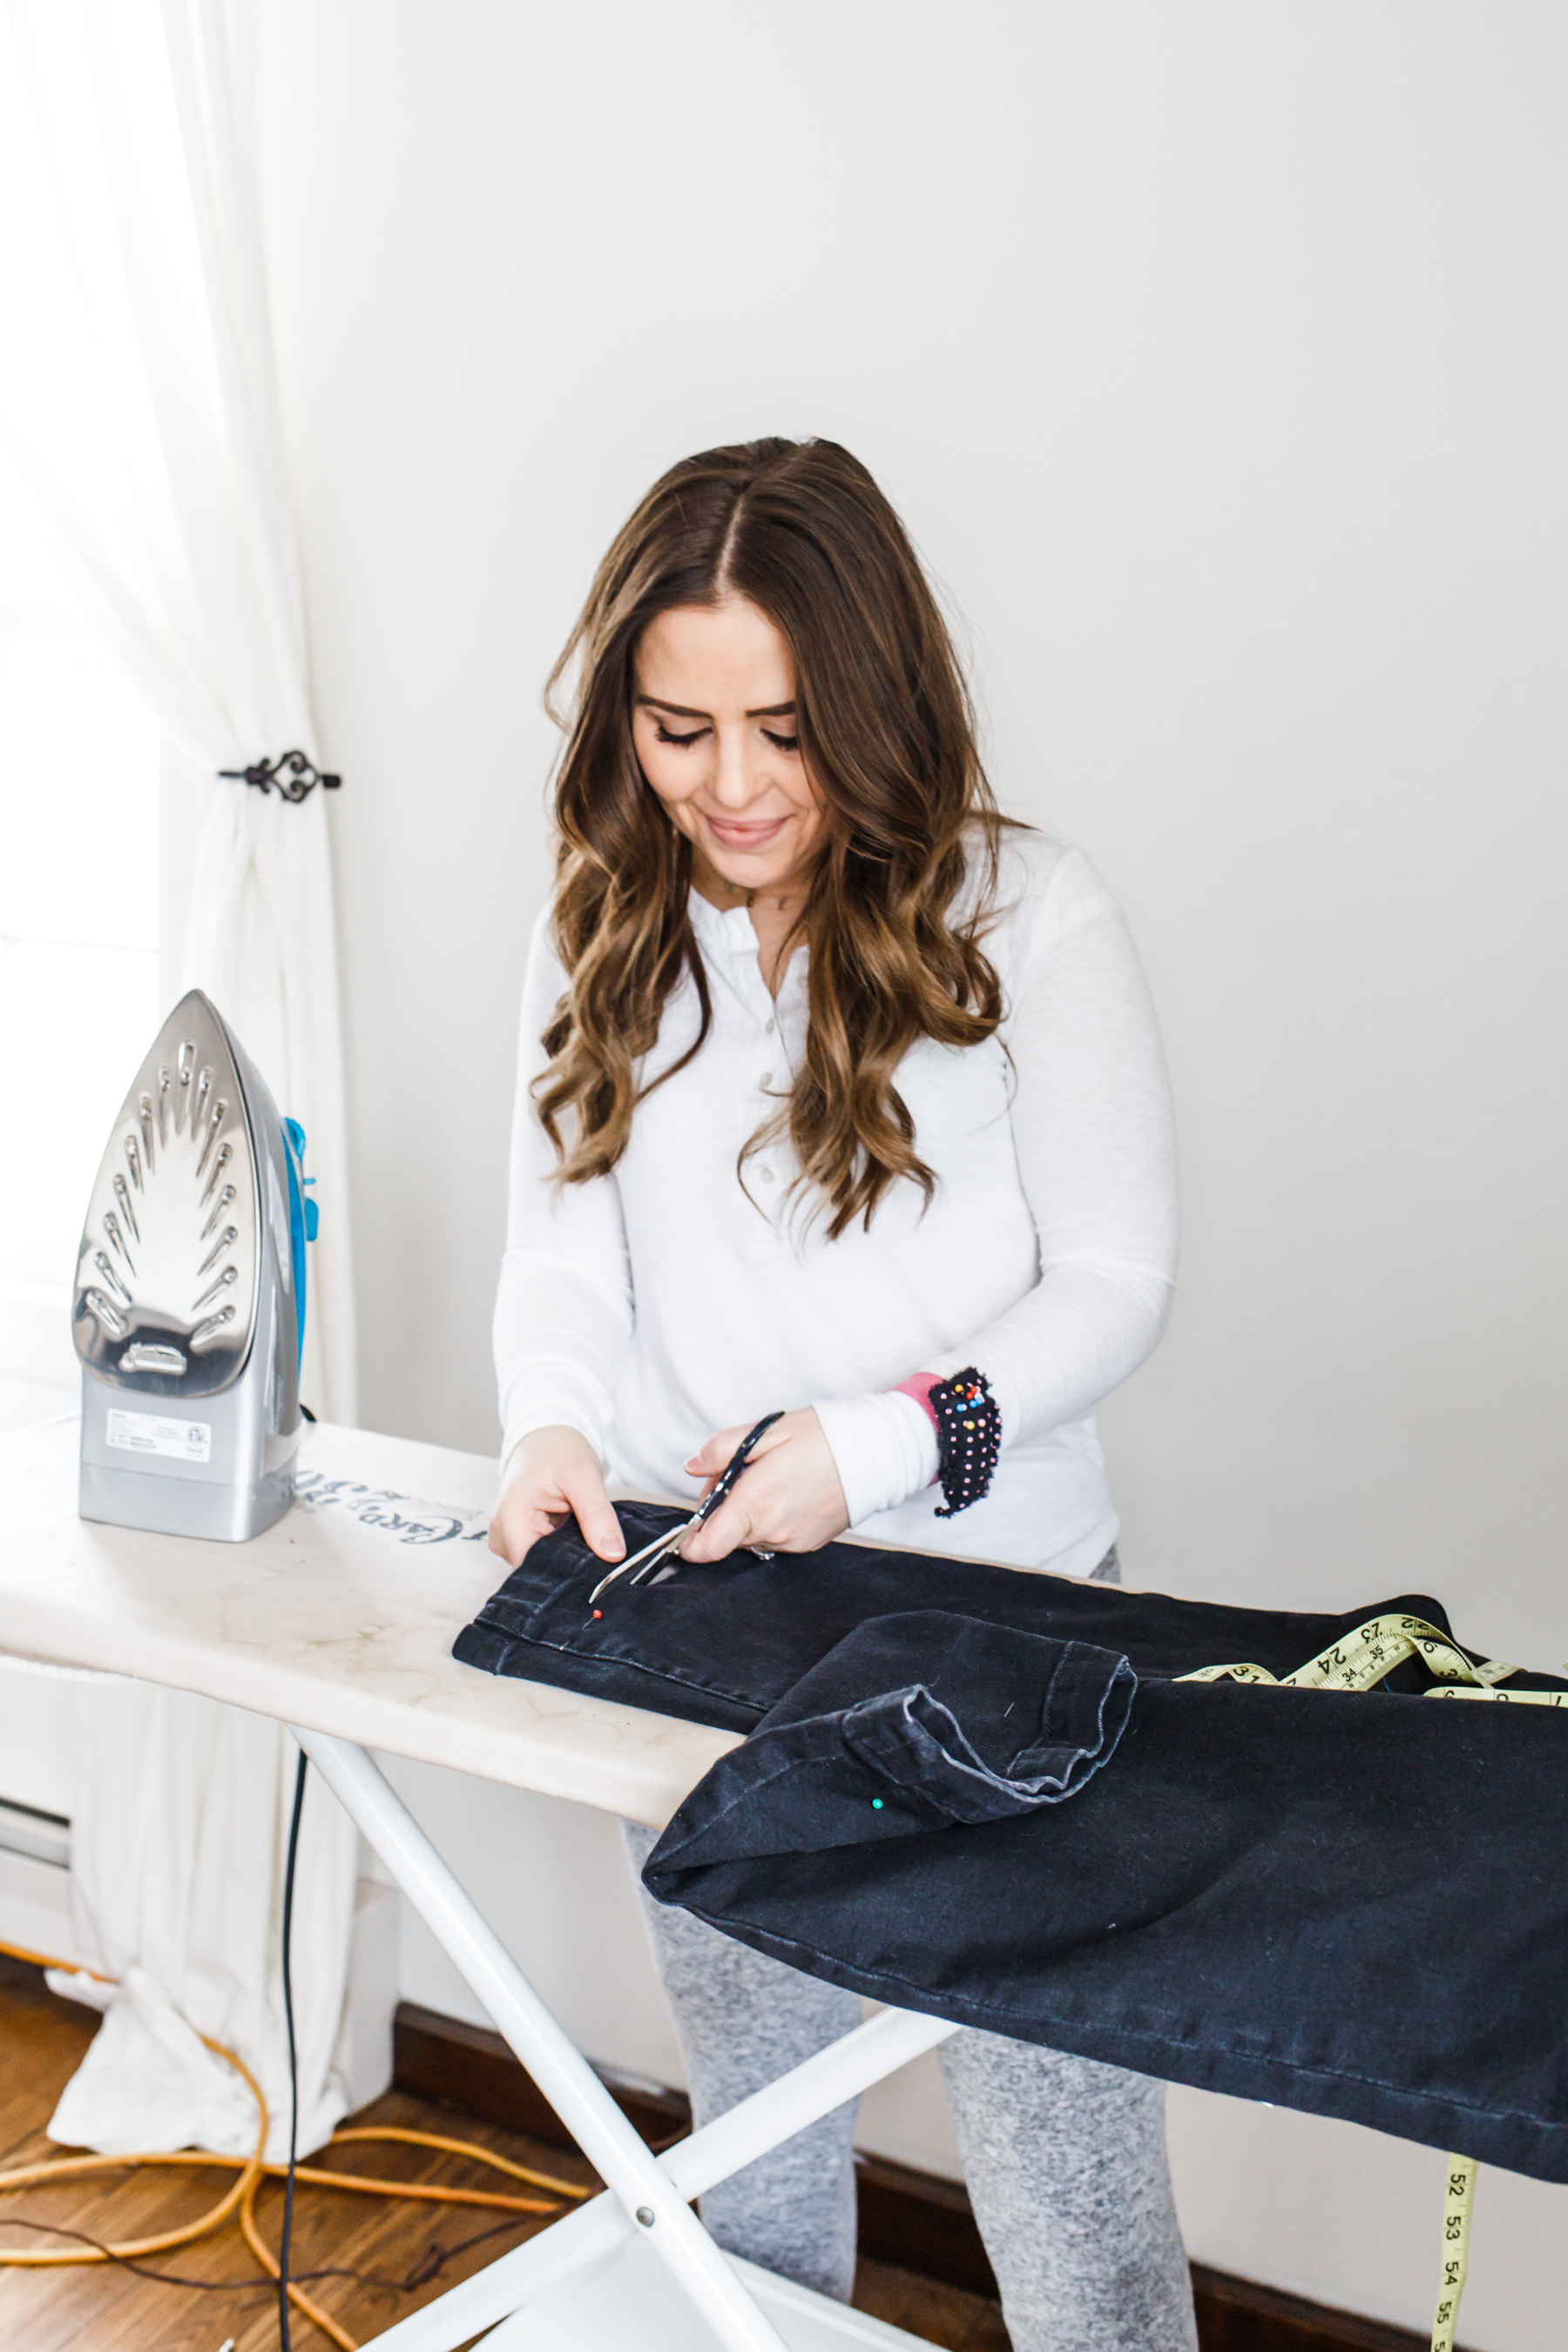
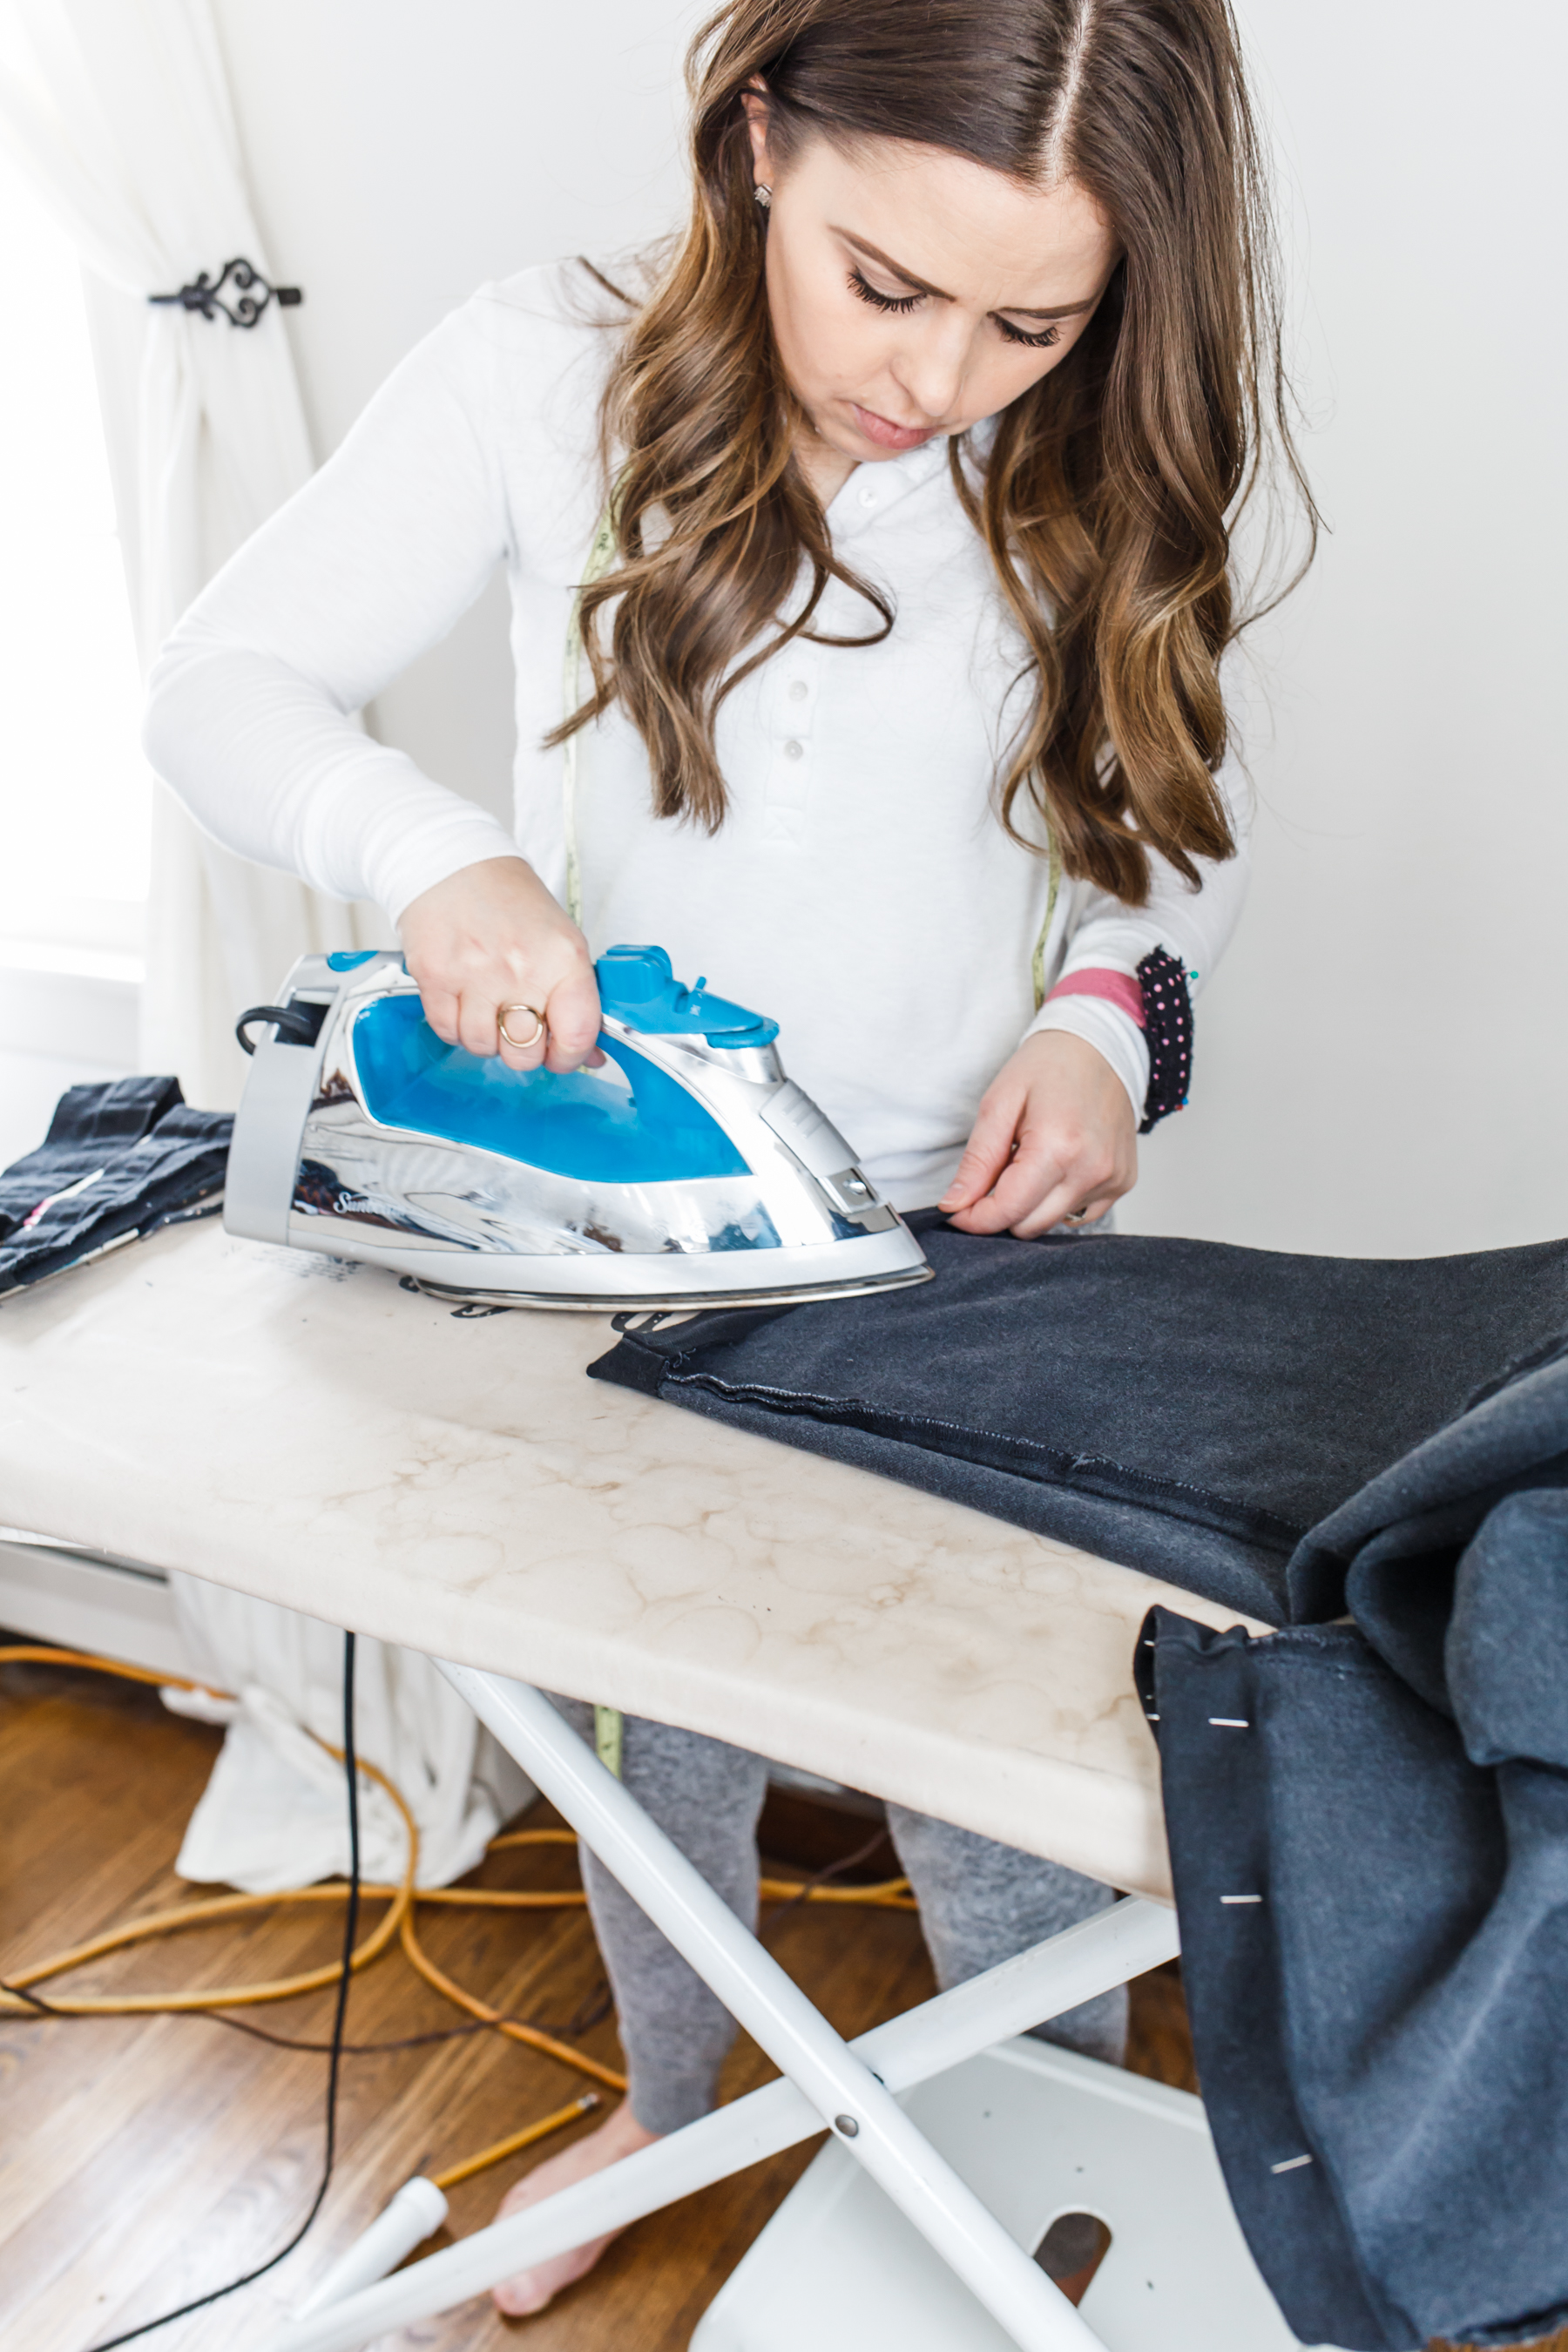
Step 6. Turn inside out, fold up pants along the crease from earlier. Fold down the 1/2 inch inner seam allowance (or whatever your previous seam allowance was). Iron down and pin in place.
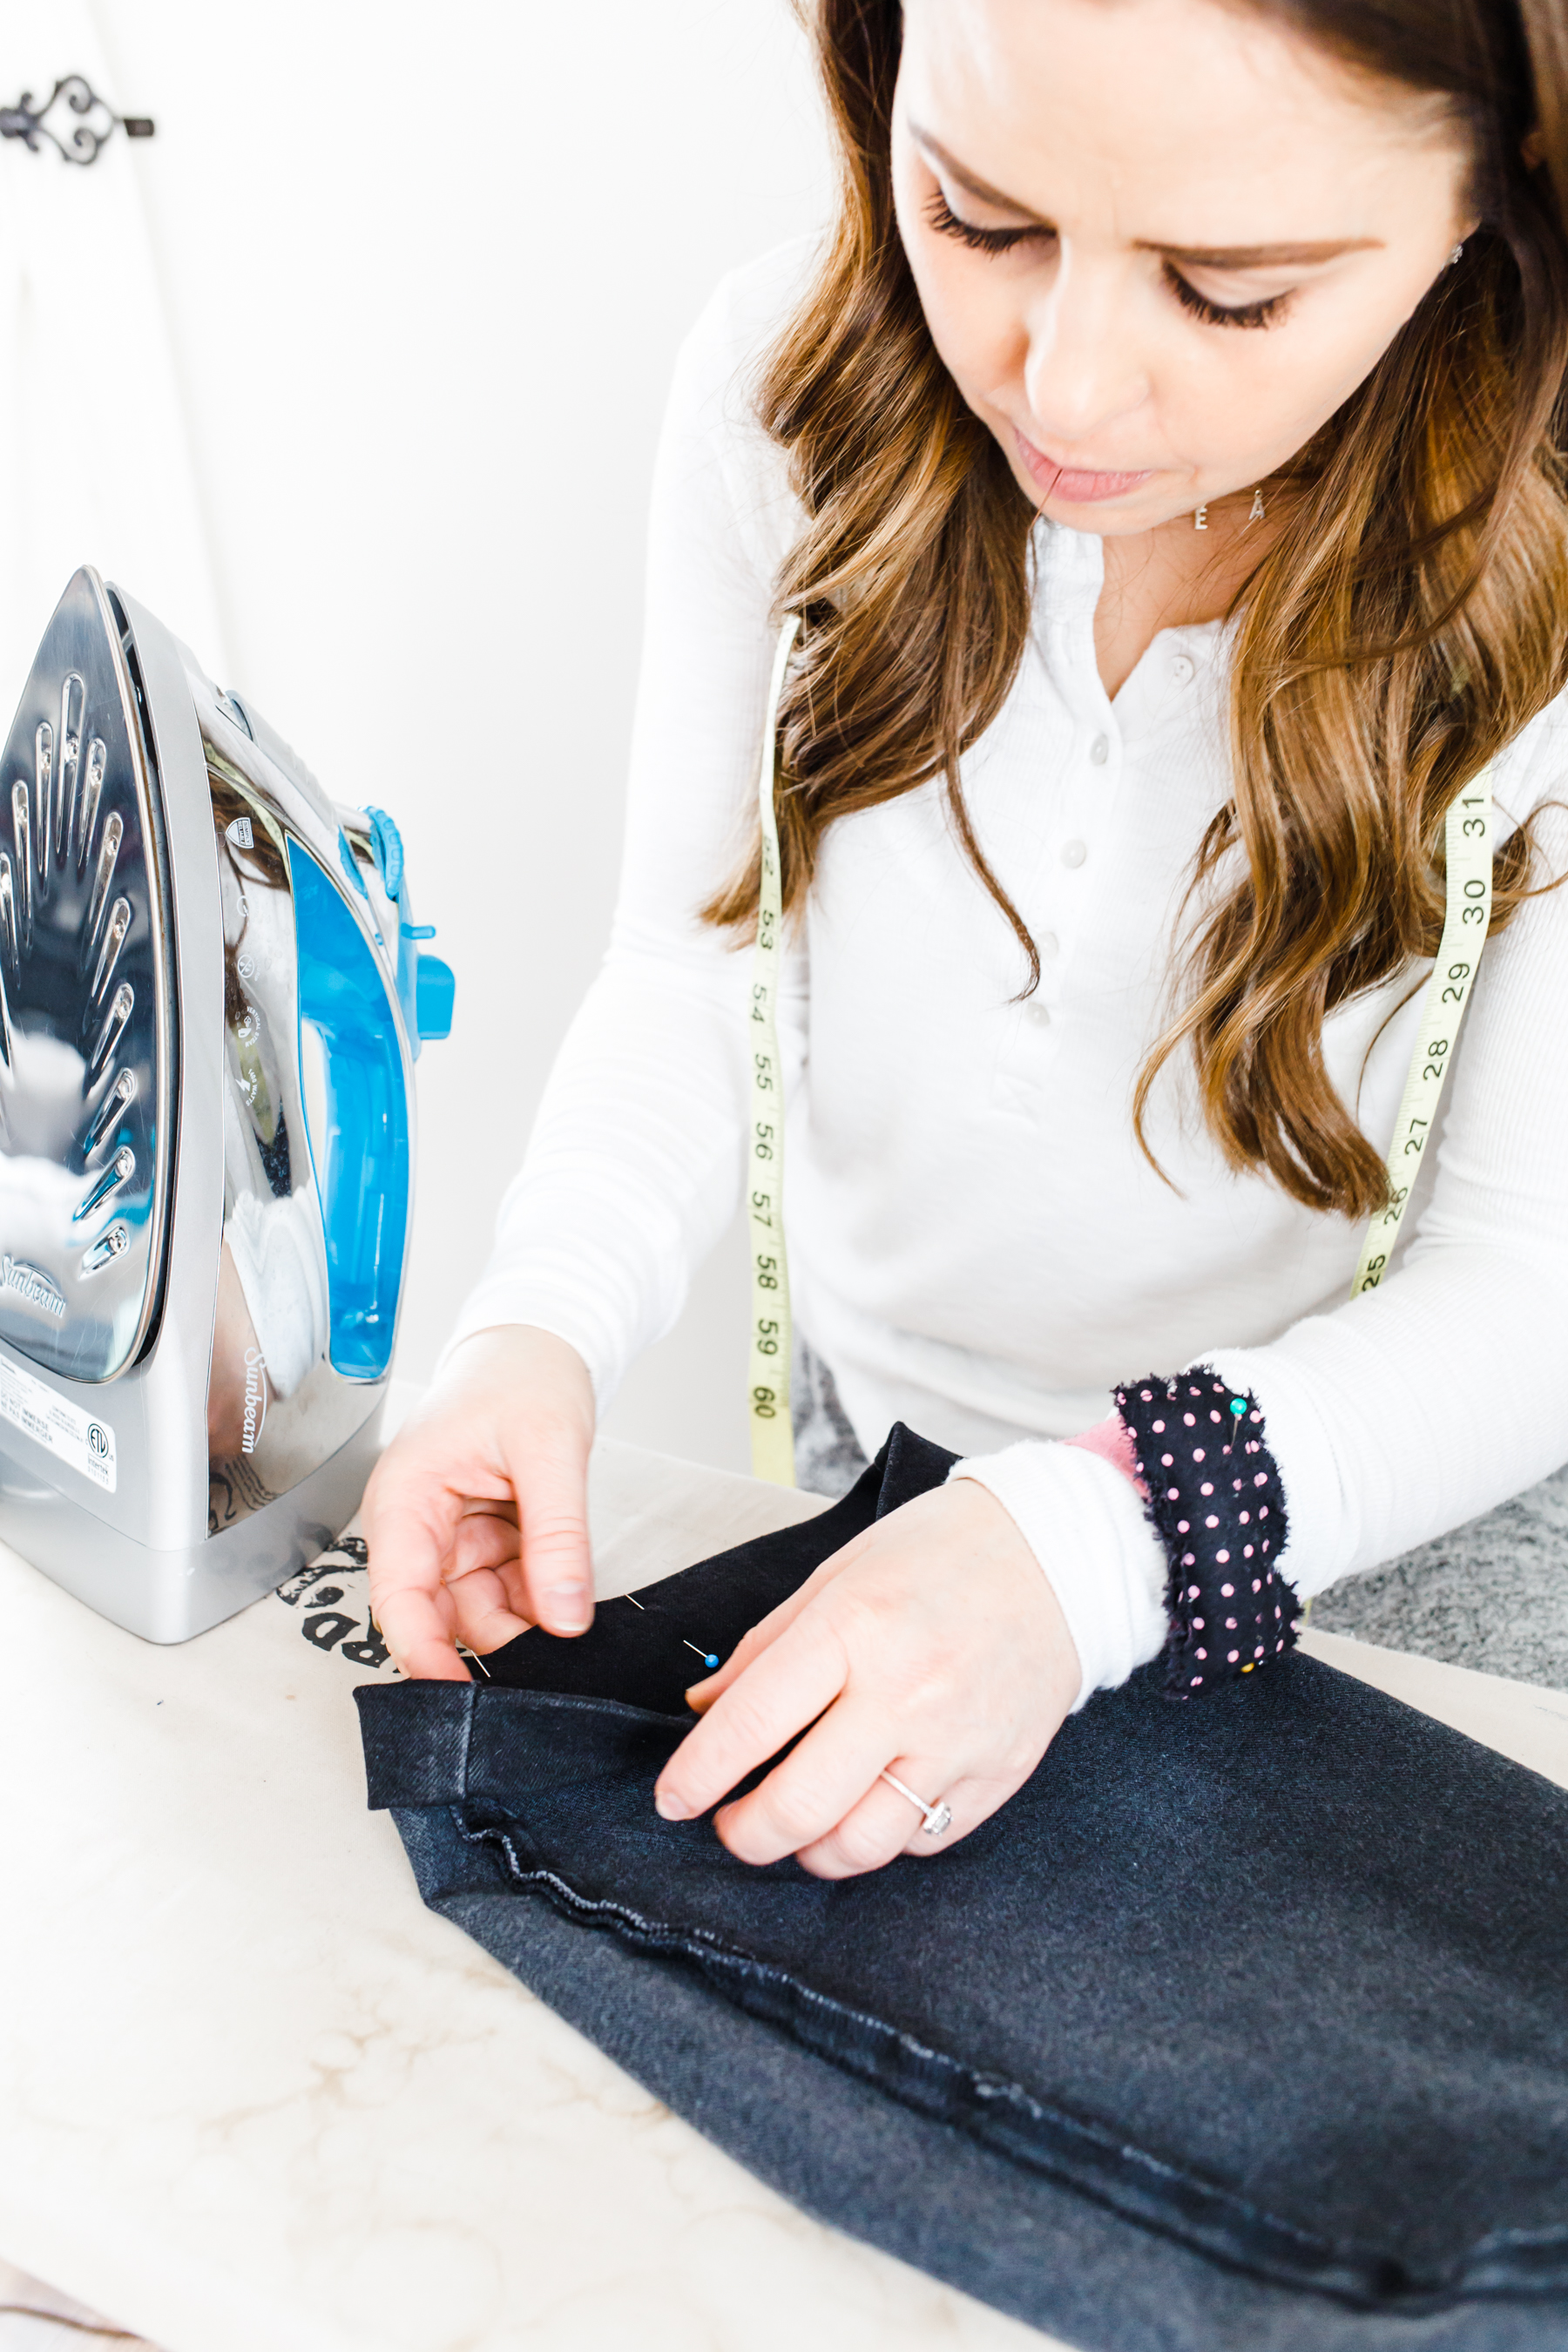
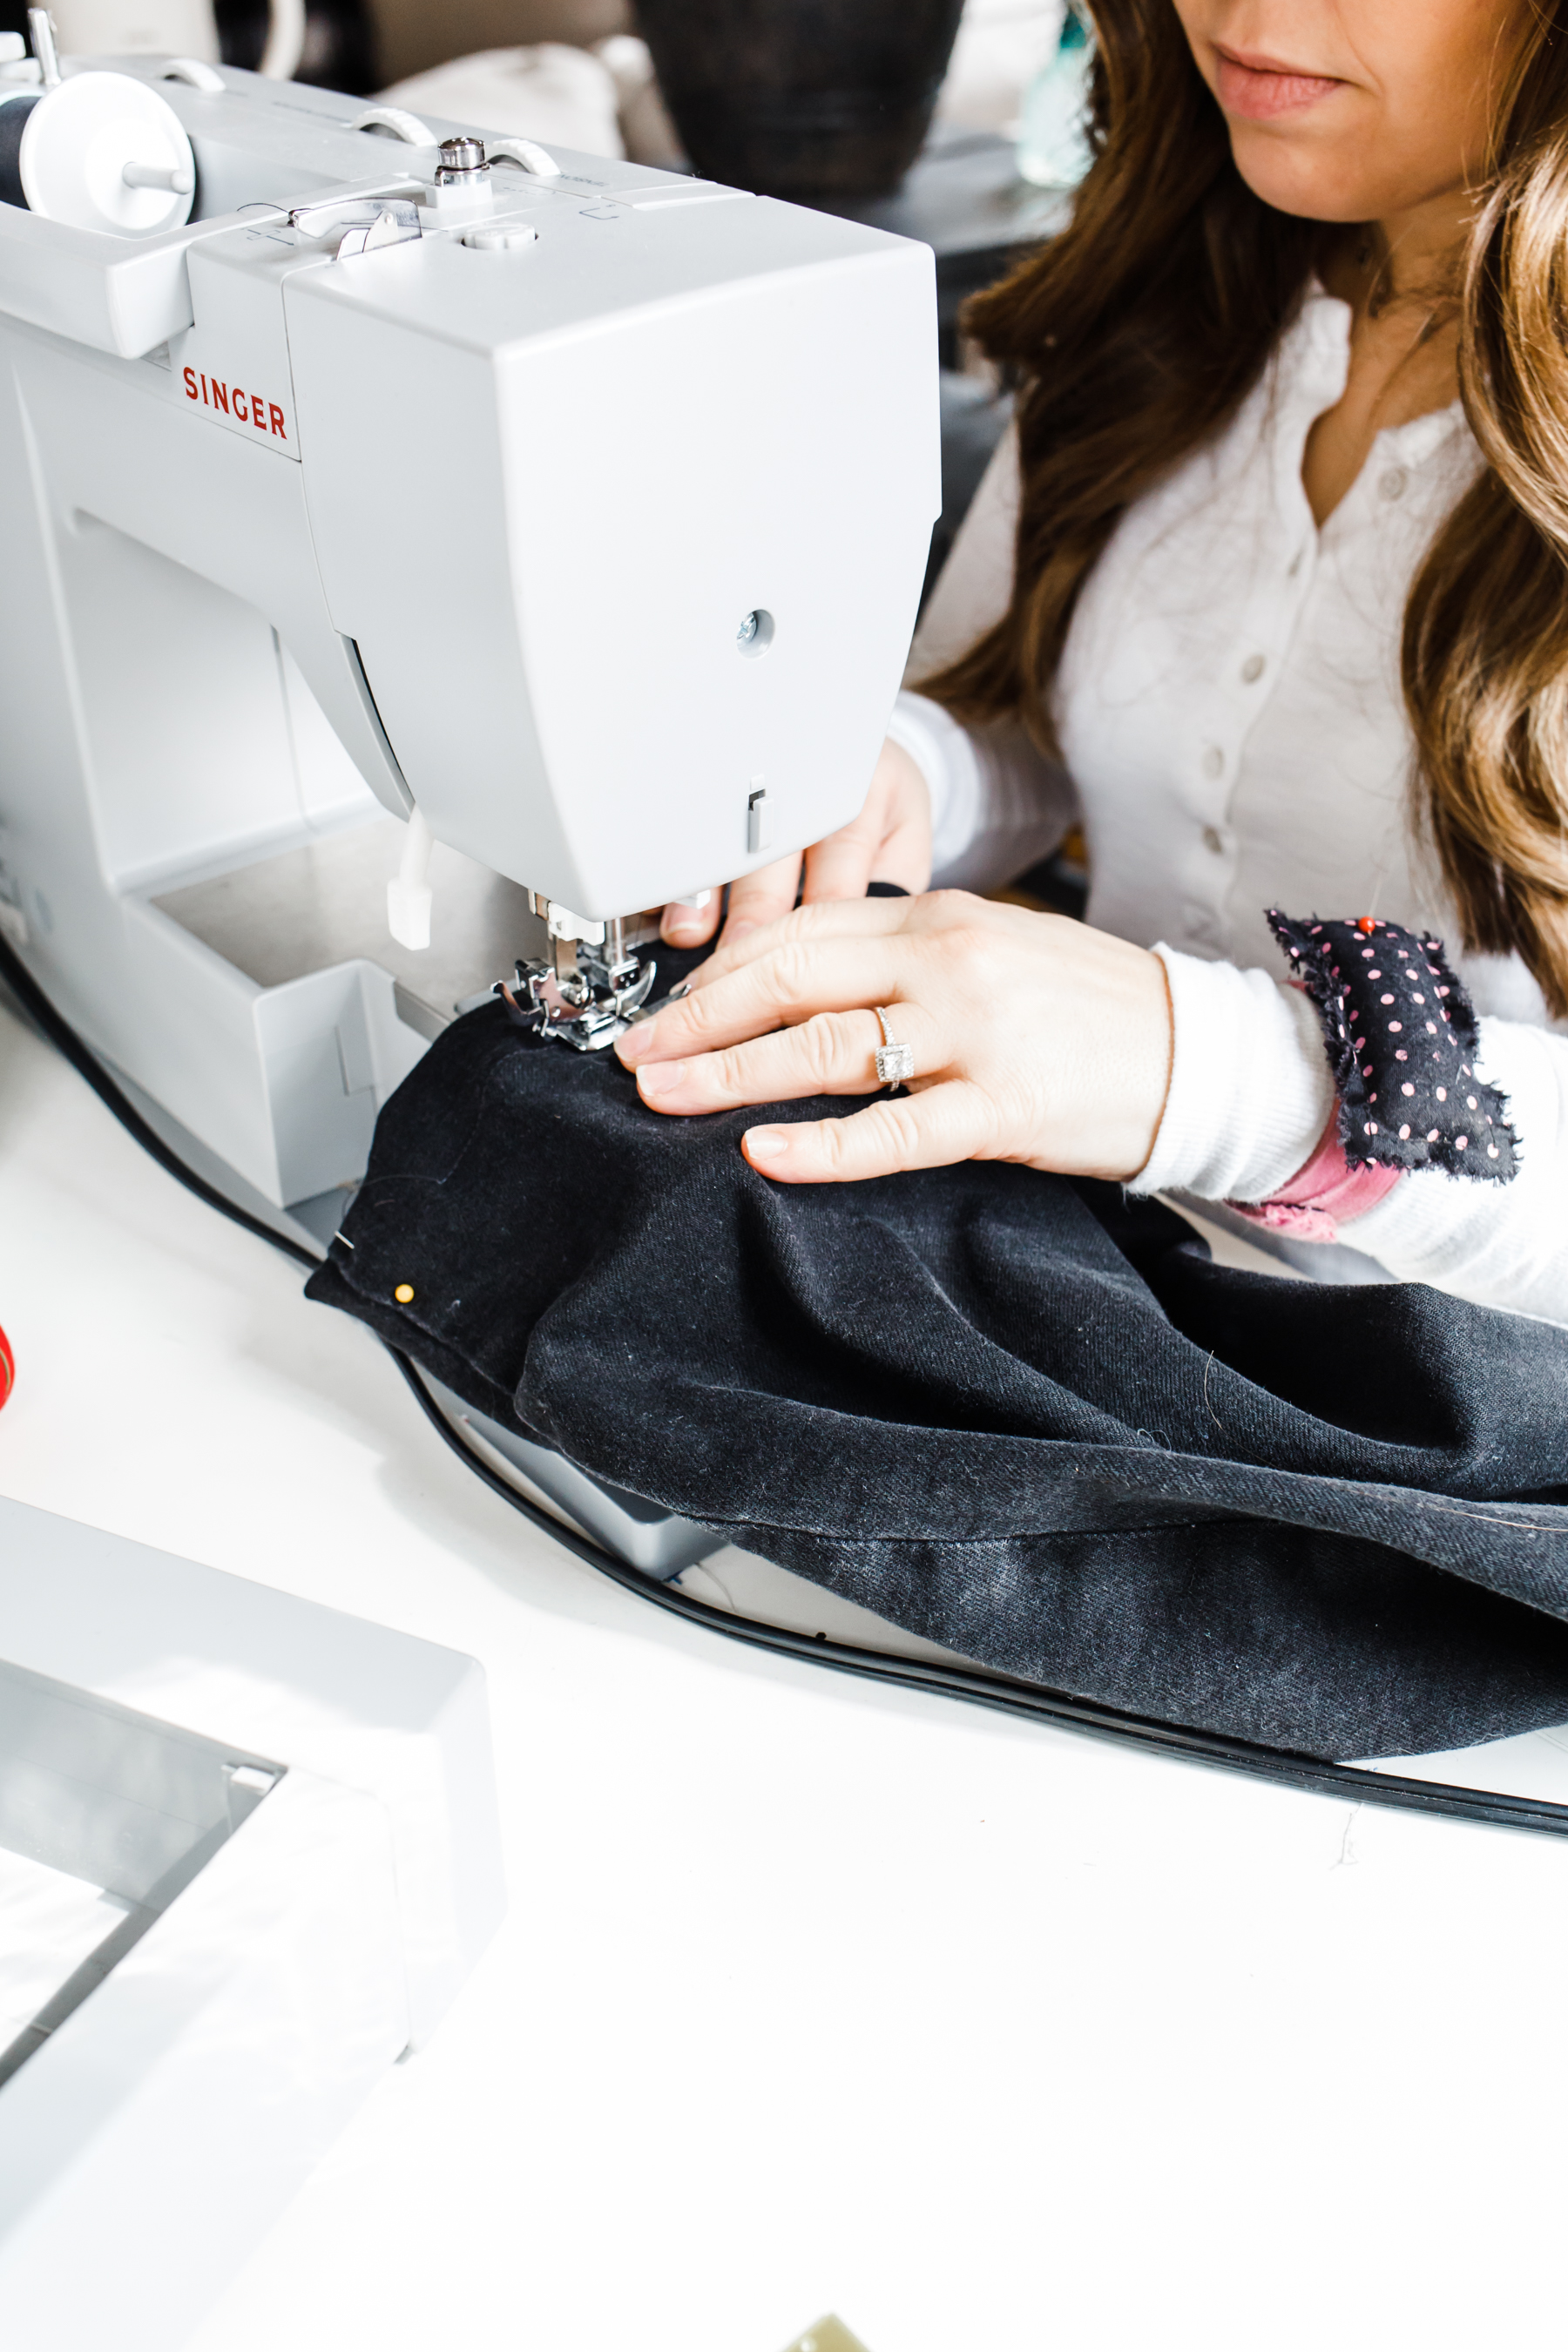
Step 7. You can either sew the hem with the pants inside out or right side out, whatever your preference. (I like to hem them right side out, but it is a little more difficult to make sure you don’t miss catching the hem.) Align your hem edge so you can keep a consistent stitch. Starting at the side seam, sew the entire circle in a straight line, removing pins as you go (never sew over pins!), making sure to backstitch on both ends. Iron down the hem one last time at the end.
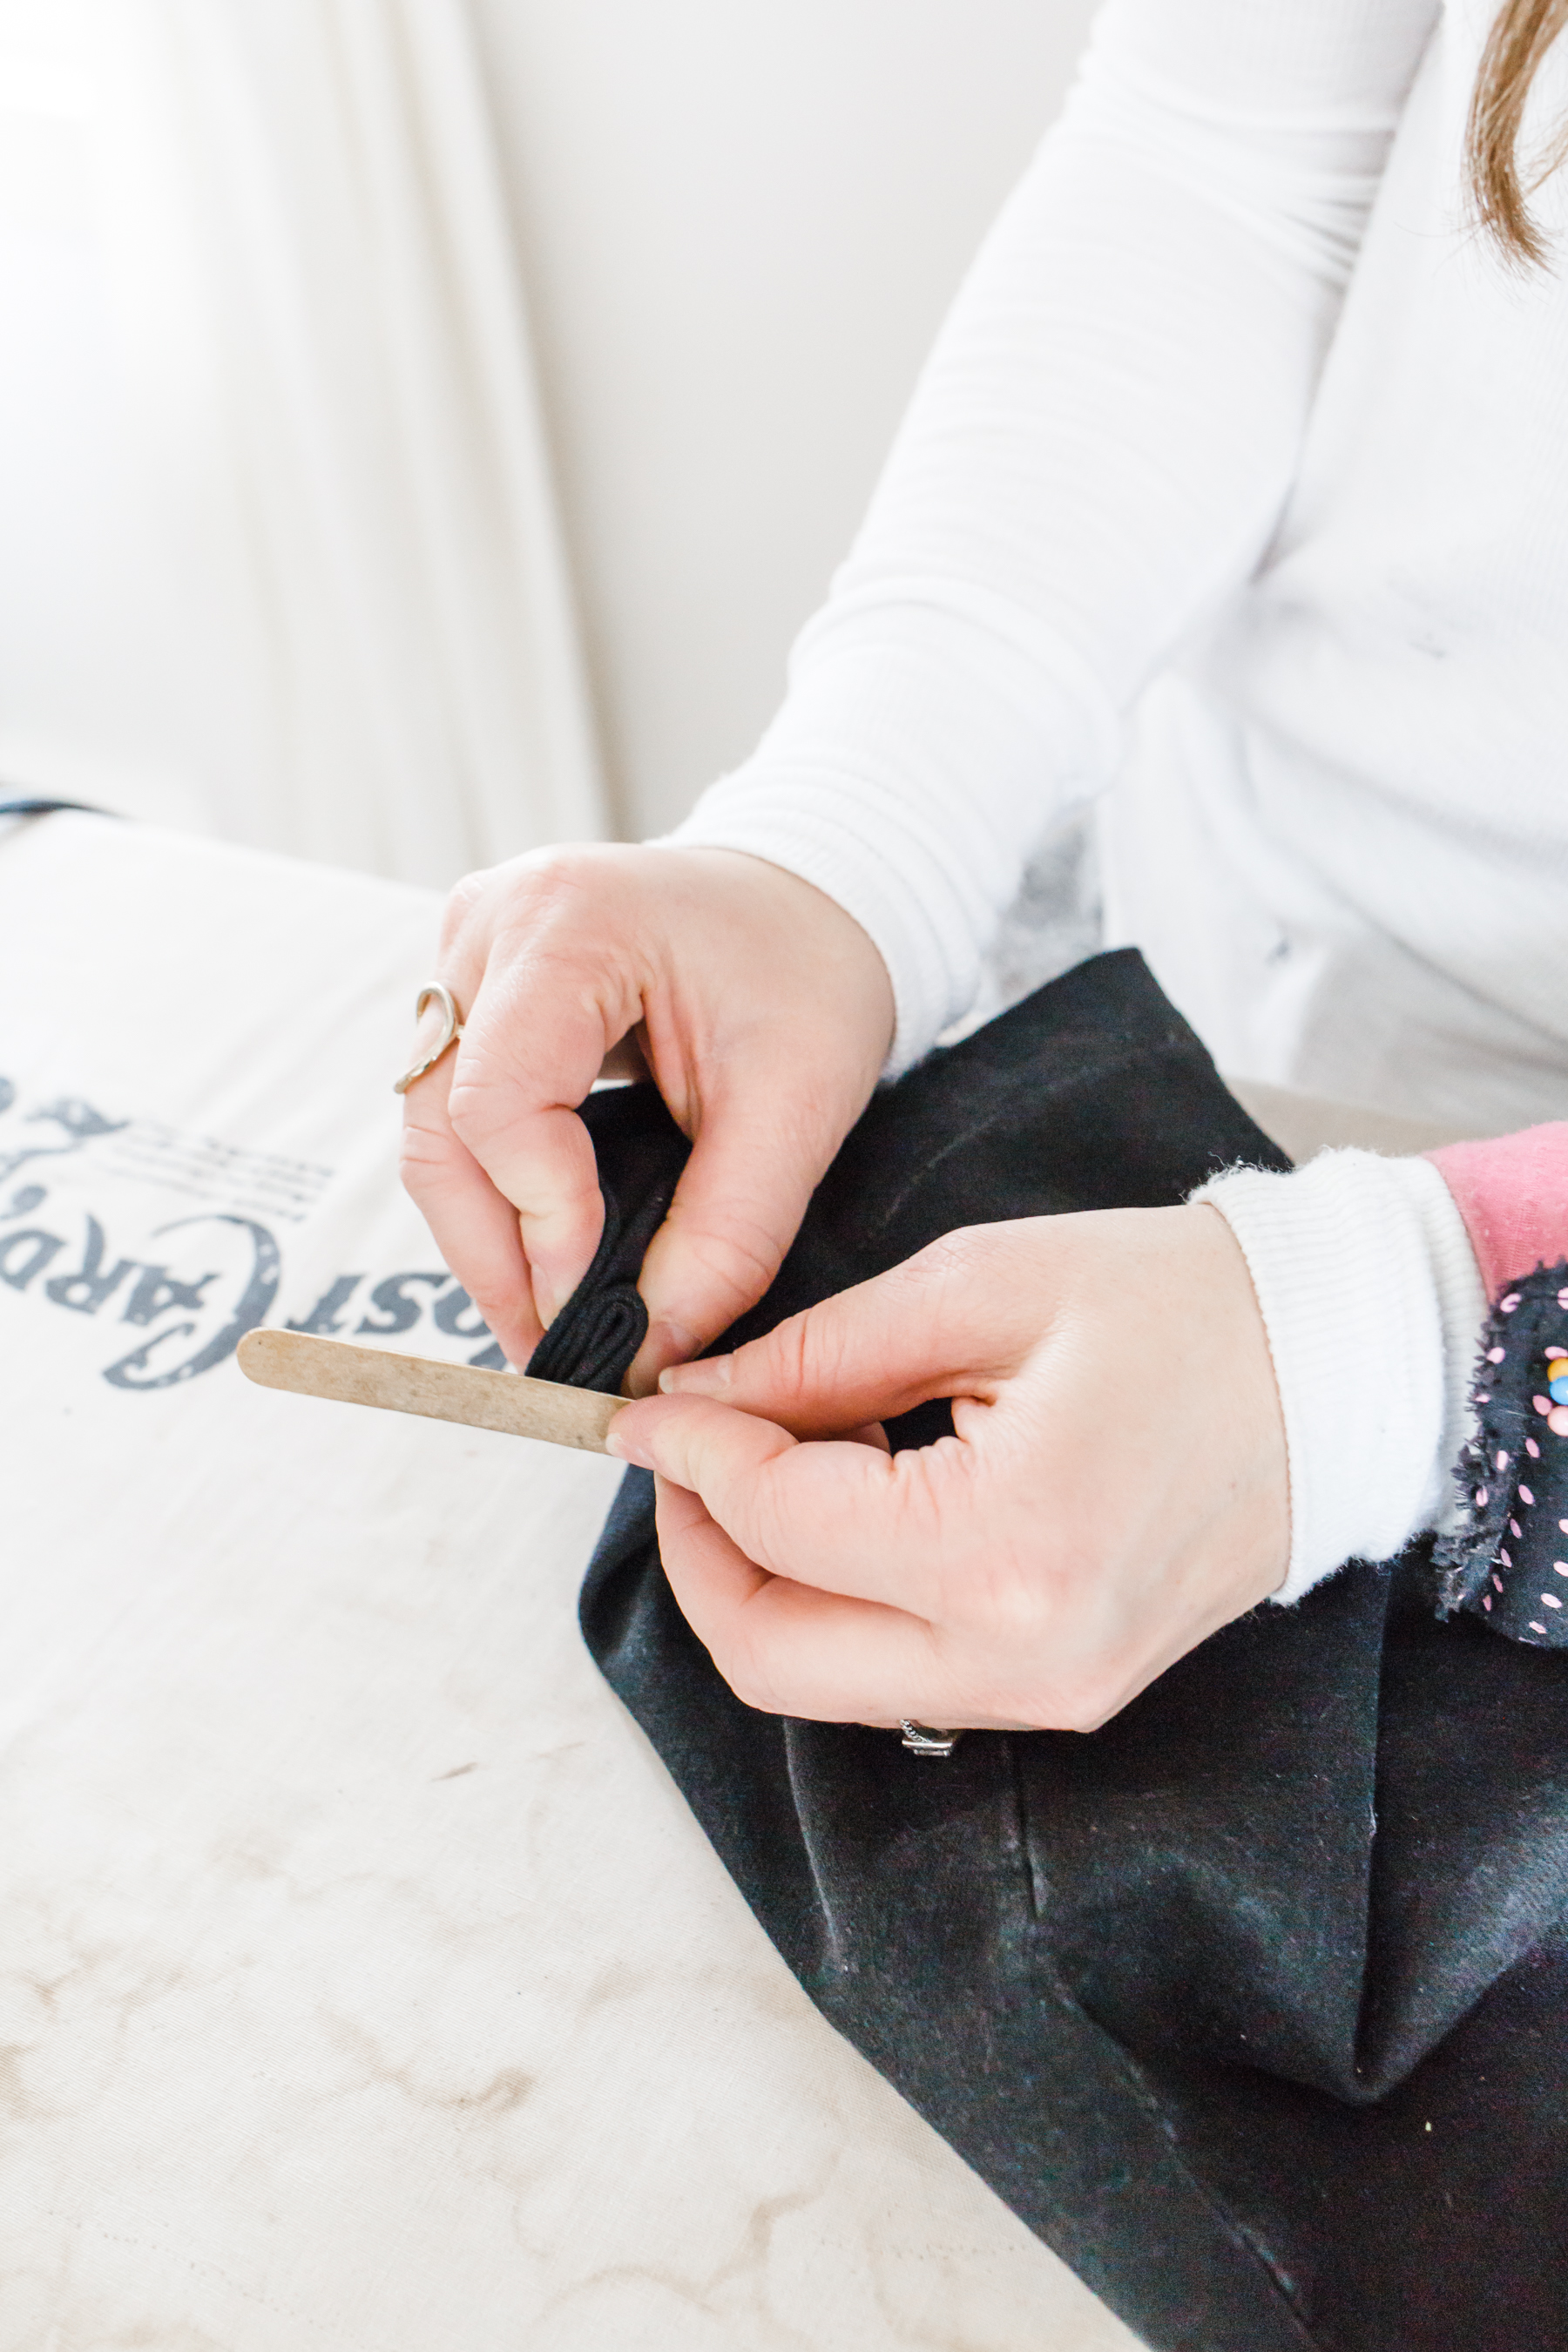
Bonus: If you are altering a pair of jeans, get a nail file or fine grit sand paper and use it to distress the hem a bit. This helps the hem to not look so homemade and makes it look like the original. Fold the hem down and file just above the stitch line. Then fan fold the hem and distressed a bit more (see below). Once you wash the pants again, the places you filed will distress even more and the hem will look truer to the original. No one will have any idea you hemmed your own pants!
That’s it! Feel free to ask any questions you have about how to hem pants in the comments!
My favorite tools for altering clothes are linked below.
Slap Bracelet Pin Cushion. This is a must have. So convenient, and makes the sewing process so much faster.
Sewing machine. This is my favorite sewing machine I’ve ever own. It is legit and super affordable.
Iron. An iron is literally a must have in sewing.
Sewing shears. If you plan to do any real sewing, I recommend buying a high quality pair of sewing shears. I’ve had mine since I was a teenager, they were my grandmother’s and they still work beautifully (I get them sharpened about once a year).
tailor tape measure. Also, a sewing must have.
Seam ripper. We all hope we won’t make a mistake, but it is inevitable. You need a seam ripper if you plan on doing any sewing.
Interested in knowing how I do a raw hem alteration? click here!


