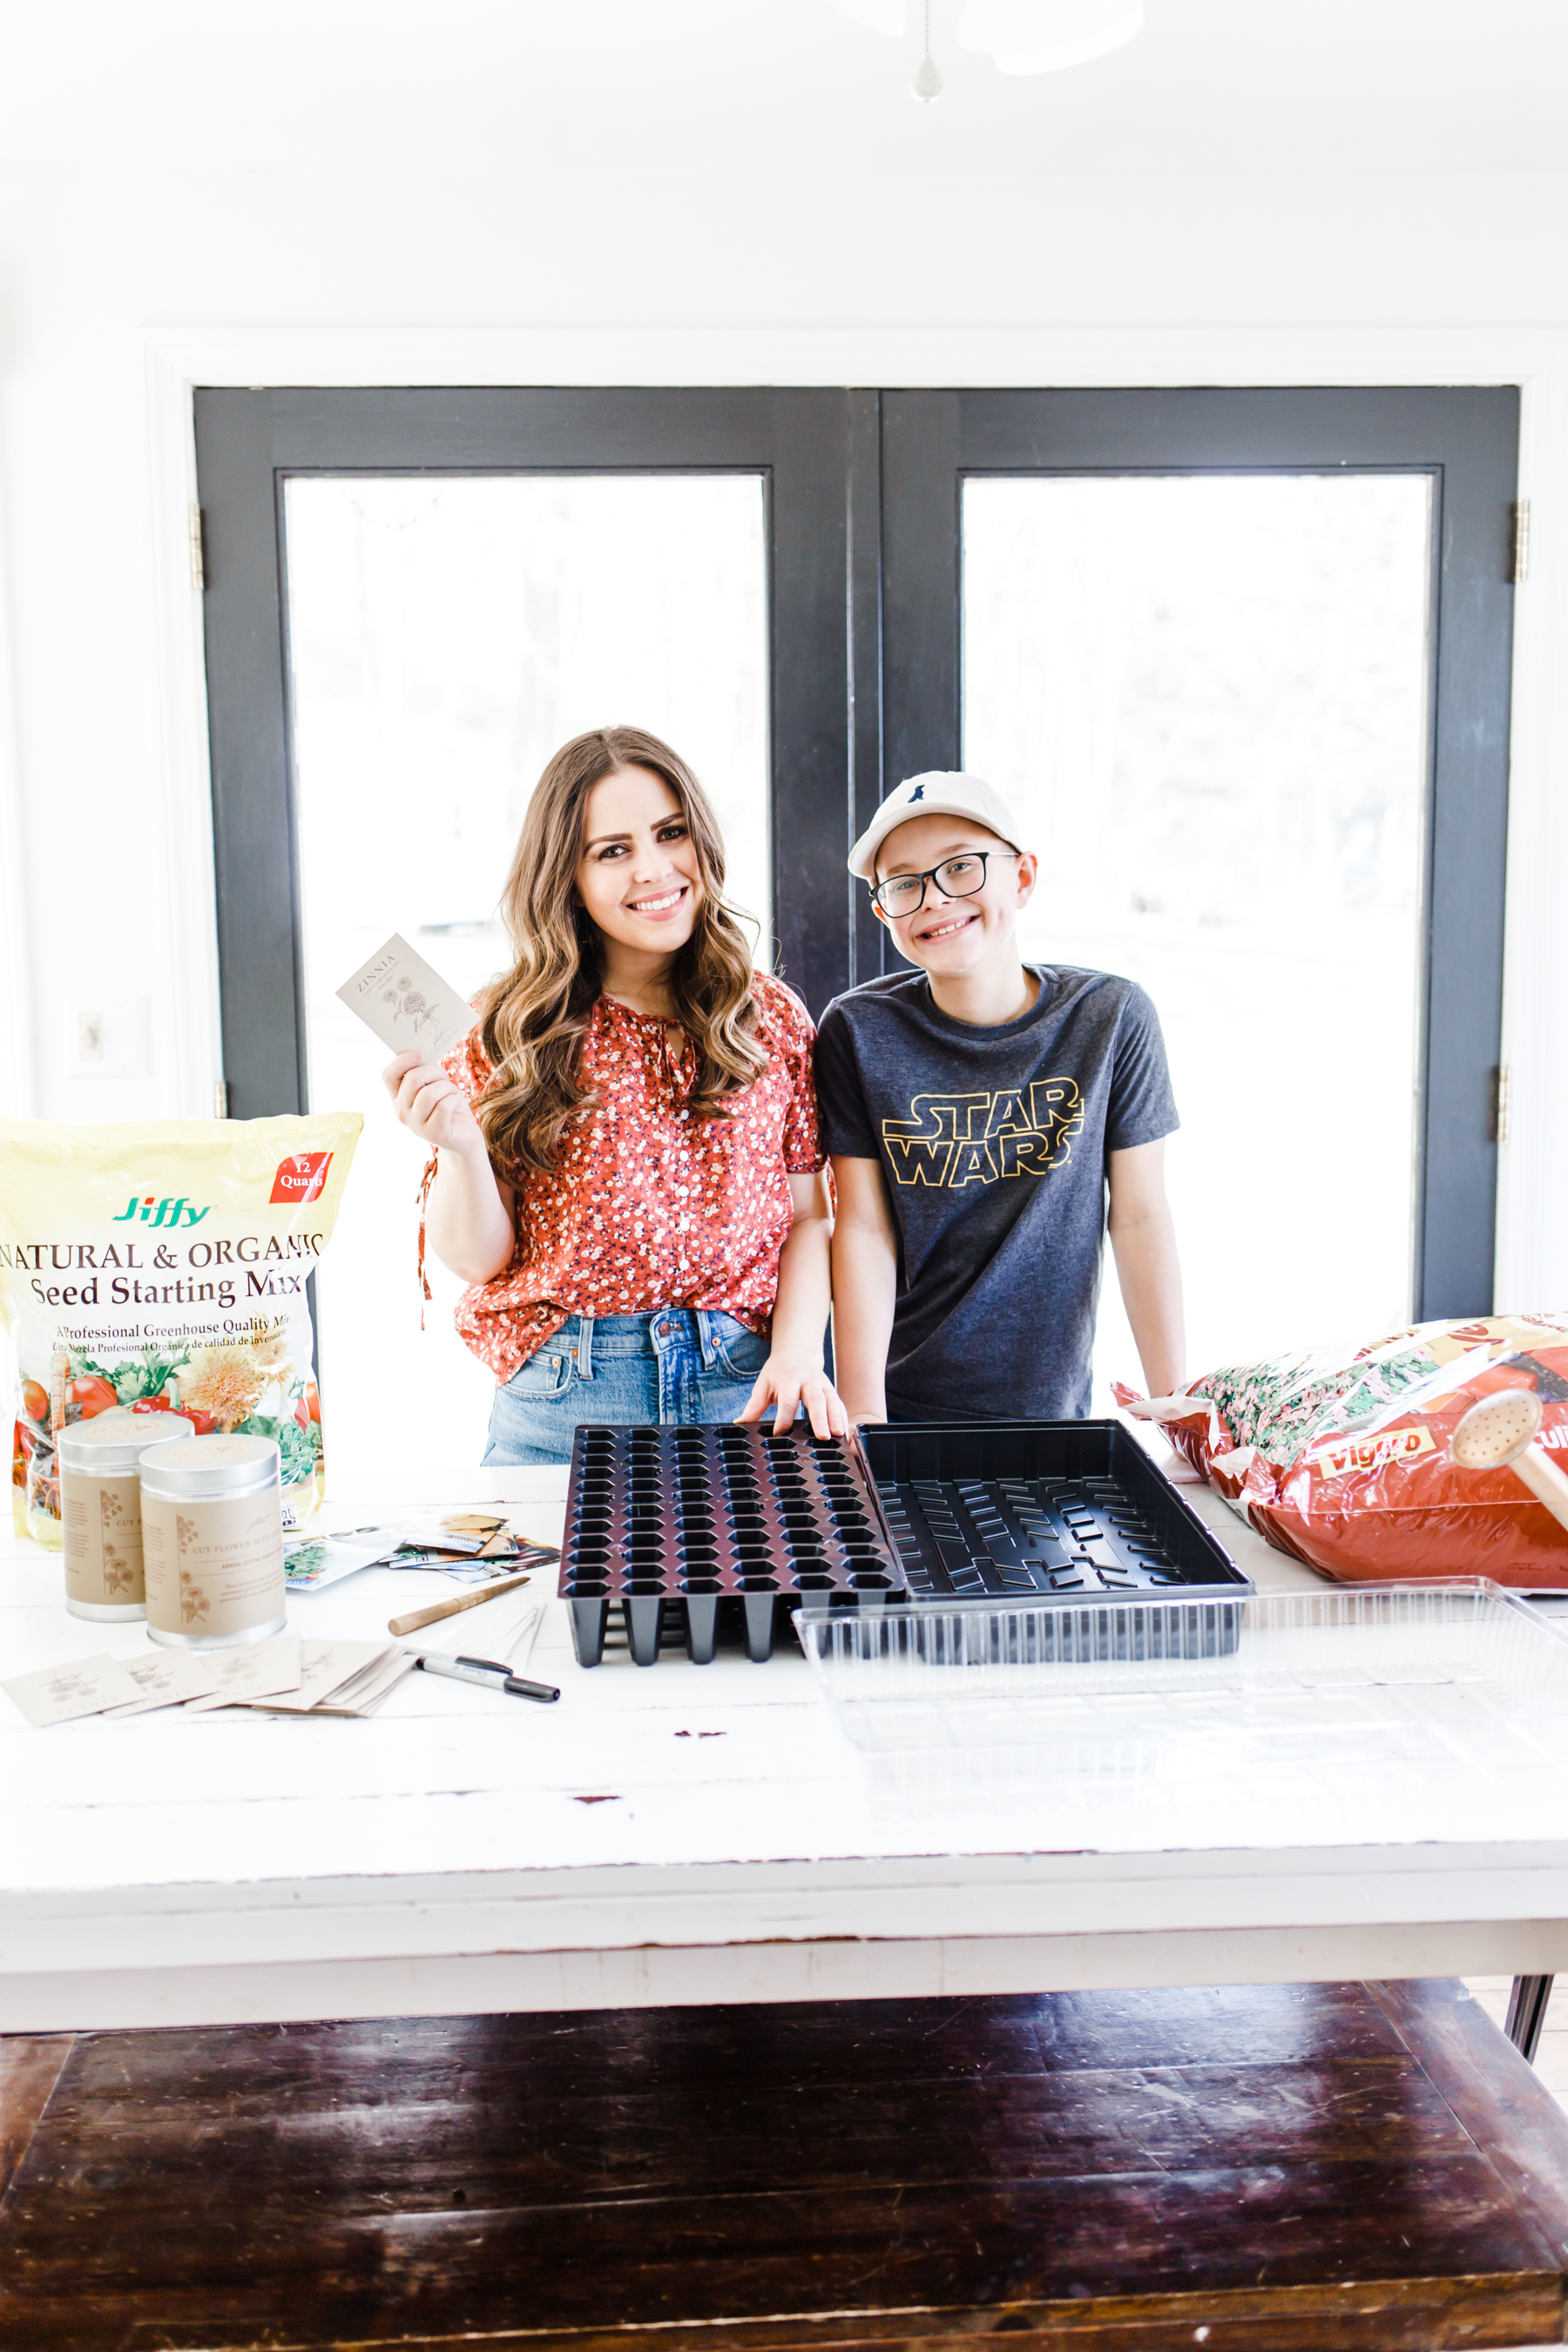
My top, jeans. Ethan’s tee, hat.
Last year, I started my first ever garden, and it was one of the most enjoyable and highly rewarding experiences of my life. I had a self-proclaimed black thumb before last summer and the experience was transformational for me. From the moment my first sprouts popped out of their little pods, I became a gardener for life. I grew hundreds of veggies and thousands of flowers last summer in my first season, and this year I am 10x my garden size. I will be a flower farmer by the end of this summer, I am determined!
If you haven’t thought of growing your own garden, I highly recommend it. It’s an highly cathartic and enjoyable practice. Plus you get fresh vegetables and flowers all summer, and you get to be outside in the fresh air doing something productive. Its a win all around.
If you live in a climate where it takes warm weather a bit to show up (I’m looking at you New England), you may want to start your seeds indoors during the early spring. That way you’ve got a head start in planting once the final frost passed. You’ll start harvesting much earlier. Plus starting plants from seed is highly rewarding. I don’t know why, but it just is. Today I’m going to show you how to start your seeds indoors.
Ethan is joining me in today’s post as he’s my garden partner, and does all of this with me. Here we go!
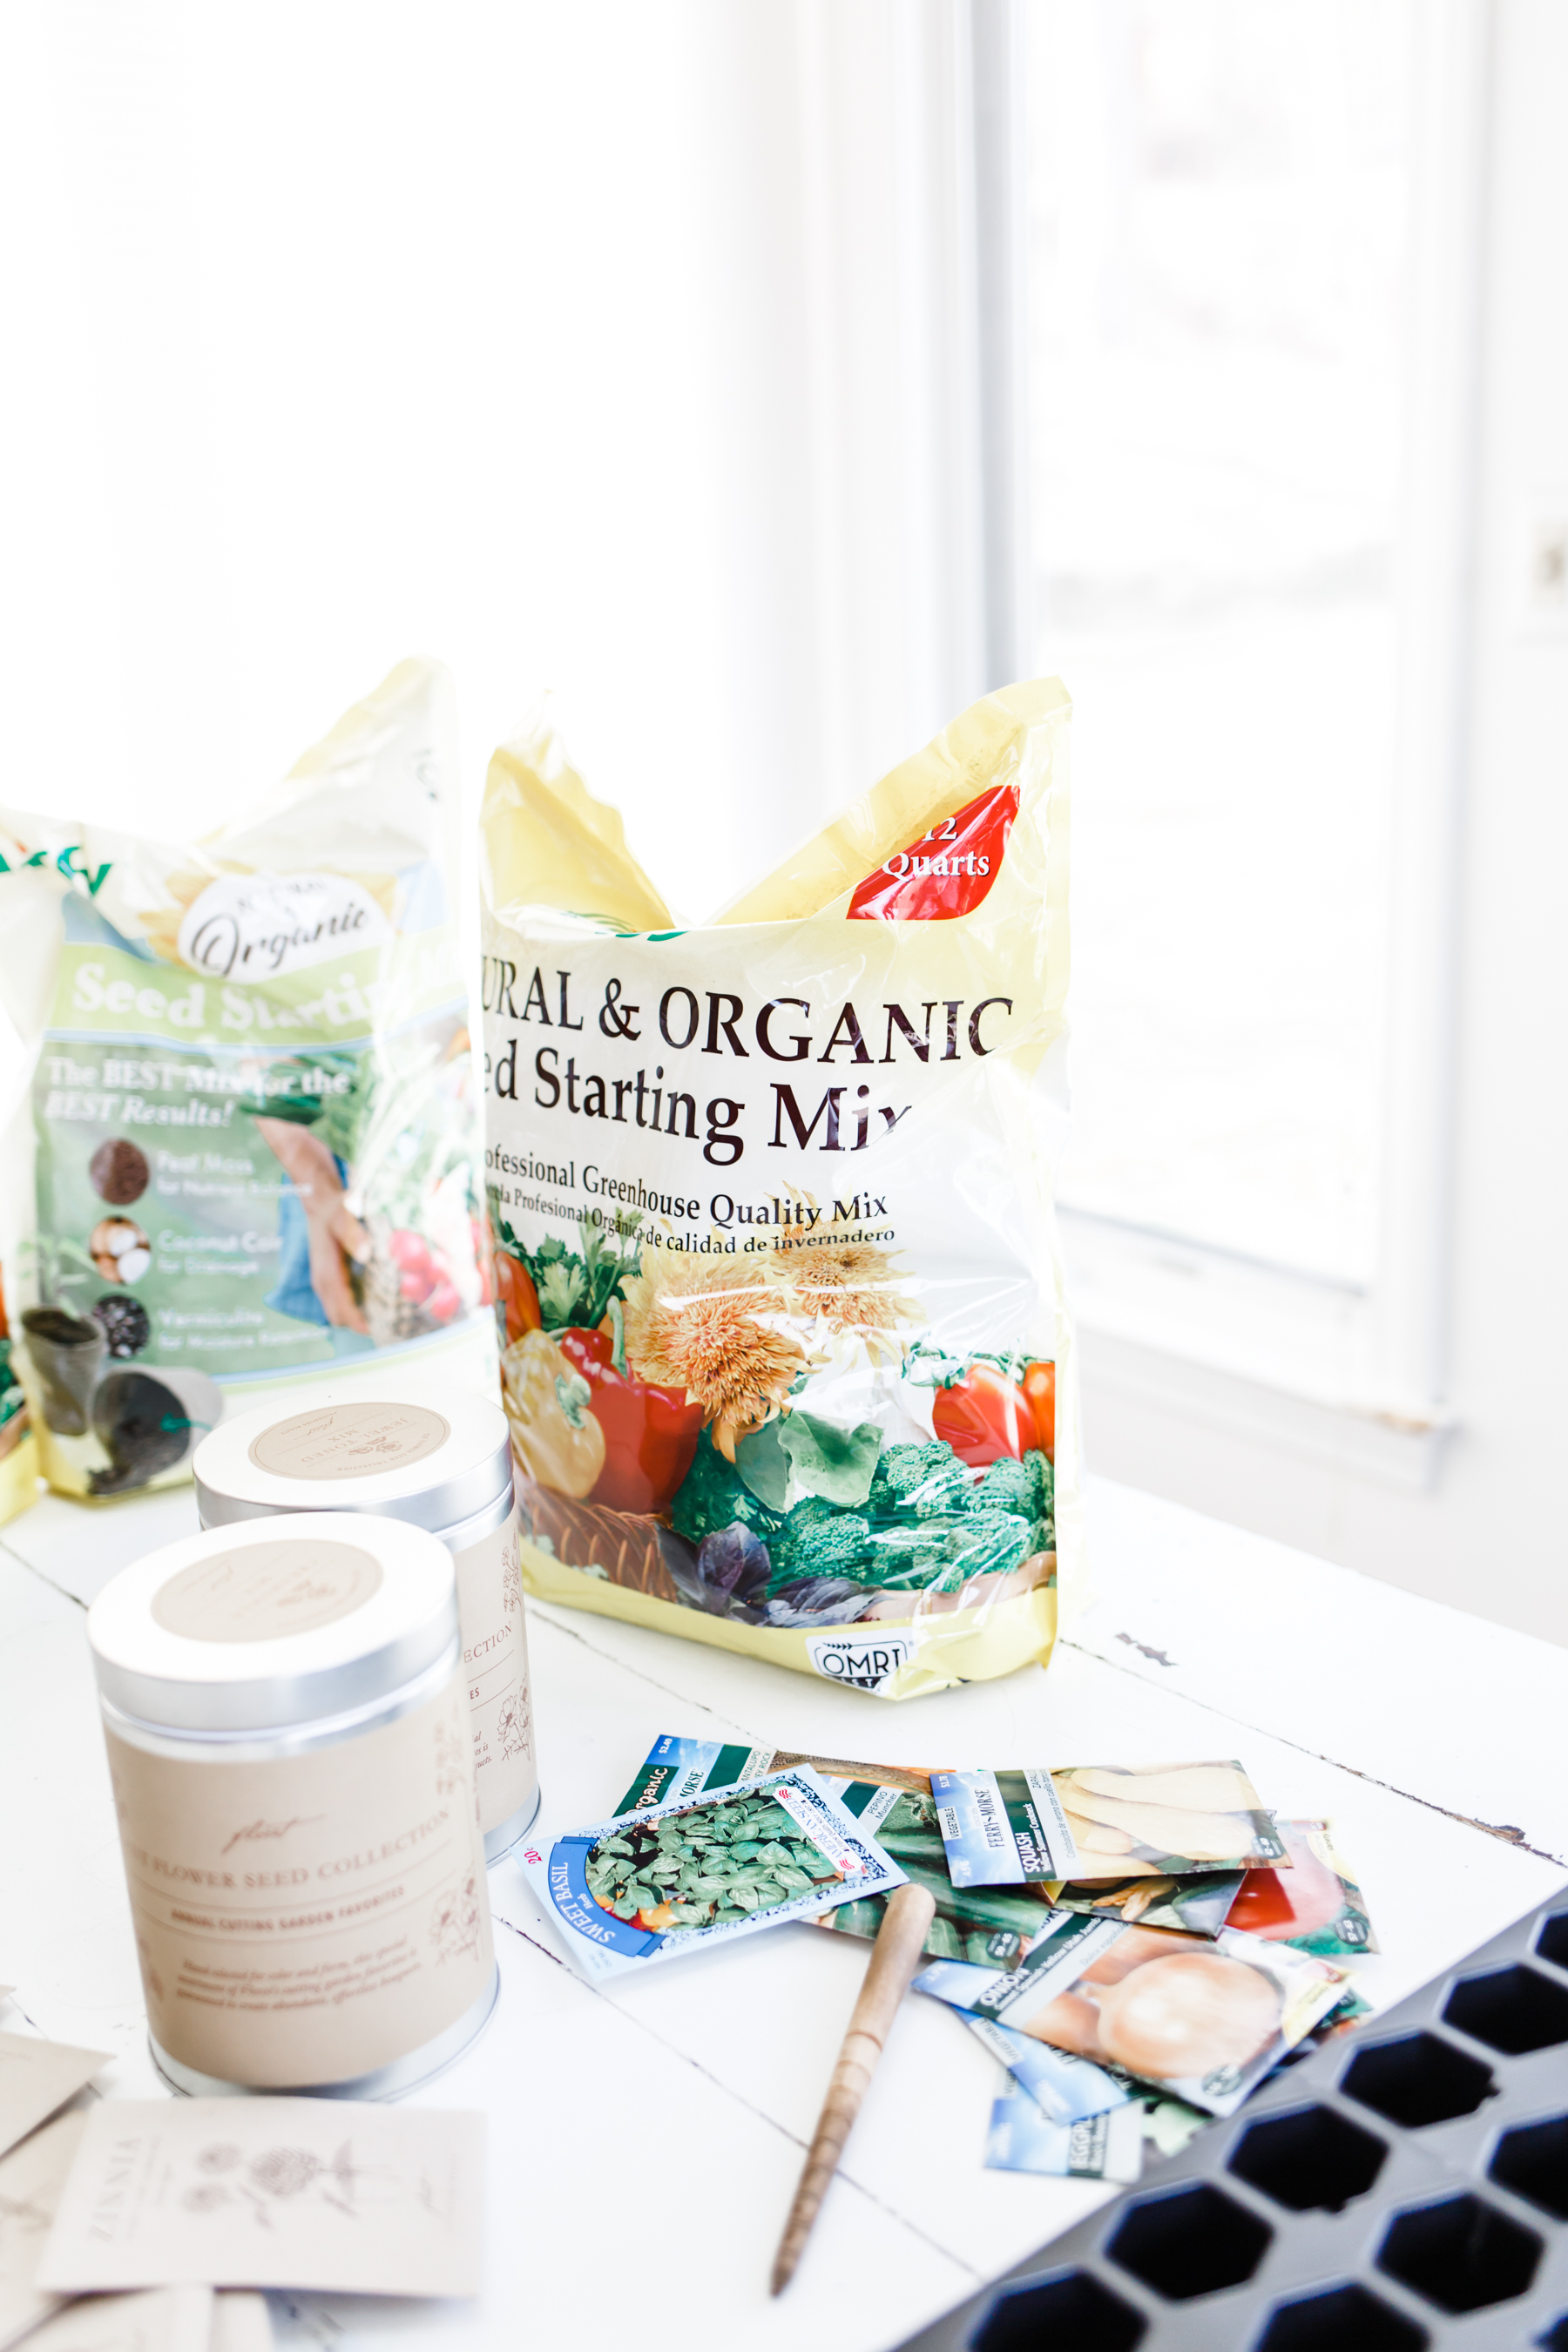
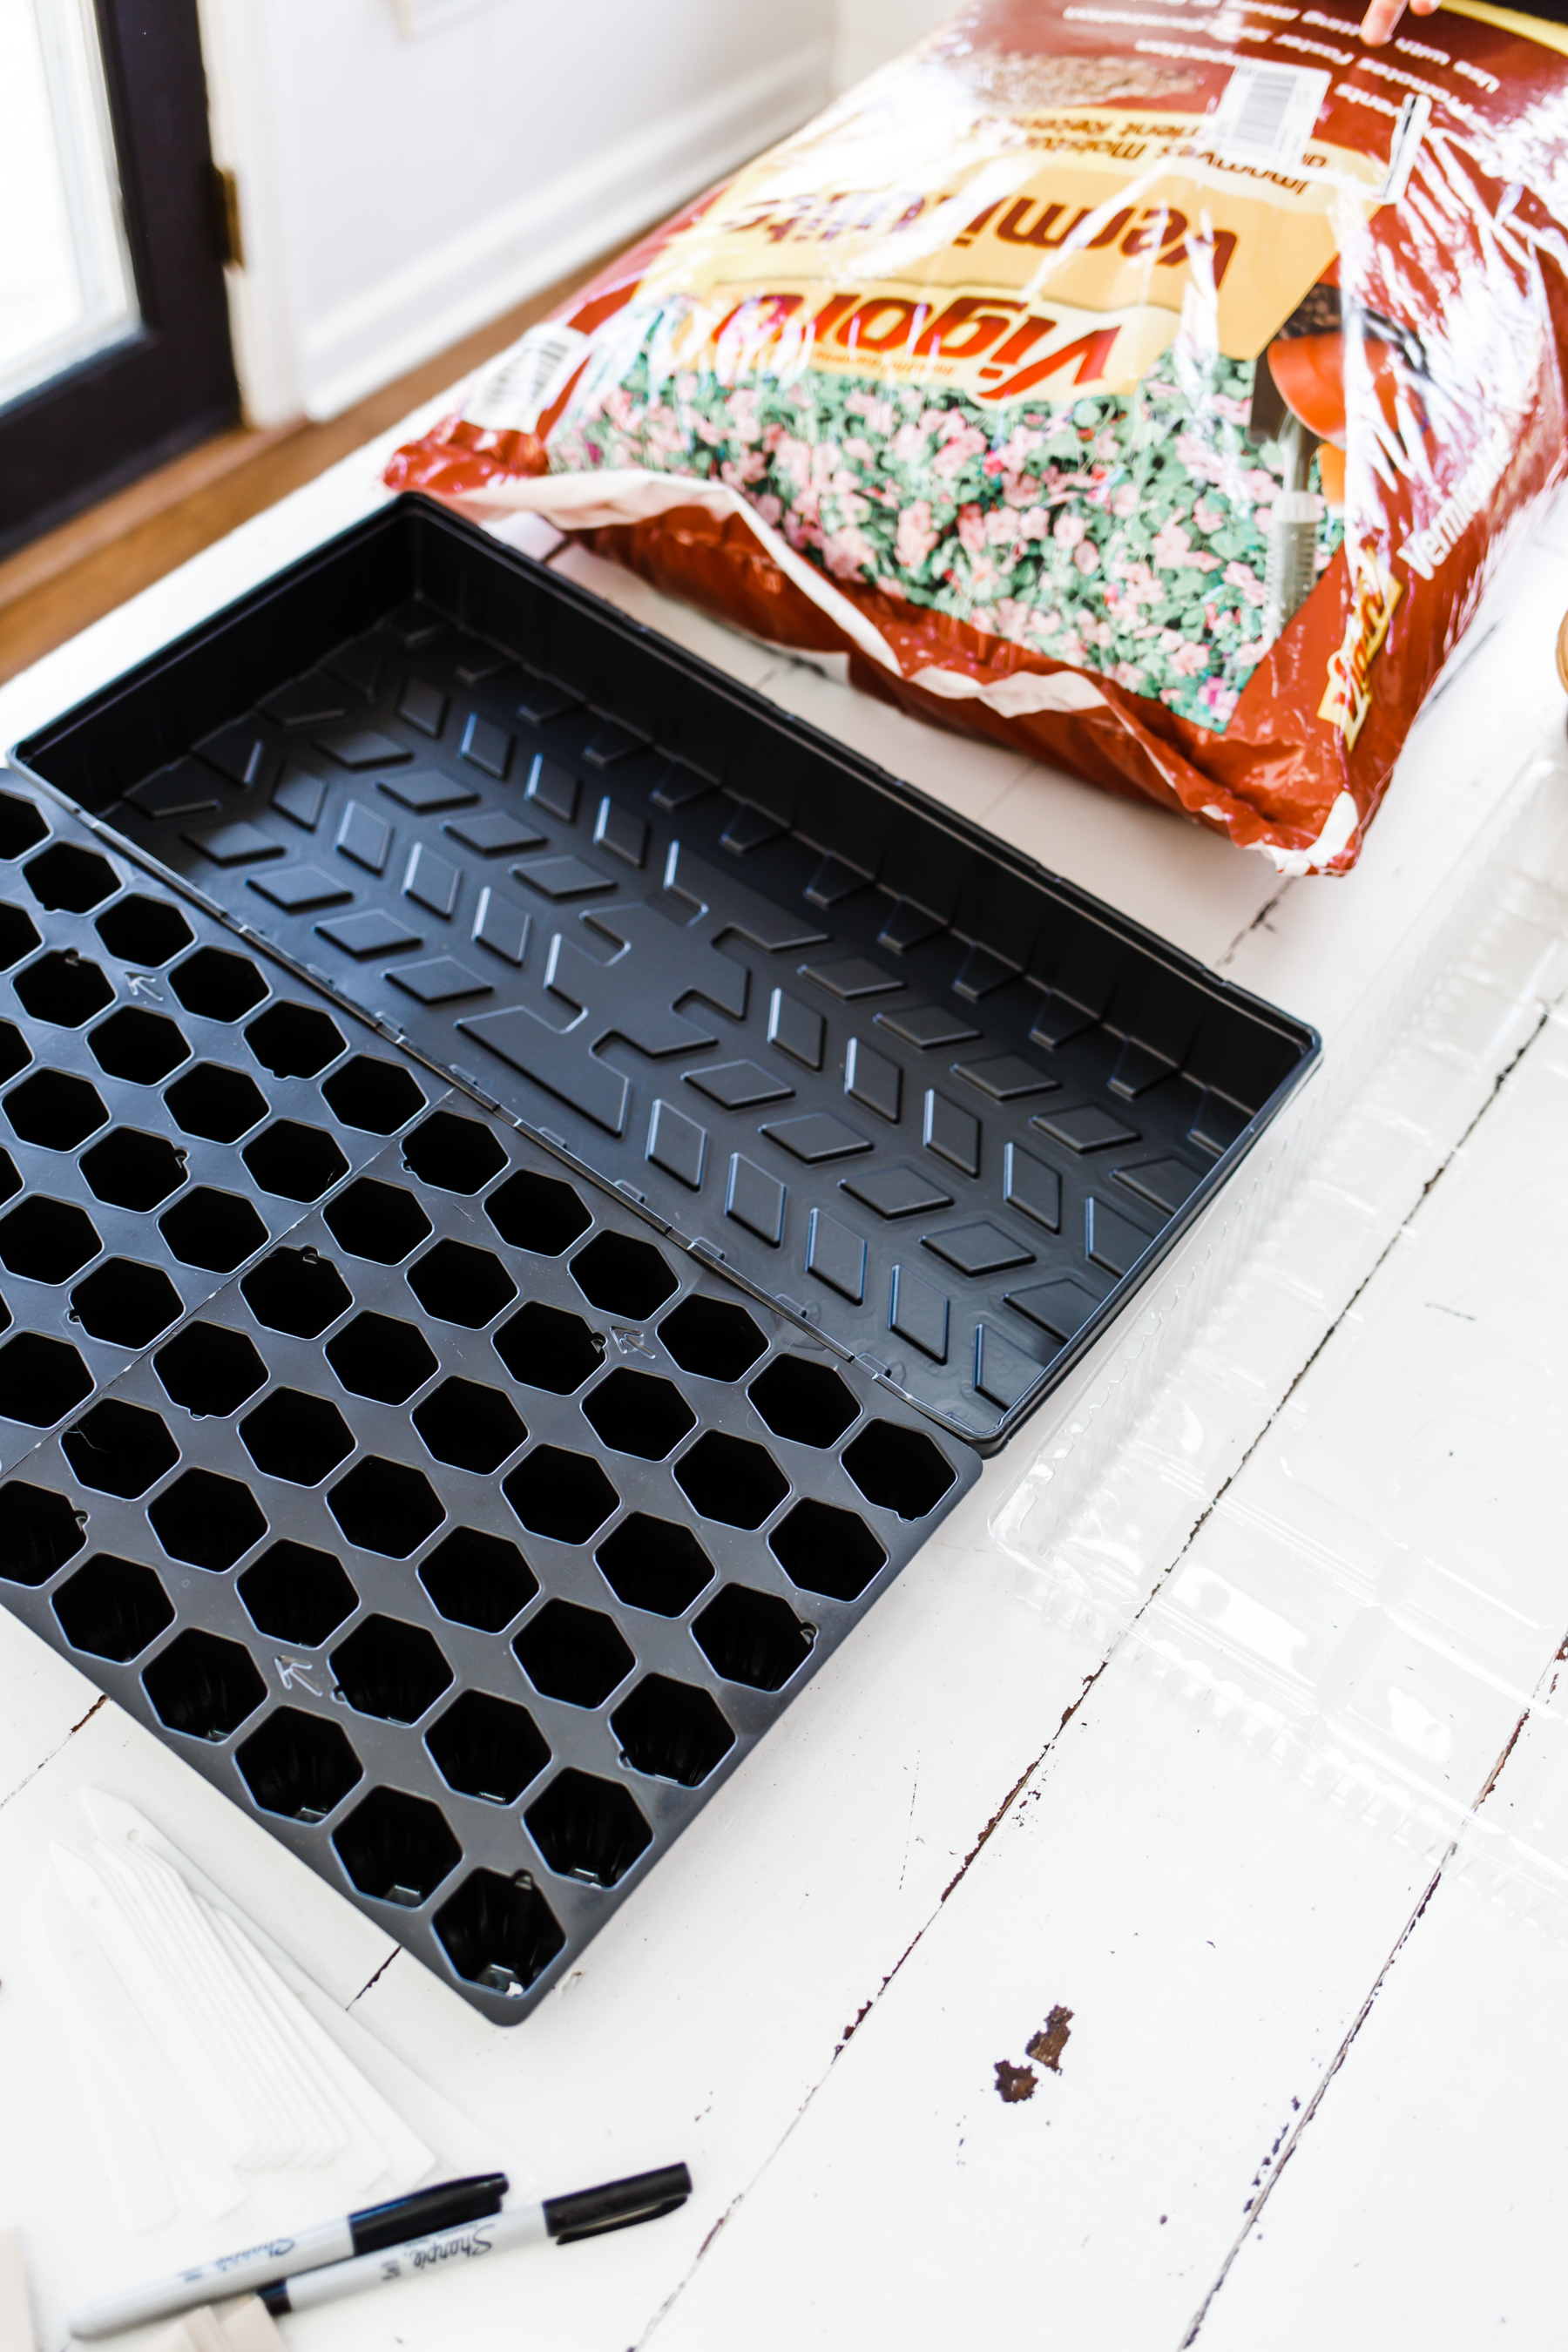
Before you get started, you want to gather your supplies (I will link to everything I am using at the bottom of the post). You will need: seed trays sets with bottom trays and clear dome lids, vermiculite, shop lights or a bright window, your seeds, a seed dibbler (optional) and plant tags.
I recommend growing a cut-flower garden along with your vegetable garden, for a couple reasons. One, growing flowers is really fun, and who doesn’t want fresh bouquets all summer? But also, flowers attract bees and having more of those magnificent little pollinators around is really going to help your vegetables thrive. I buy my flower seeds from Floret Farms (you can see my post about all the flowers I am planting this year, here.). And I buy my vegetable seeds from Home Depot. They have a large selection and the quality is great.
Now let’s get down to planting. Here are the steps you will want to follow:
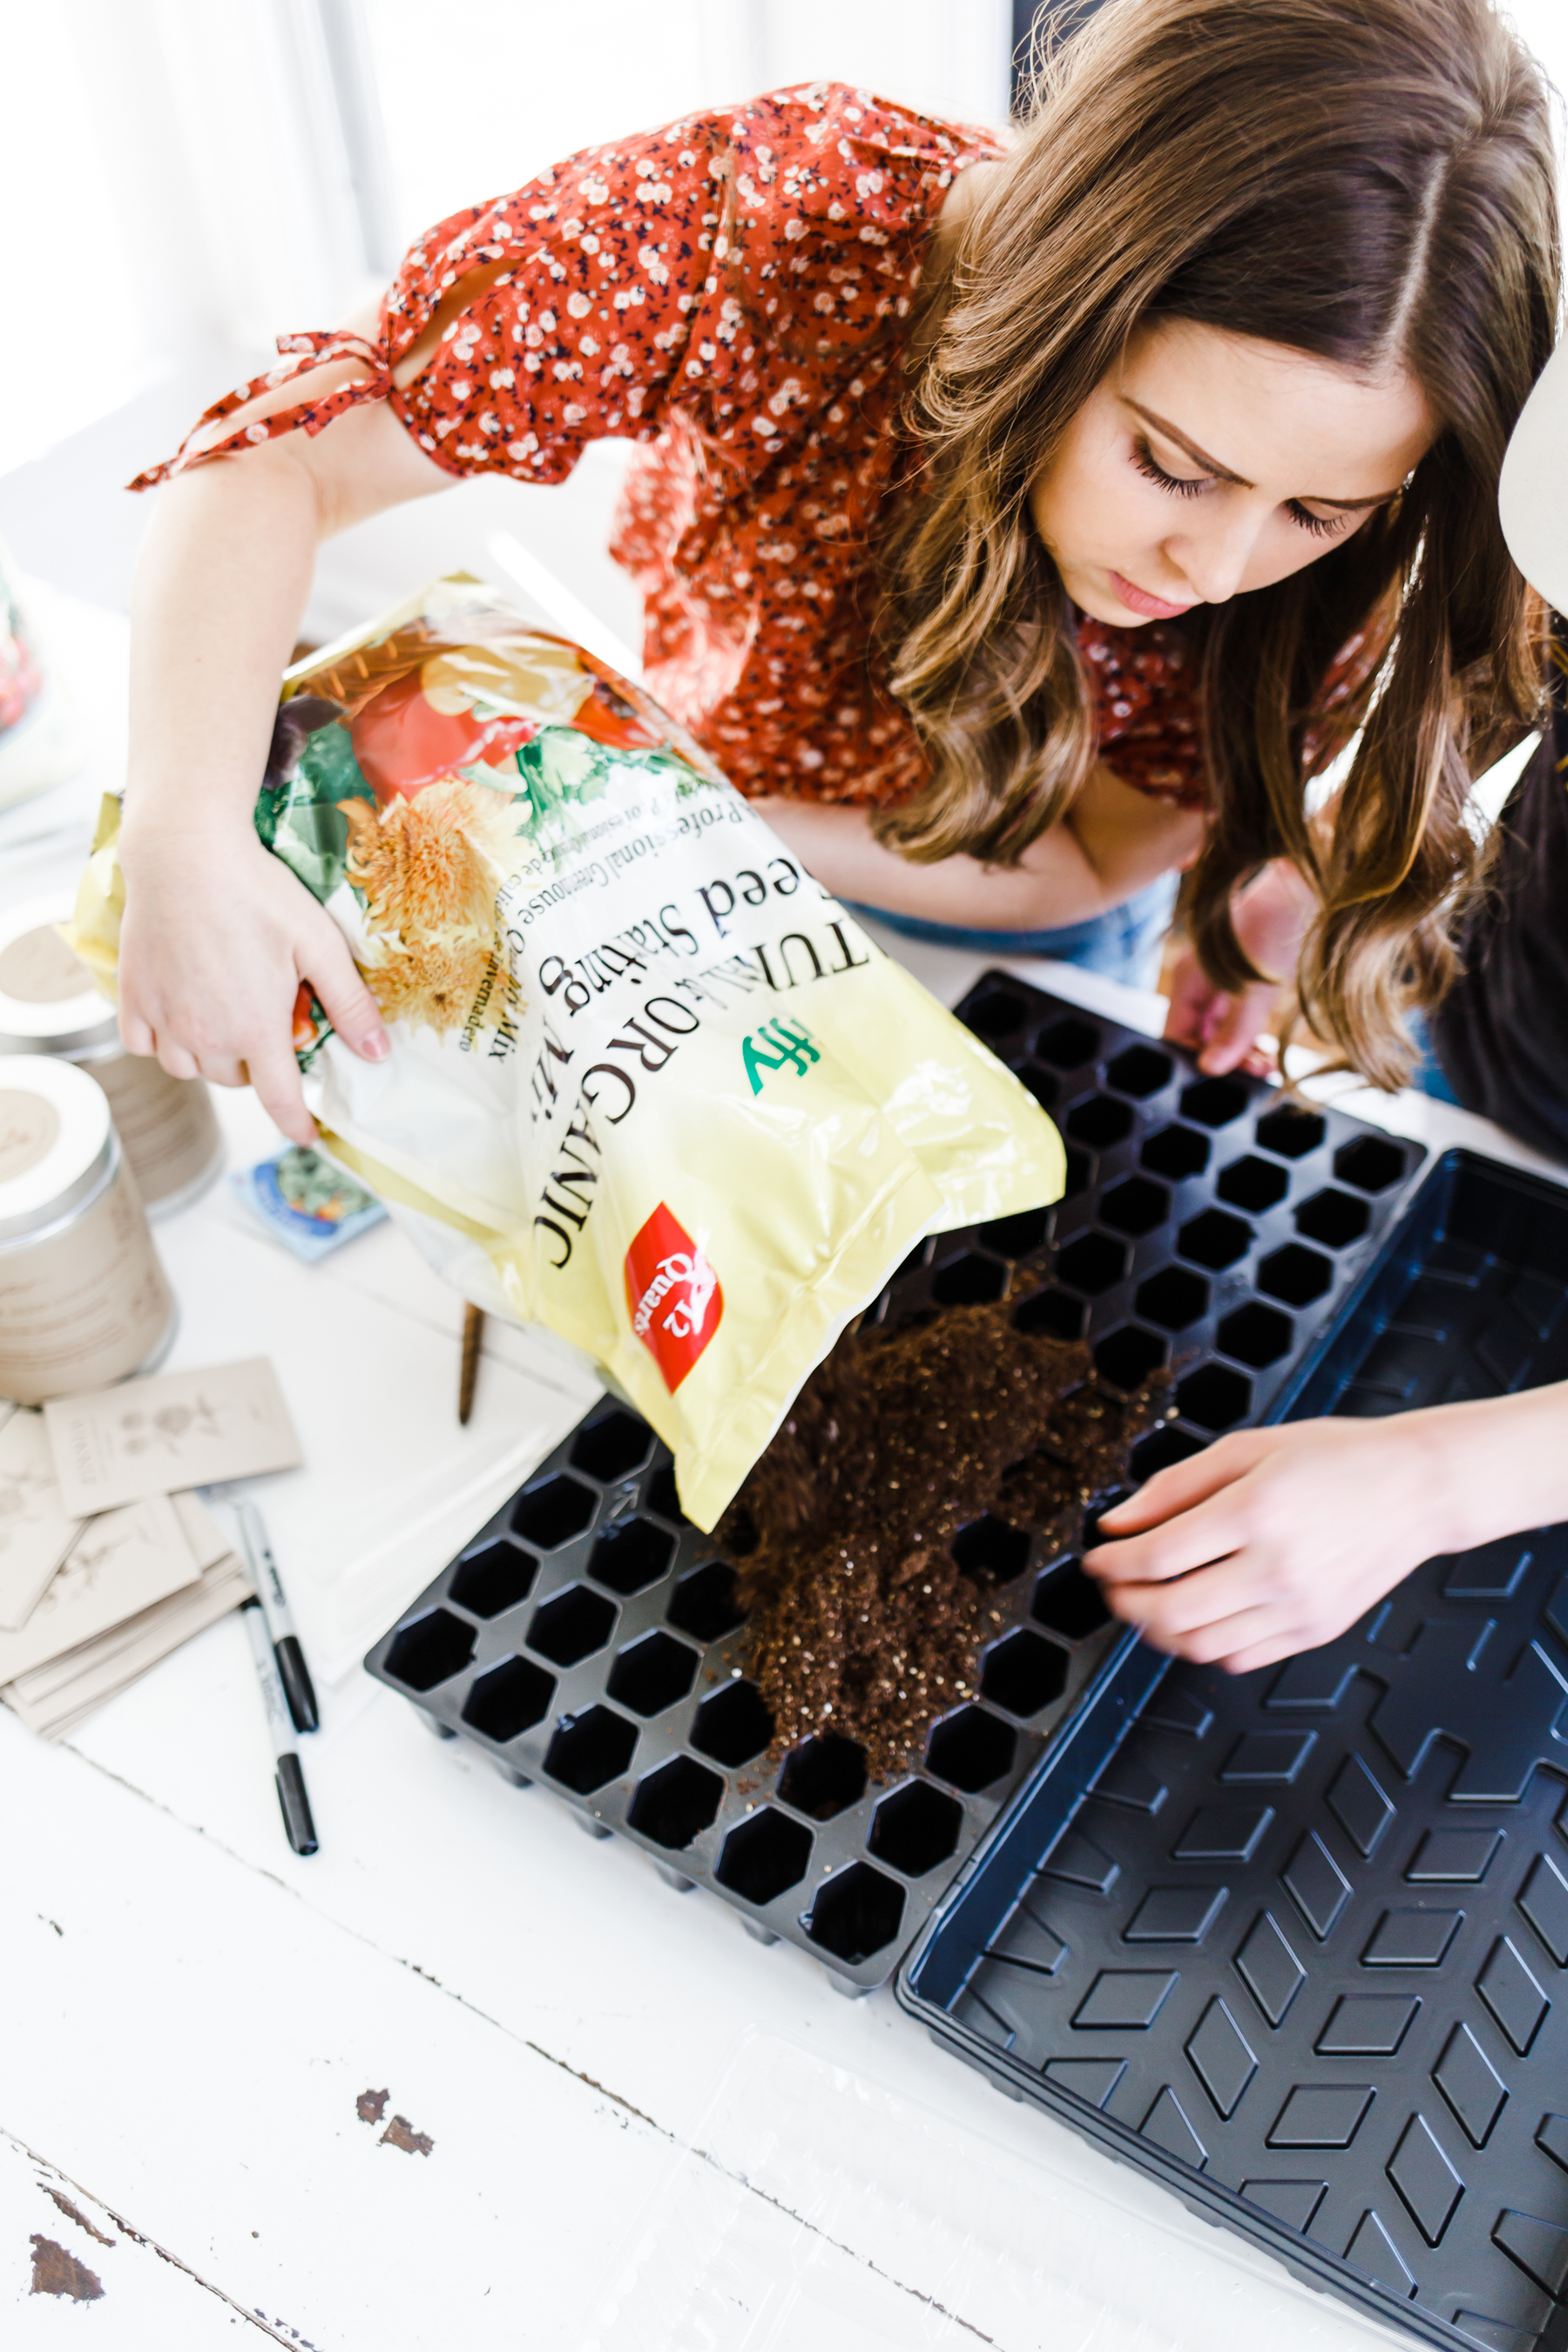
Step 1:
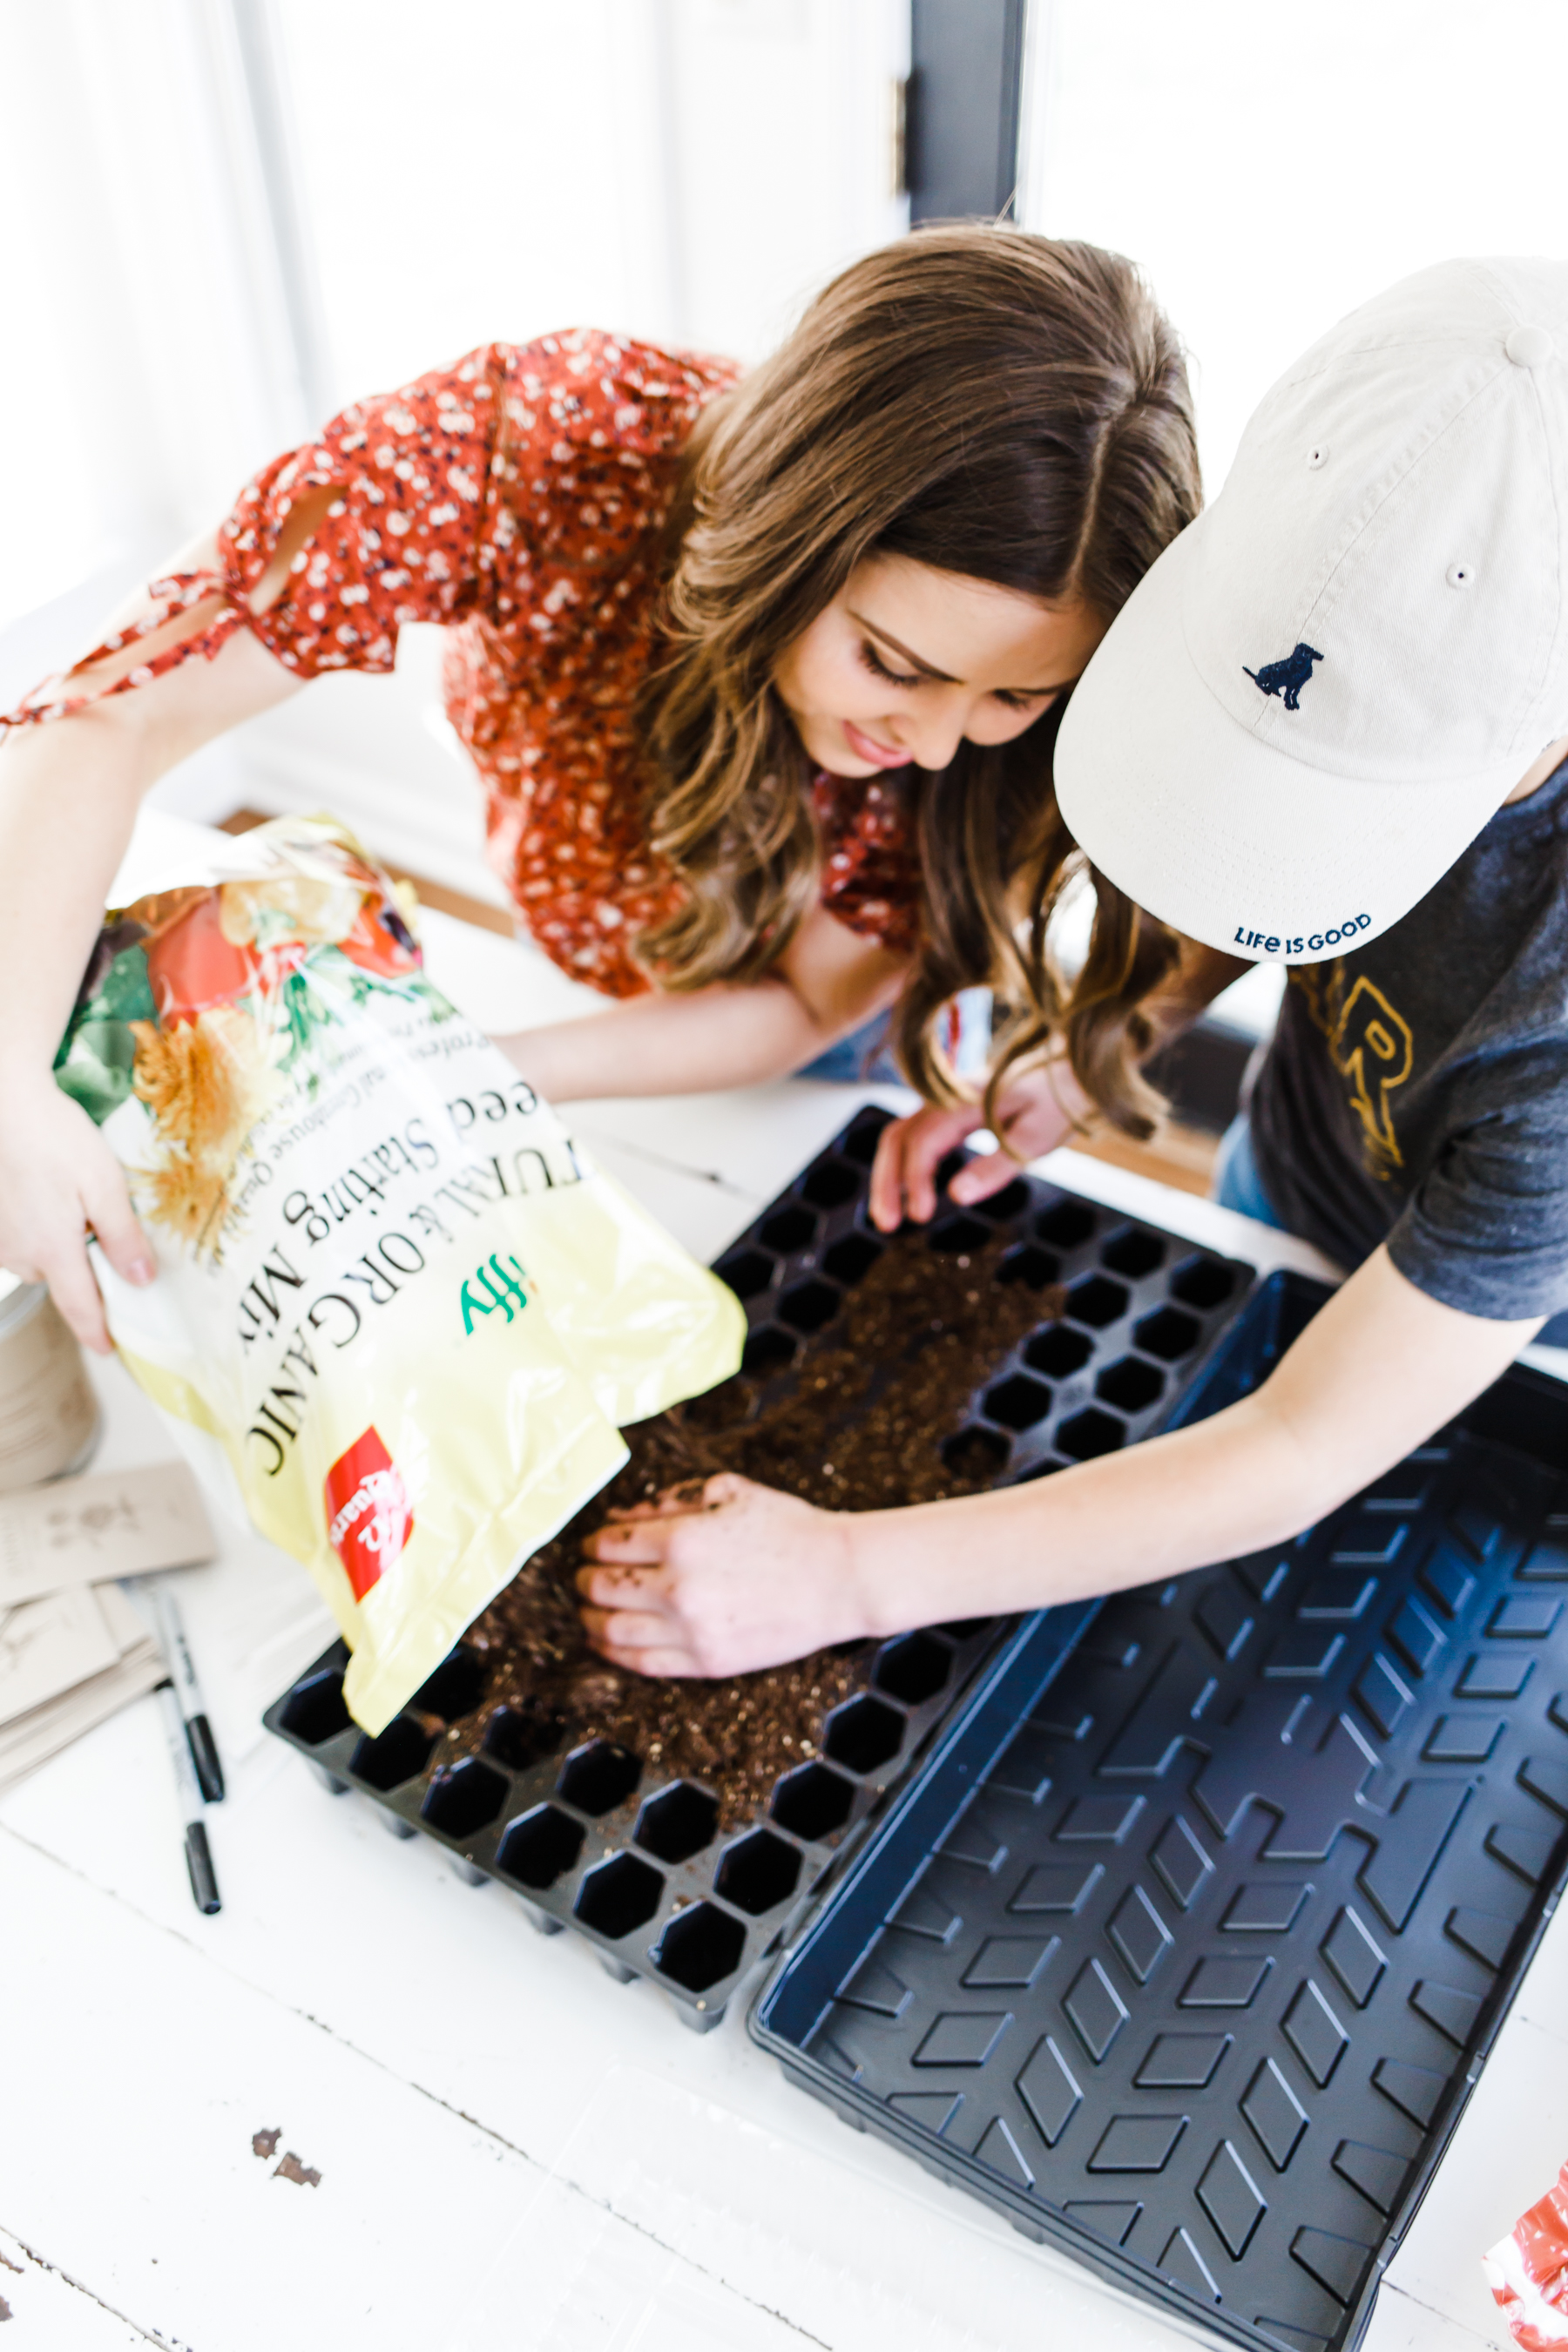
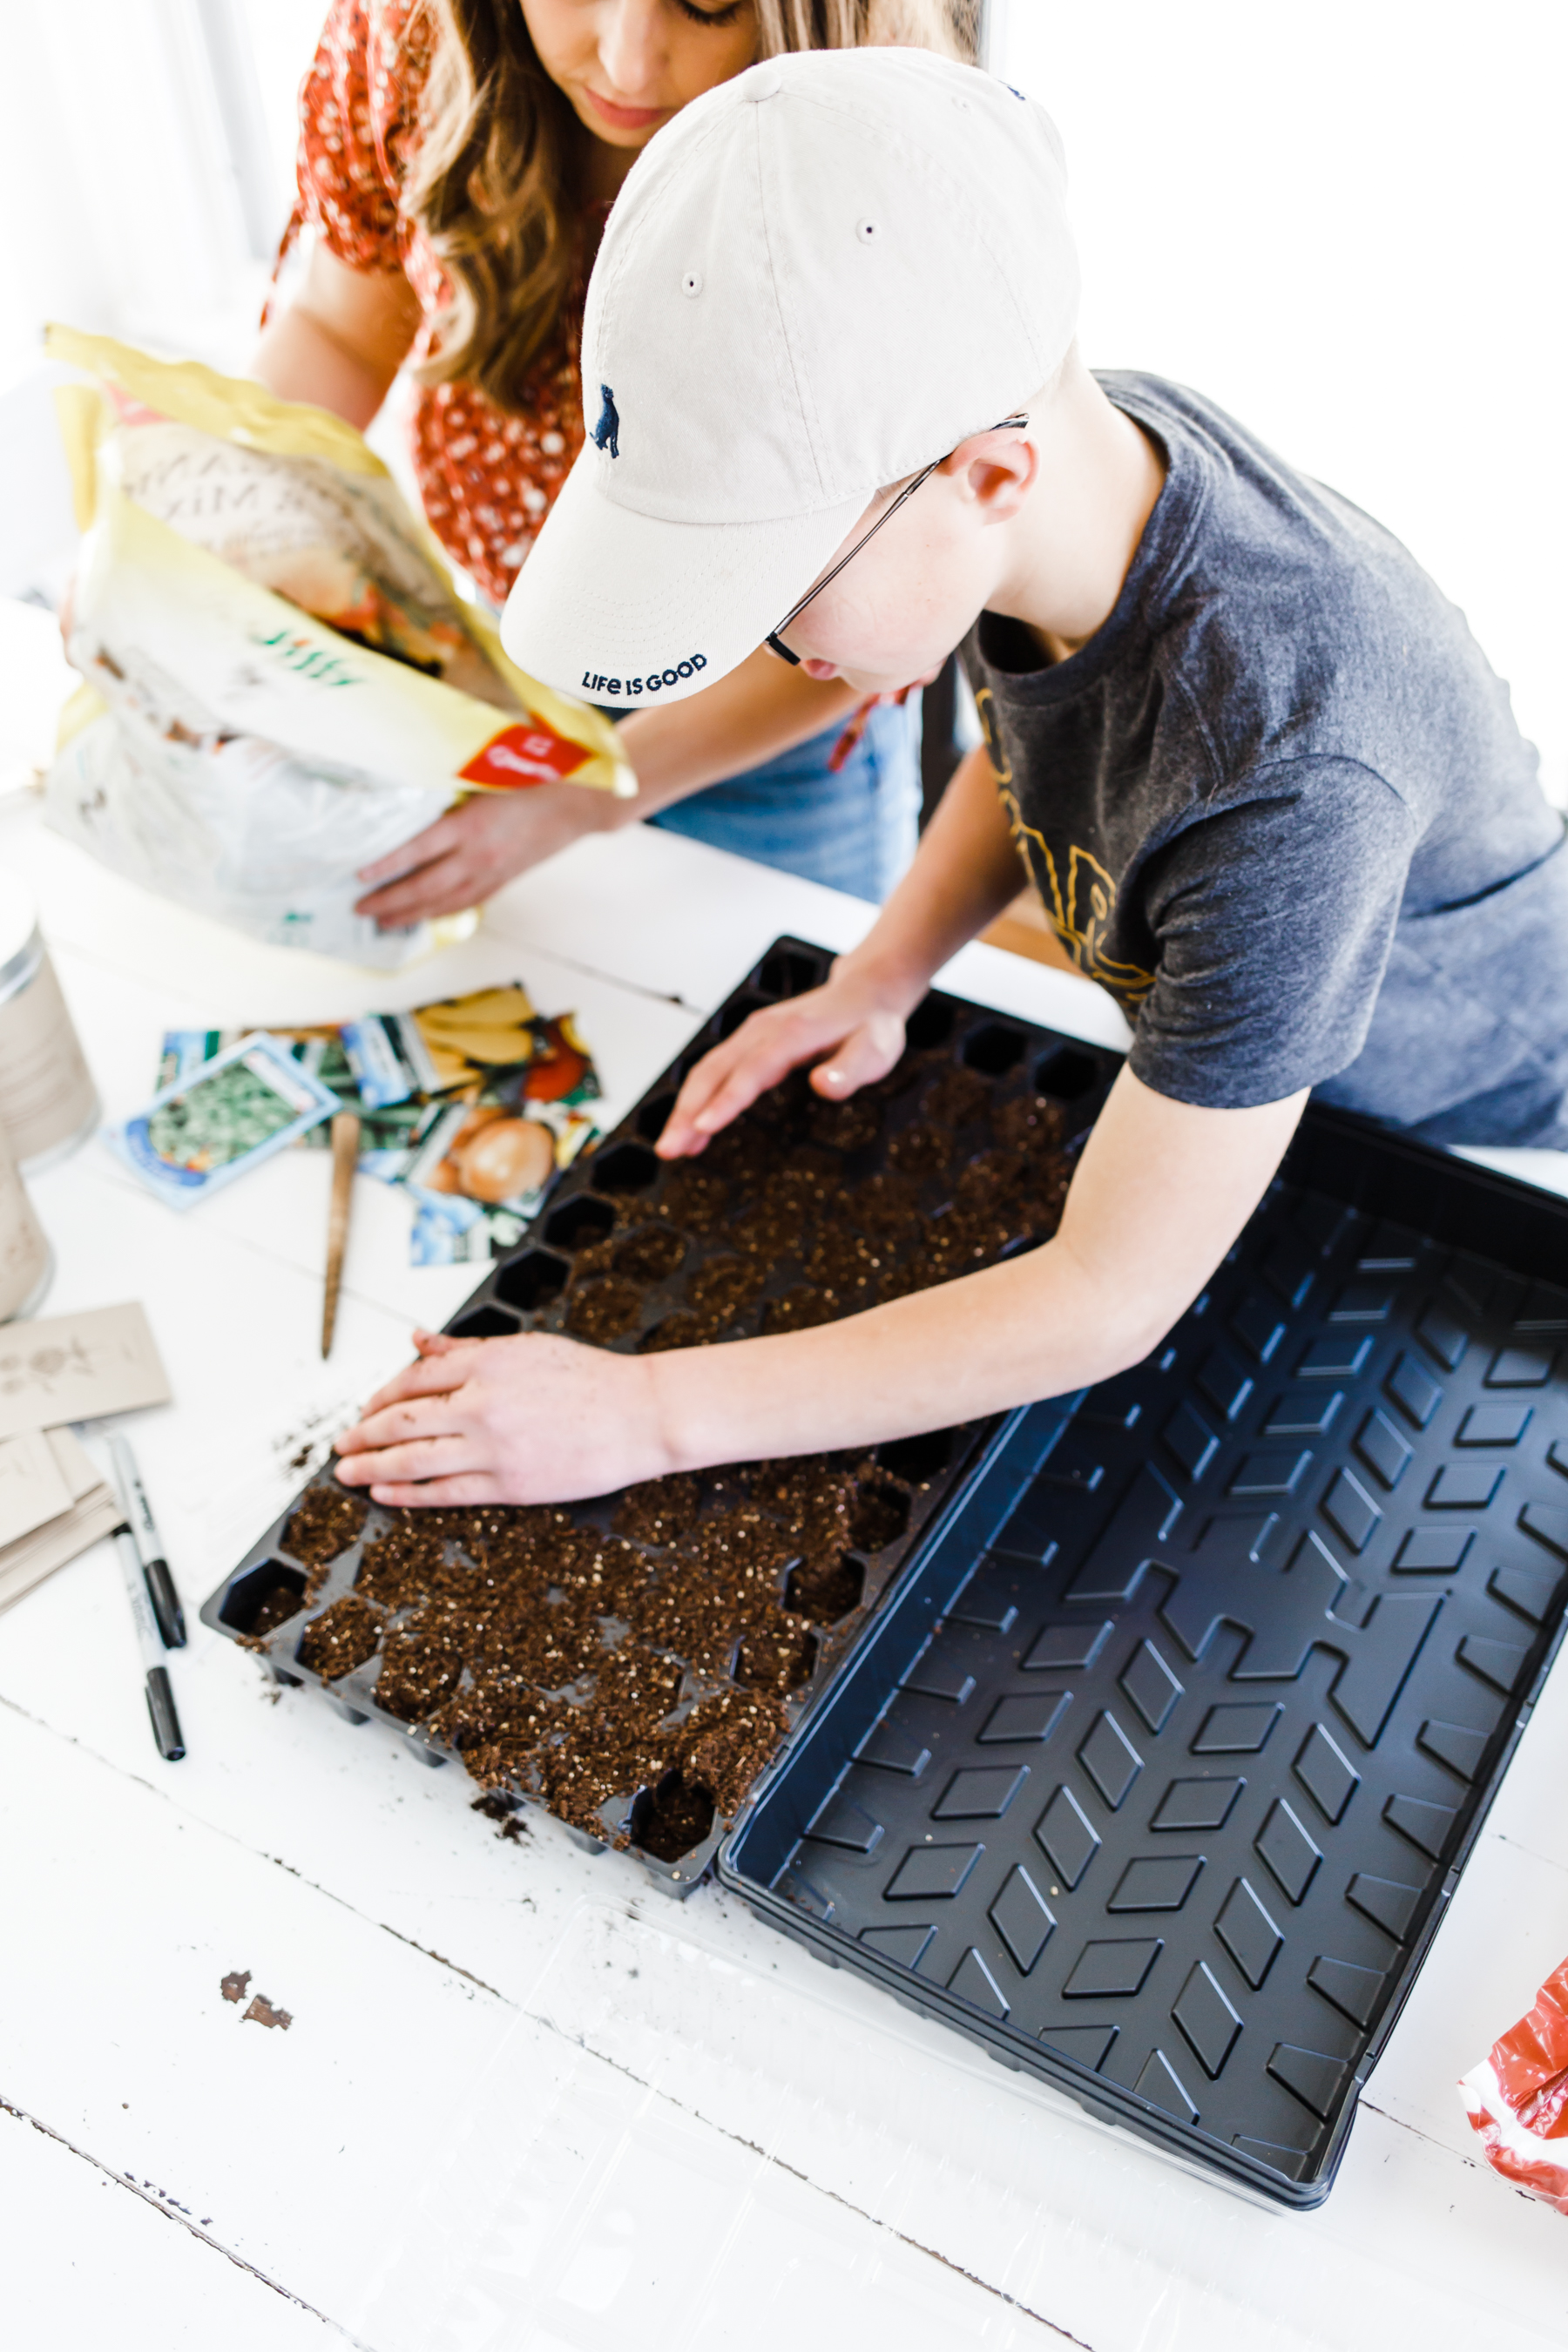
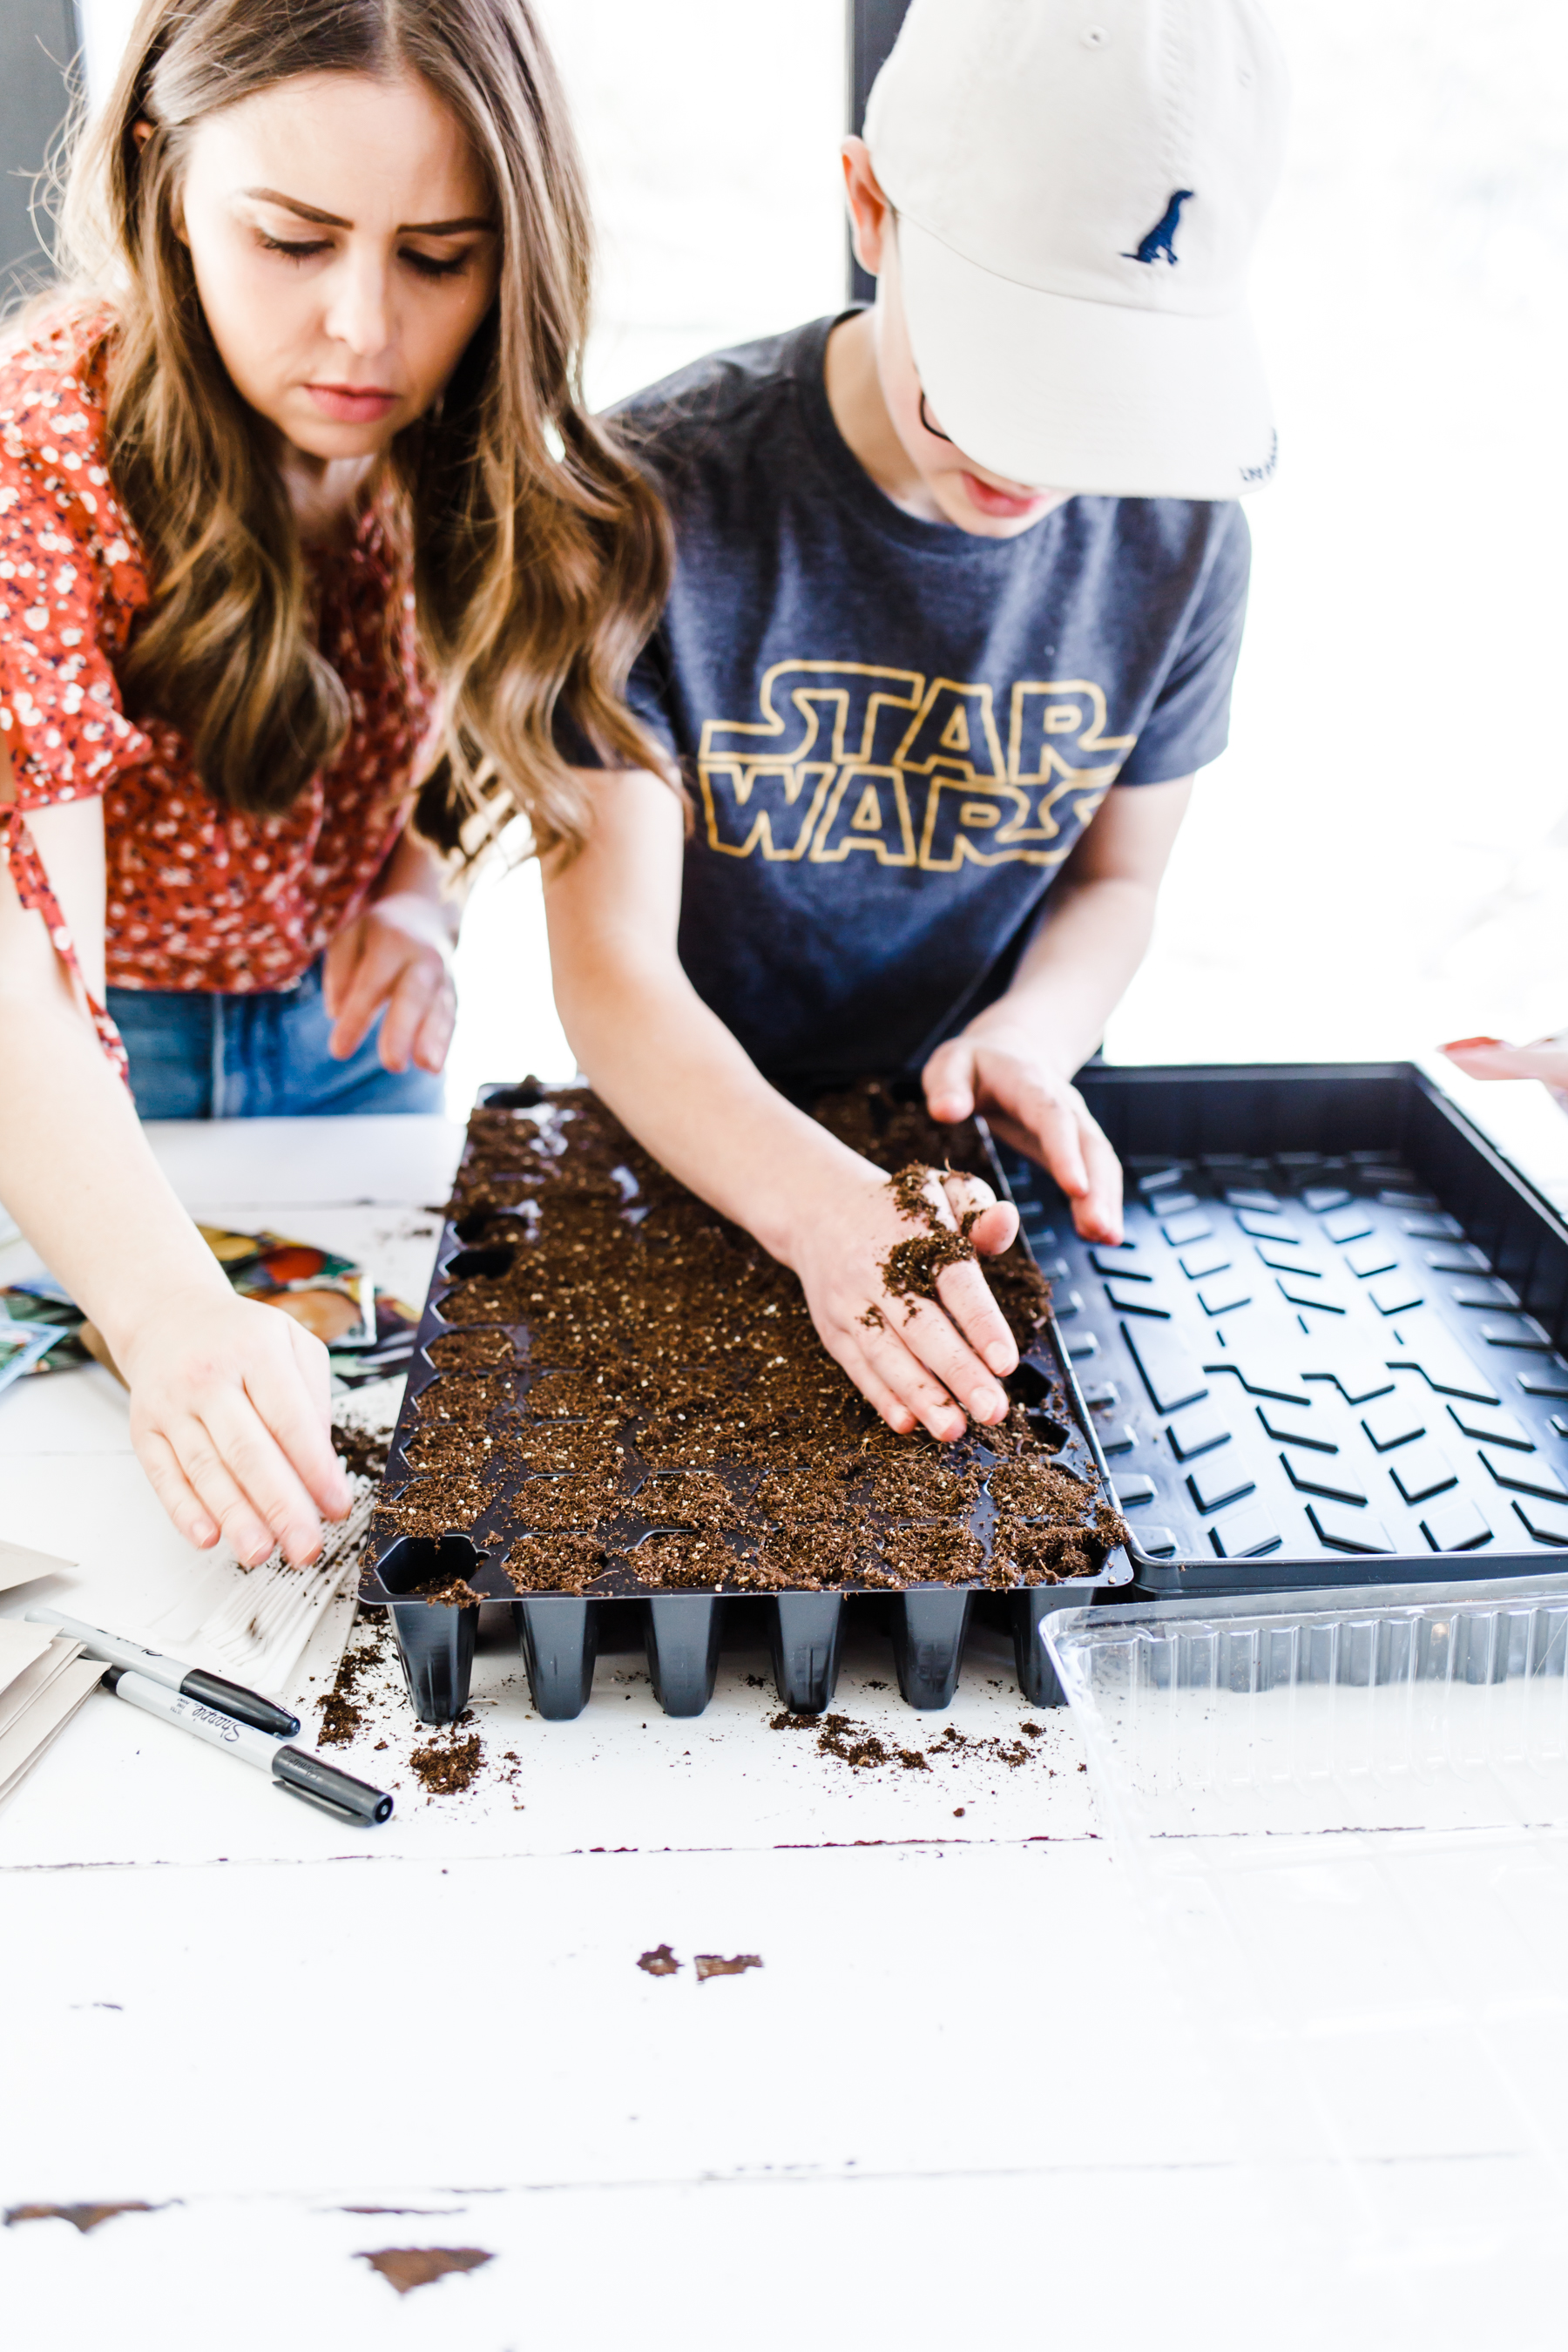
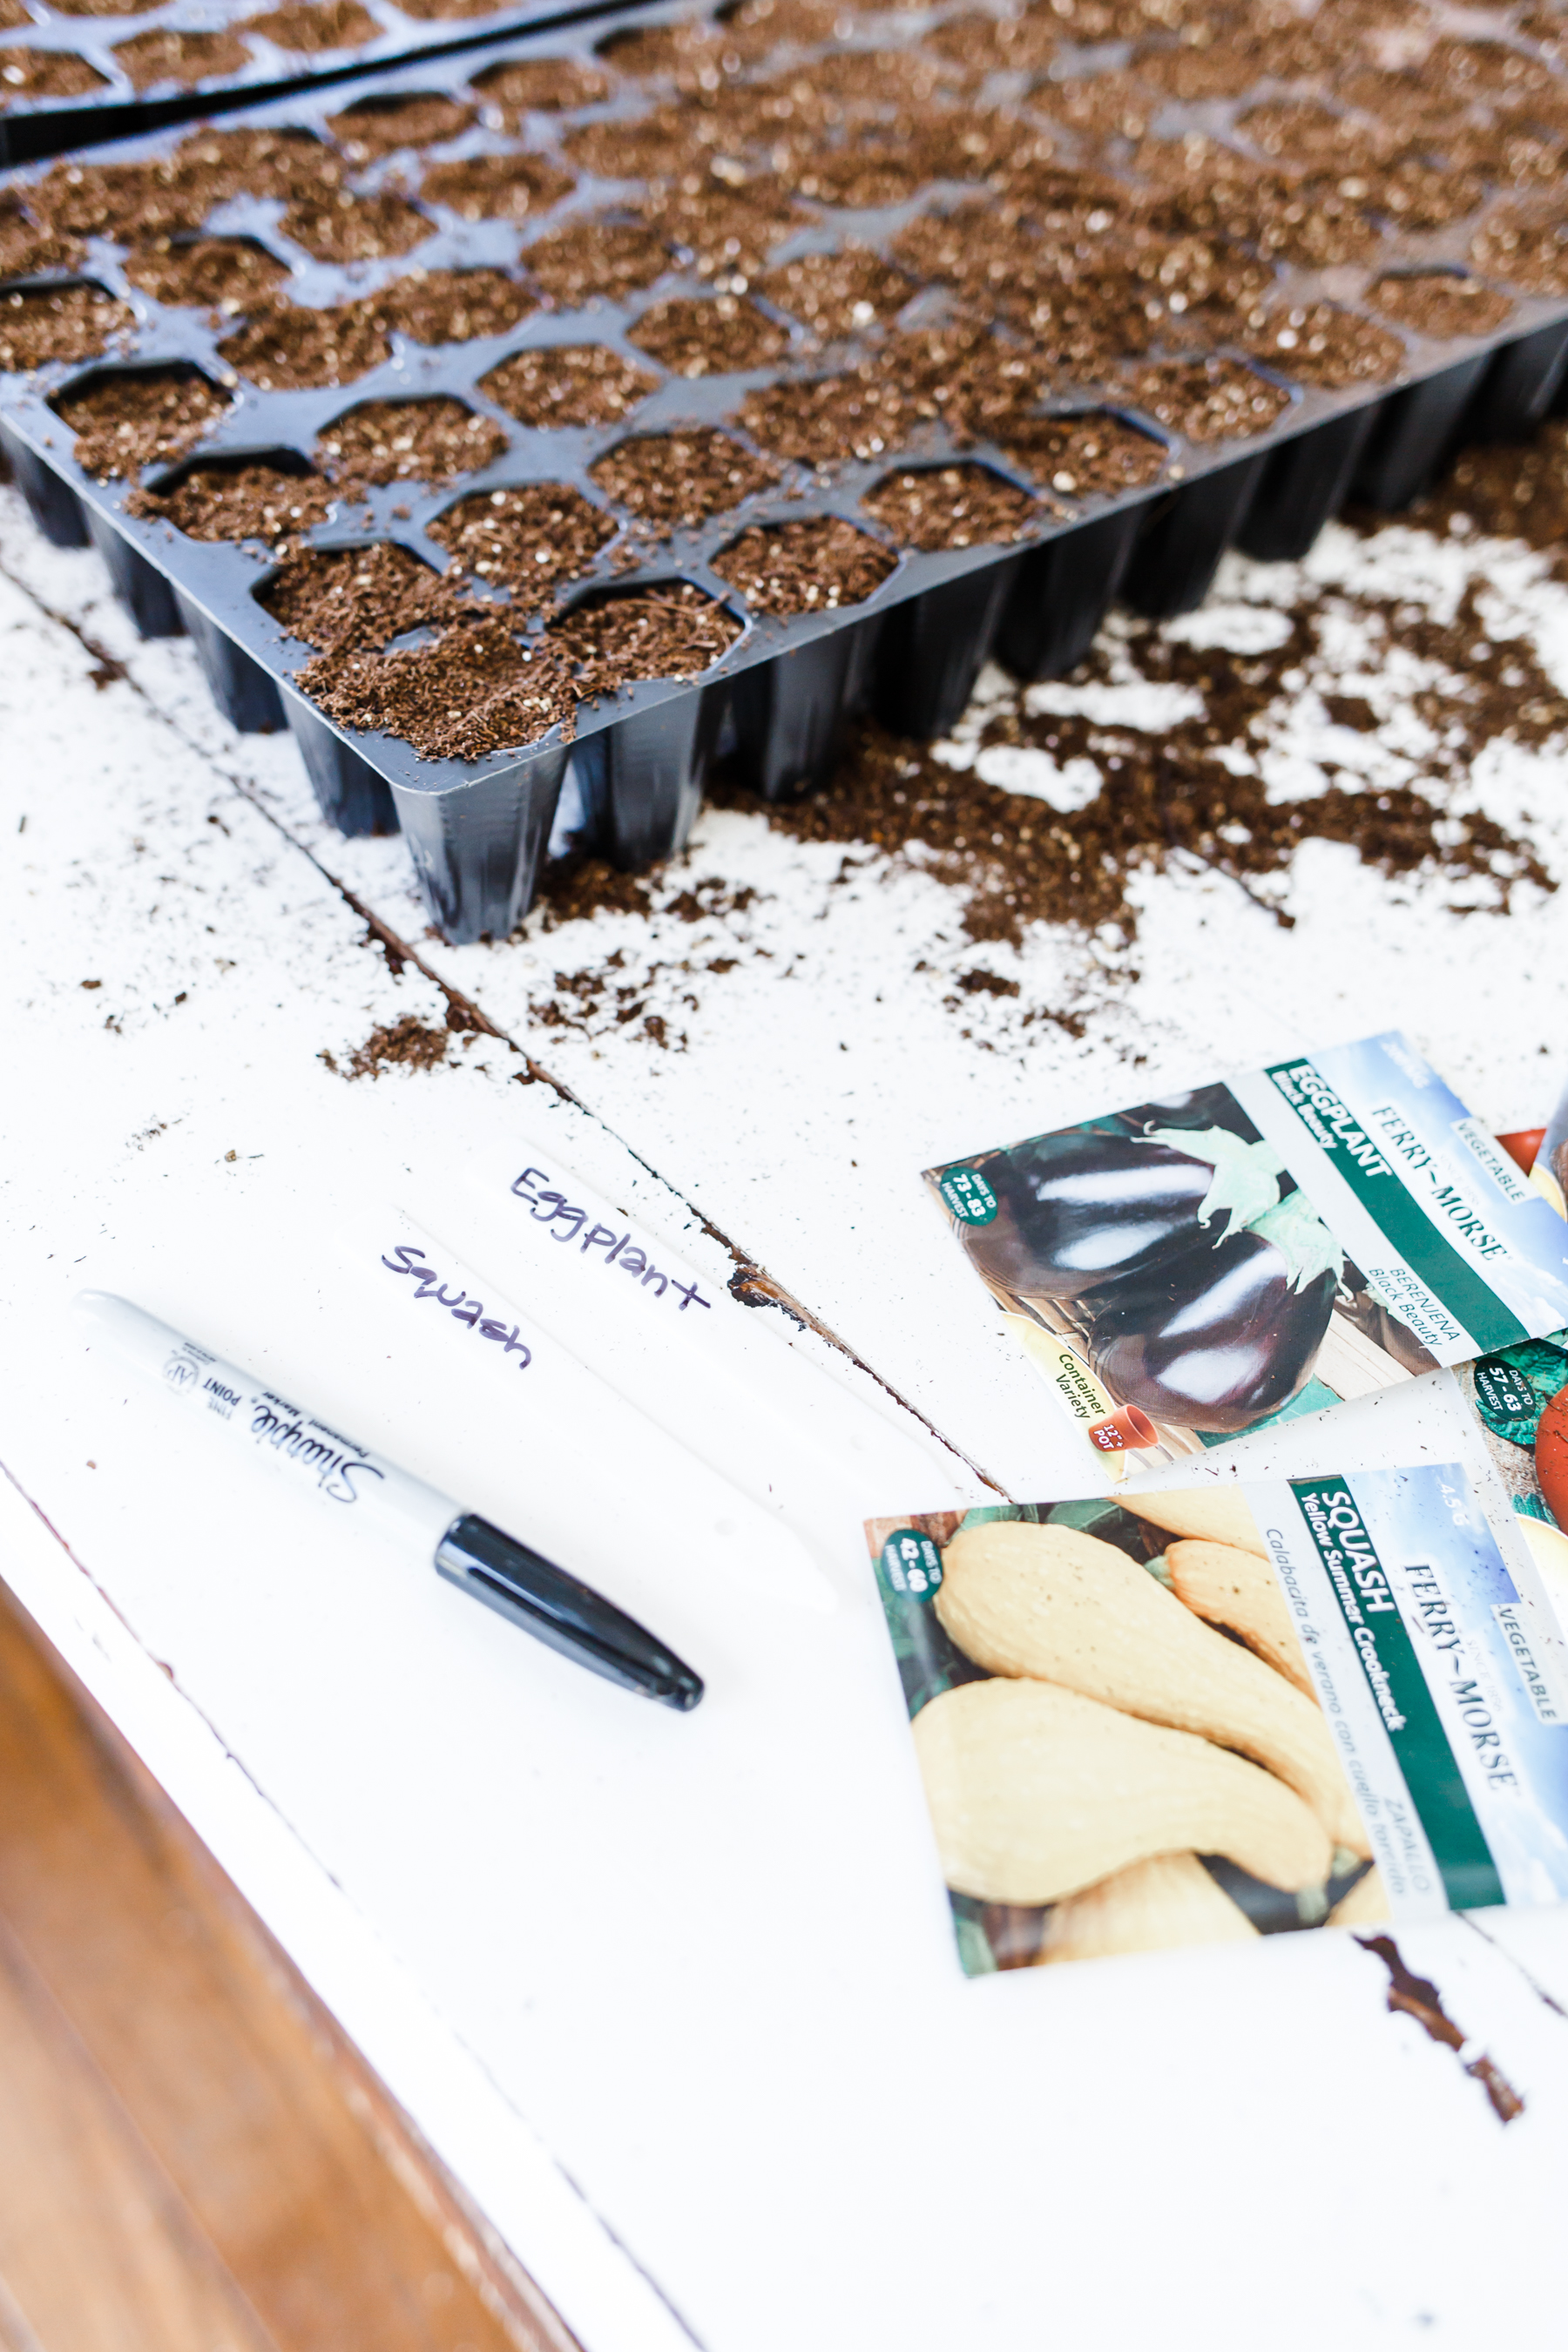
Fill your seed flats to the top with soil, make sure you don’t have air trapped in the the trays (you can tap it on the table if necessary), spread it all around to make sure it’s nice and even.
Step 2:
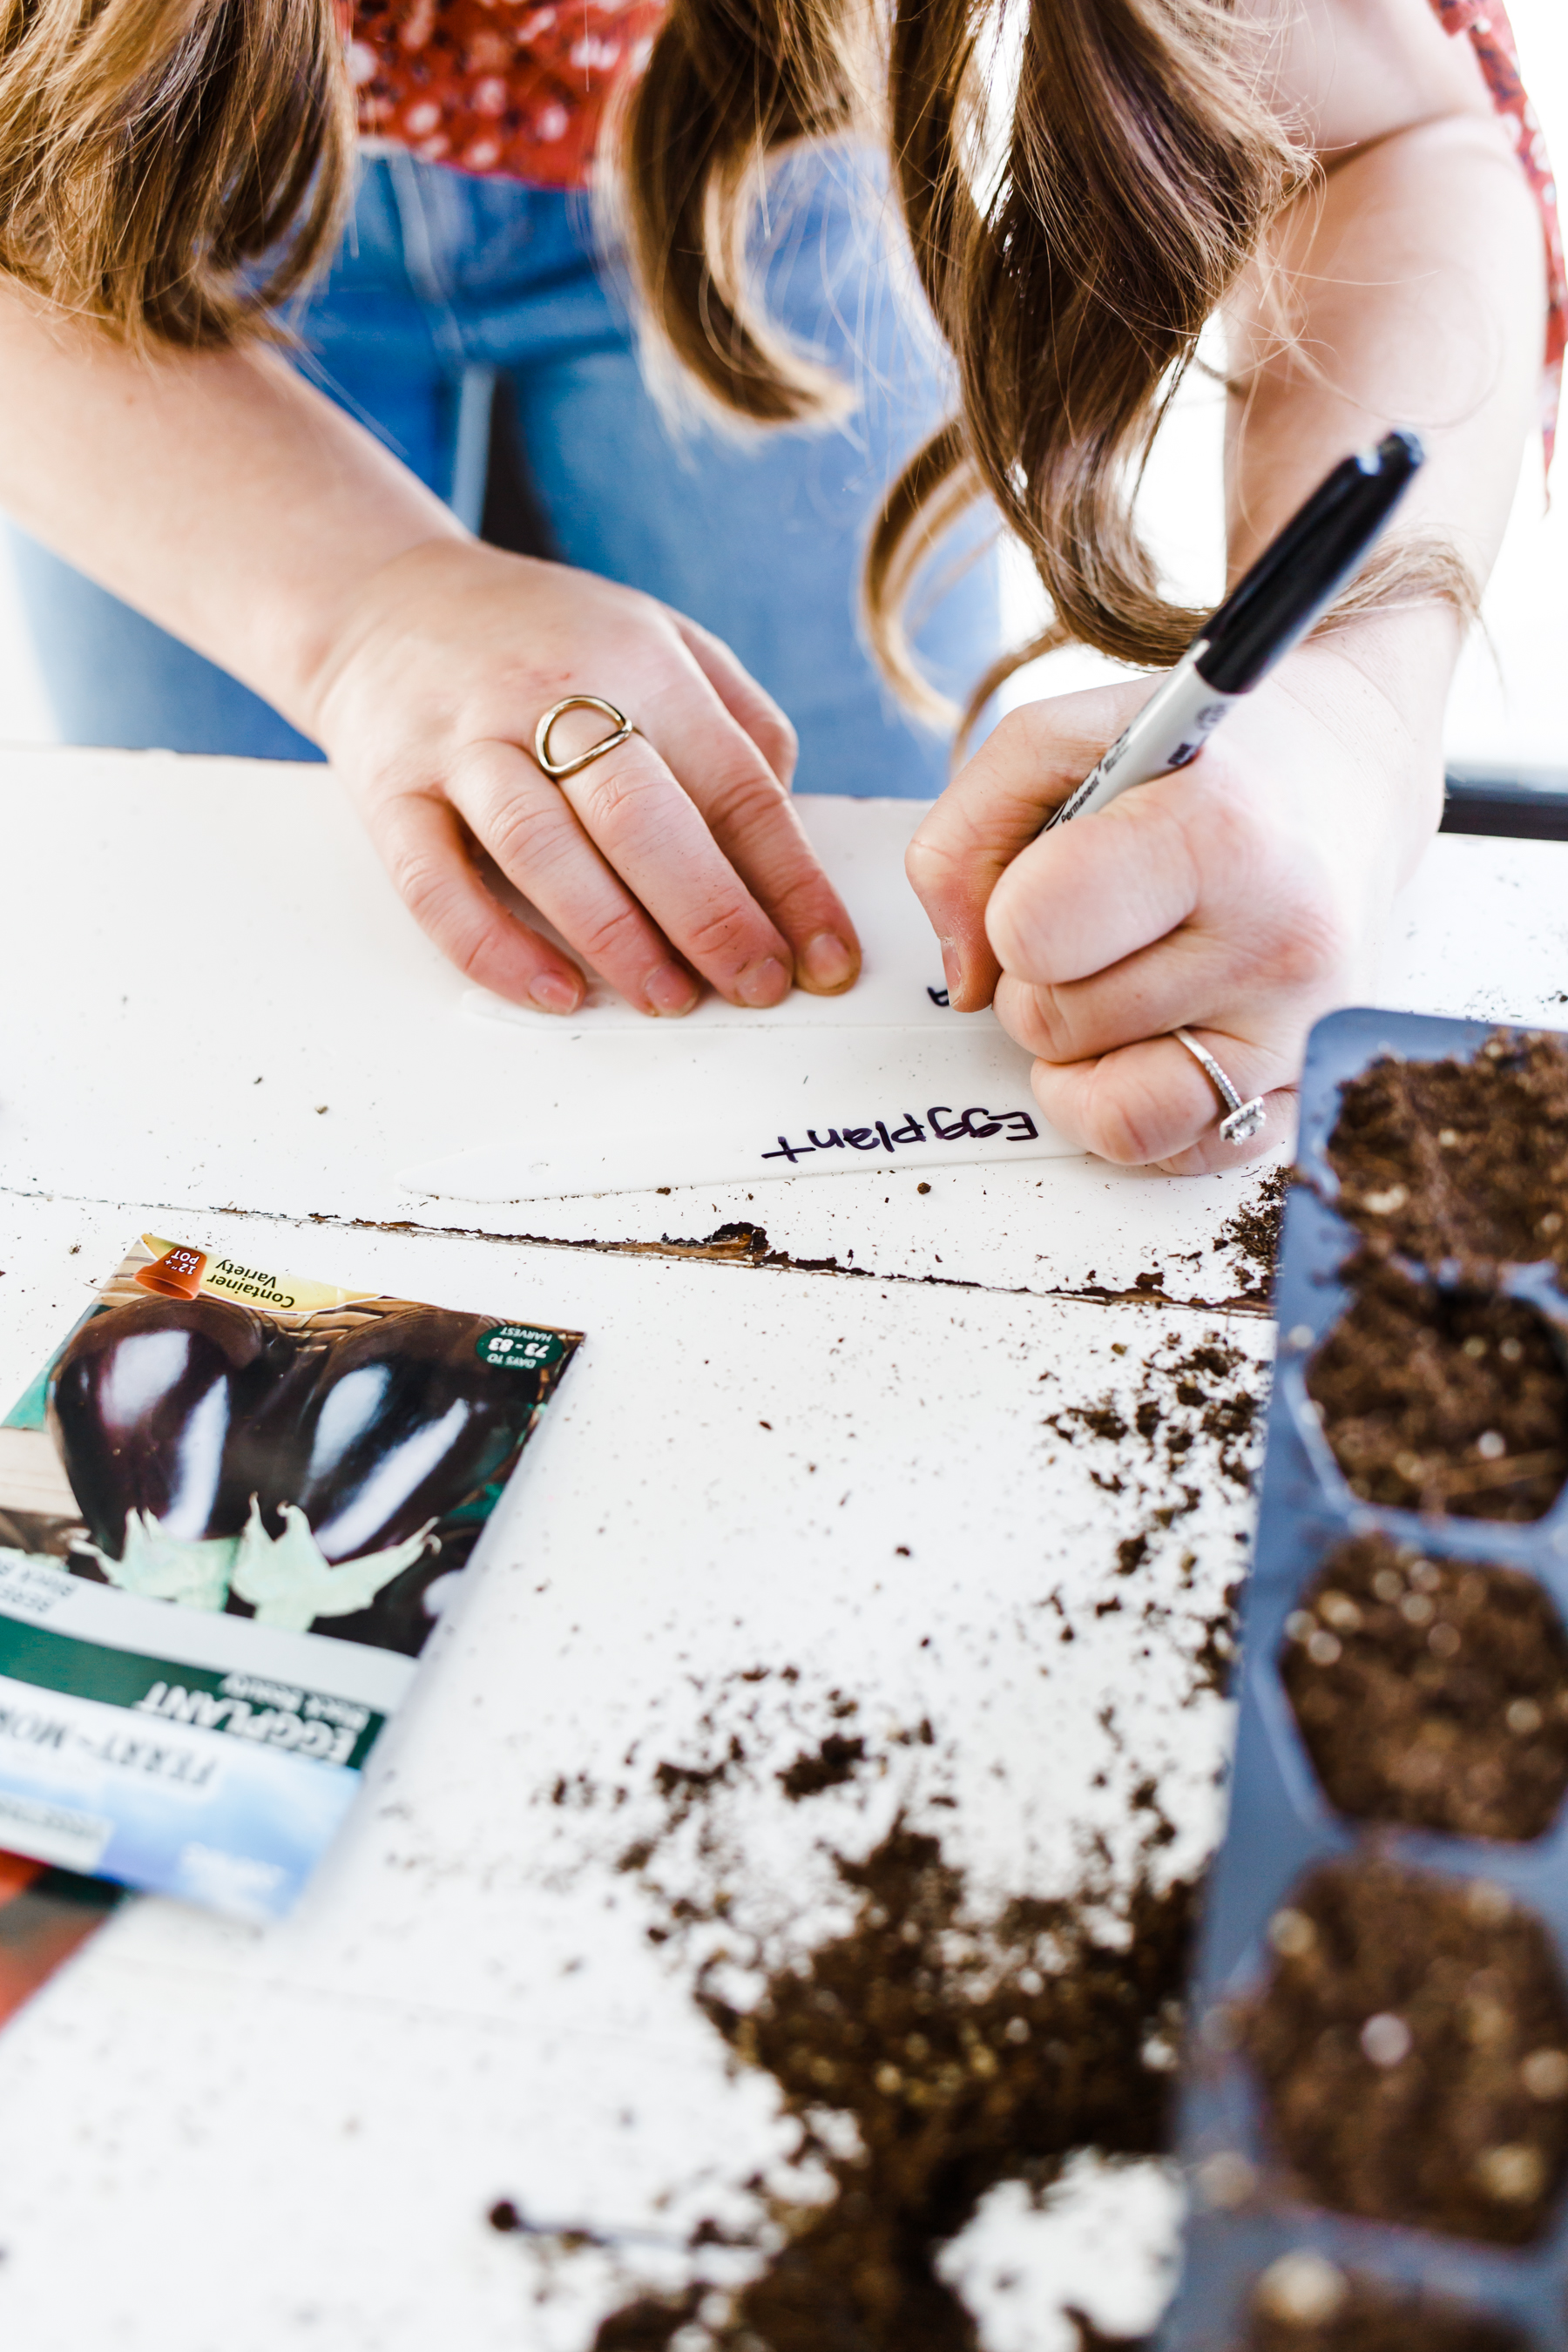
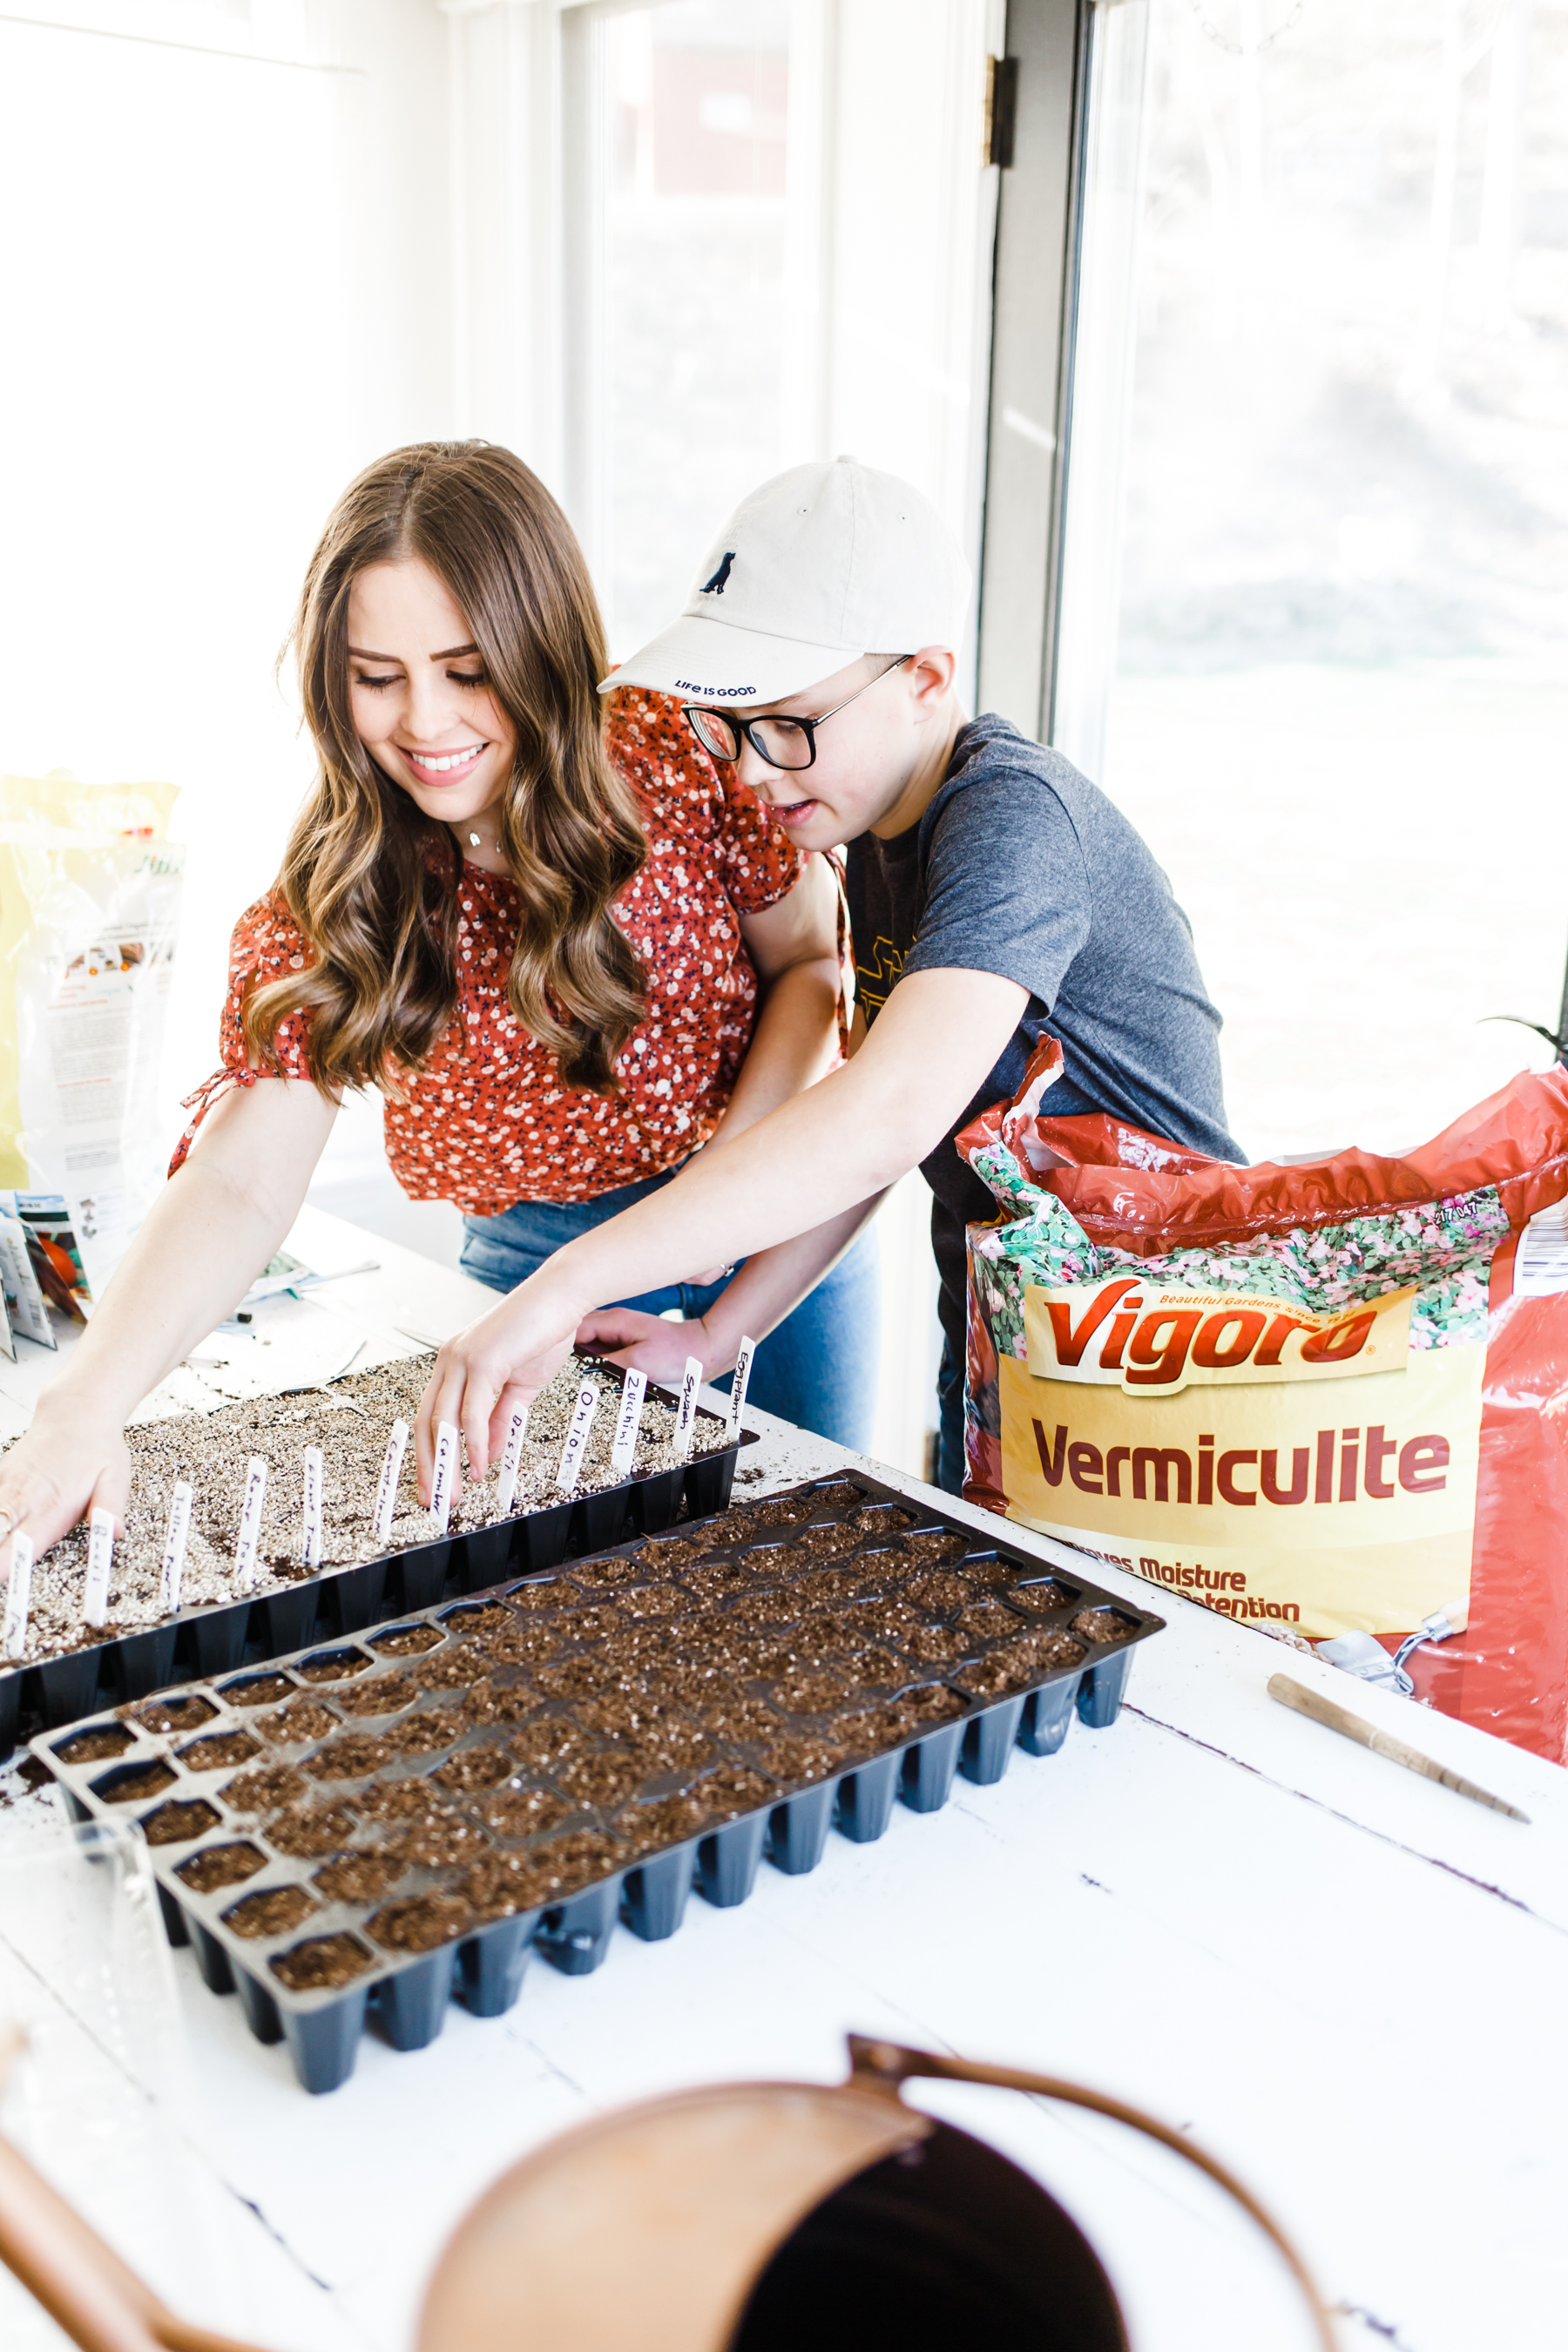
Write your seed variety on the label and label each row as you plant so you know what each one is. You do not want to lose track of what’s what because it will make a difference when it comes time to transplant later.
Step 3:
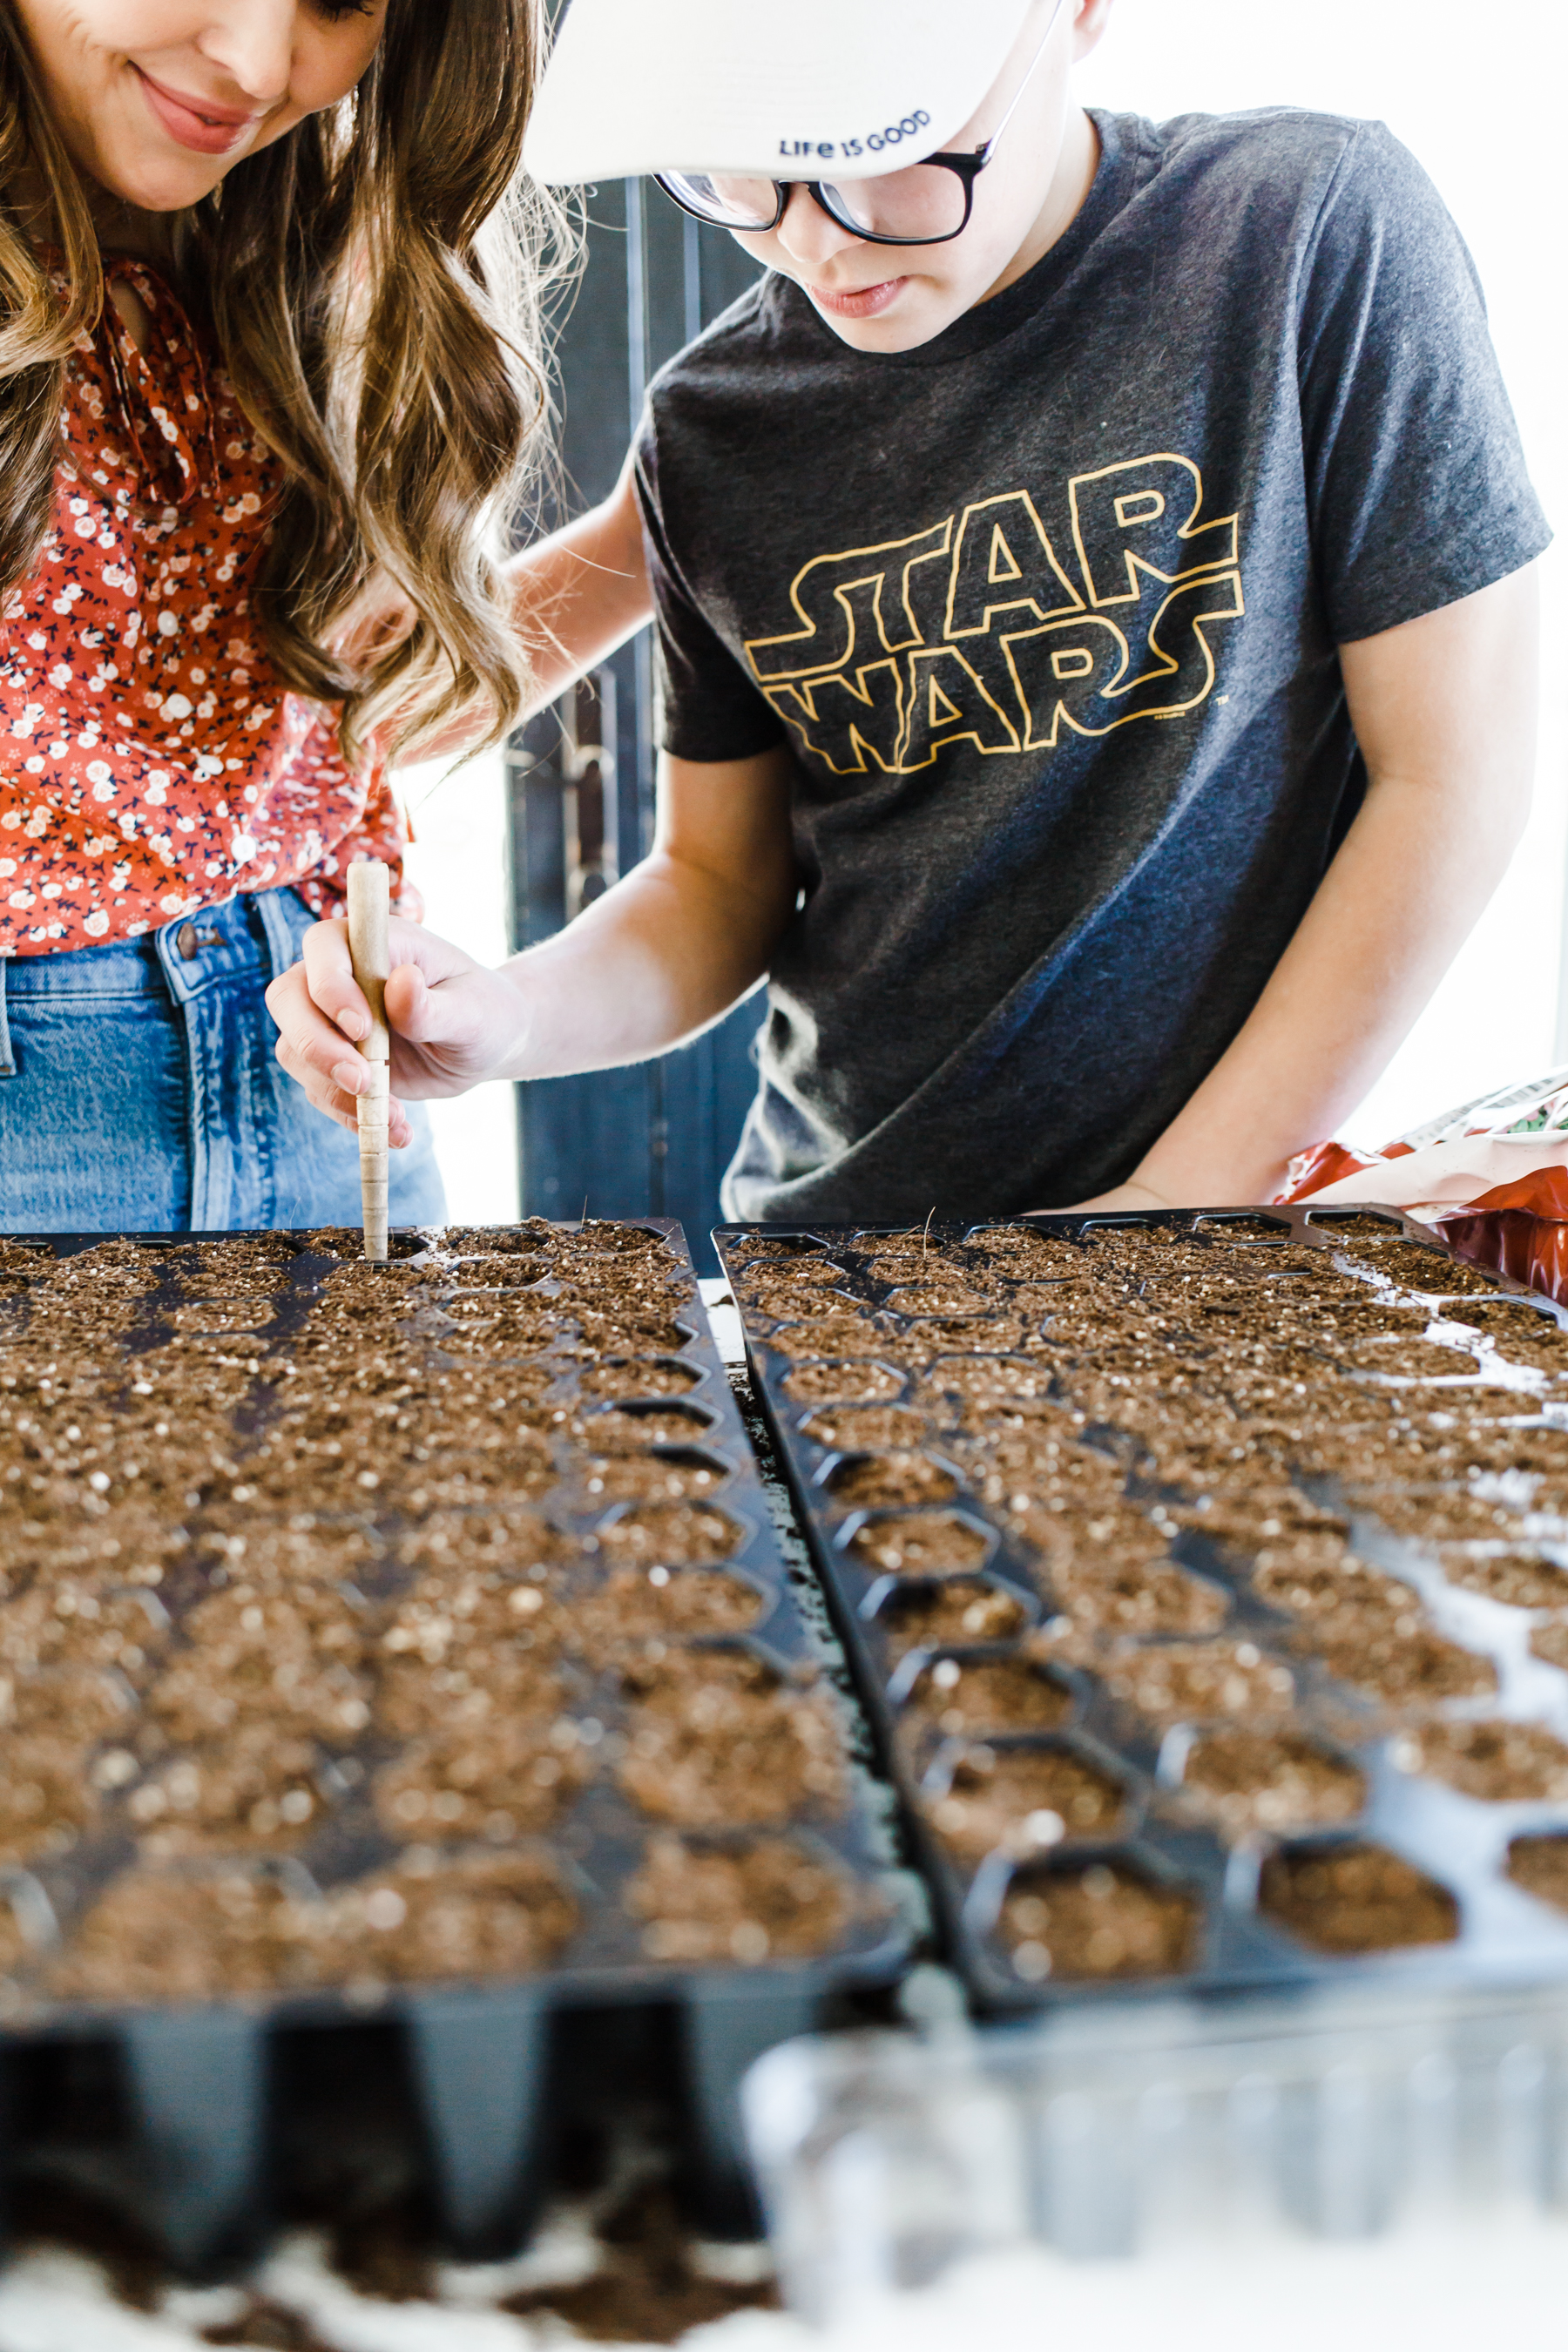
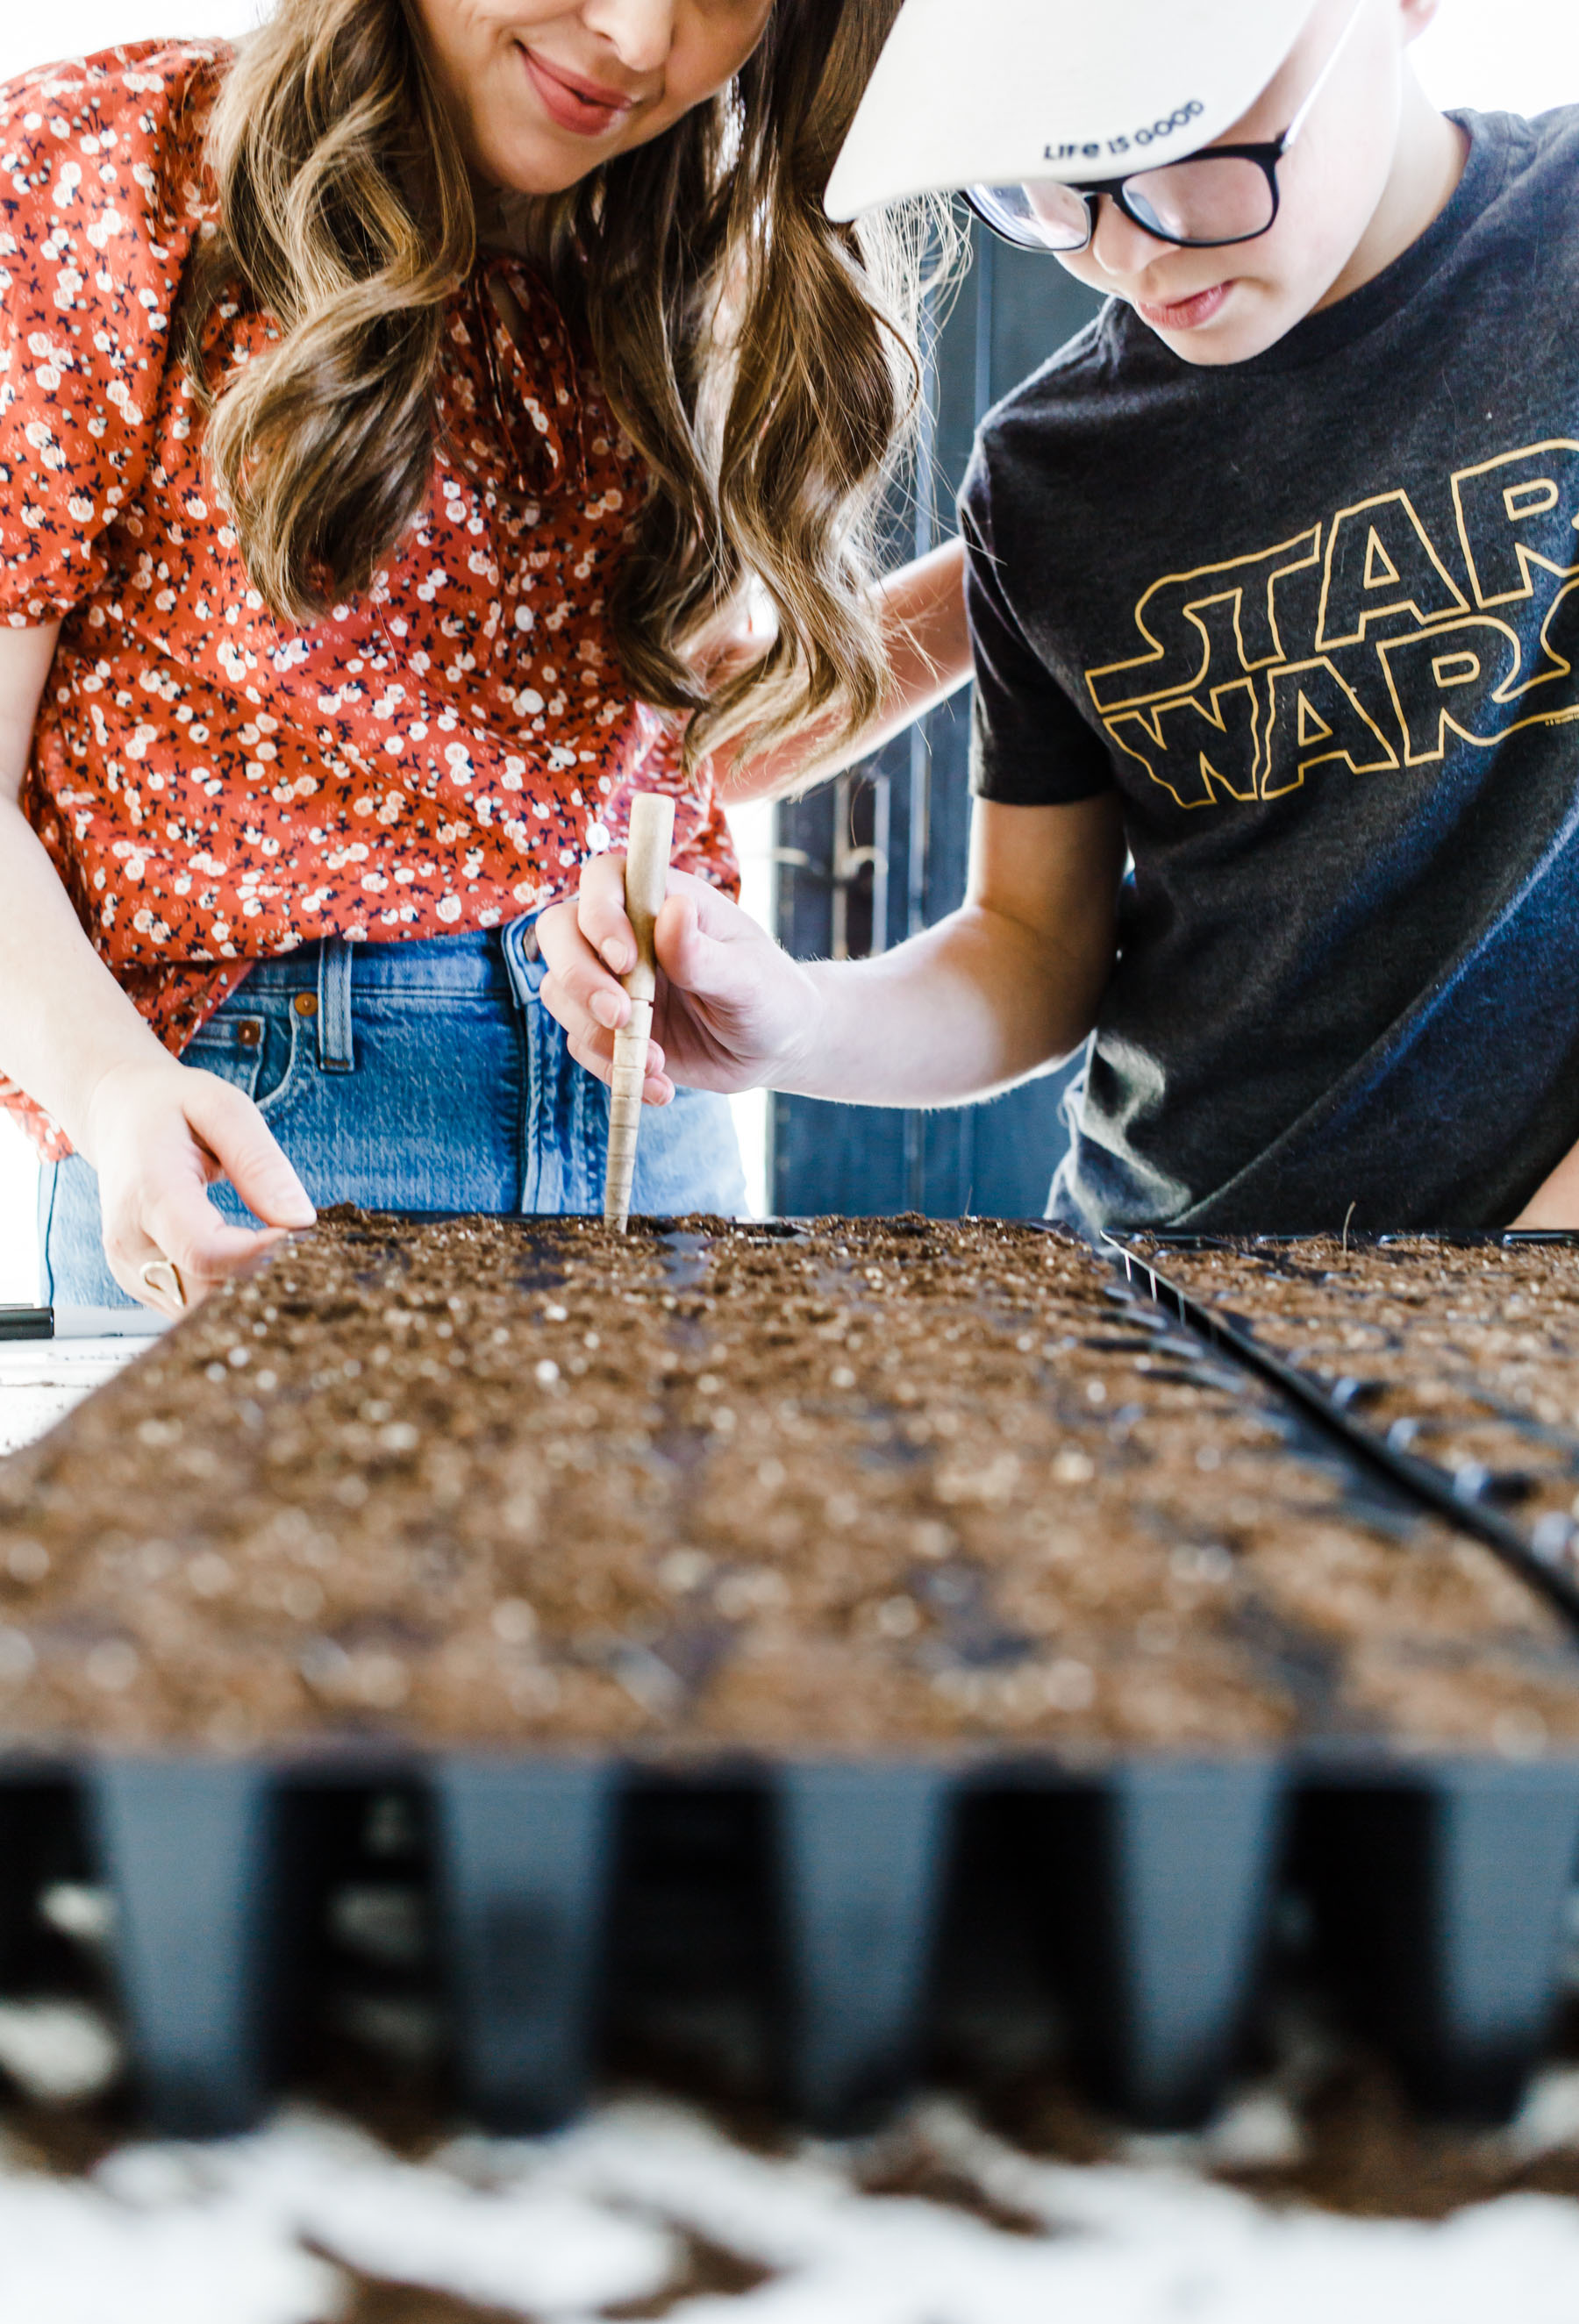
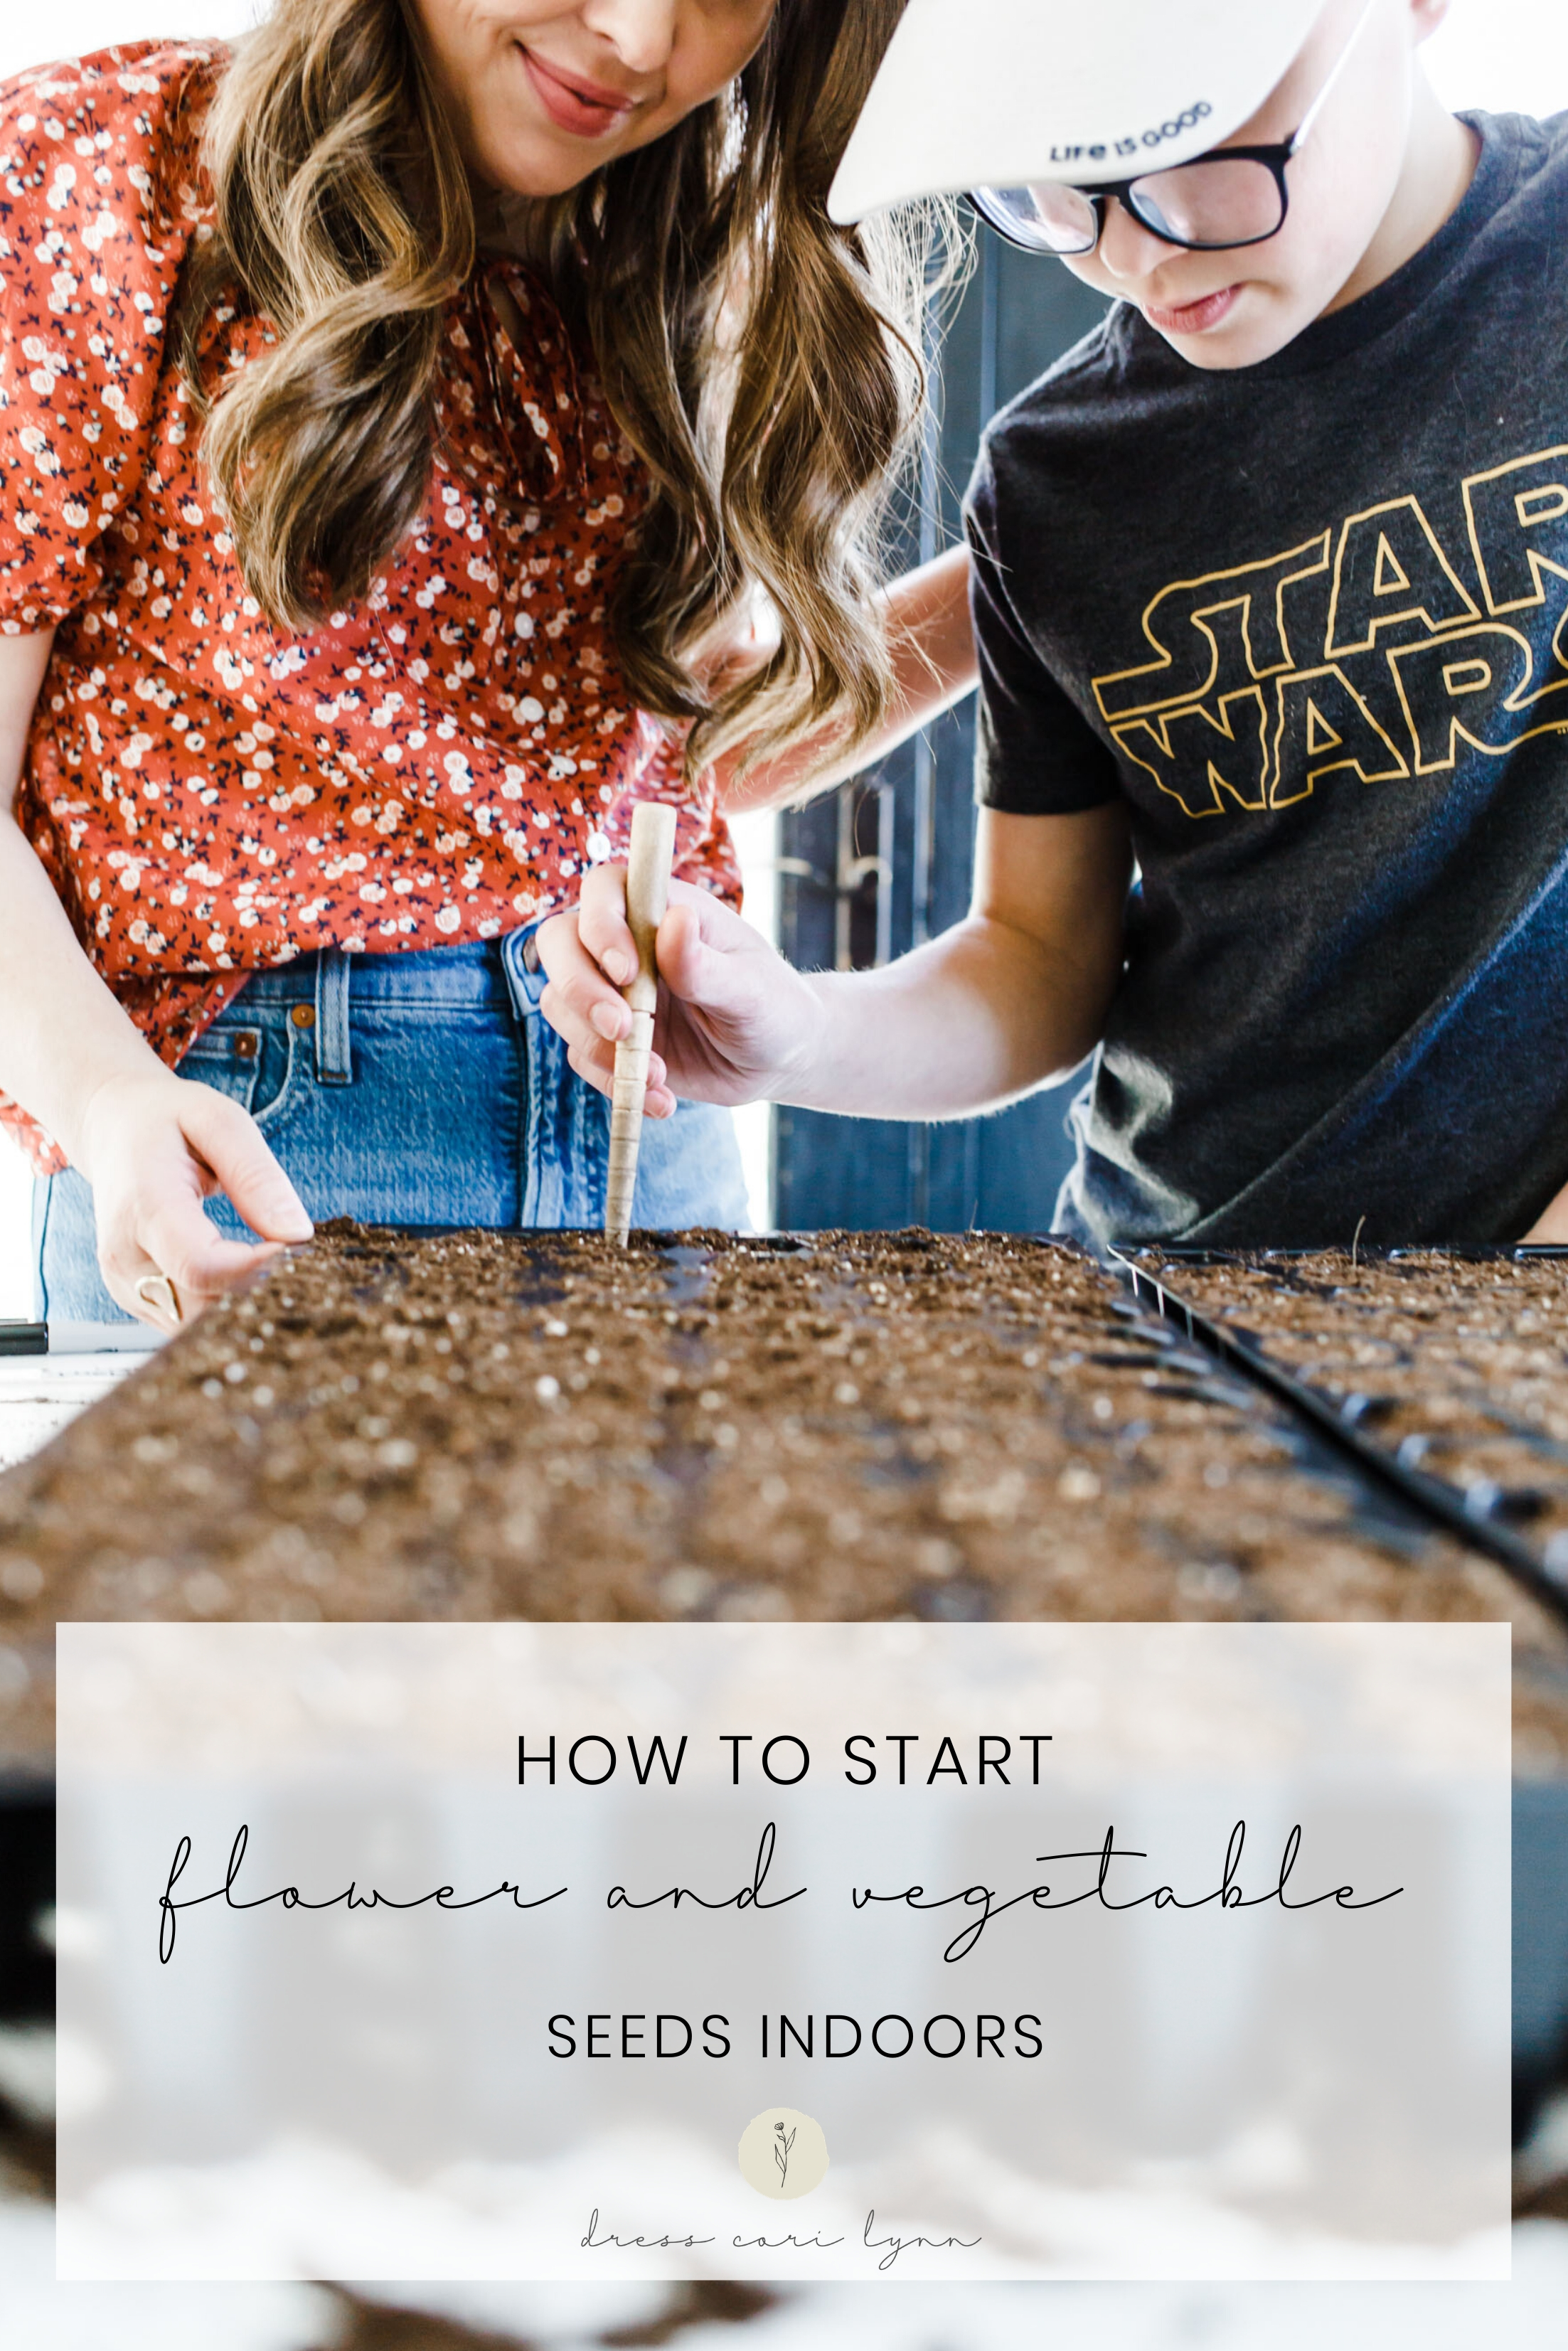
Using a dibbler, your finger or a pencil make holes for the seed. For depth: a general rule is twice as deep at the seed’s size. Lots of seed packets also list panting depth for you as well.
Step 4:
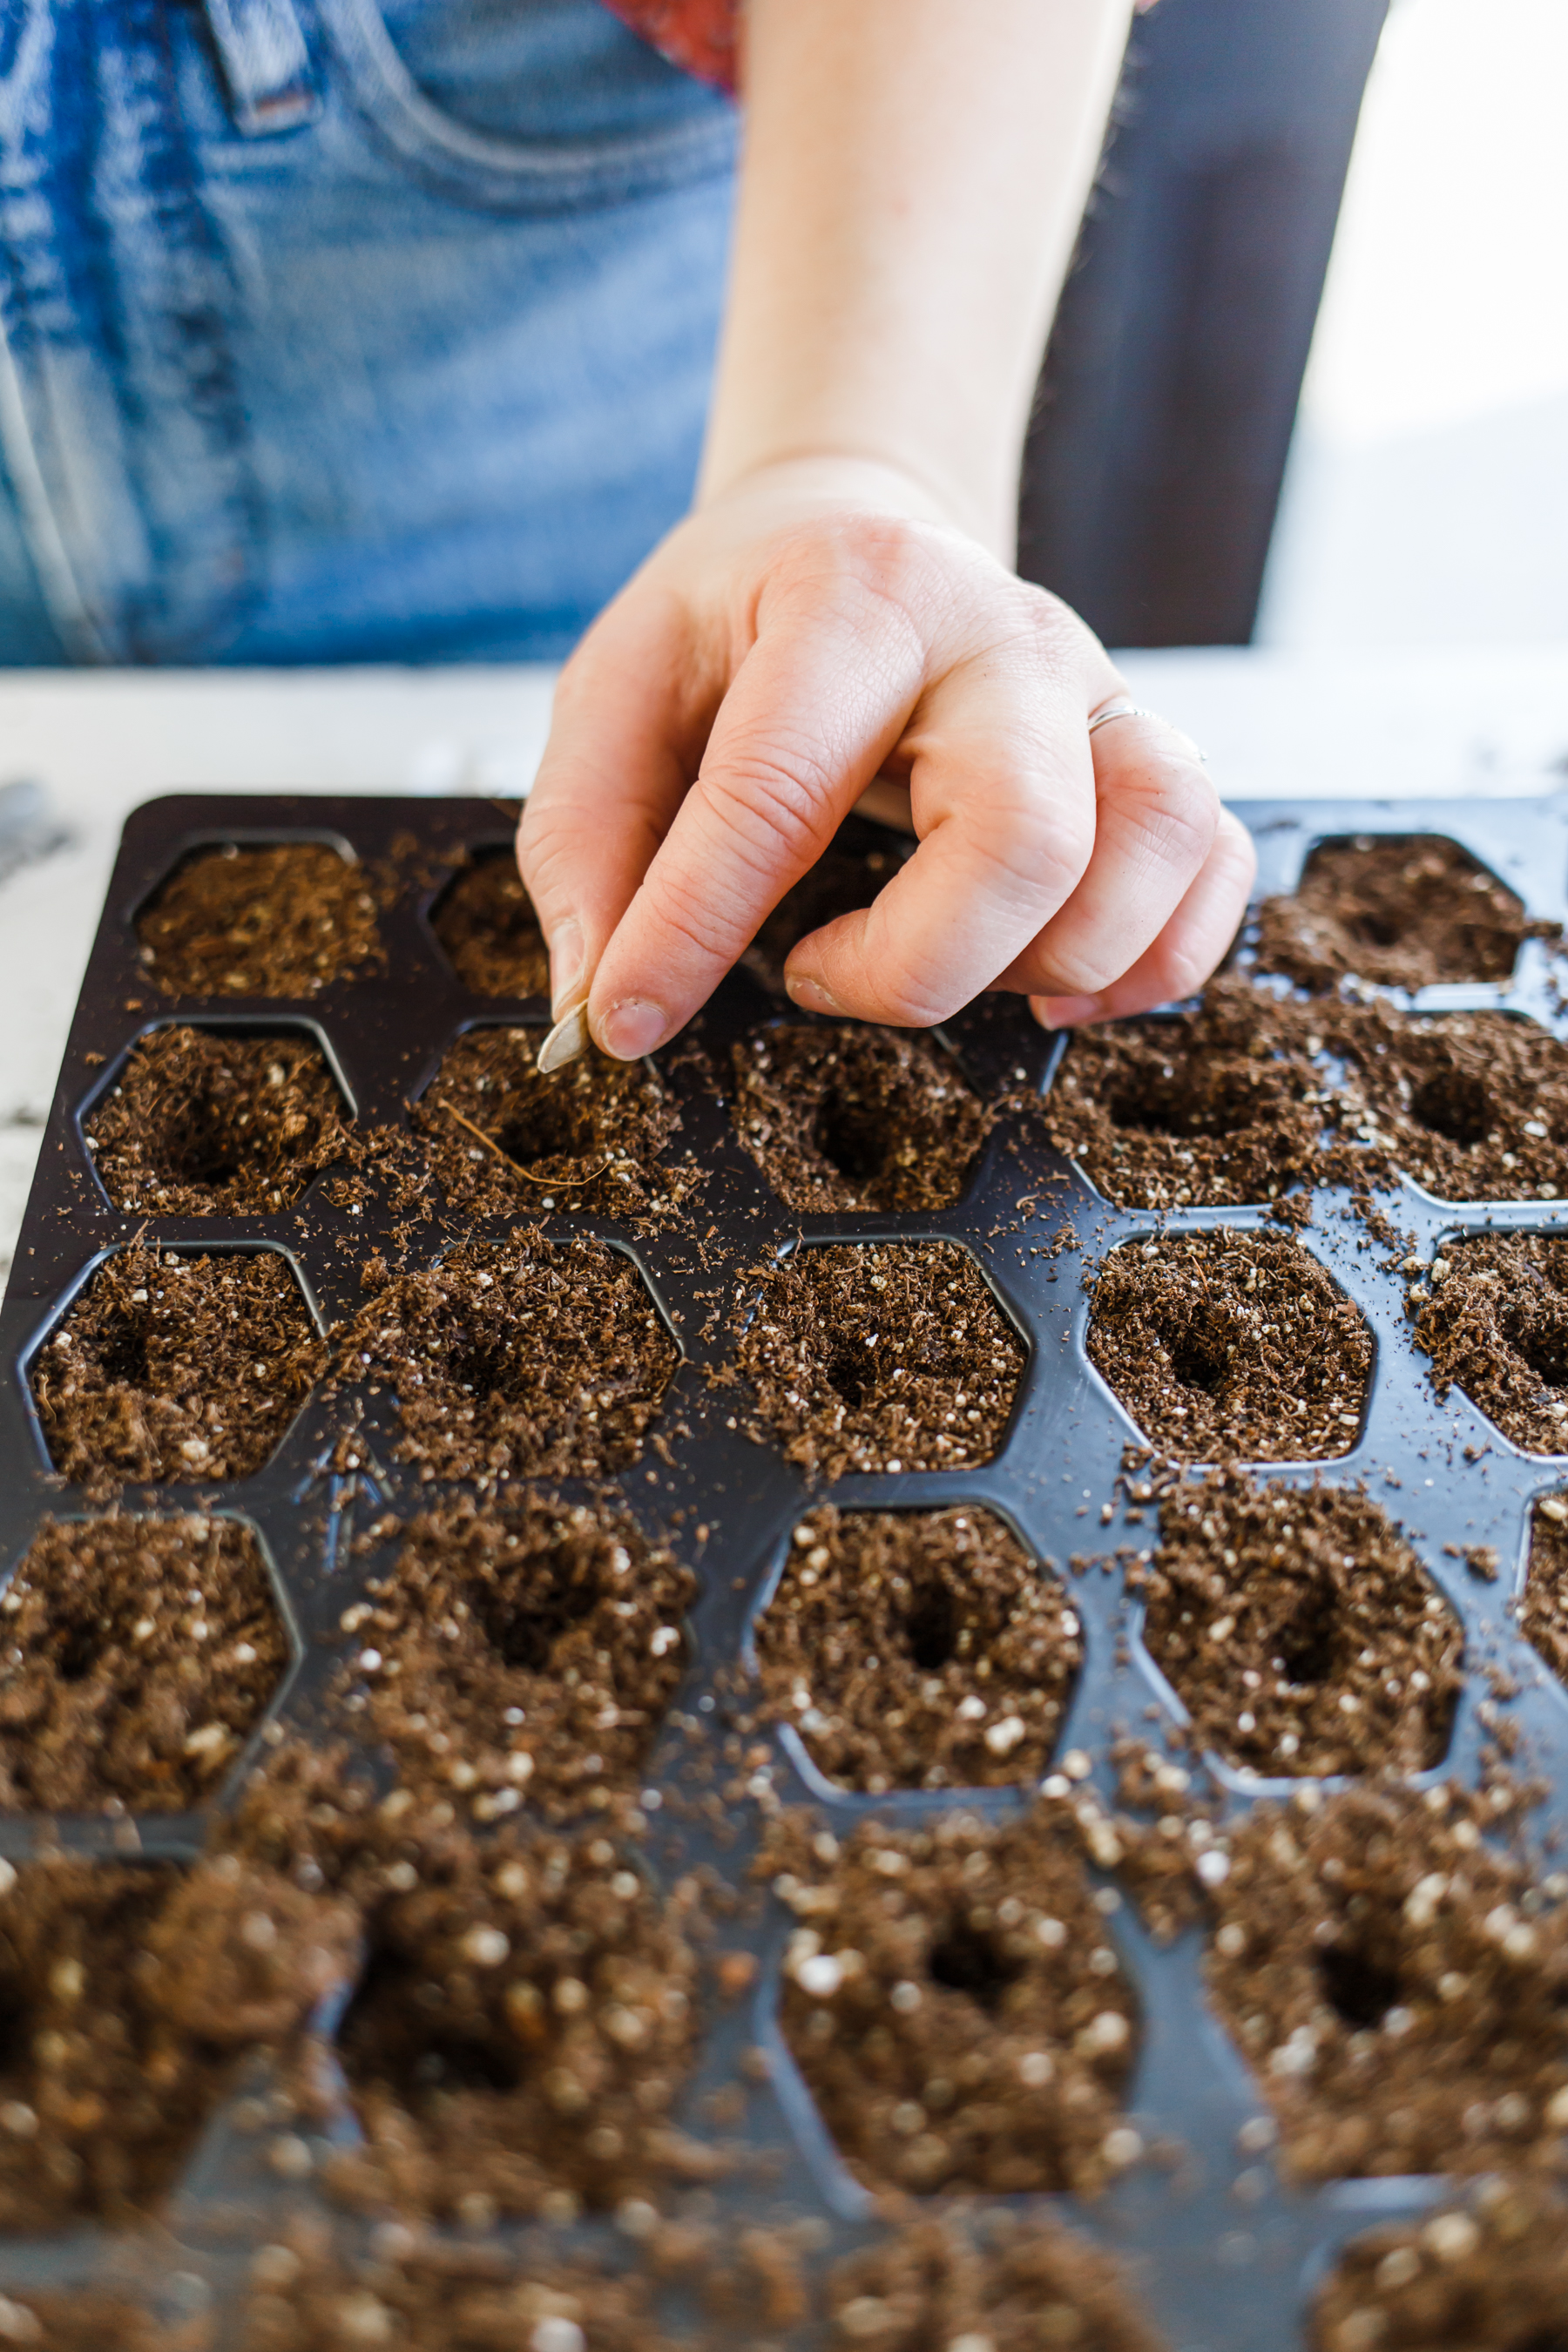
Carefully drop 1 to 2 seeds in each whole and gently cover with soil.
Step 5:
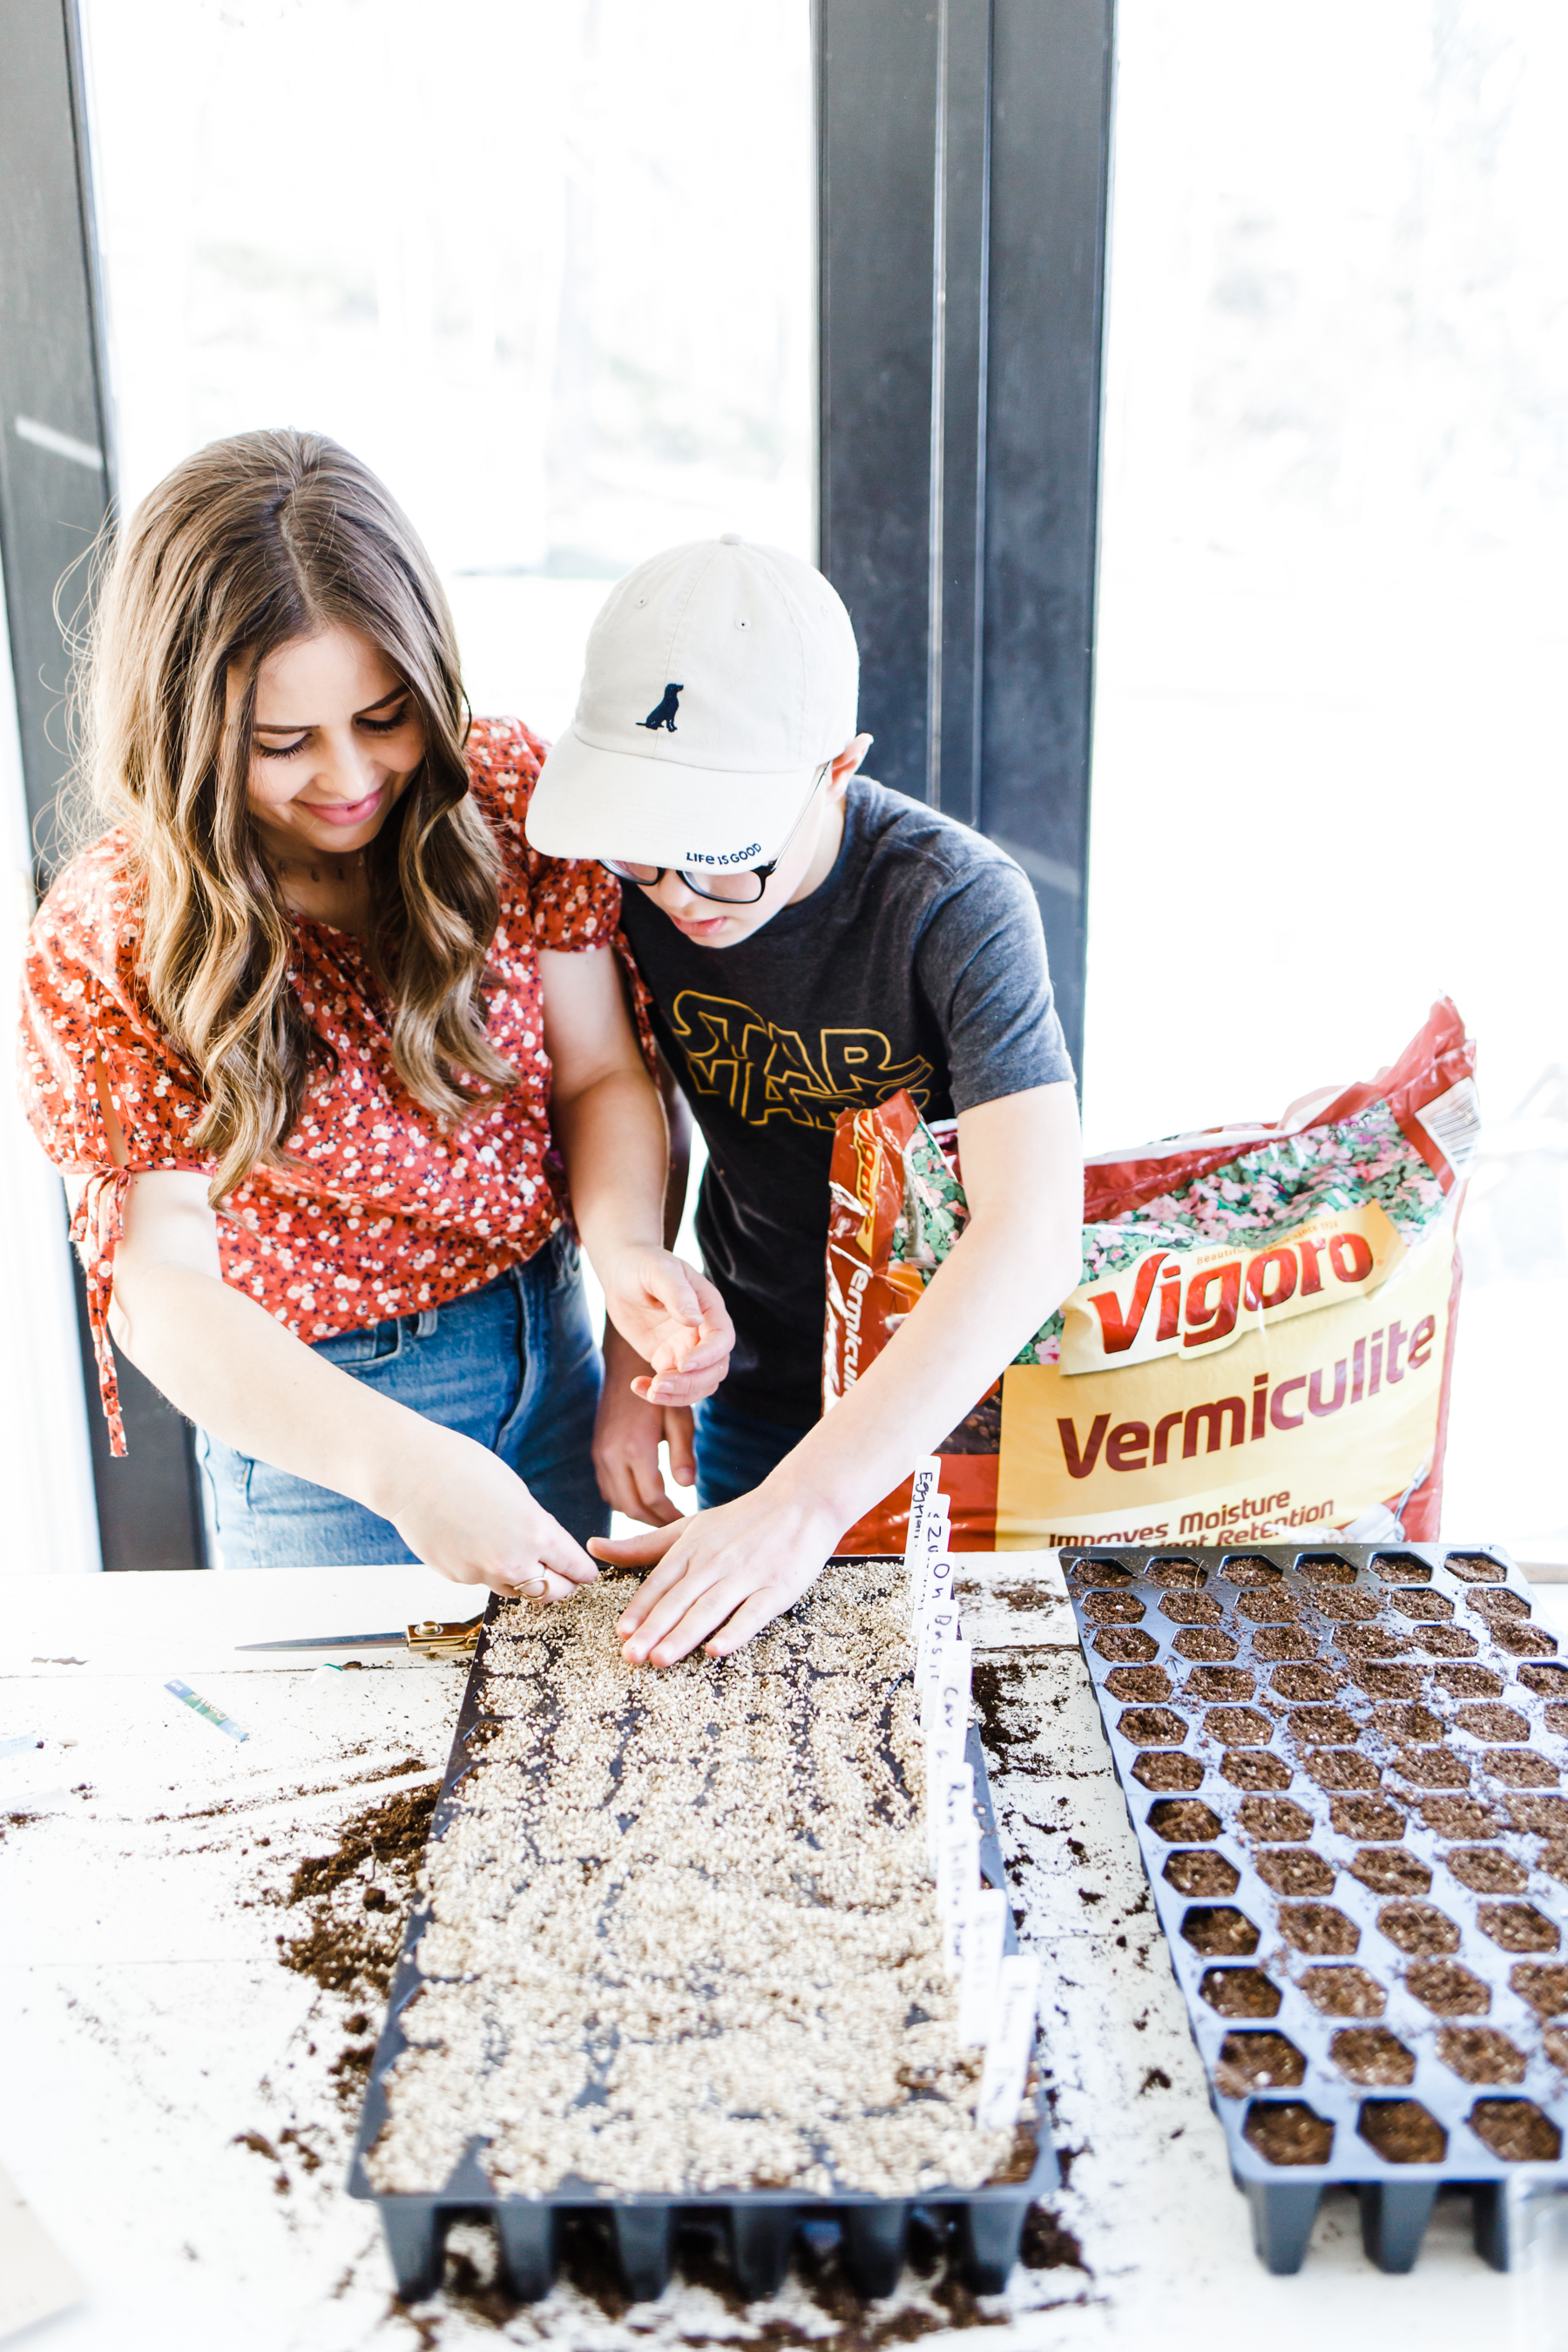
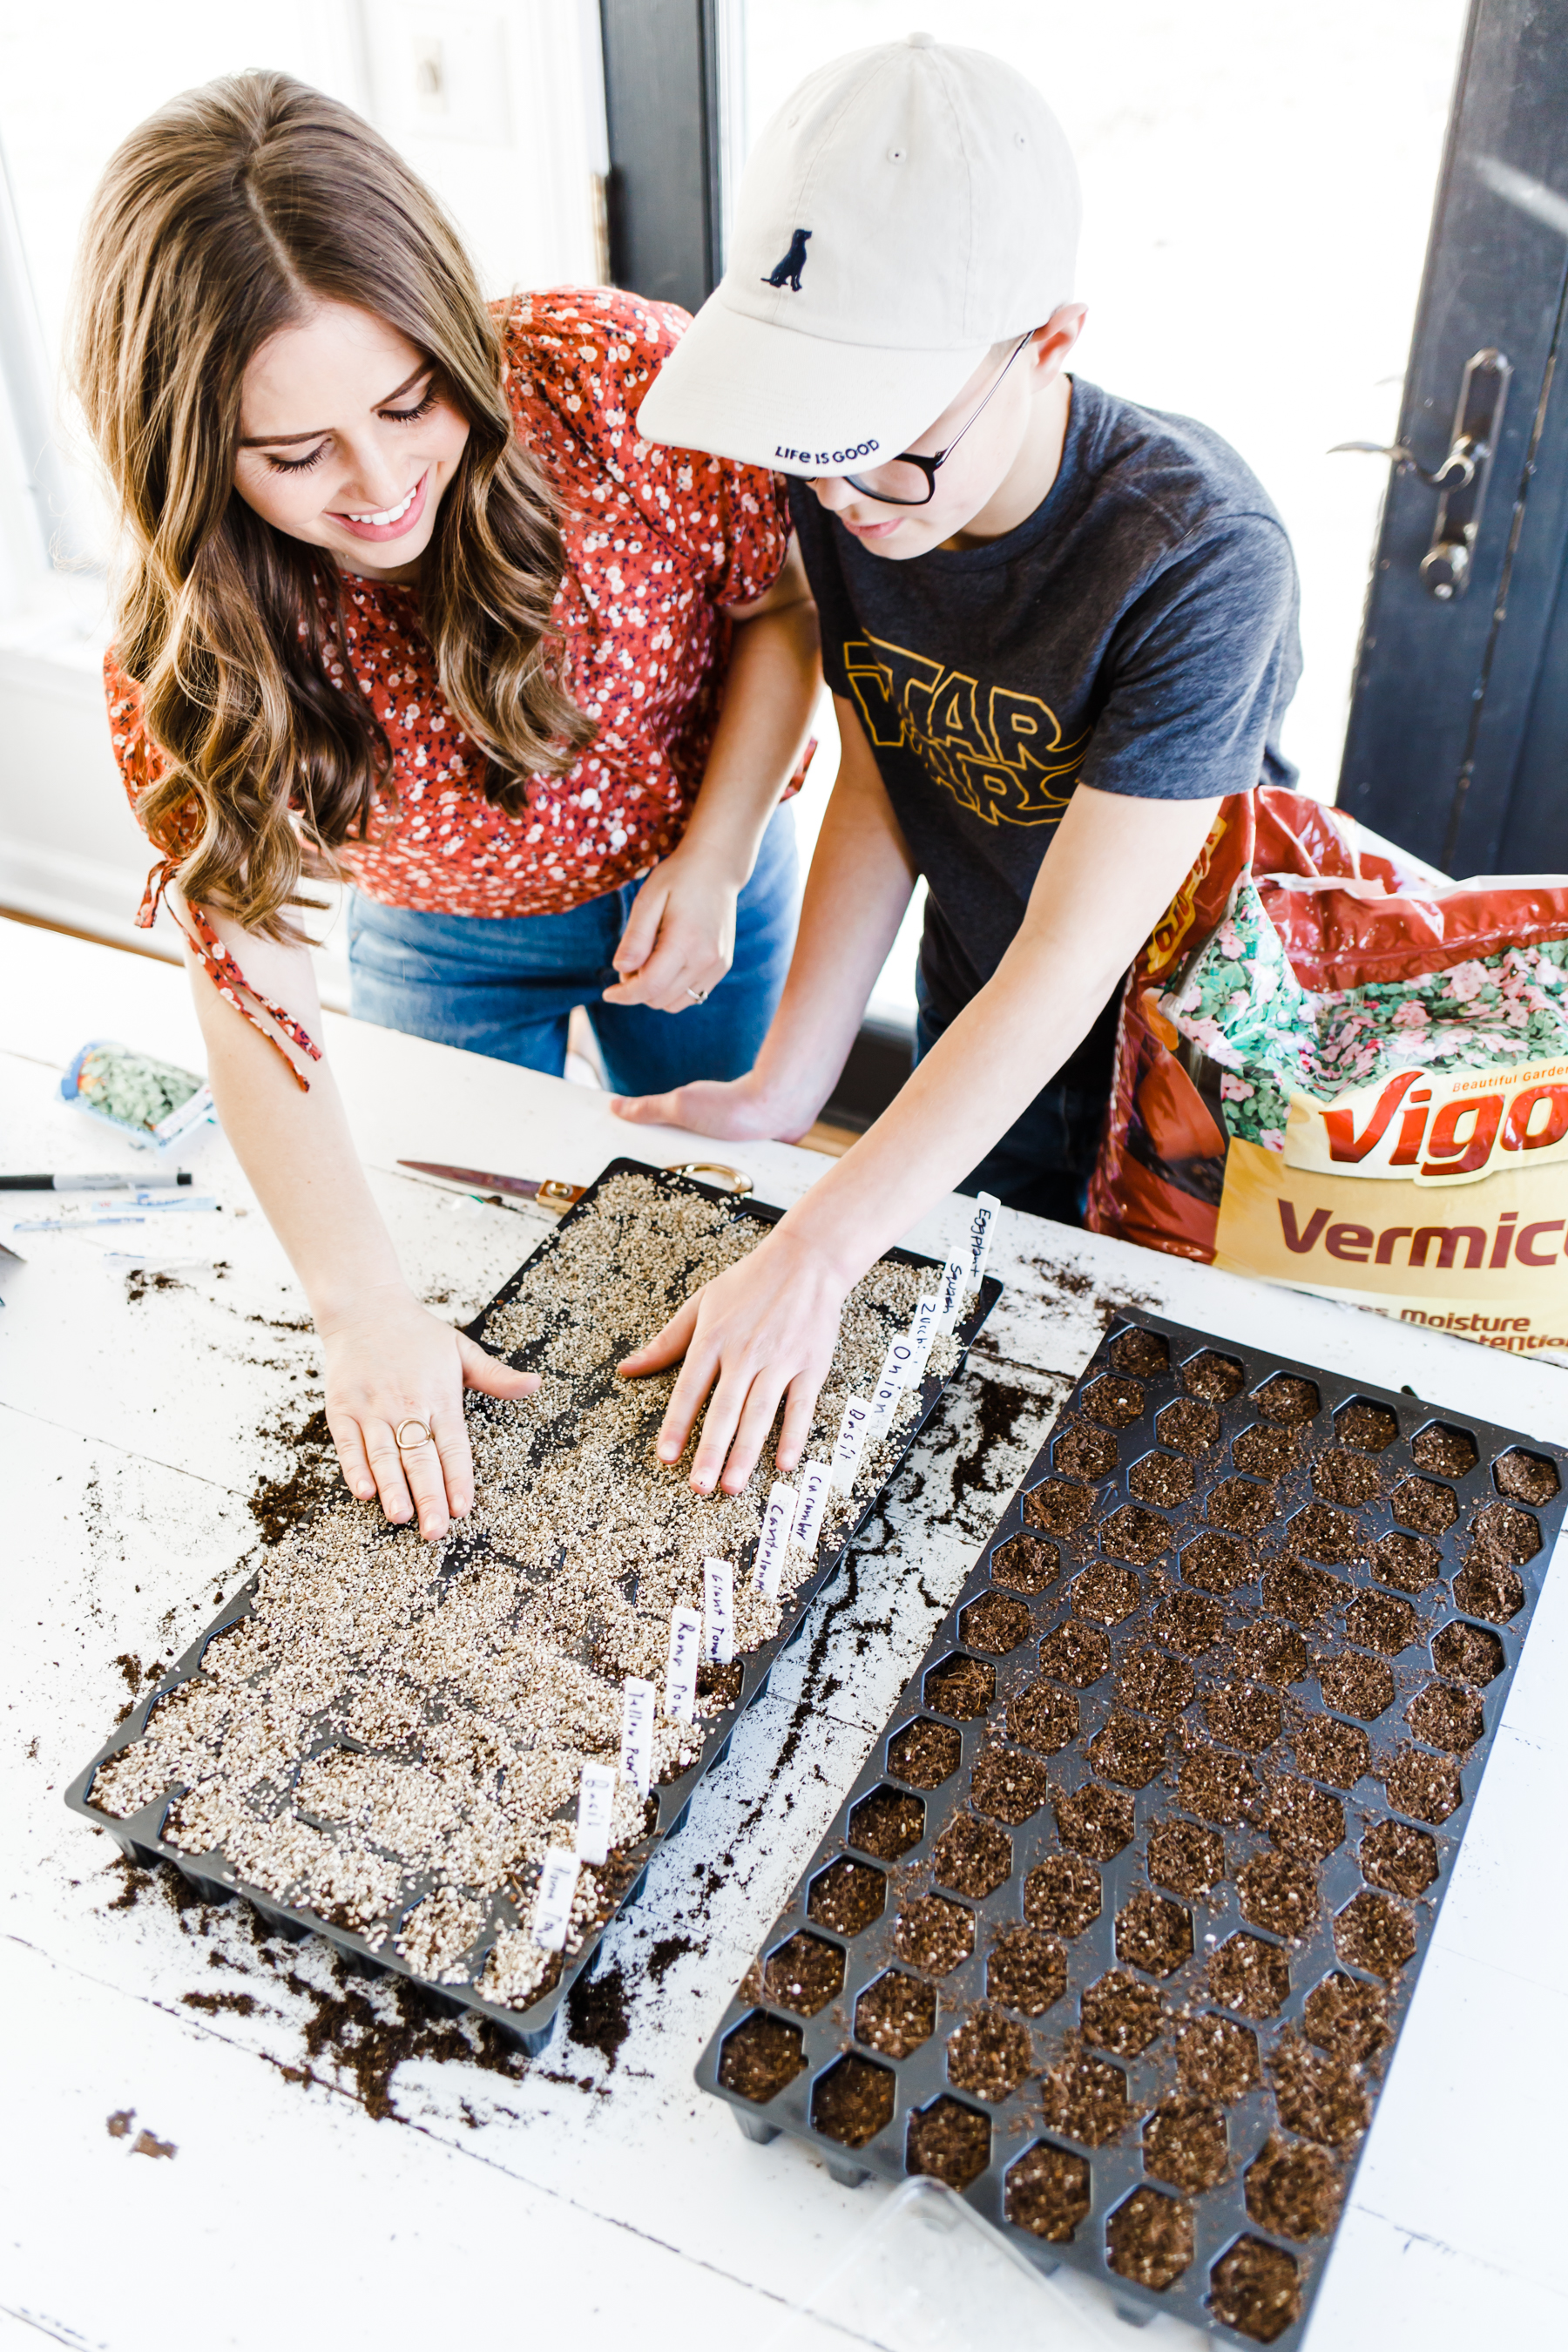
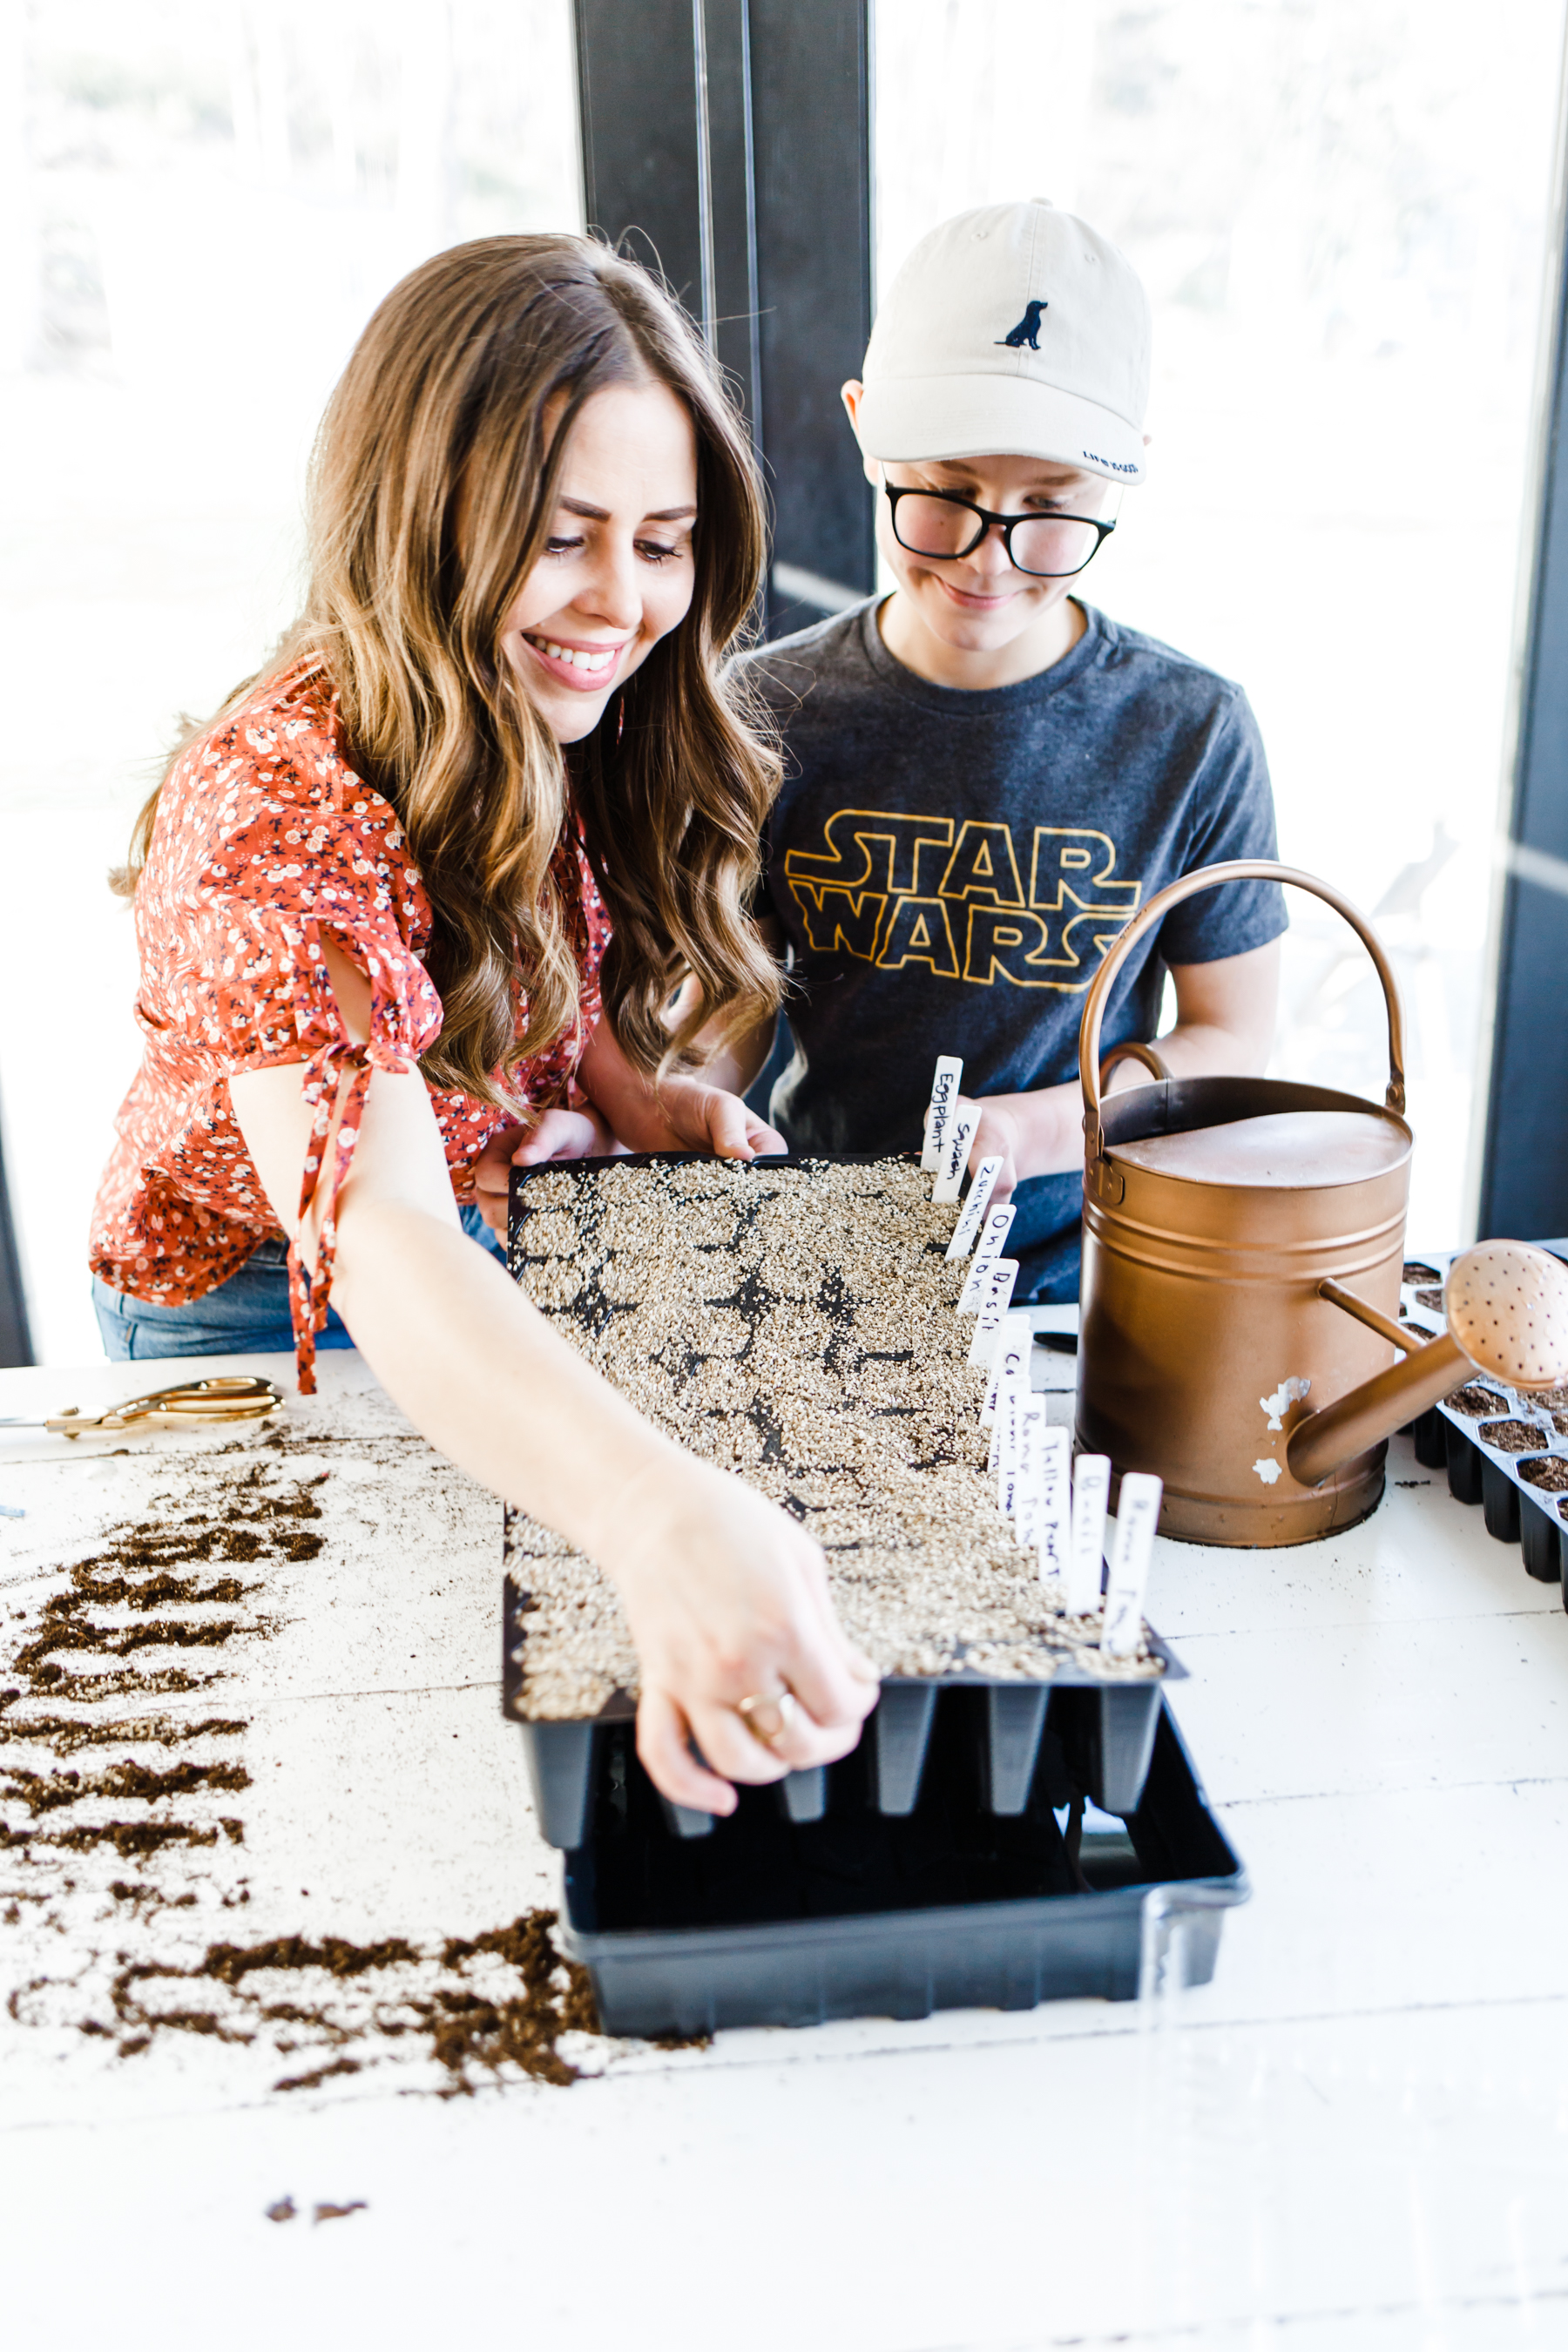
Gently sprinkle the entire top of the tray with a dusting of vermiculite and carefully spread to cover all the seed holes.
Step 6:
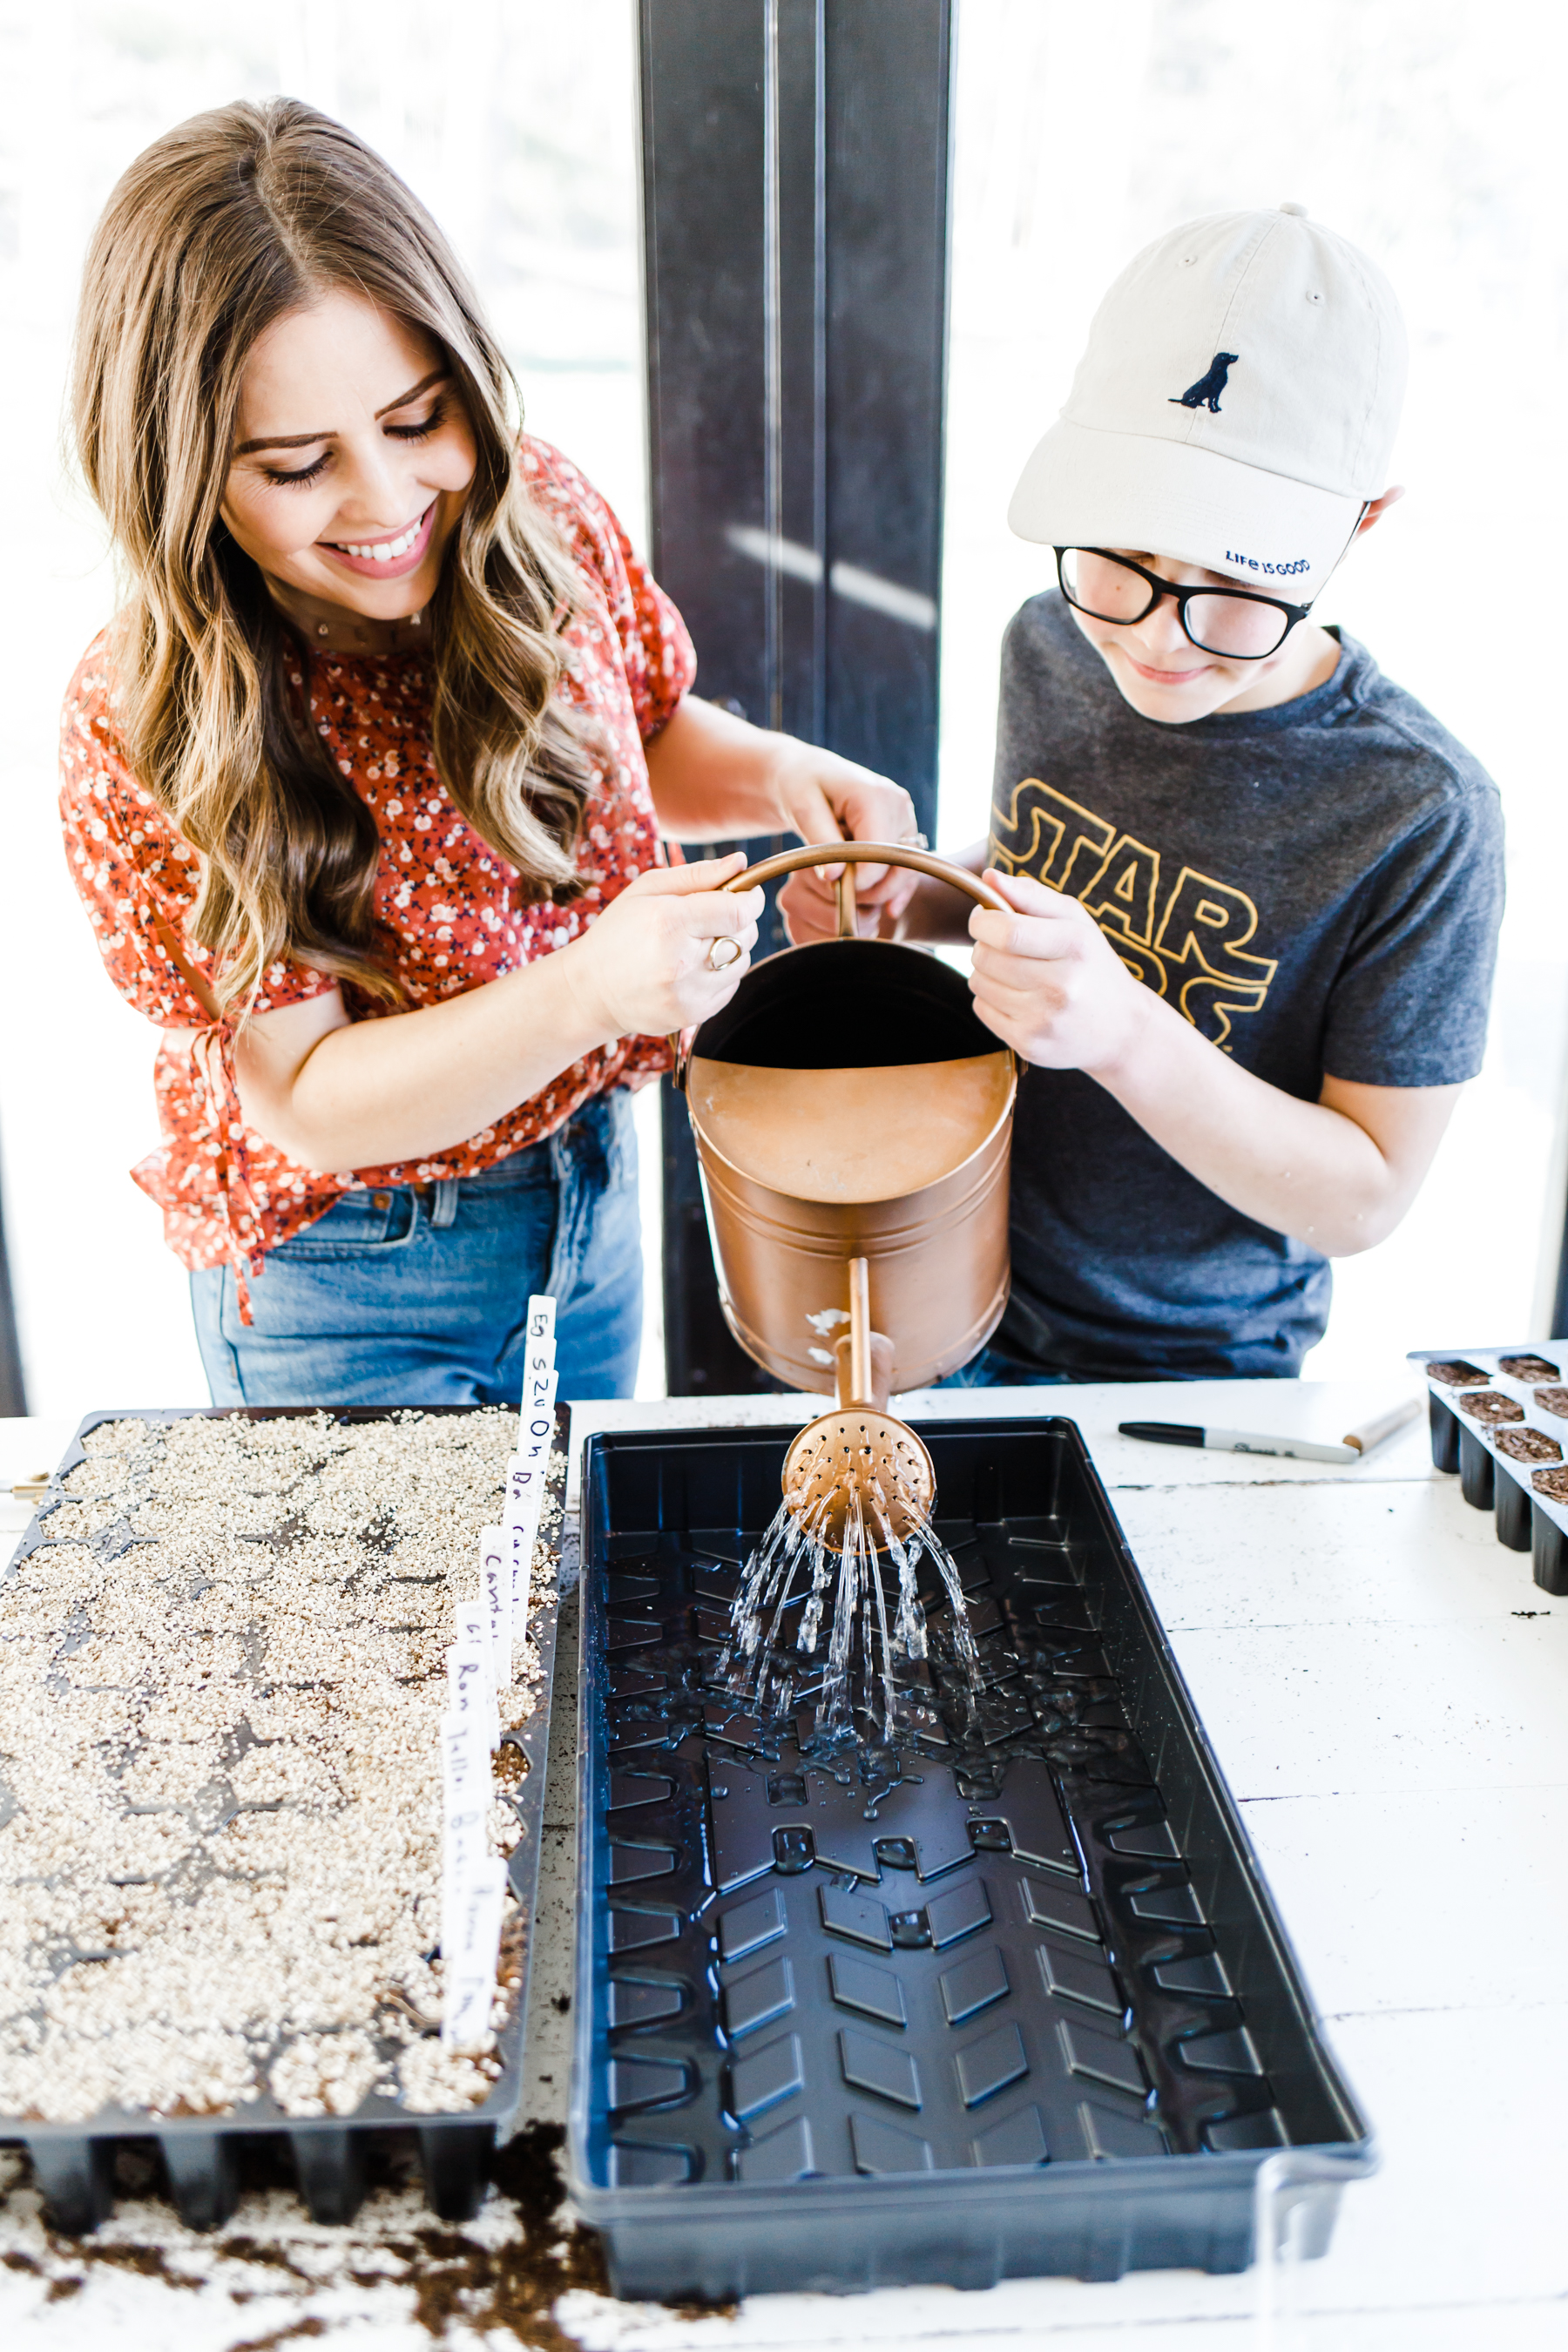
Fill your tray with an inch of water, and set the newly planted seed trays in so they soak up water from the bottom. Seed trays should not be watered from above until the plants have their first set of true leaves.
Step 7:
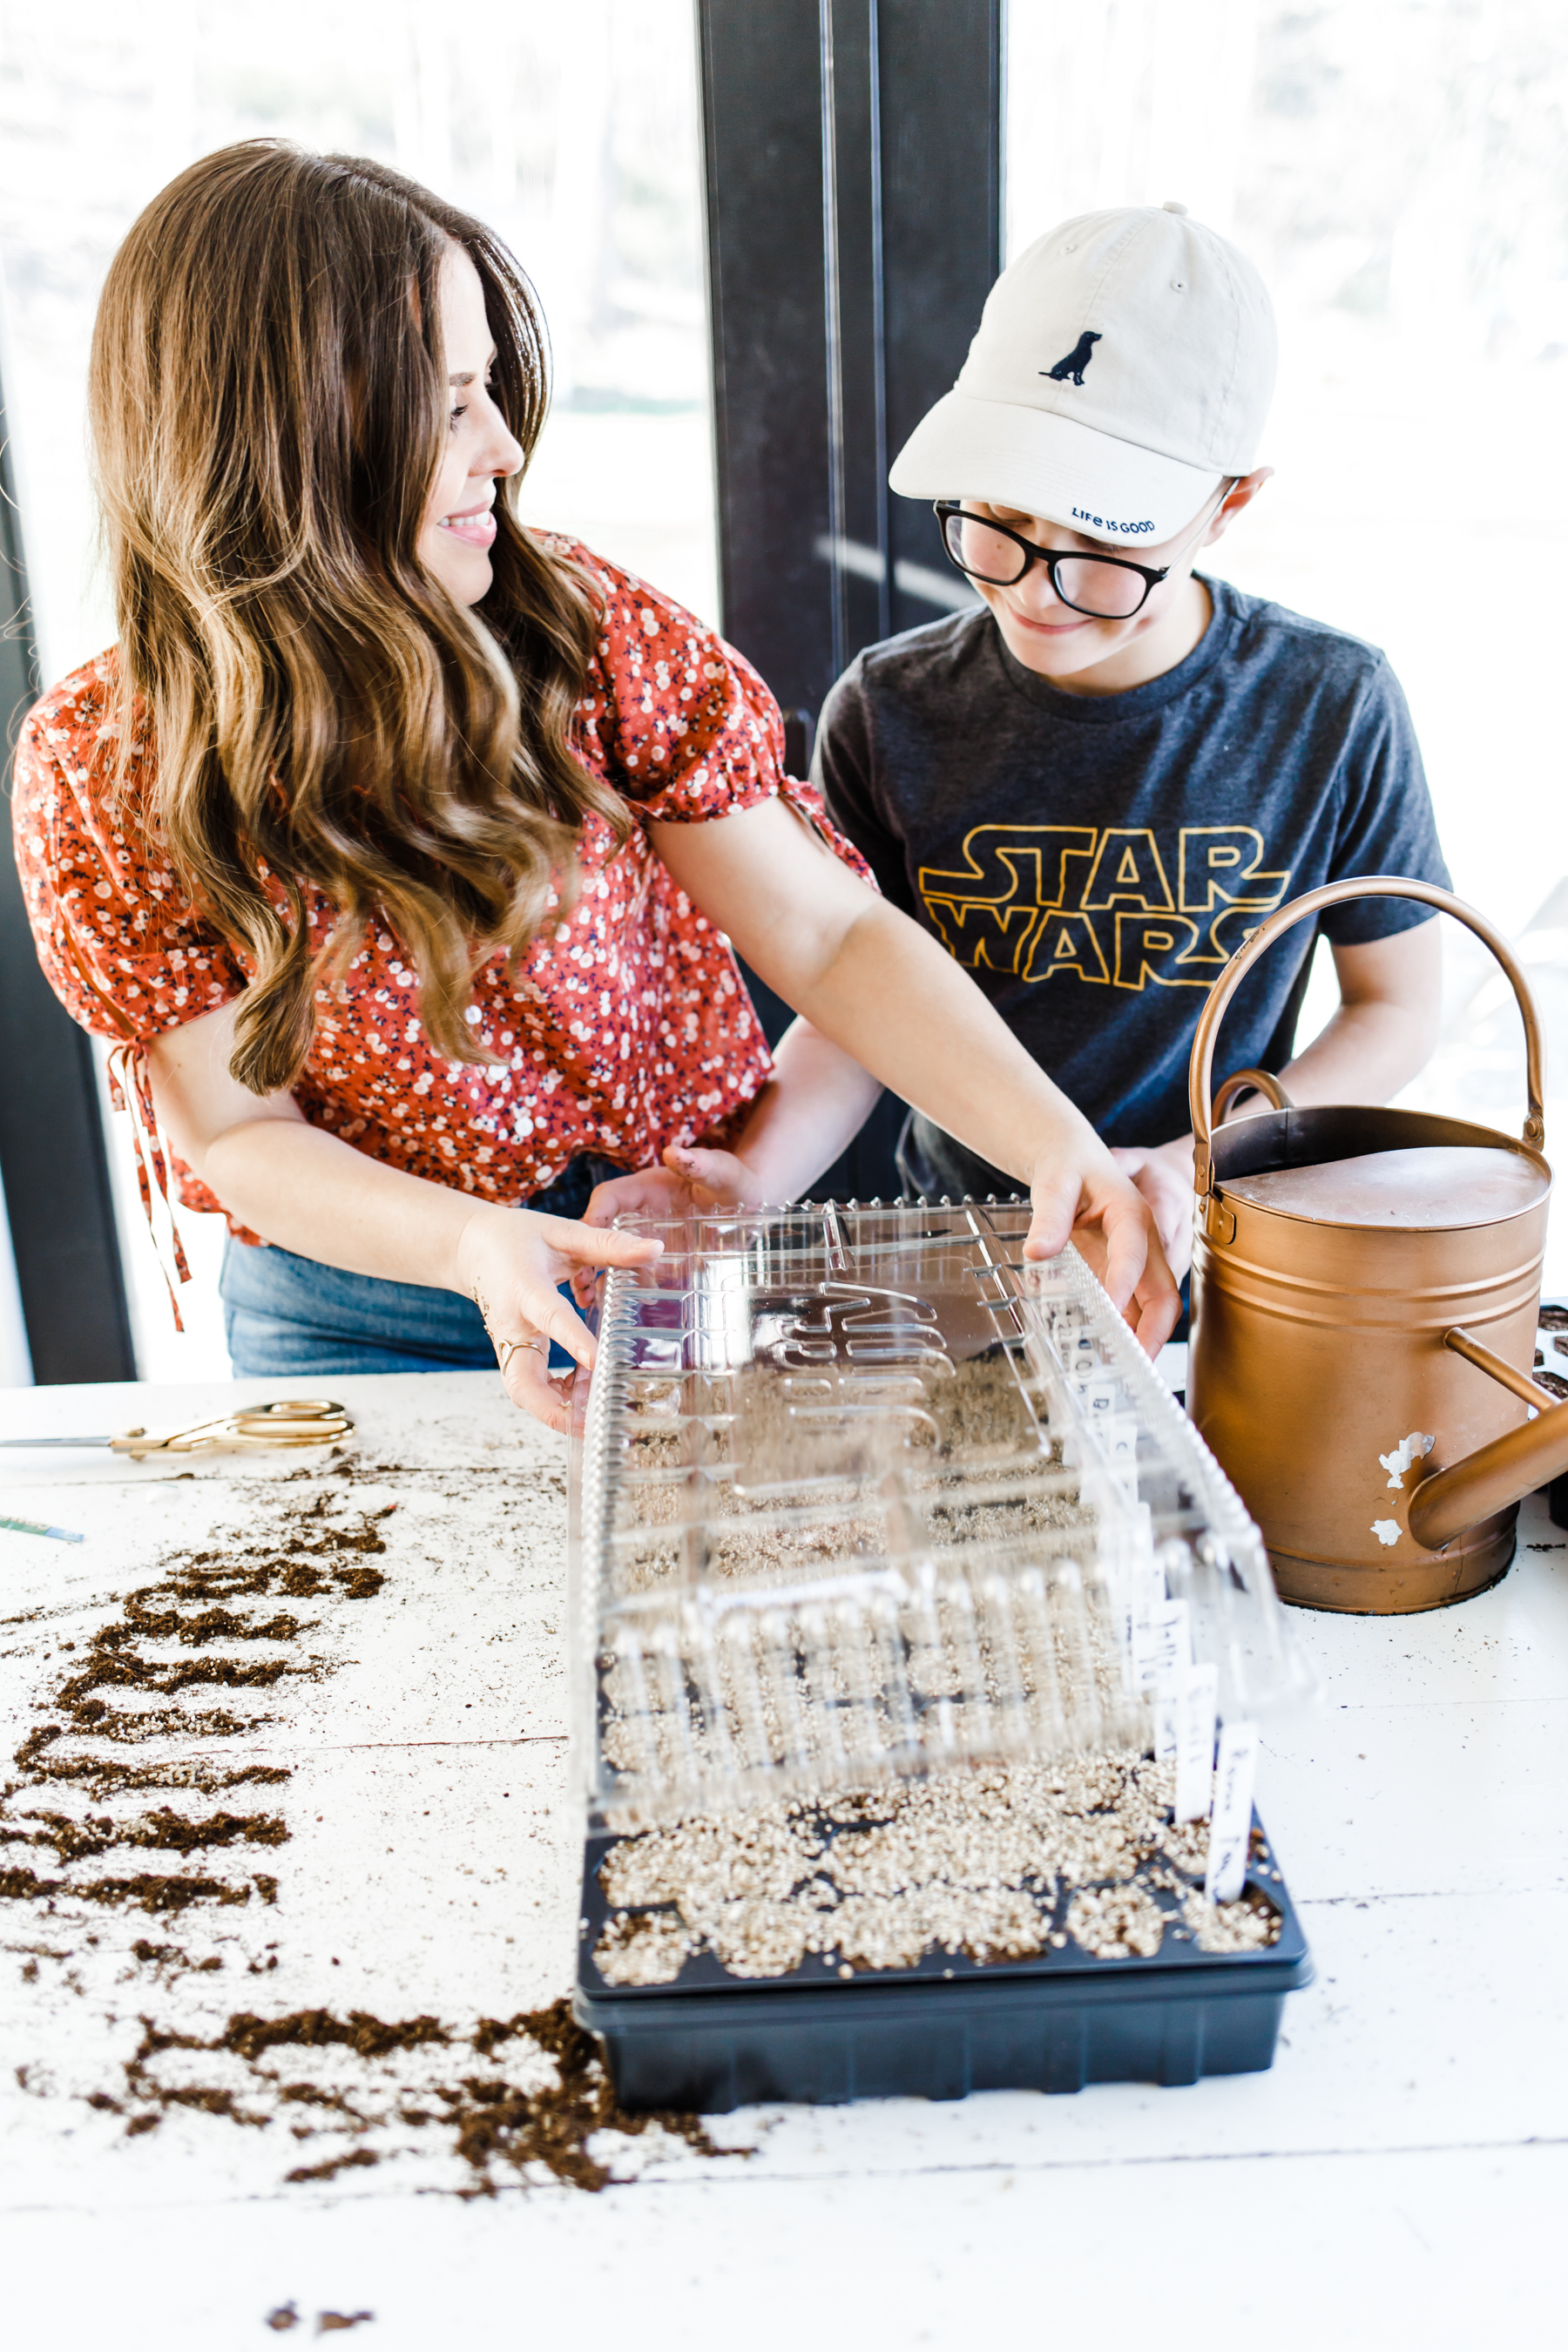
Once the plants are watered cover trays with a clear plastic dome and place in a warm location. Temperature should be consistently above 65°. You can also use a heat mat if necessary.
Once all the seeds have sprouted remove the plastic dome lid and place trays in a bright spot (next to a window, in a greenhouse or under florescent lights if neither of those is available). If you are using lights, make sure to move them as seeds grow and that the plants are getting at least 14-16 hours of light a day.
More tips and info:
Water when the soil appears dry and add organic fertilizer to your water once a week.
Once you have passed the last frost of the season you can start transitioning your seeds outdoors.
You must “Harden off” young plants before plant them outside, otherwise the sudden change of temperature will shock them and they’ll die. Set trays in a sheltered spot outside increasing the amount of time they are out each day. This helps the plants acclimate to the outdoor weather, and will give you more success once it comes time to plant. (Again, after the danger of frost has passed.)
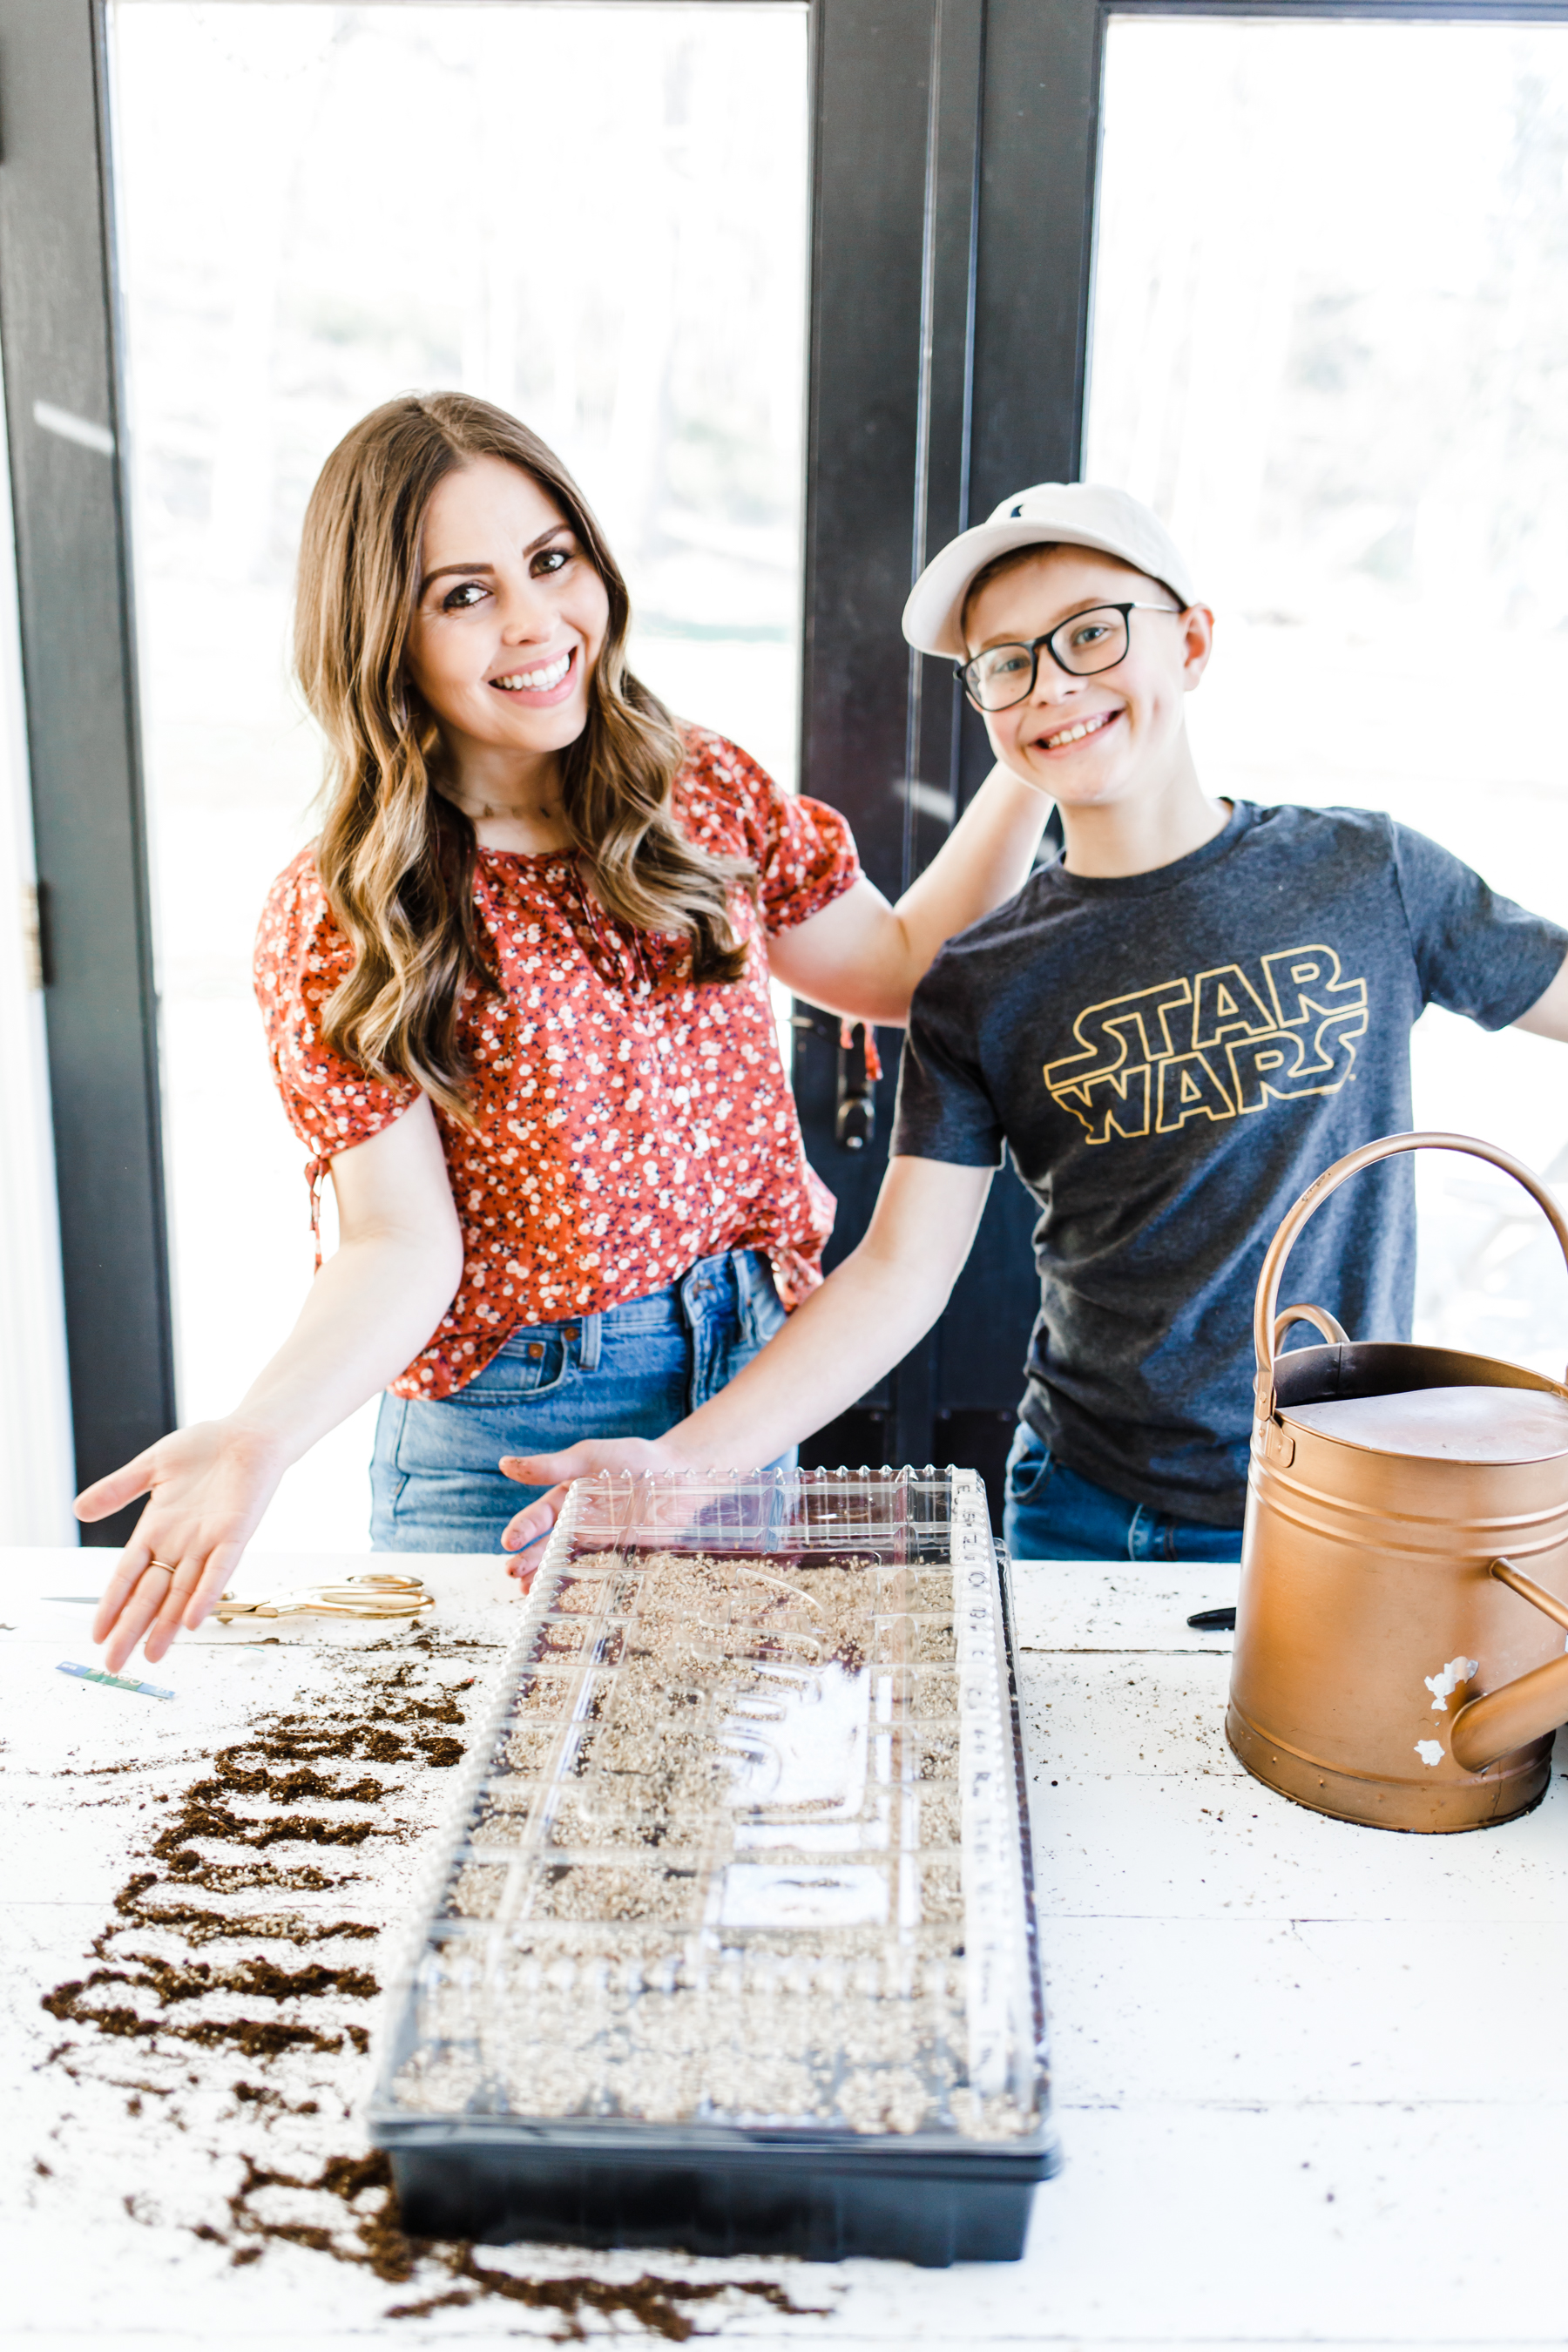
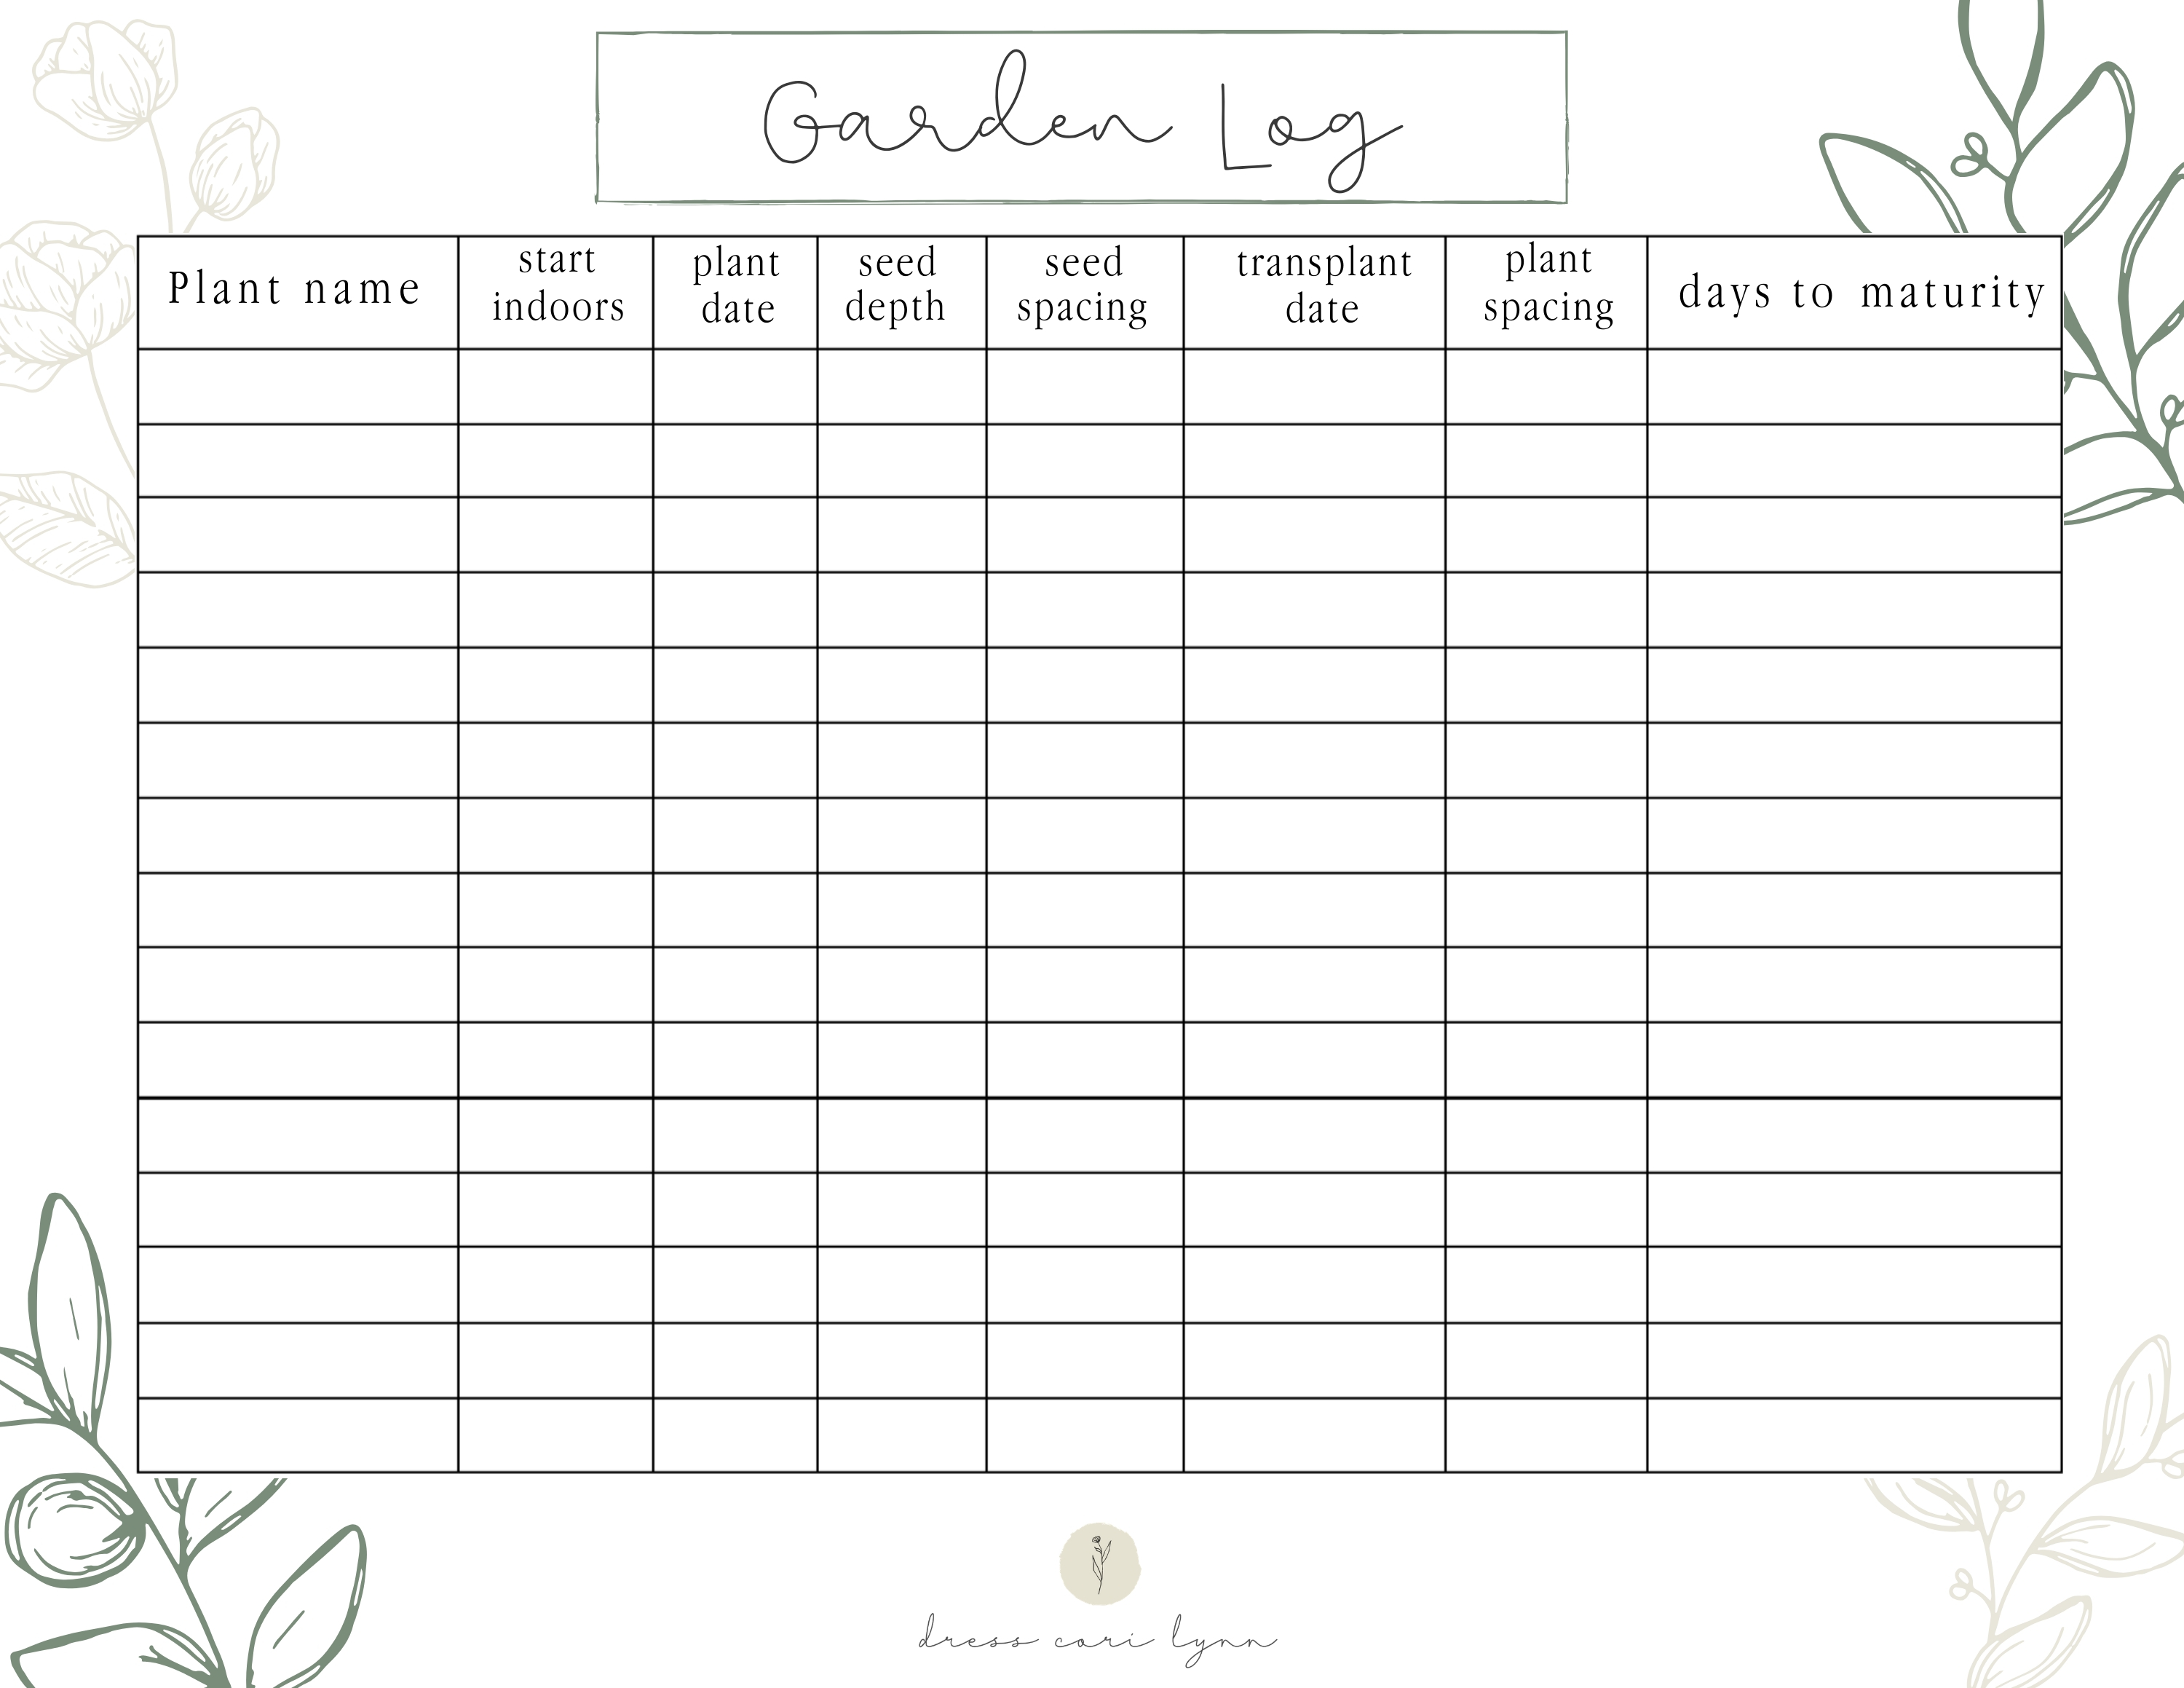
There you go! If you have any questions, please feel free to ask in the comments! I have included my printable garden log below so you can keep track of what seeds have been planted and all the info you need to know.
Supply list:
seed dibber. (for measuring holes)
Click on the image below to download my printable garden log!
See what I’m planting in my cut flower garden this year.



Wow, great minds think alike! With the Coronavirus Pandemic, I finally decided to put my extra time into growing a cut flower garden this year. I’ve wanted to do this for years but time just seemed to slip by. I had been a follower on floretflowers.com and ordered some of their seeds to start my garden. I based my seeds basically on what wasn’t out of stock :) and what I liked. I really appreciate all the pictures and information you gave to help people get started. I’m hoping for a successful outcome!! Prayers are needed for another “black” thumb!