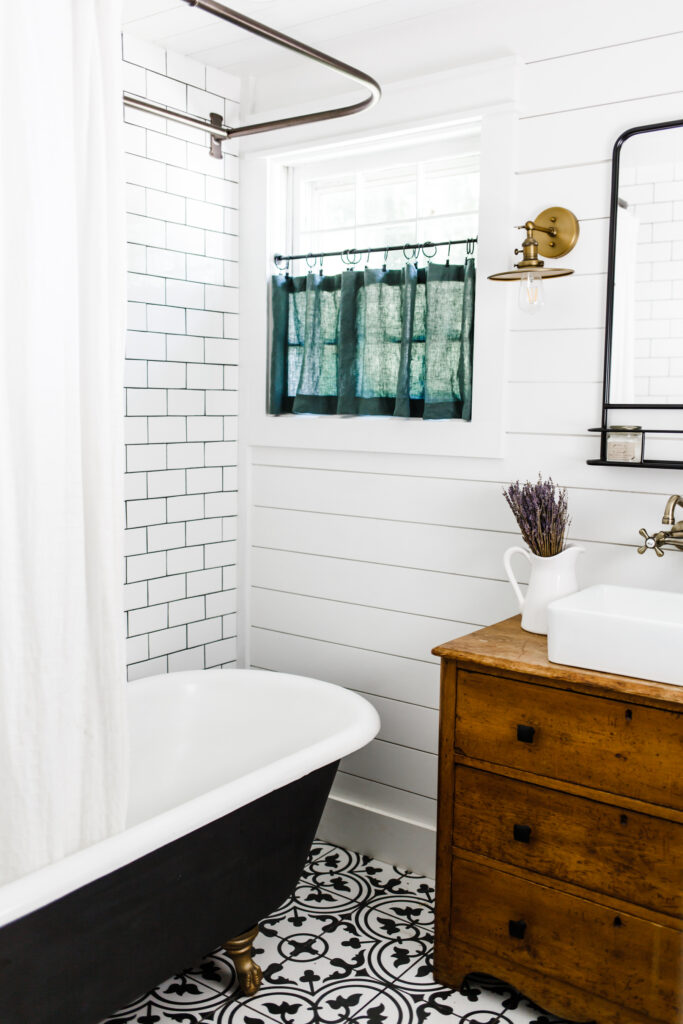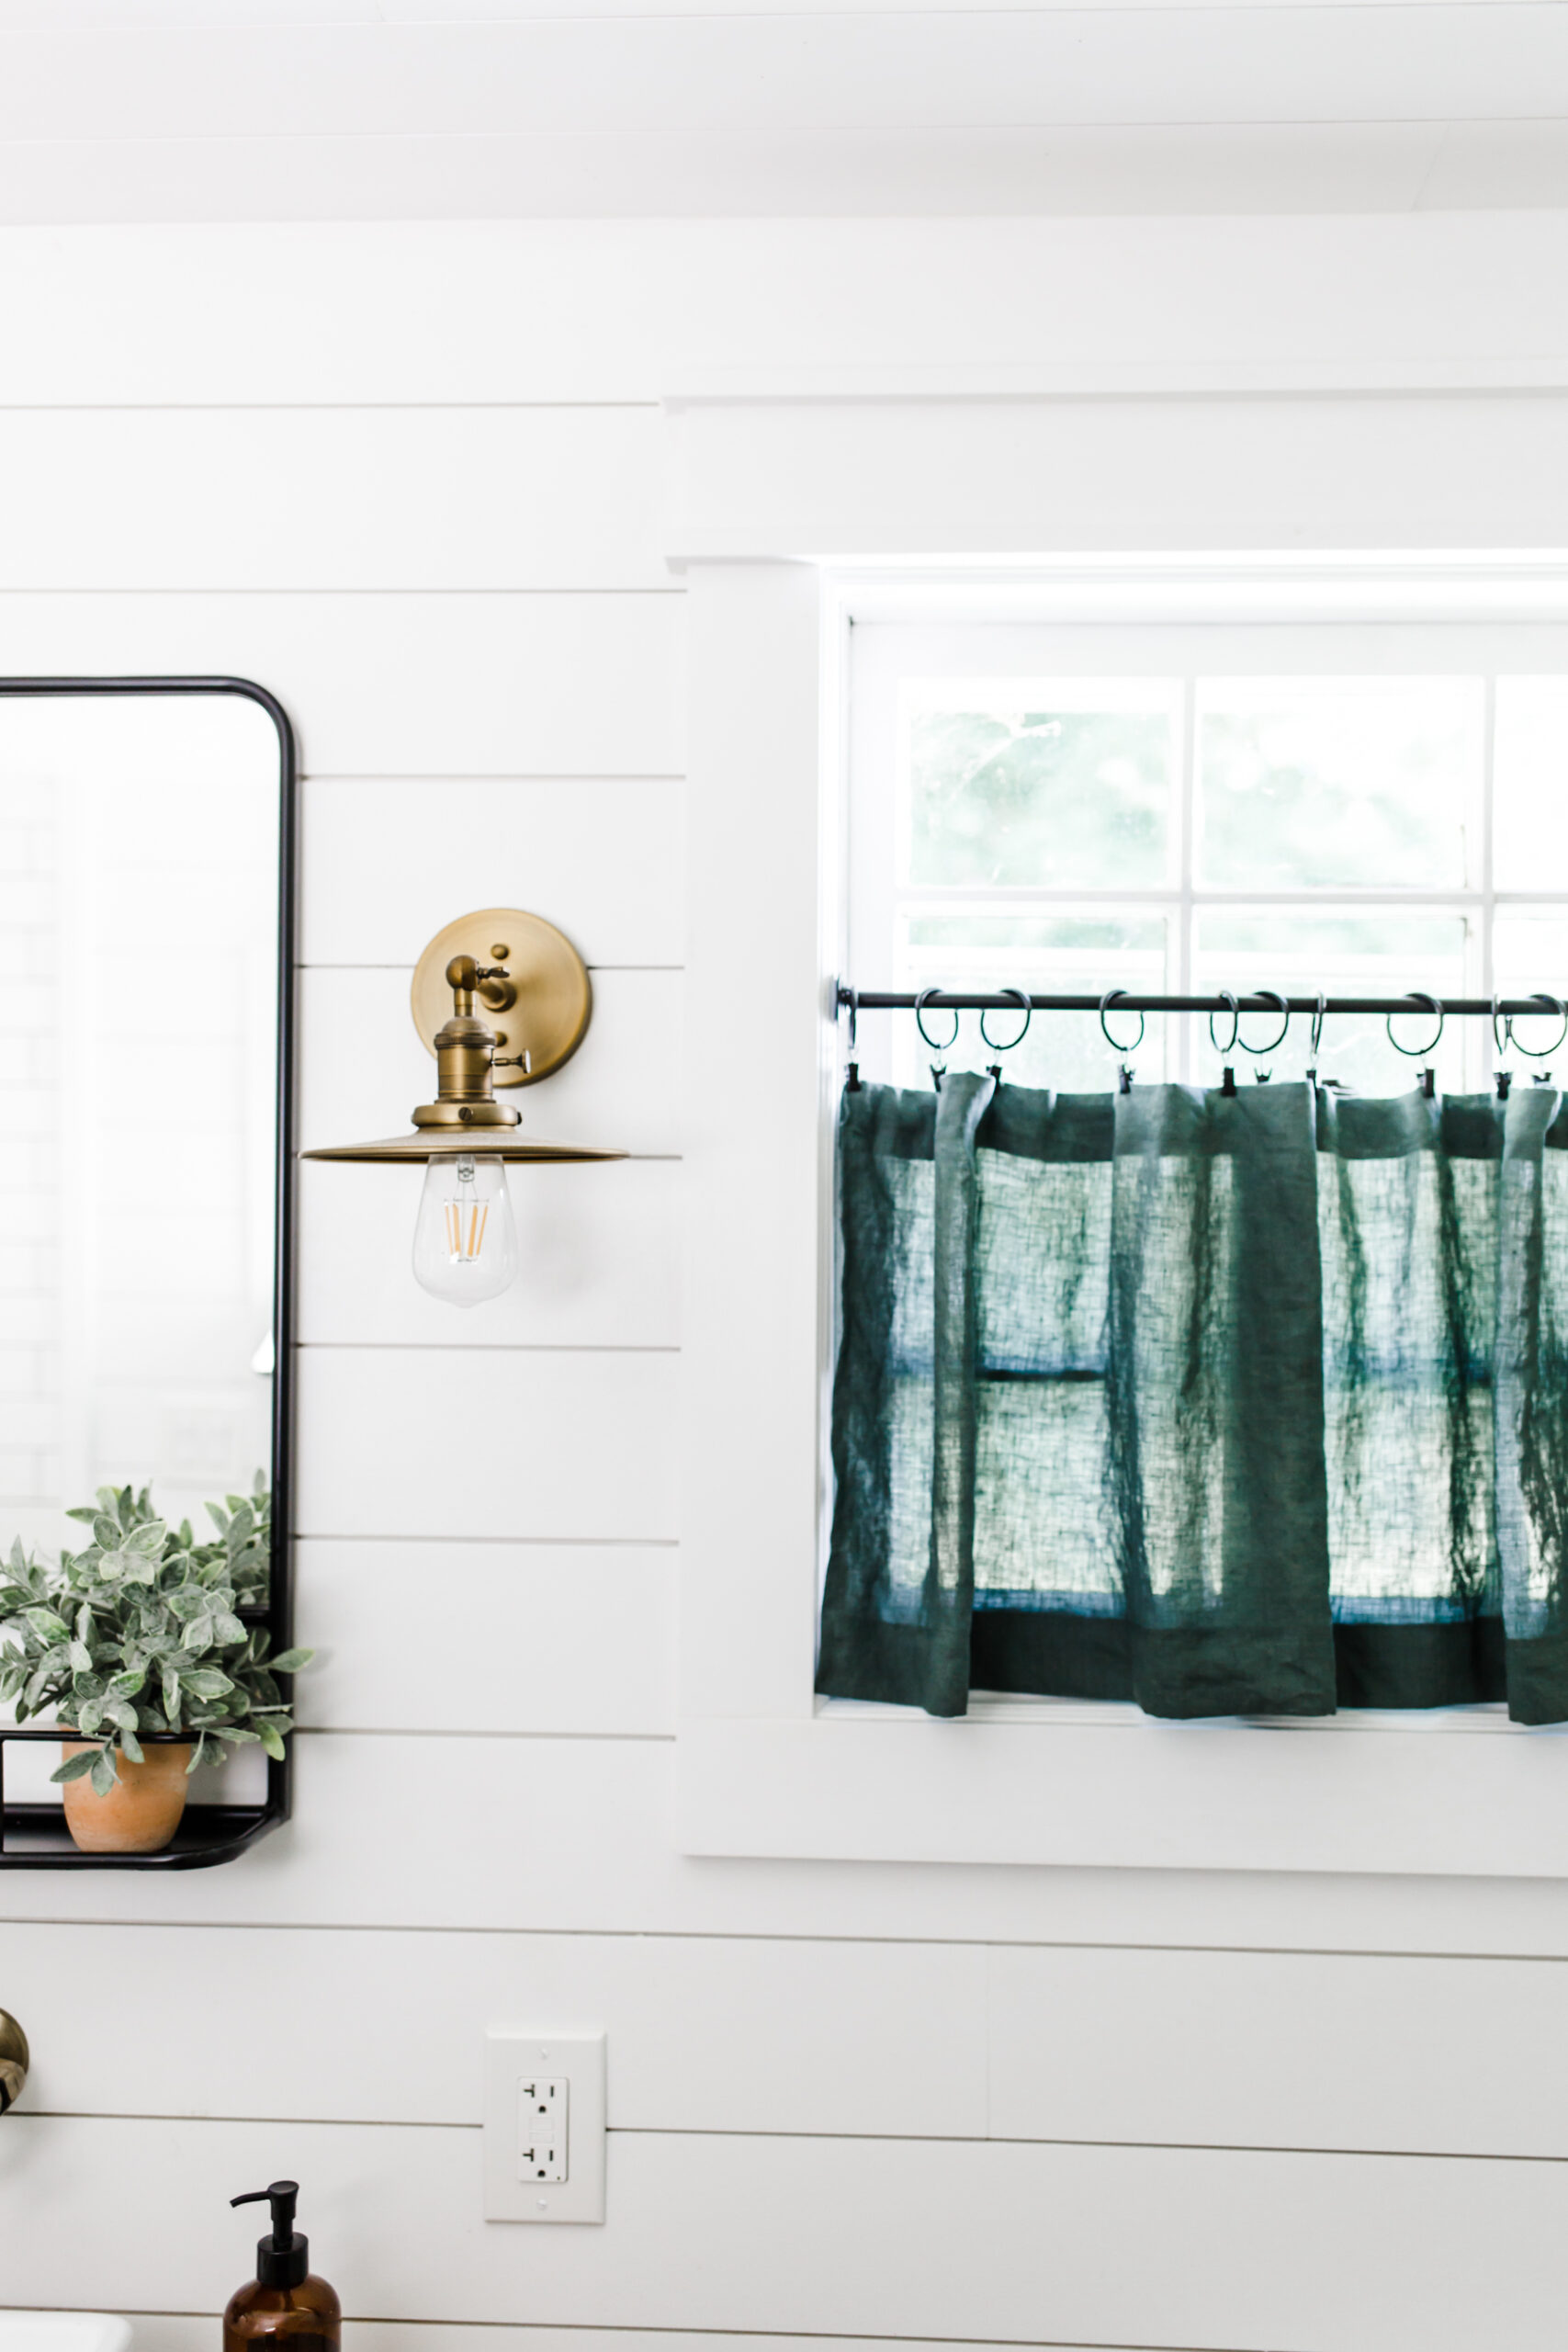
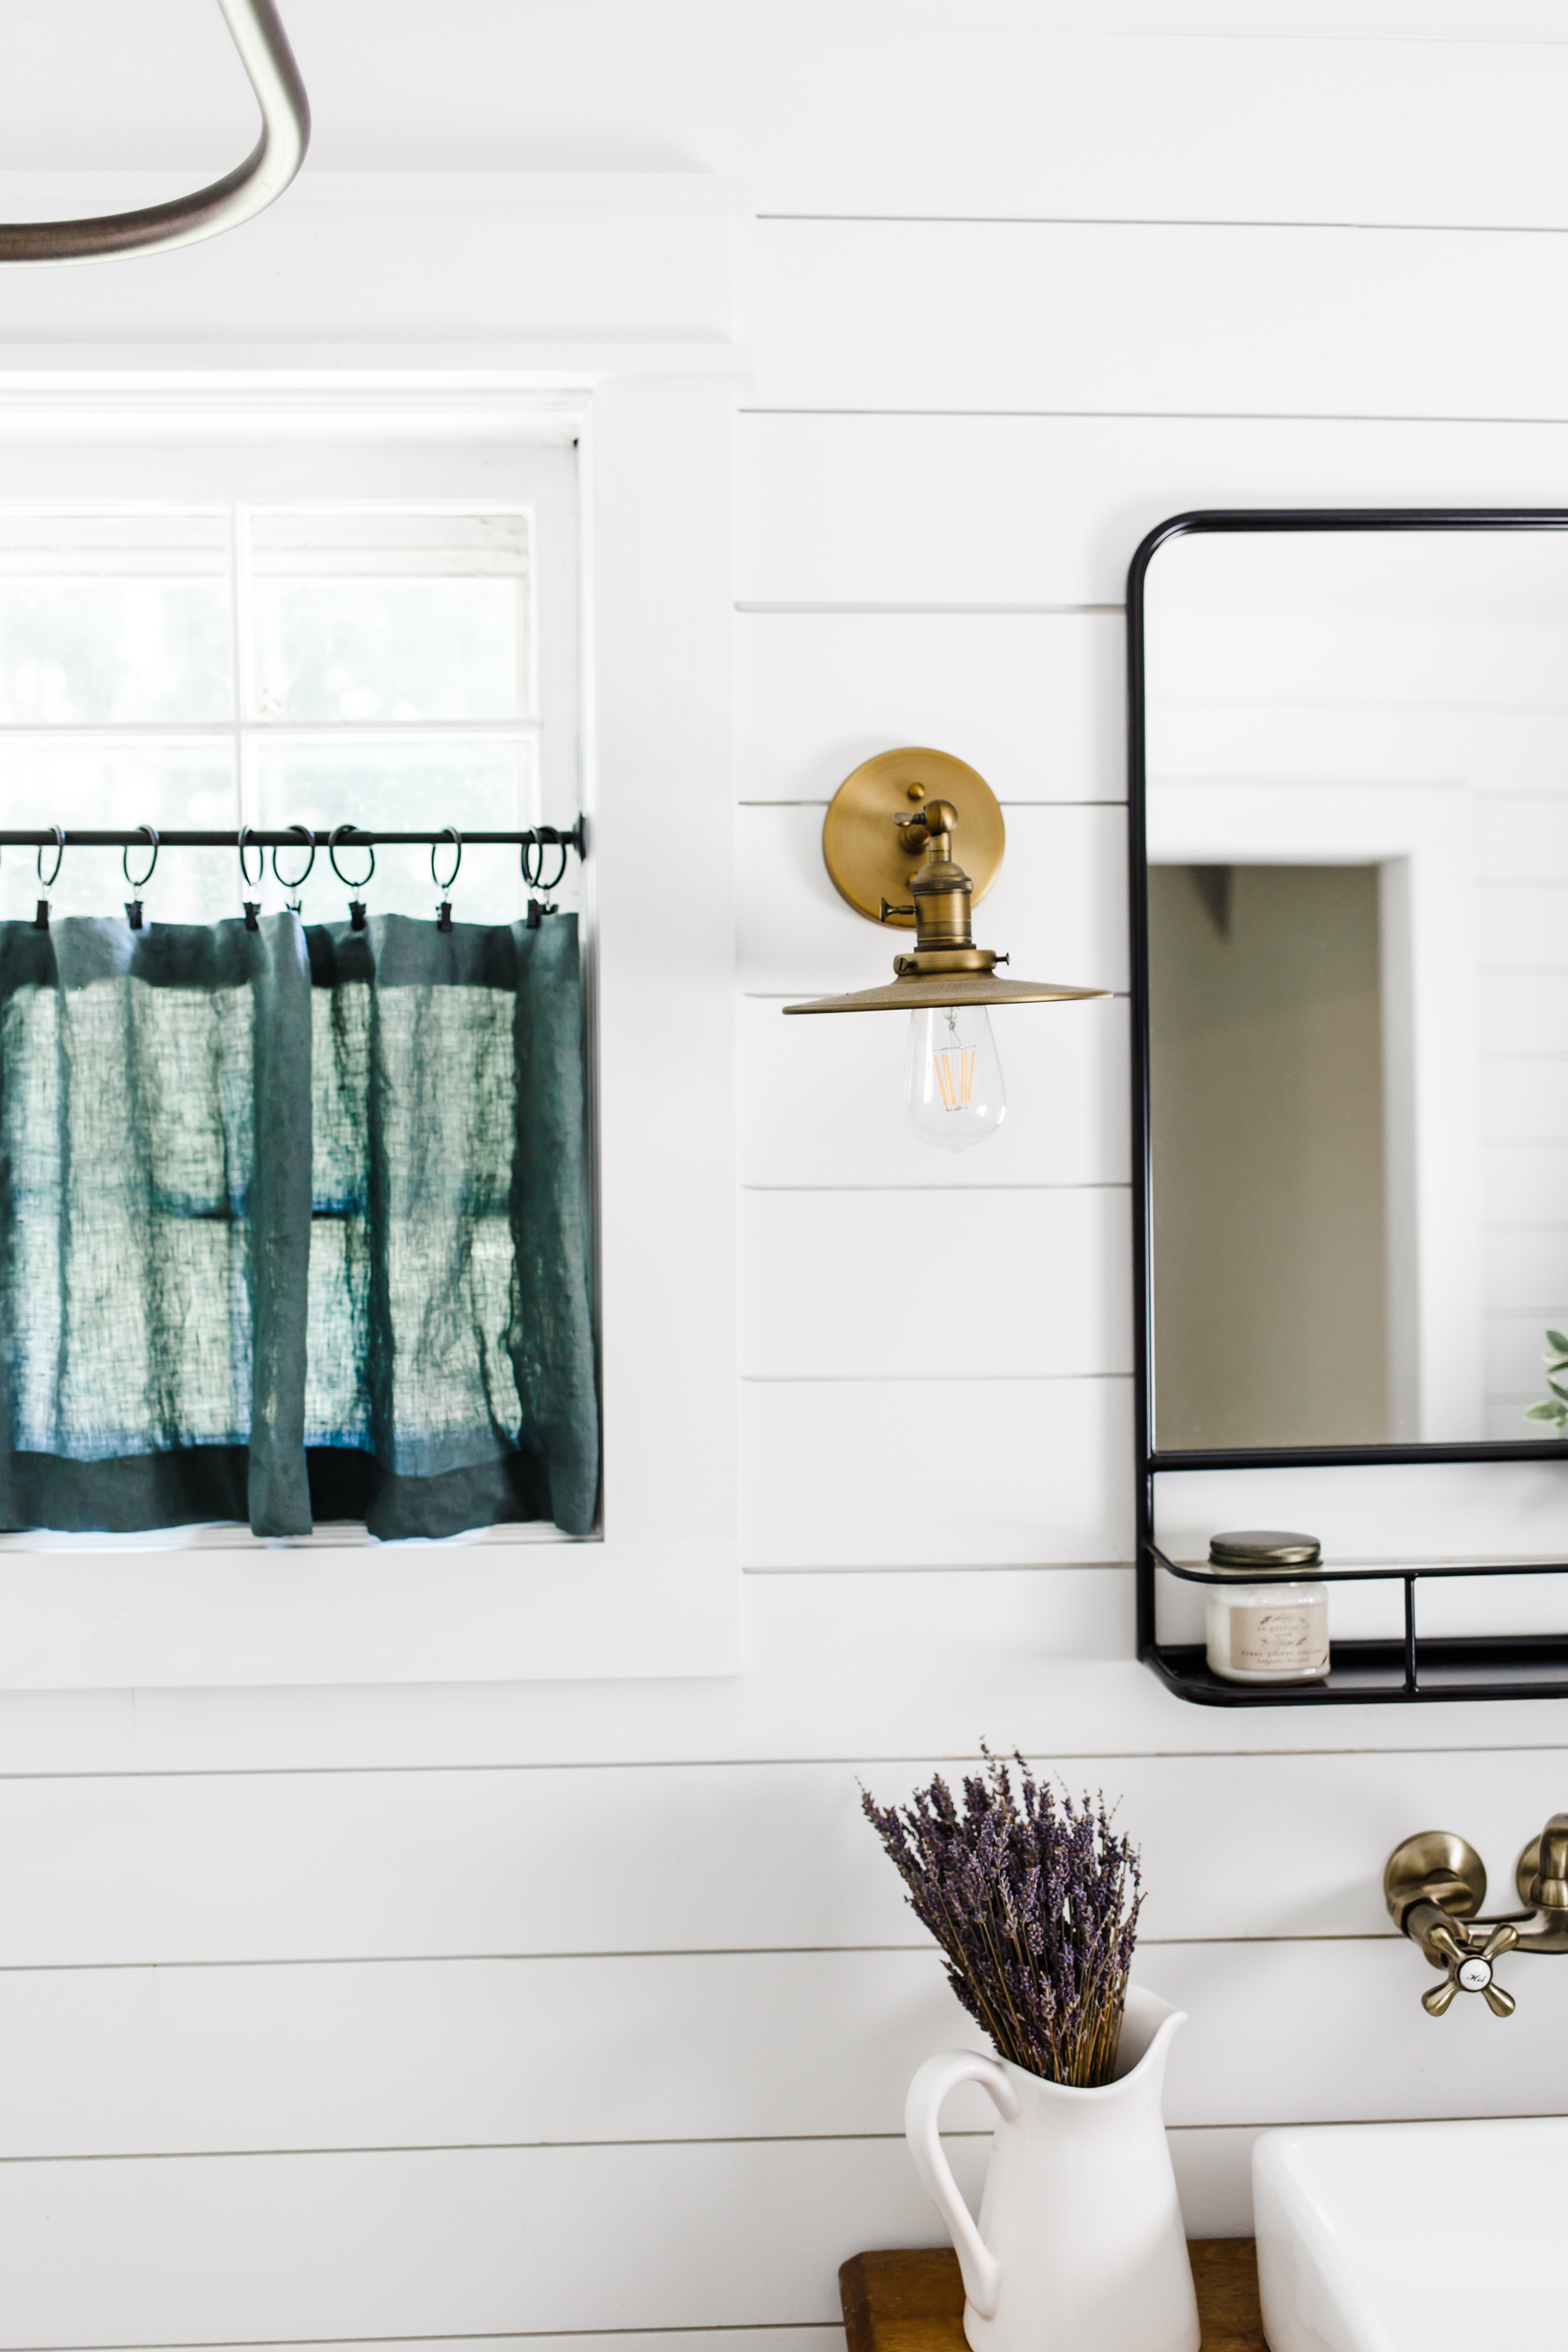
It always amazes me how simple little projects can have such a huge impact on the feeling of a room. Like these pretty little cafe curtains I made for our downstairs bathroom this week.
Craig and I finishing remodeling this bathroom 2 years ago, but I wasn’t sure what I wanted to do for window treatments. I knew that whatever I did in here would be mostly for privacy, but I also didn’t want to totally cover these great historic windows or block our pretty view. It was a pickle. So, like any self respecting procrastinator, I put it off until now… Then last month it hit me, cafe curtains! They’re really such a perfect style for a bathroom because they give you the privacy you’re looking for without blocking all the light, or having to cover the entire window.
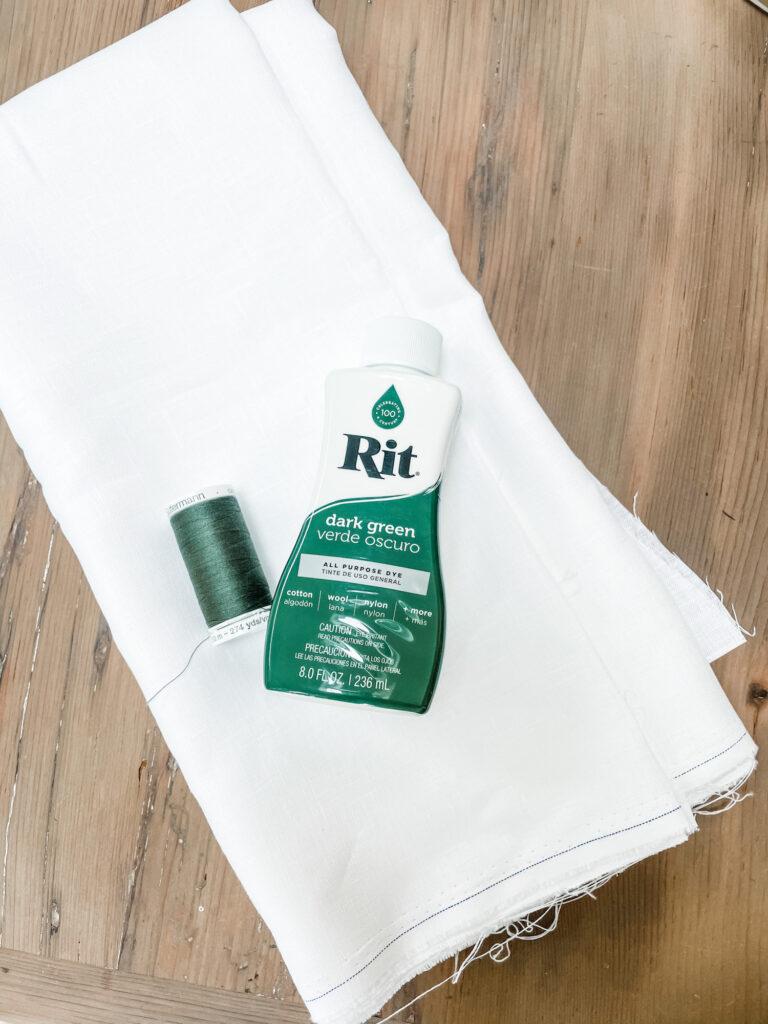
I knew I wanted to do linen, so they would have a nice natural feel and would filter the light beautifully. Linen is such a great textile for home projects, it adds so much texture and feels really natural. I also knew I wanted to do my own custom green color so I could get just what I wanted, and decided dyeing my own fabric was the best way to go. I love the way they turned out! They were inexpensive and easy to make and they really elevated the look of the space. I’m going to share the process with you today so you can make your own simple cafe curtains if you want.
This is a super easy DIY and at the end you have lovely custom curtains for your space for a steal. Curtains are also a great project if you want to dip your toes into sewing, but if you aren’t handy with a sewing machine, no fear, you can still get your own custom dyed curtains, just grab a good white pair (make sure they are made of 100% cotton or linen) and dye them to get just what you want!
Alright, let’s make some hand dyed cafe curtains!
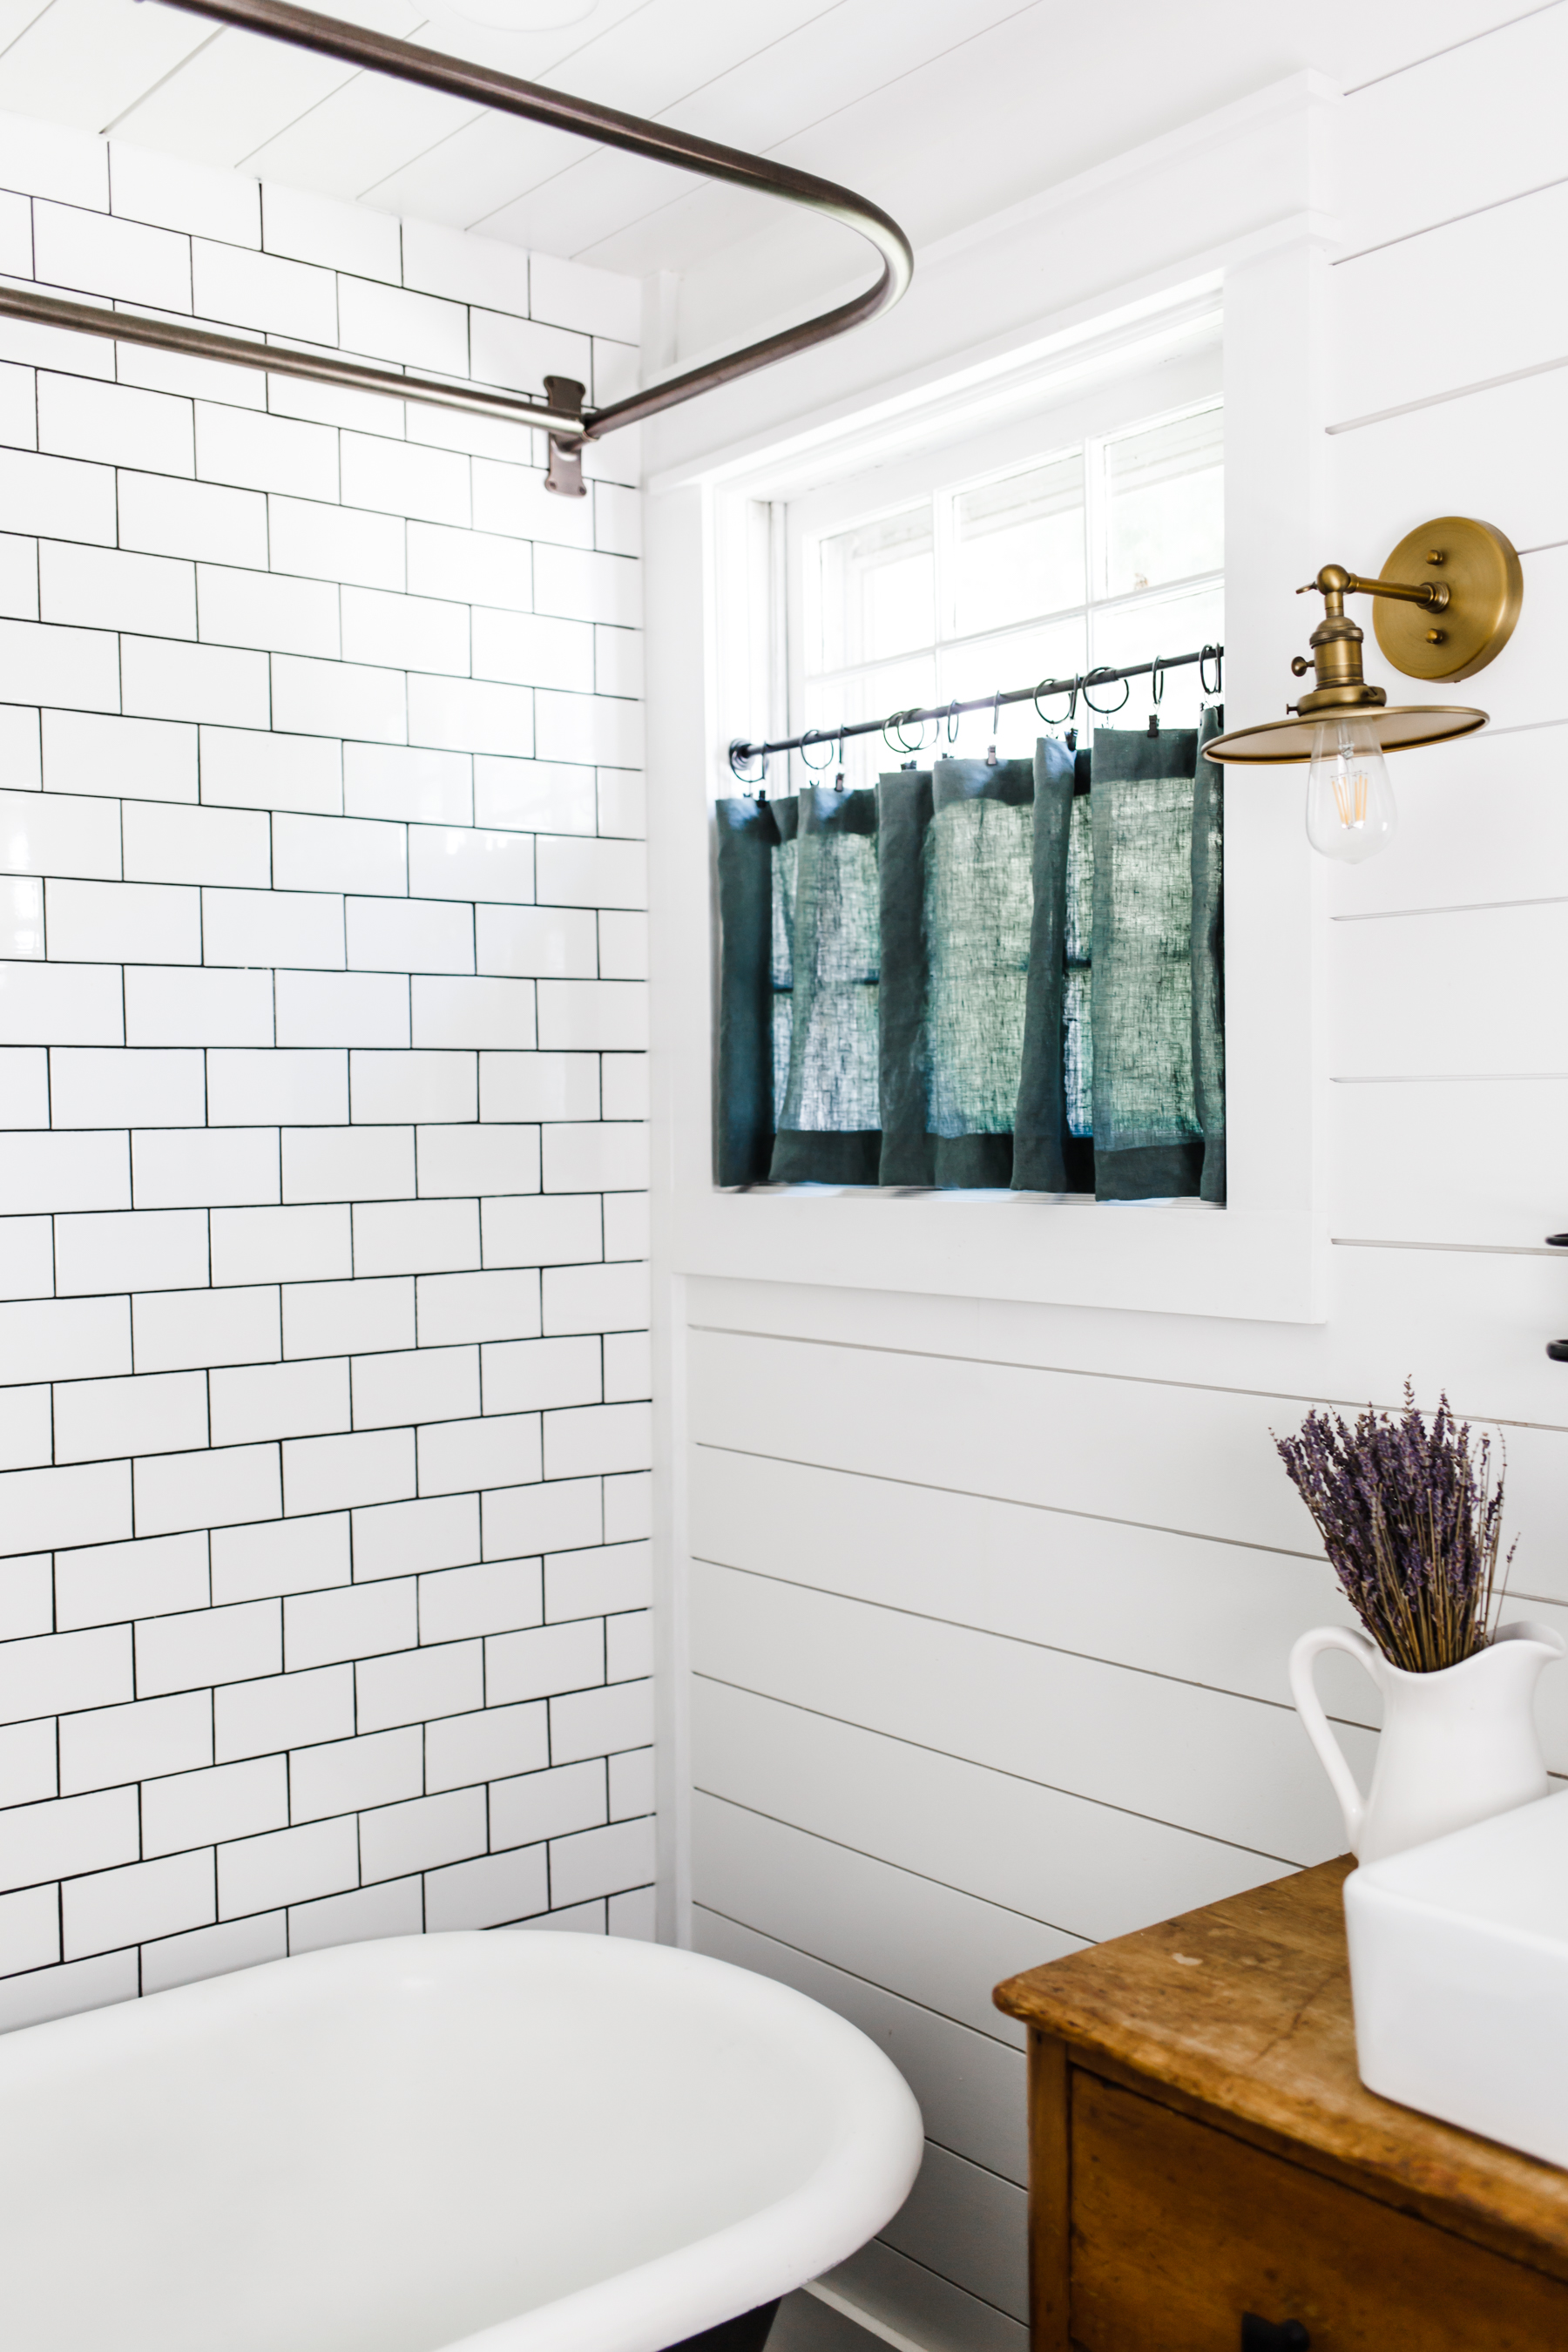
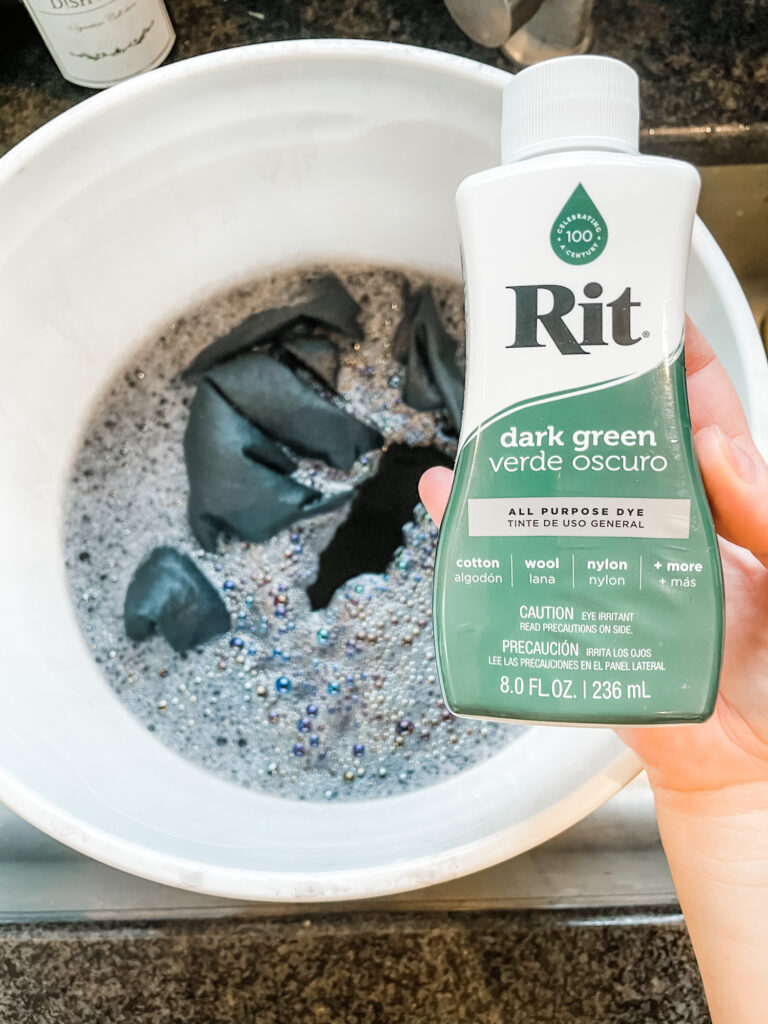
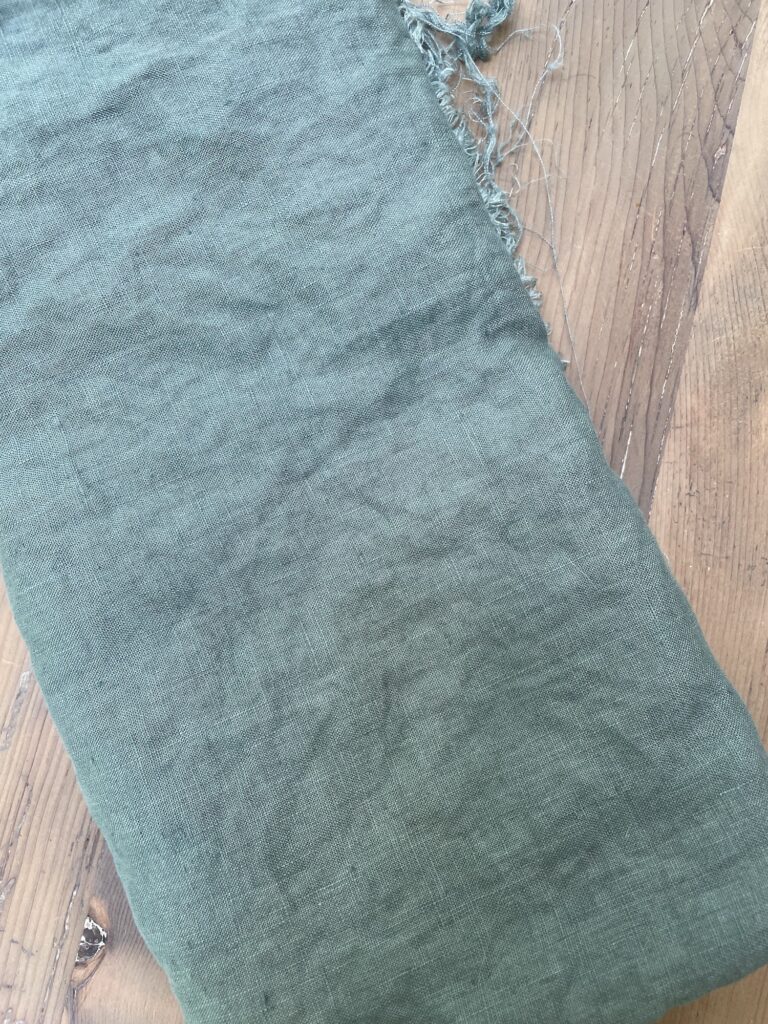
You want to start by dyeing your fabric. I always use Rit liquid dyes. They are super easy to use and you can play with the color really easily just by mixing different dyes together. For this project I used dark green, and adjusted the color with their dark brown and taupe dyes. The fabric turned out perfect.
The instructions for dyeing are all on the back of the Rit bottle and are specific to the fabric you are using, so it’s so easy to get it right. I like to use a 5 gallon bucket to keep everything contained, and make sure you have a good pair of leather gloves (so you don’t dye your hands) and are wearing old clothes. If the dye splashes, it will dye your clothes.
Create your dye bath following the instructions from the Rit bottle, then wet the fabric, and add it to the dye bath, stirring constantly for 5-7 minutes, then let the fabric sit, stirring every few minutes for at least 1/2 an hour. Once dye, removed fabric and rinse until the water runs clear. Then wash and dry it in the washing machine.
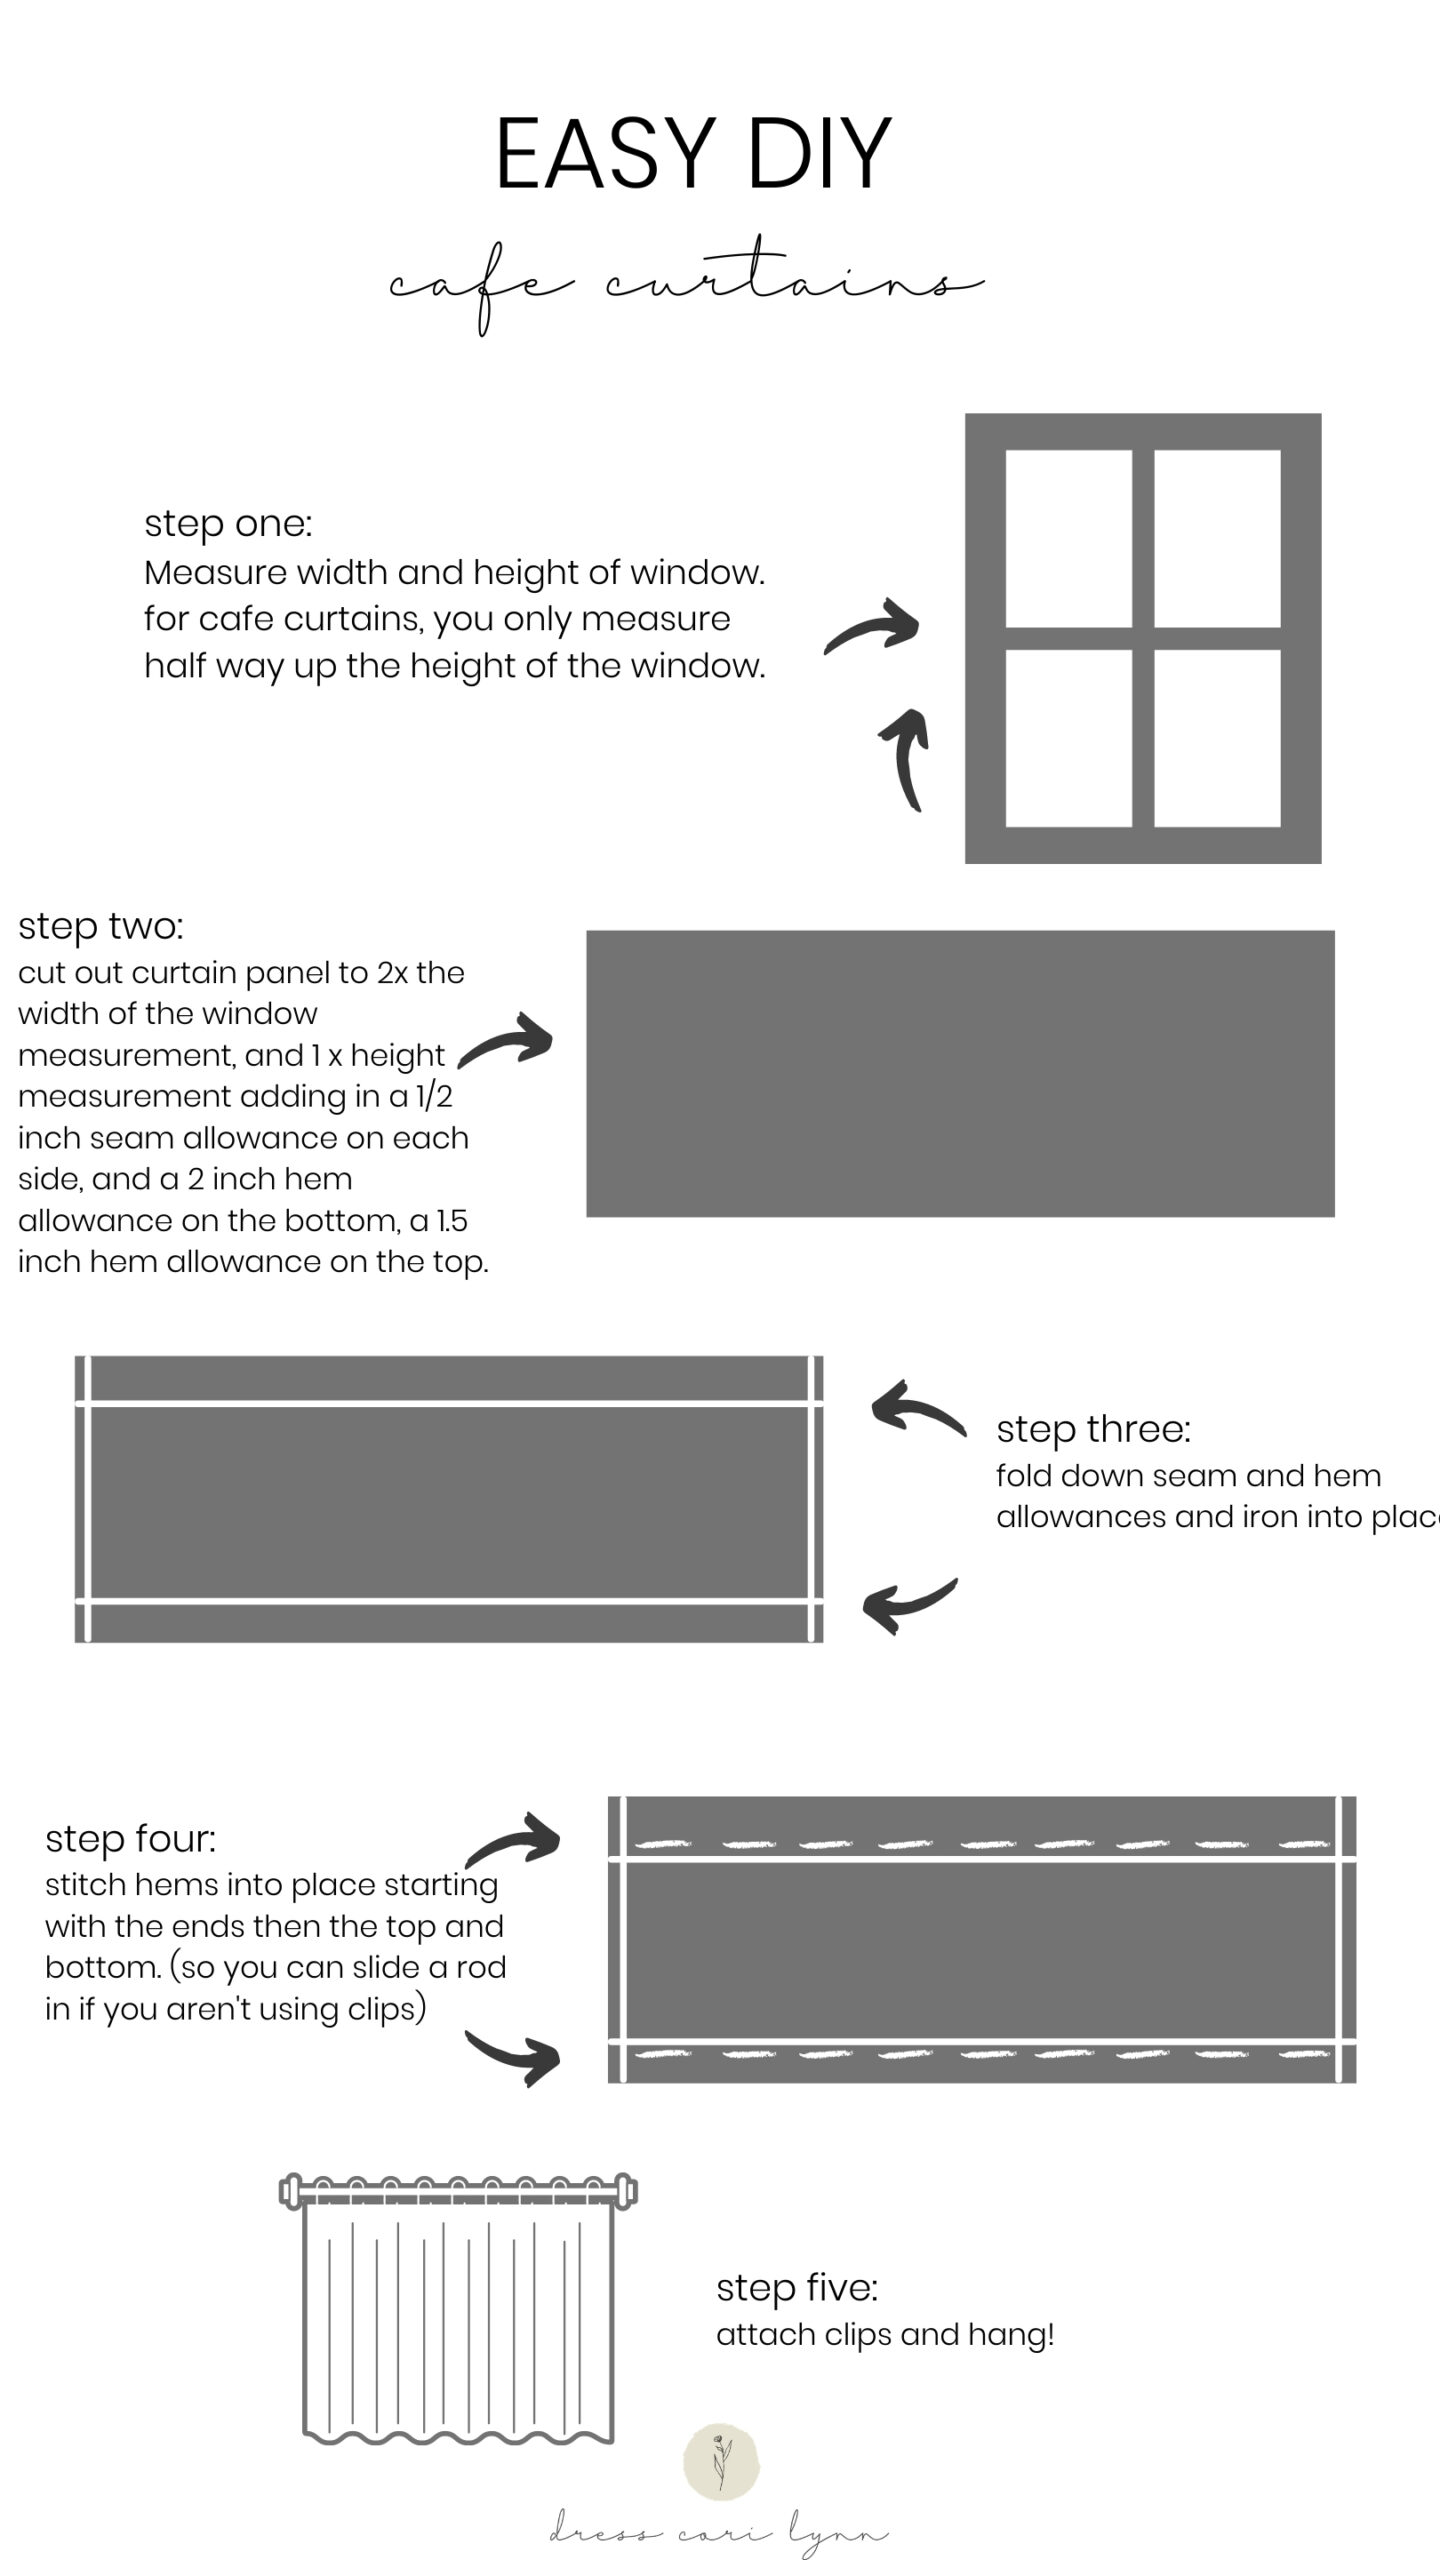
Once the fabric is out, you are ready to make your curtains! I created a really simple graphic below with instructions for making your cafe curtains:
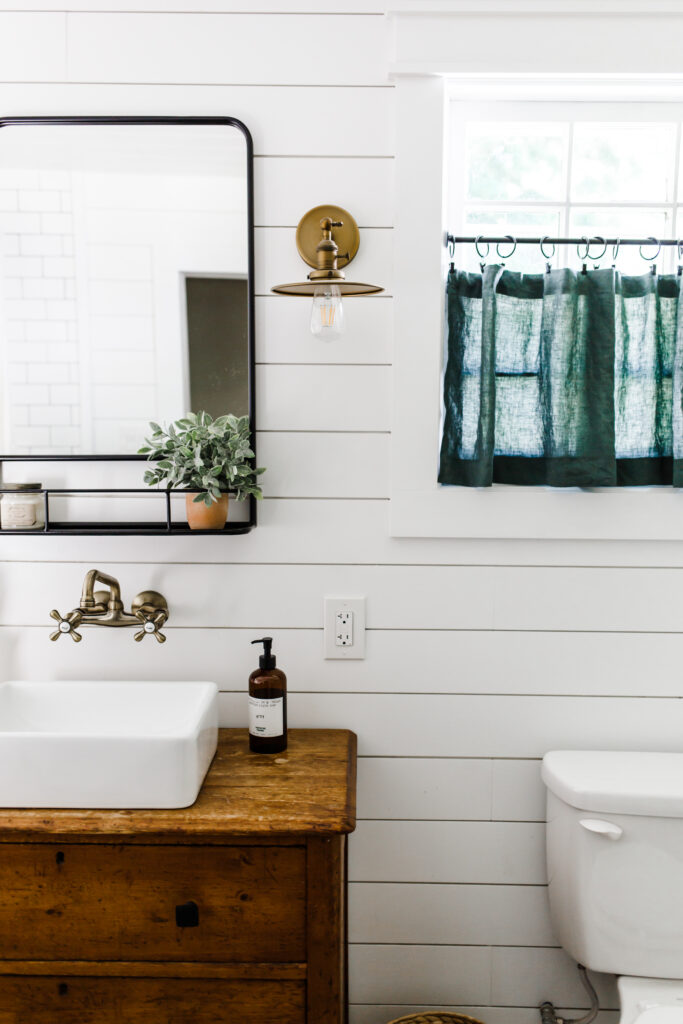
That’s it! Super simple project but it makes such a huge impact on the space, and I love that you can still see the pretty old windows, but we’ve got more privacy and color in the space.
I used these simple tension rods and these clips for the curtains. They’re both a really low price and have a nice low profile, just what I was looking for. I like using clips because it makes it so easy to open and close the curtains as needed.
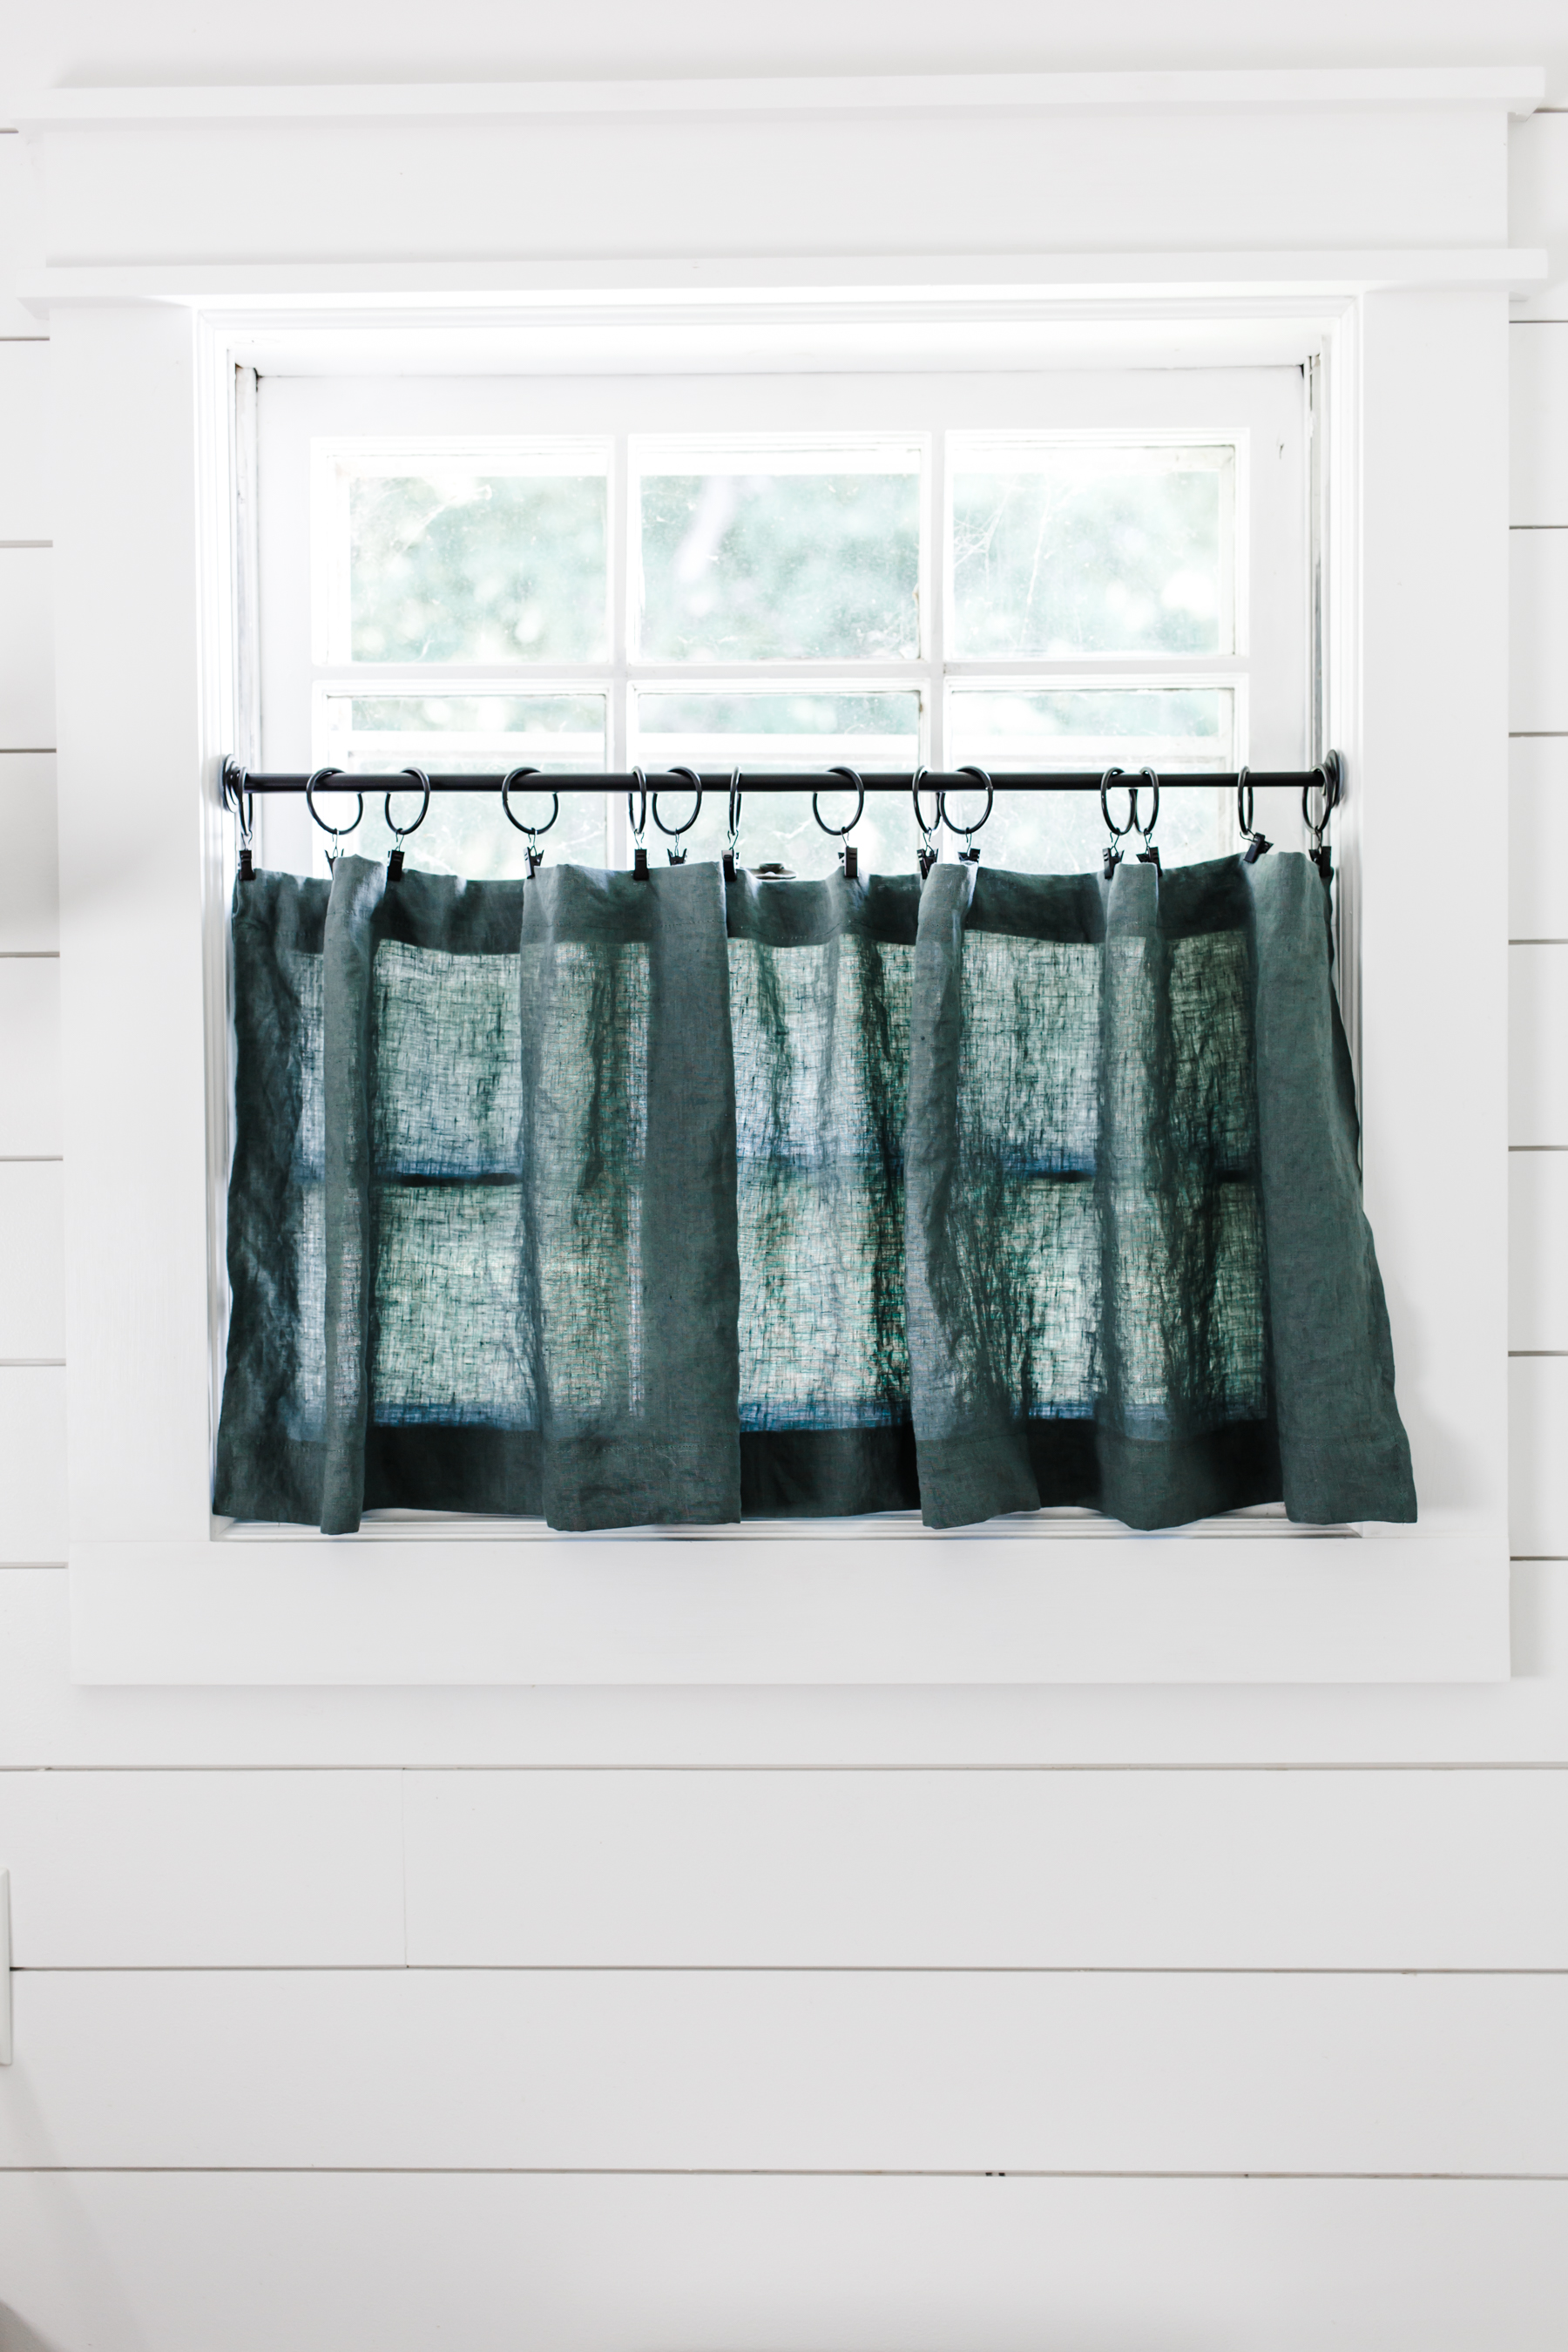
If you have any questions about how to make your own cafe curtains, feel free to ask below!
Shop this bathroom here:
