This post was created in partnership with Walmart.

I’ve been a maker pretty much my entire life. One of my favorite things to do is make something with my own two hands. Whether it’s baking a cake, or sewing a dress, I just get so much joy out of creating something that didn’t exist before. More joy, in fact than just buying something ready made. Fall is one of my favorite times of year to DIY; there are just so many great fall crafts, and one of my favorites is making a fall wreath for our front porch. Since I grow all my own pumpkins for our fall porch decor, it feels only fitting that I make the wreath as well.
Today, I’m going to share a super easy DIY fall wreath with you. And the best part is, anyone can do it, and you can pick up all the supplies right at Walmart. (Or better yet, order them and have them delivered right to your door!)
(Come back tomorrow to see how our front porch turned out this year!)
If DIY projects intimidate you, a wreath is one of the easiest things to start with. You don’t have to have a steady hand or really any artistic tendencies to create something really lovely. The key is to make sure you’ve got lots of great stems and greens, to choose from, and keep playing with it till it looks like you want it.
How-to make your own DIY fall wreath:
Supplies:
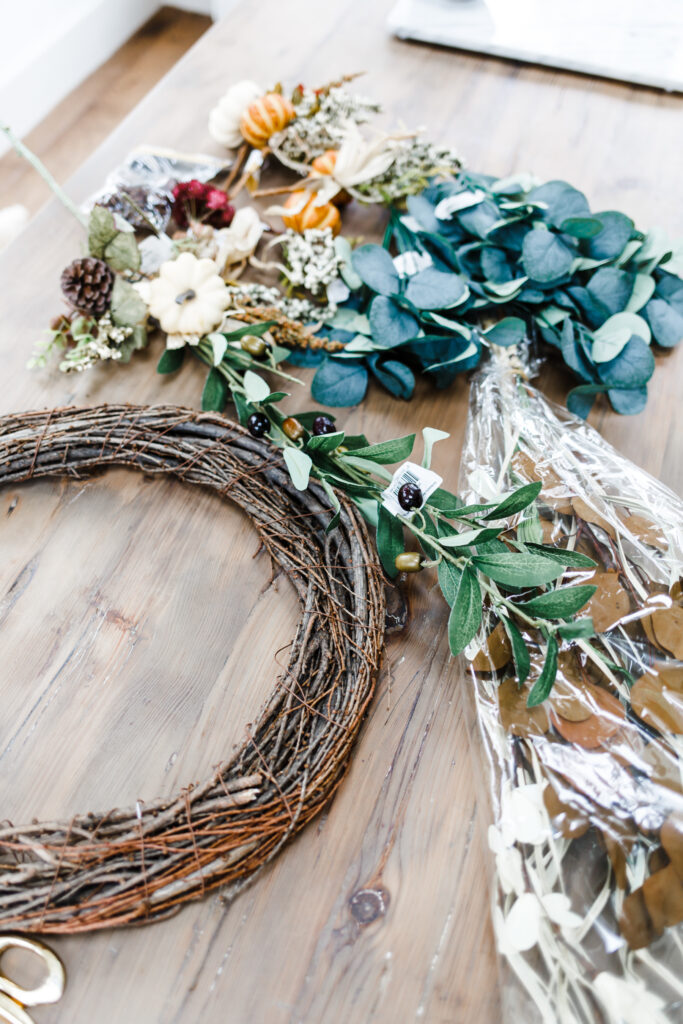
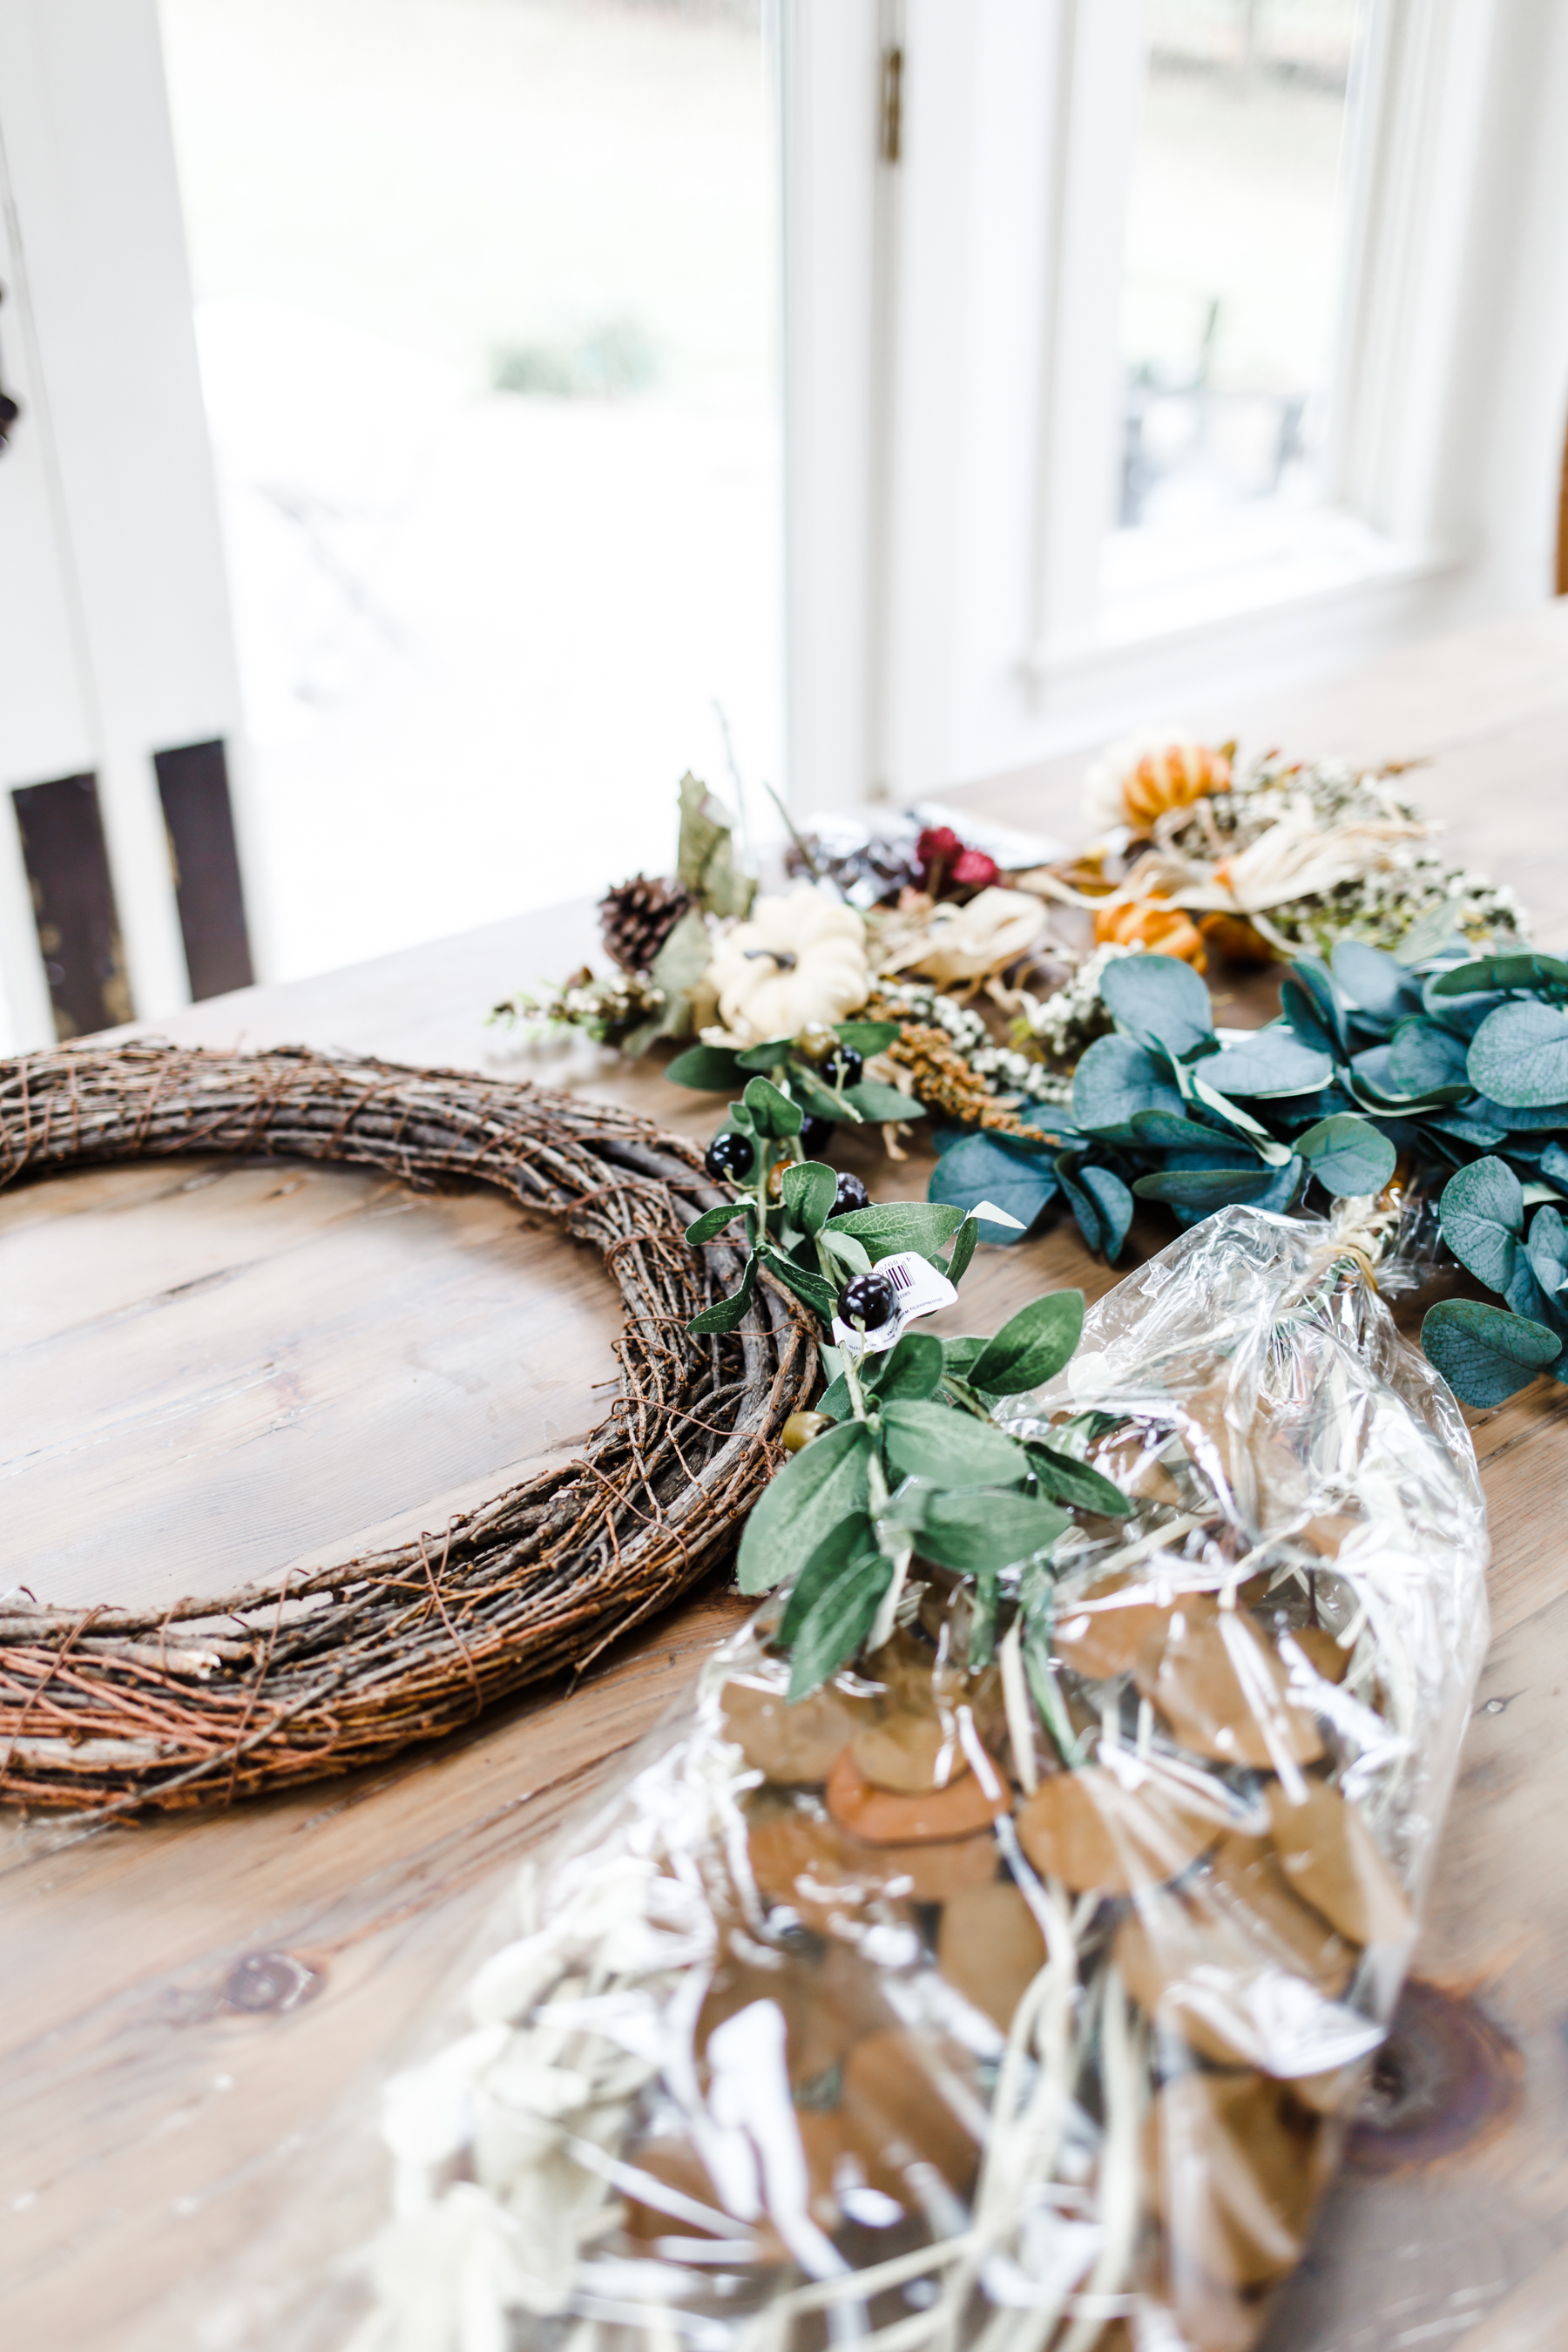
First up: supplies. I love using a basic grapevine wreath as a foundation, because they have an awesome natural texture and feel and they are so easy to add the stems to. Like you almost don’t even need a hot glue gun or floral wire. If you start with a wire wreath base, you’re going to need tons and tons of florals to get it looking nice and full, and the construction gets trickier, but the grapevine wreath is already nice and substantial, and so easy to add to. I snagged this one at Walmart for under $10 so it’s also a really affordable way to build a beautiful wreath. Have I convinced you yet? Good. Moving on.
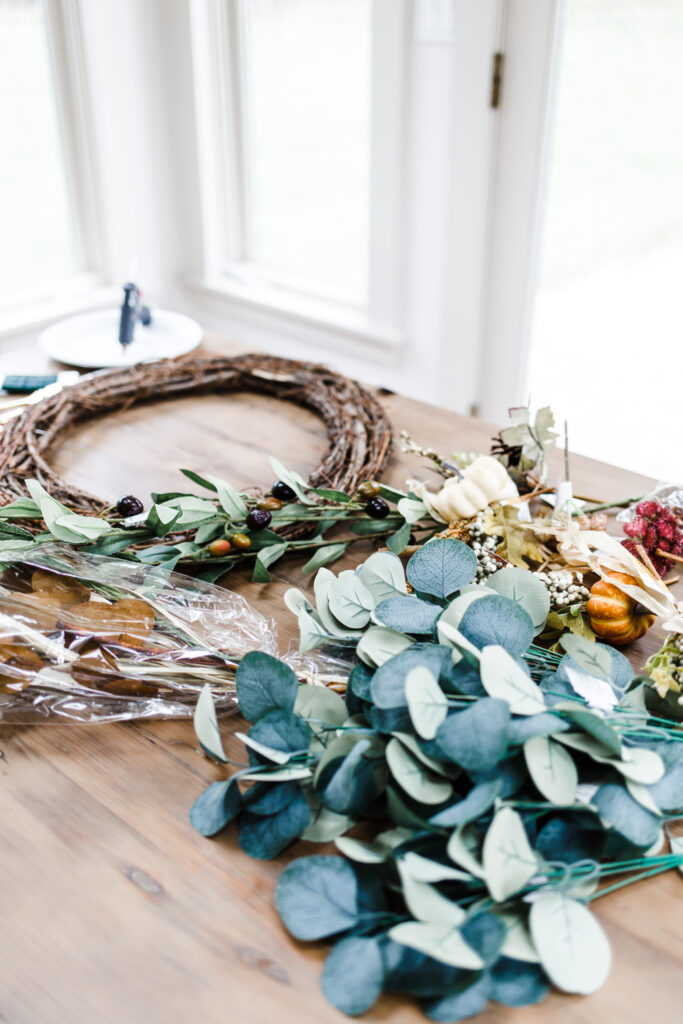
Next you’re going to want lots of stems and sprigs to add. I love to come up with a foundation stem that will fill most of the wreath. This time I went with Eucalyptus, because I love the muted green tones and it’s such a lovely round leaf. Olive stems also make a really pretty foundation. You can find both at Walmart, online and in store and once again, they’re super affordable at under $2 a stem.
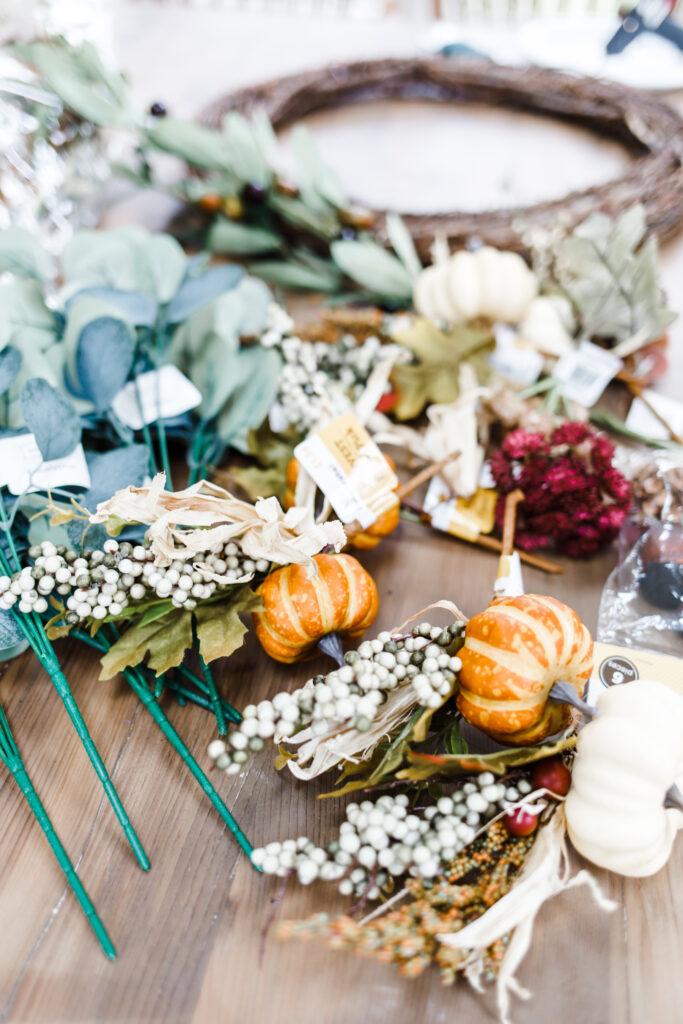
Once I decide on my foundation greens, it’s time to add the fun! I love to come up with a basic color scheme and then find a combination of artificial and dried floral stems, berries, or anything with great texture that I can add. Like I said above, the key is to get PLENTY of great stems. You can always save anything you don’t use for a project later on, but if you don’t have enough your wreath will look sad and sparse. I also pretty much never know how I’m going to put it together before I start, and I just kind of make it up as I see how its coming together so I like to have lots and lots of options to choose from. For this wreath I wanted a mostly muted green look with splashes of warm fall tones. I grab some dried florals and some fall stems from Walmart’s Way to Celebrate line.
Other supplies you’ll want to have on hand: a hot glue gun, scissors, floral wire and a great relaxing fall playlist. Seriously, turn on some chill music and just enjoy the process. It’s so fun and relaxing to put together. I grab most of my crafting supplies from Walmart, because they carry just about everything I need and the prices are always so great. Plus, I love that if I need anything shipped it gets to me super fast.
Fall wreath supplies:
How-to build your wreath:
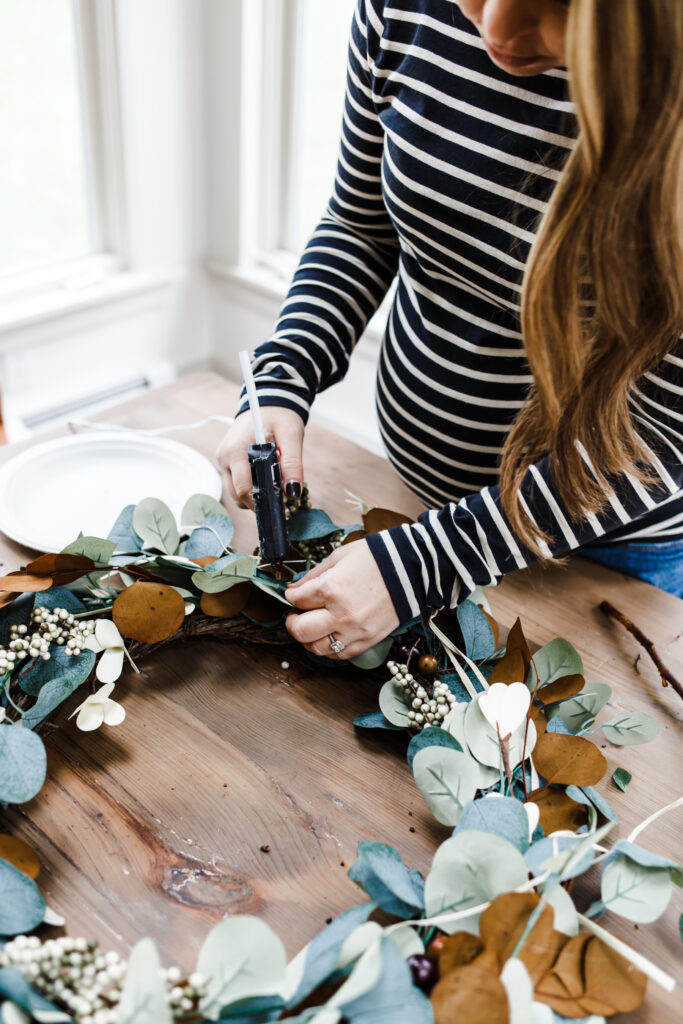
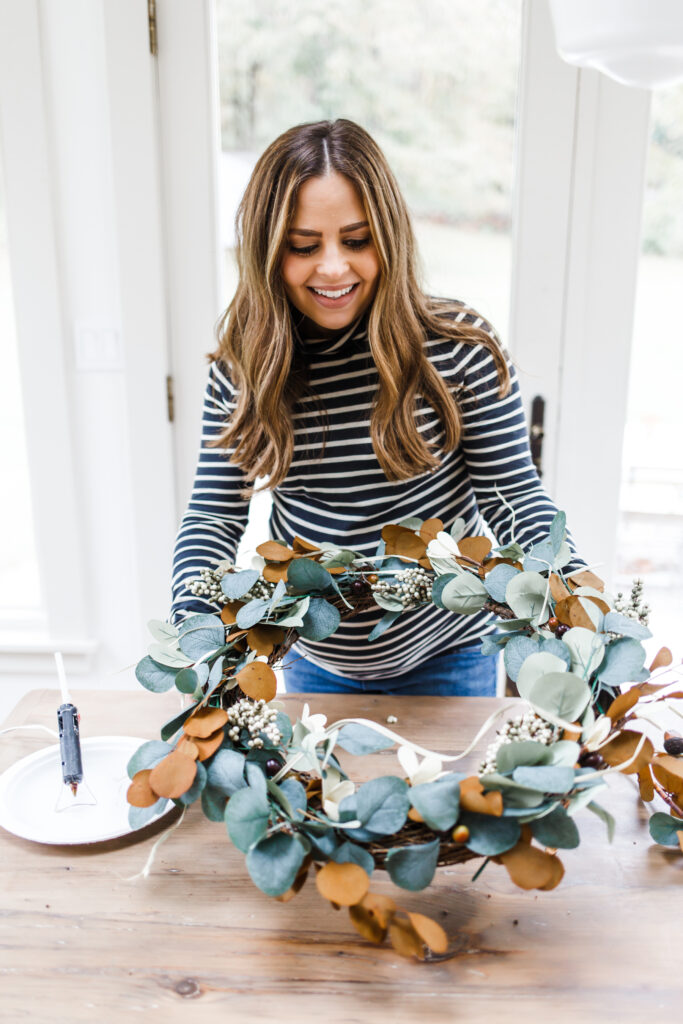
Like I said, the best part about the grapevine wreath is how easy it is to stick the stems into it. I really only use the hot-glue gun and floral wire here and there for the stubborn pieces that won’t behave or need a little extra securing. To apply the greens you just insert the end of the stem right into the wreath sliding it in between the branches and wire until it’s secure. If you feel like it’s not going to hold still, secure with floral wire or a bit of hot glue as needed. (But like I said, it’s rarely needed.)
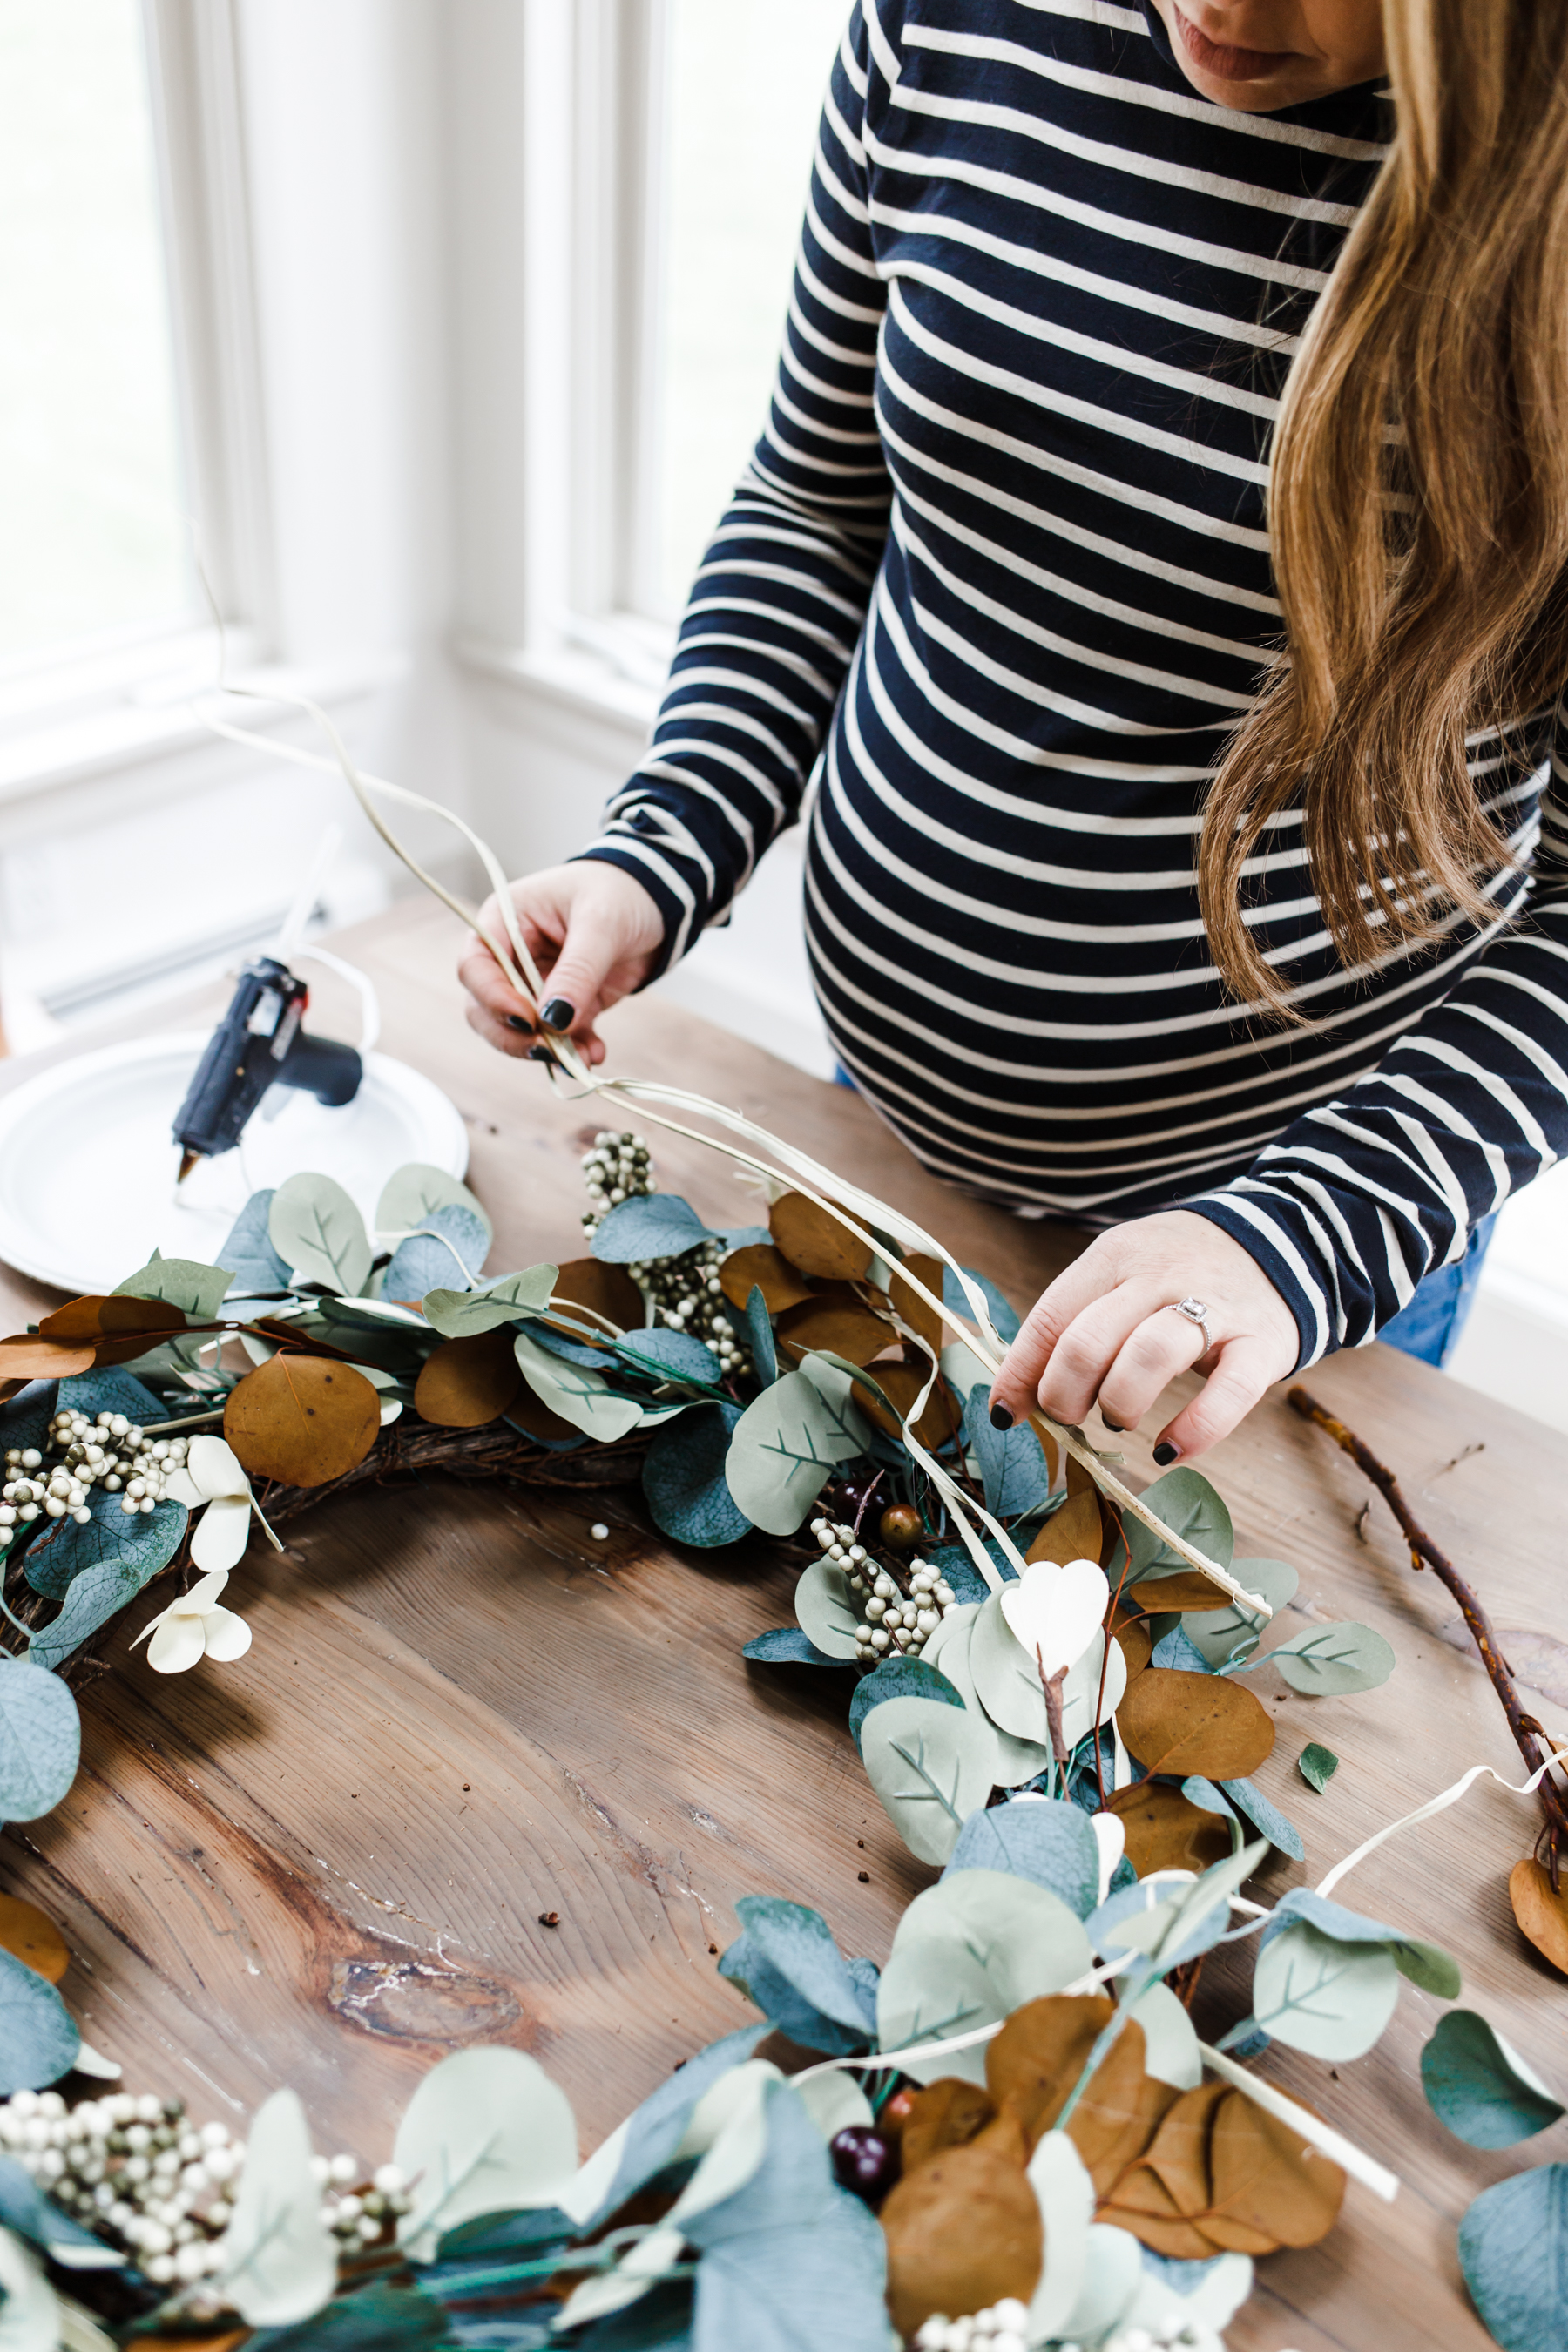
Start by adding the foundation greens stems to your grapevine wreath. I like to add them all in the same direction, but that’s really just personal preference. Bend and fluff the stems, and turn the leaves so they don’t look matted down and look more natural.
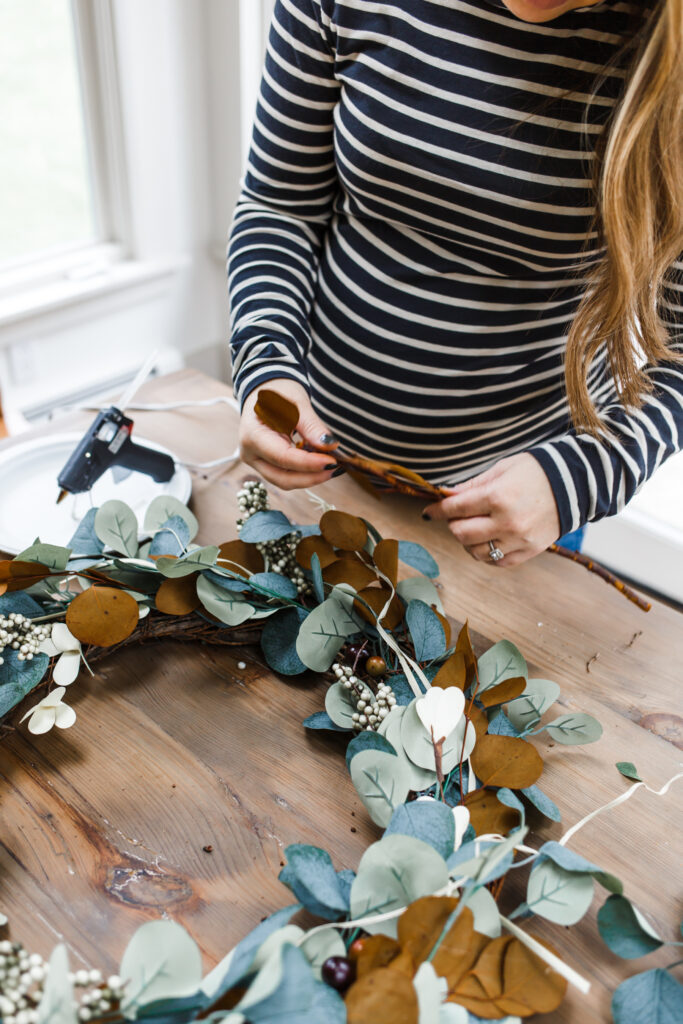
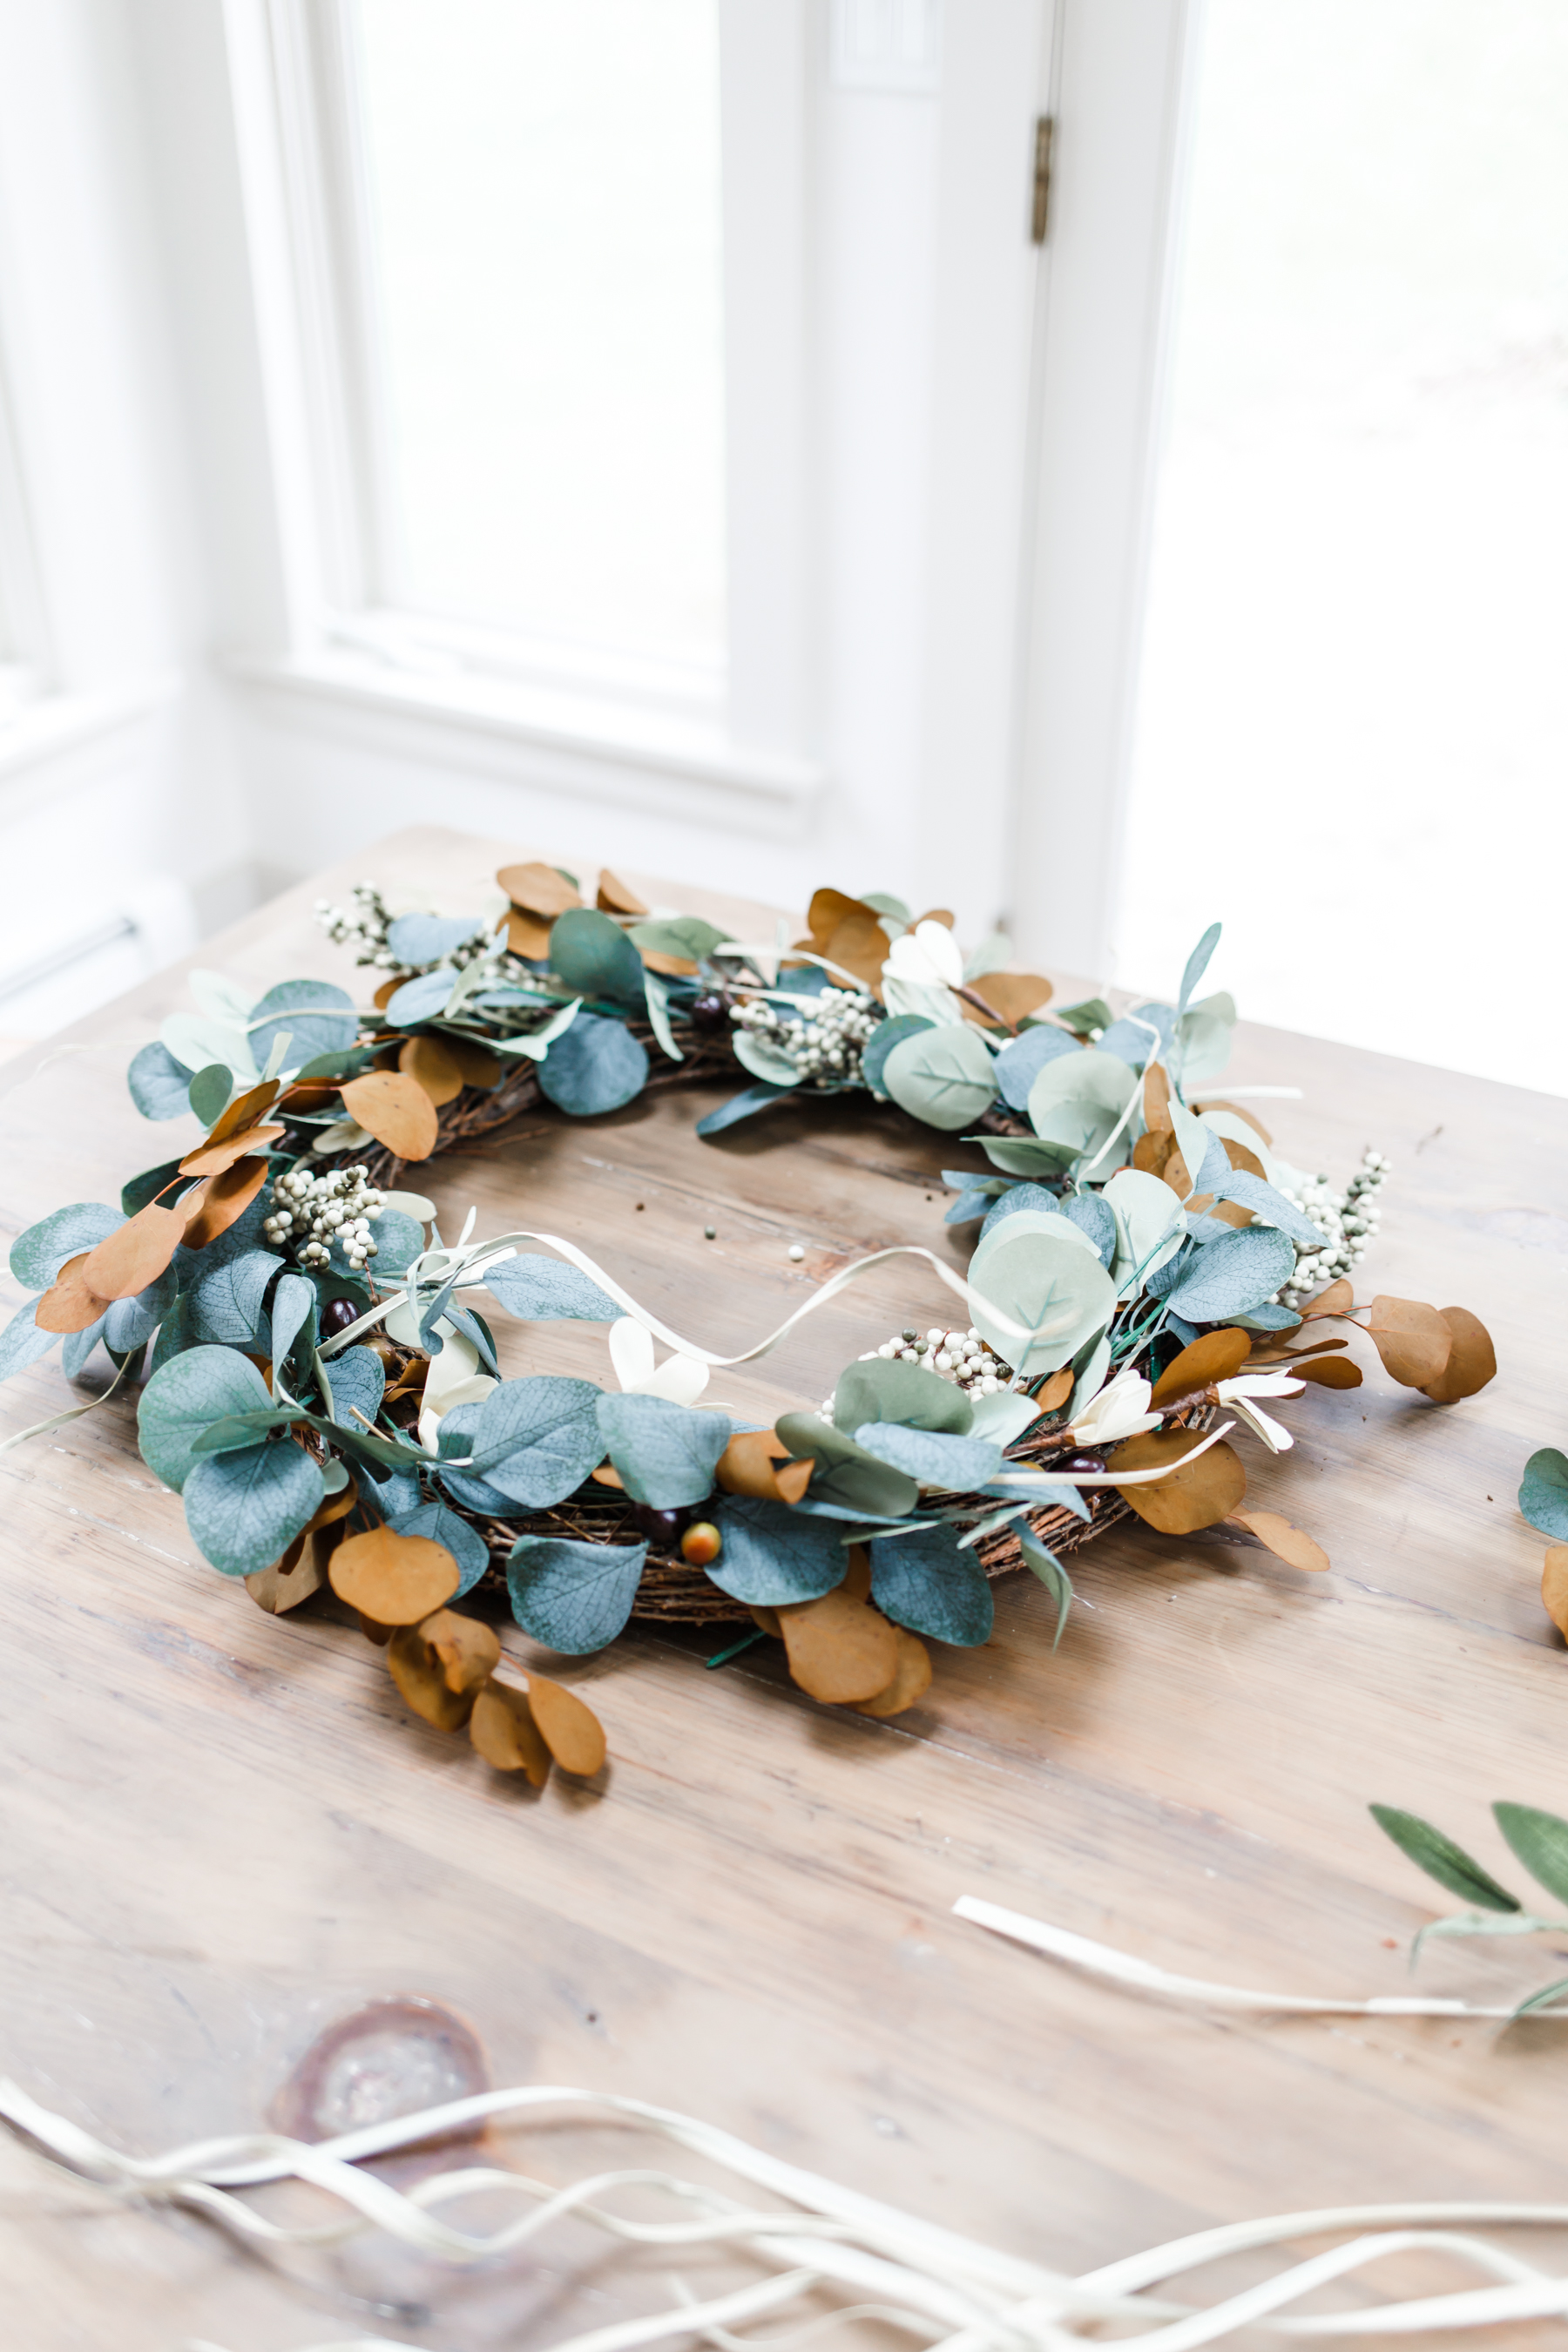
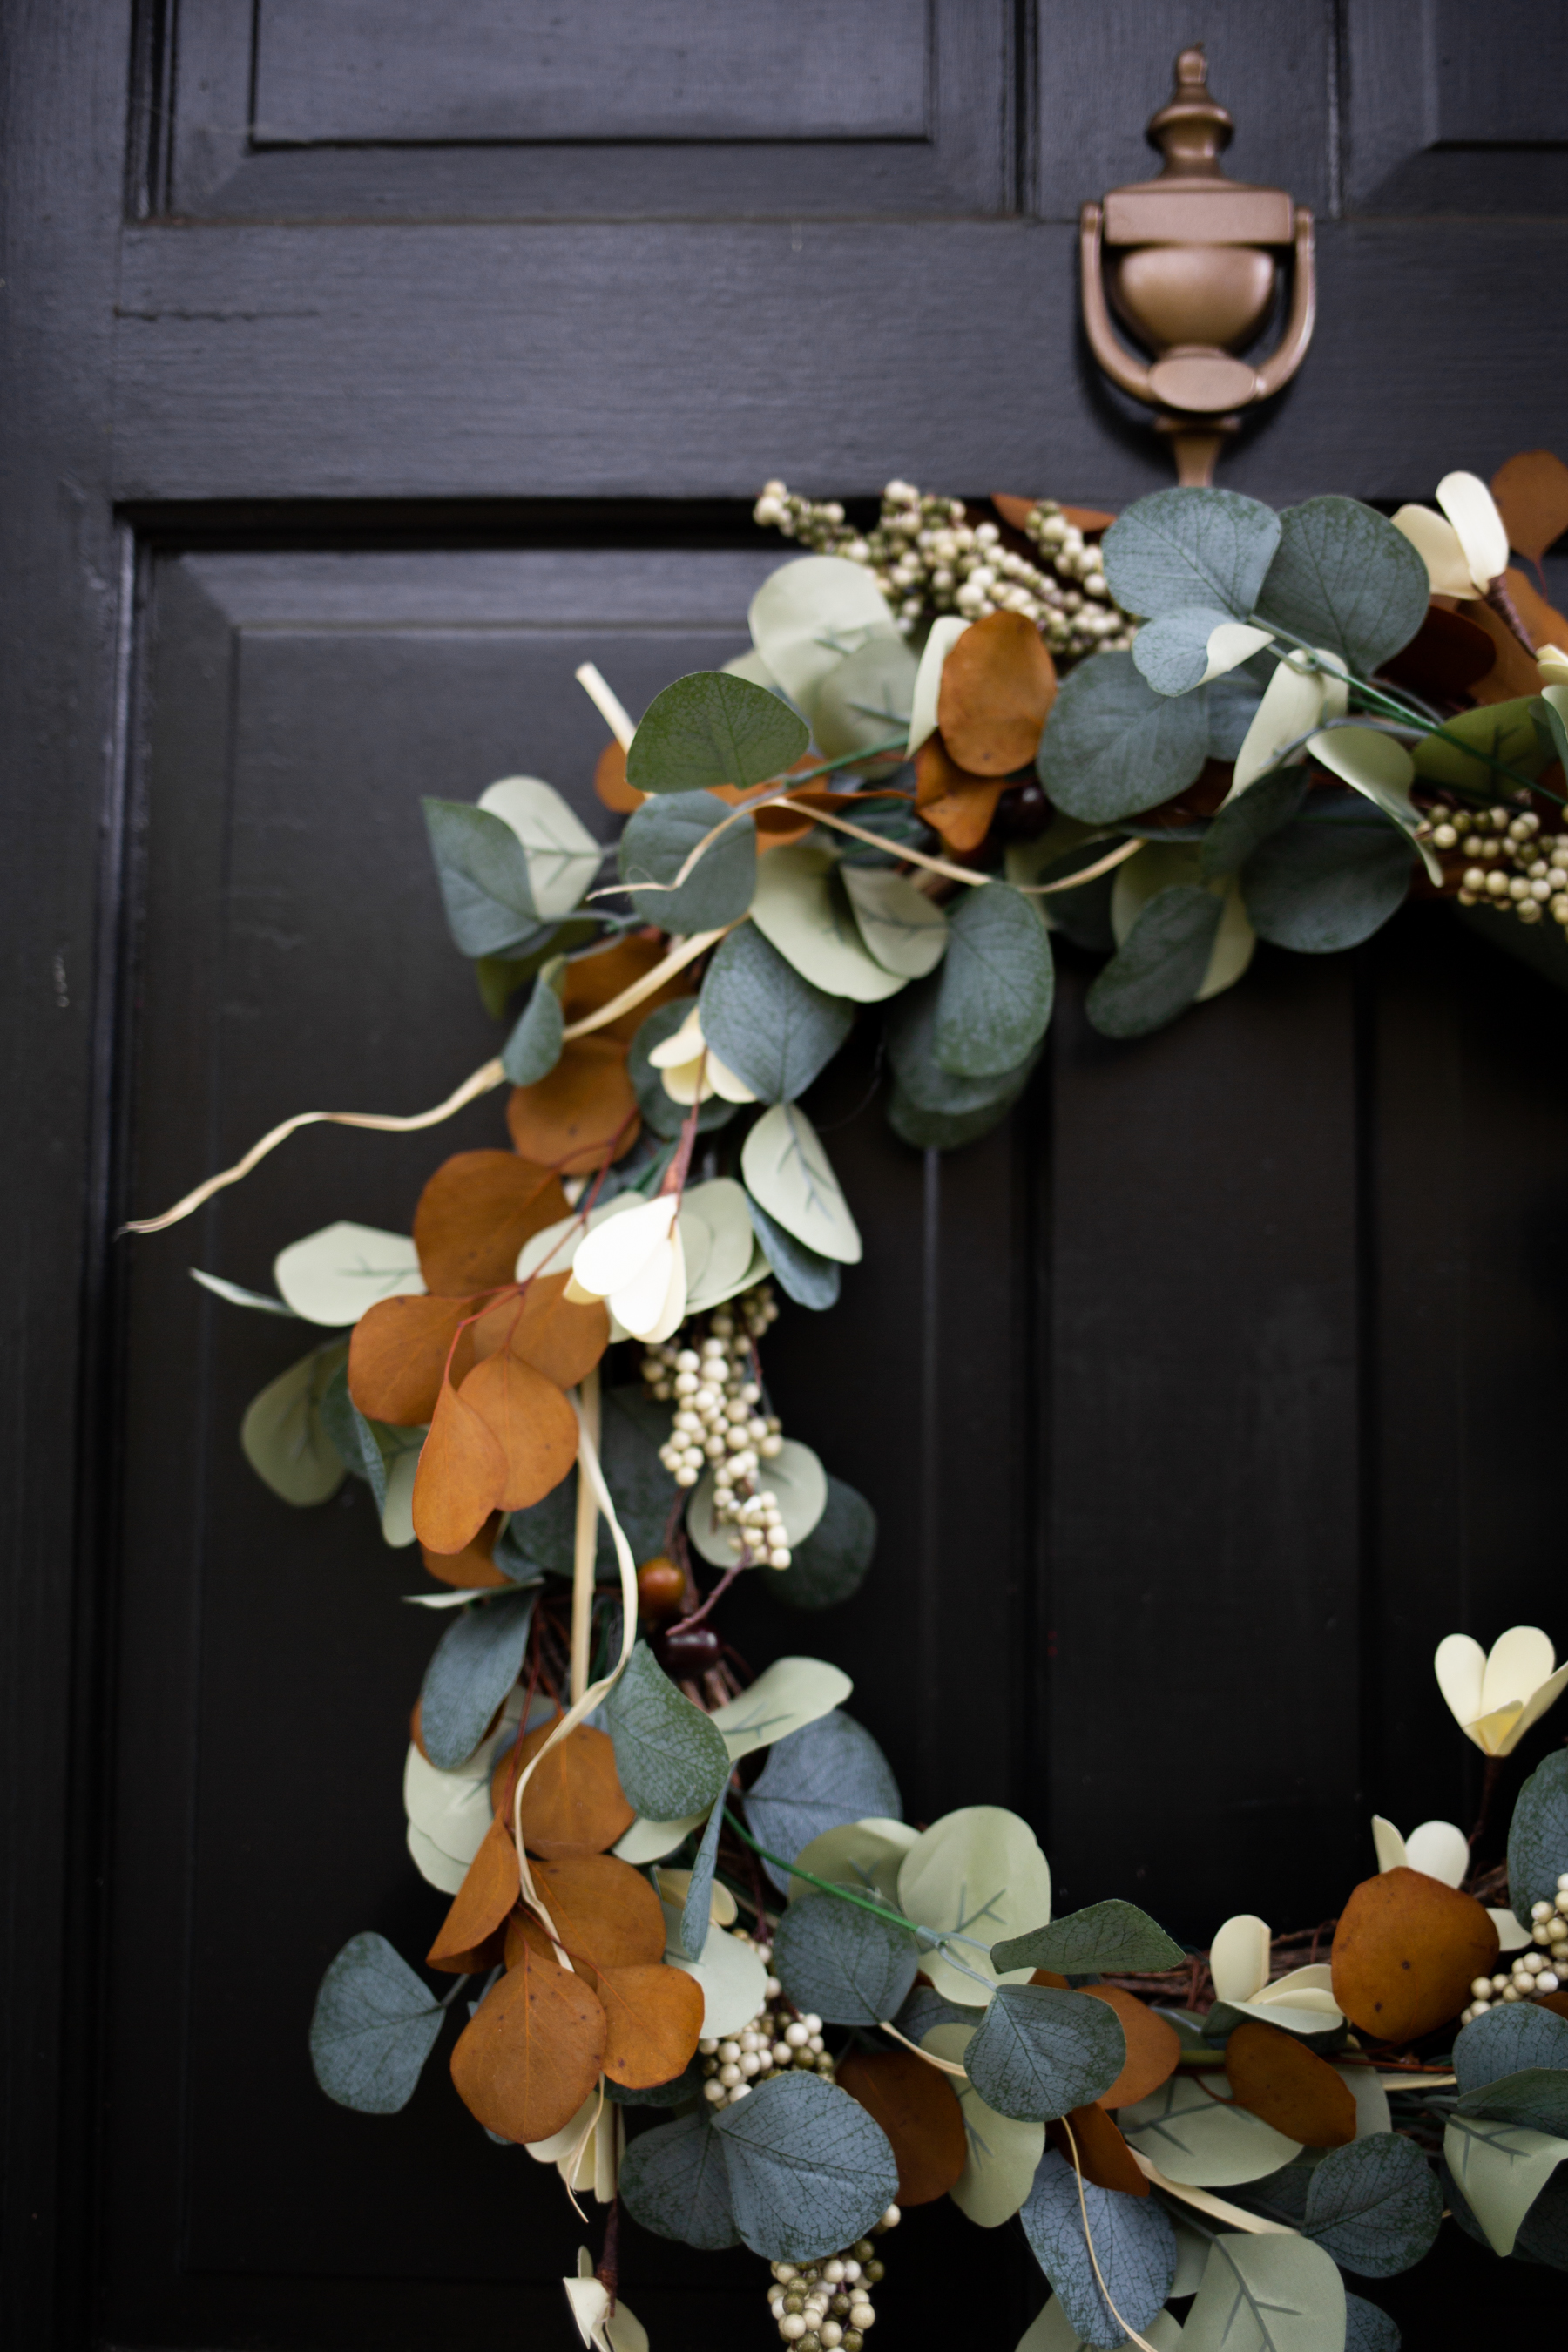
Once you’ve got the greens as full as you want them, time to start adding texture and color. I usually start adding one type of stem/color at a time, playing with it until I like the look. There’s no wrong way to do this, just have fun with it. For this wreath I added orange dried leaves, paper flowers from the floral department, artificial berries, and artificial olives. I love the subtle fall look and texture, and it was so fun and easy to make.
If you aren’t feeling super crafty or you’re short on time, Walmart has a bunch of pretty premade fall wreaths as well.
Premade fall wreaths:

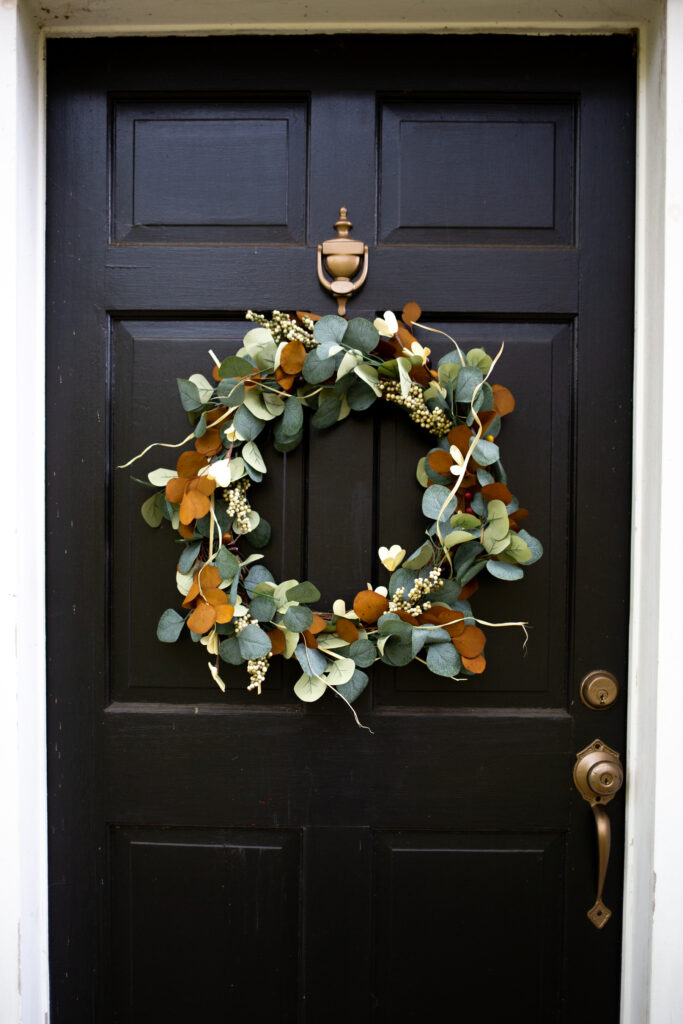
I highly recommend trying out making your own fall wreath. I had such a nice afternoon putting this pretty one together, and it looks so nice on our black front door. I can’t wait to put one together for the Christmas season!

I’ve always loved to craft with my kids, especially this time of year, and Walmart carries a bunch of fun fall crafts. If you don’t want to come up with your own ideas, they have lots of kits you can choose from. Perfect for a rainy afternoon in October!
Find more fun Fall Crafts here.
