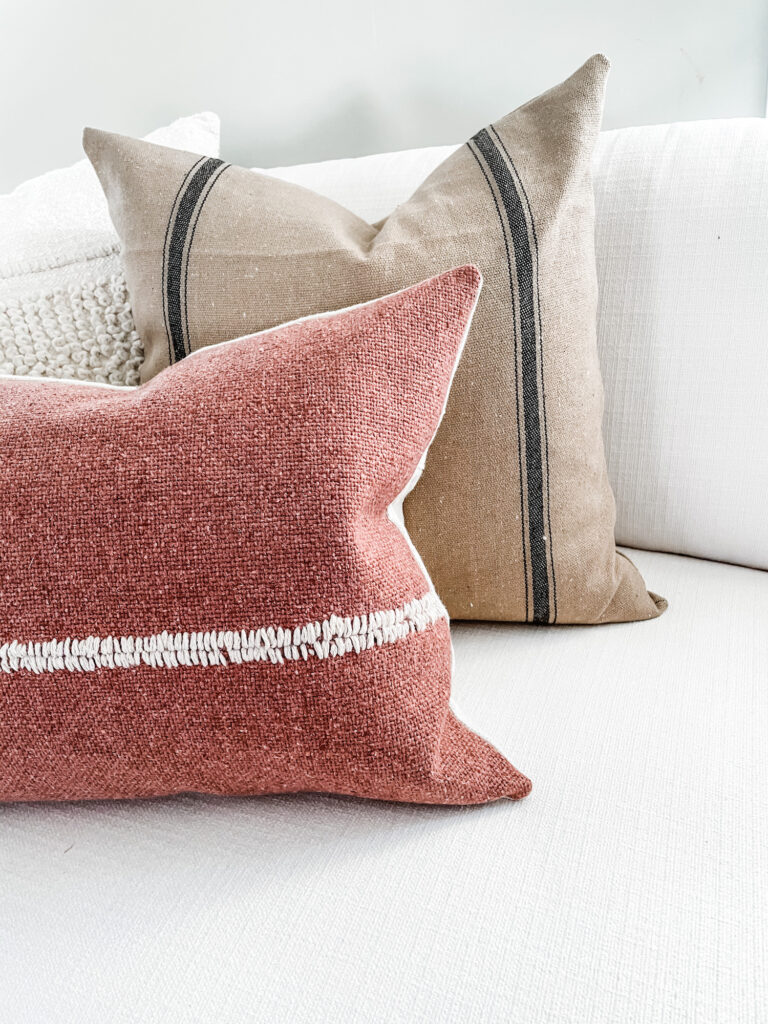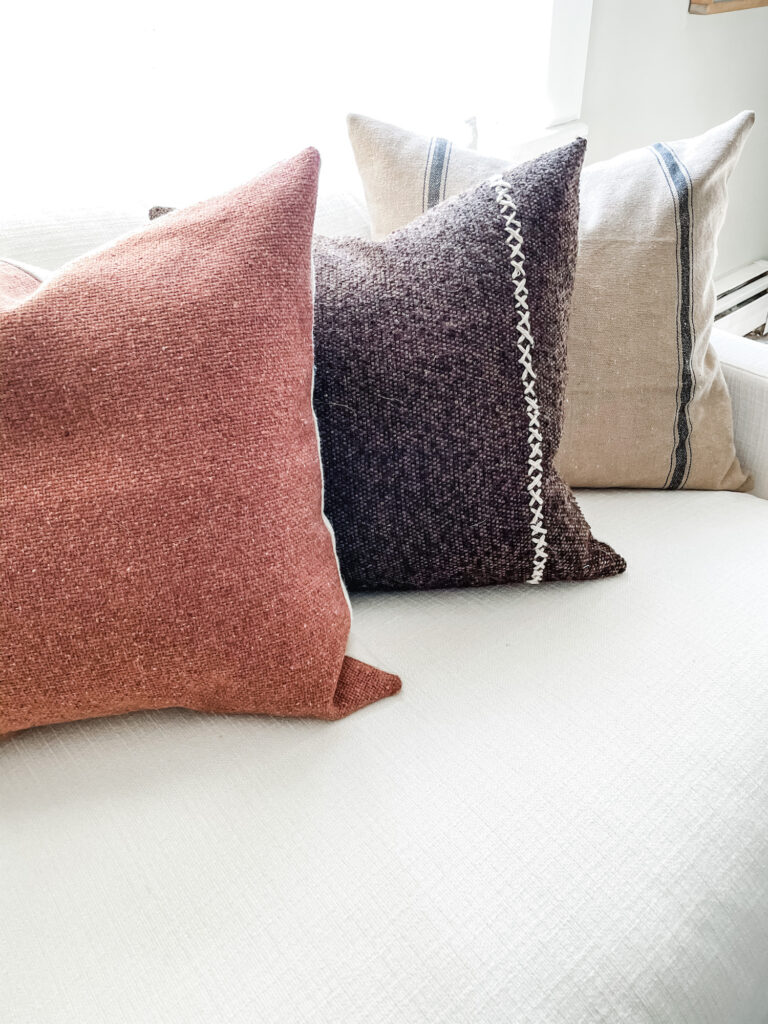
I’ve talked about this before, but I am a maker. I love to make things. Whether it’s candles, a loaf of bread, refinishing an old furniture pieces or sewing a dress. The drive to create something that did not exist before is one of the most natural instincts I have, and being creative is my number one choice for self care.
One of my favorite ways to create is sewing. I love to make and alter clothes and I love sewing things for my home. Whenever people ask me what they should start with when learning to sew, I always say, throw pillows! They are so easy to make, require very little fabric, and can make a huge impact on a space.
Today I’m going to show you my favorite method for making throw pillows. I prefer them to have a hidden zipper in the back, because I think they look more lux and professional, and today I’m going to show you how easy it is to do that. It’s actually quite an easy DIY and you’re going to feel like a rockstar at the end, because hello! Hidden zipper!
You’re going to be a throw pillow making machine by the end of this post!
If you have any questions about how to make zipper back throw pillows while you are reading this post, leave them in the comments and I’ll make sure and answer!
Okay, now lets get started learning how to make throw pillows.
First off, what you will need for this DIY:
required: sewing machine, fabric, thread, zipper, scissors, pins, pillow insert.
My favorite place to find great unique fabric is Etsy! Try searching grain sack fabric, upholstery fabric, home fabric.
optional: serger, yardstick, cutting mat, rotary cutter.
Now let’s get sewing!
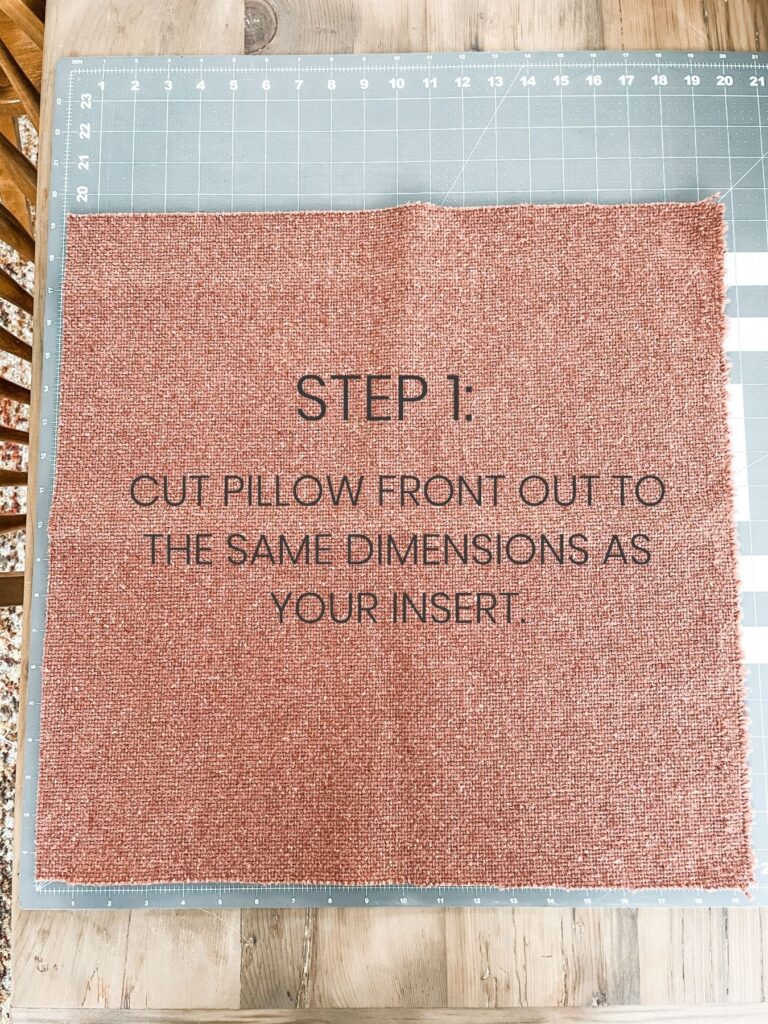
Step 1: cut out the front fabric of your pillow to the same measurement of your pillow insert. That means if you got a 20″x20″ insert, you’ll cut out 20″x20″ of fabric. Once the pillow is sewn on all edges it will end up being an inch smaller on each side than the insert. This will give you a nice full pillow that doesn’t collapse.
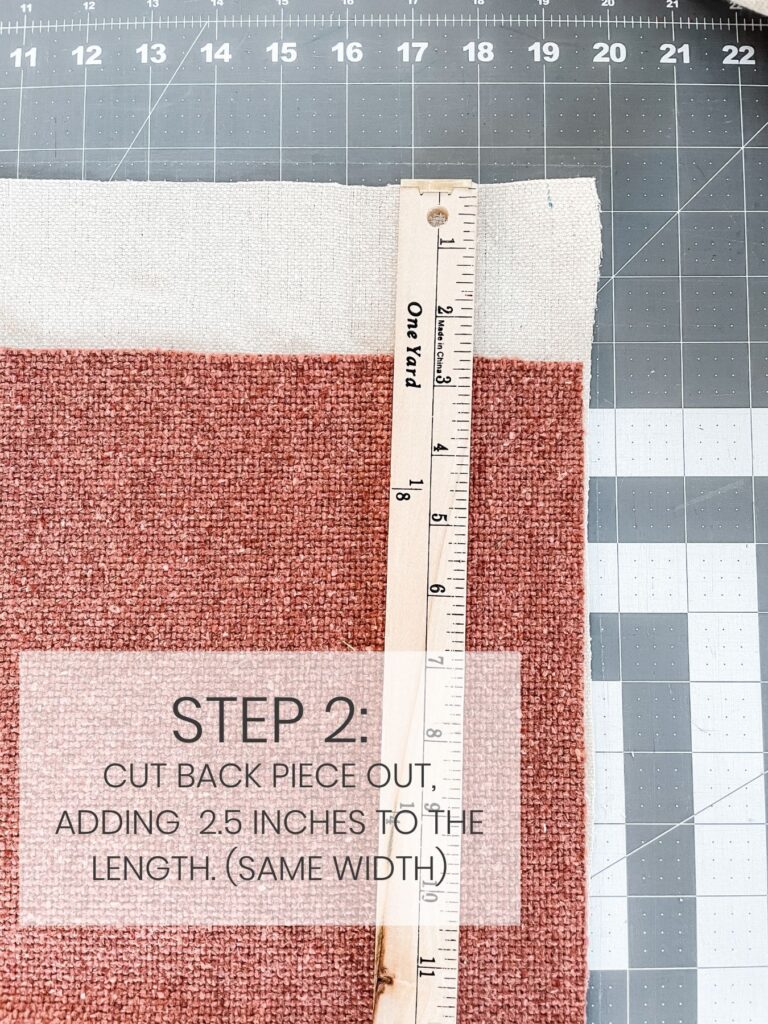
step 2: cut out the back fabric adding 2.5″ to the length, but keeping the same width as the front. This gives you the allowance to put the zipper in.
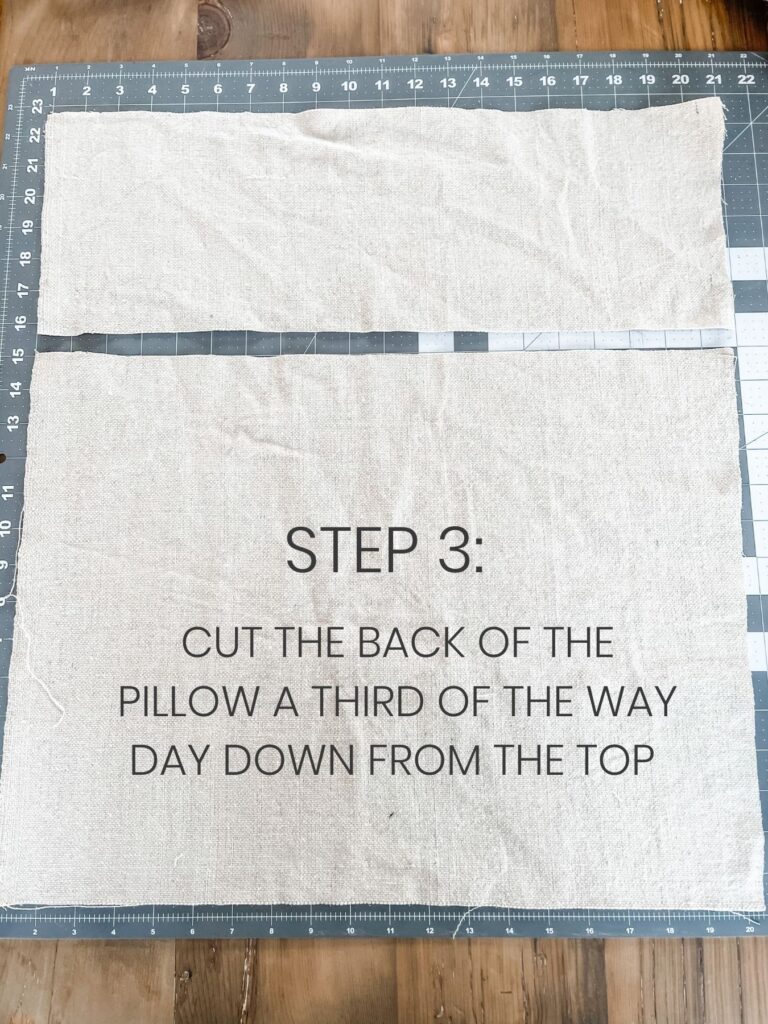
Step 3: cut the back of the pillow about 1/3 from the top down.
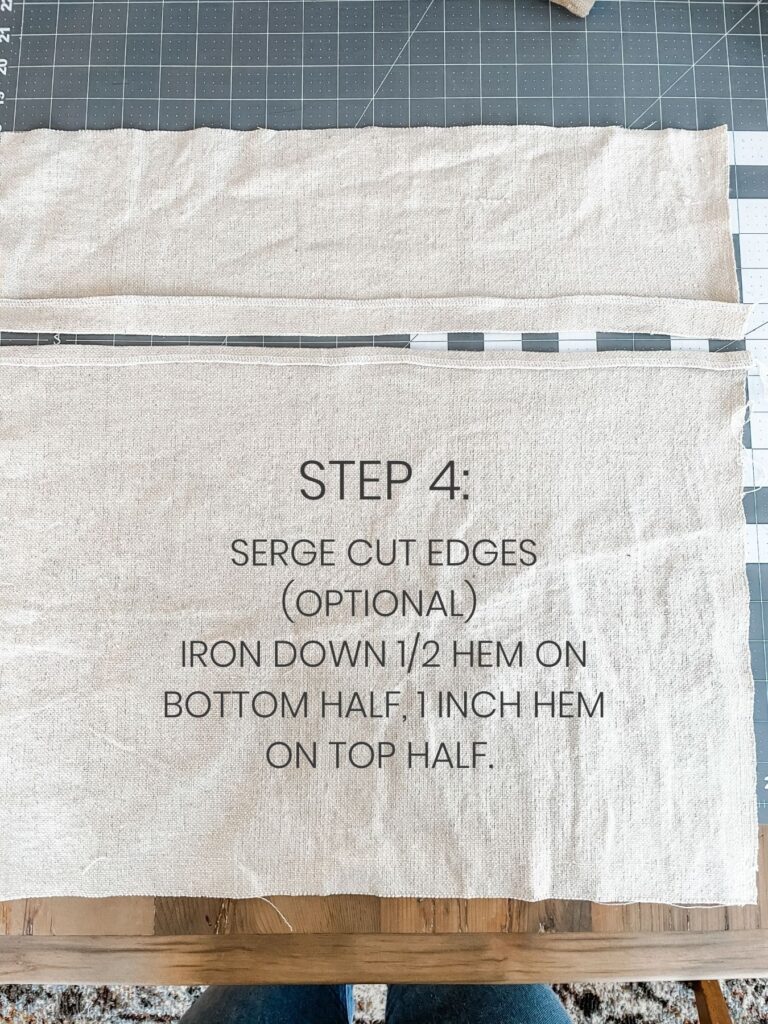
Step 4: if you have a serger, serge the cut edges and then iron down 1/2″ hem on the bottom piece and a 1″ hem on the top piece.
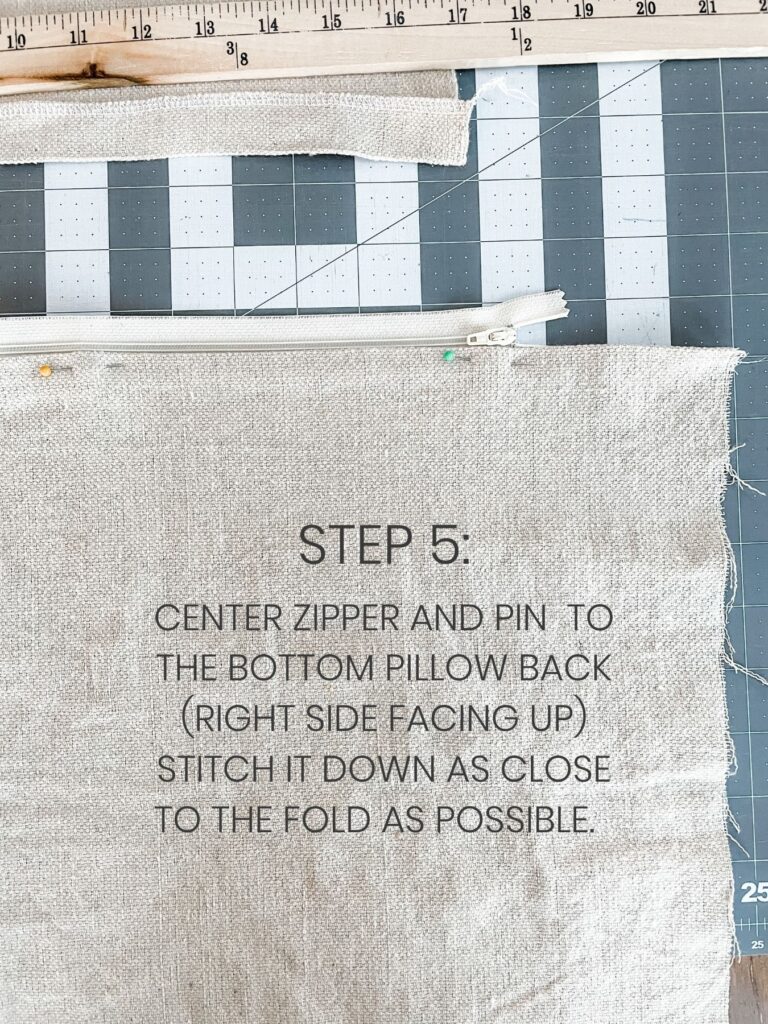
step 5: center the zipper on the bottom pillow back, and stitch down as close to the fold as possible.
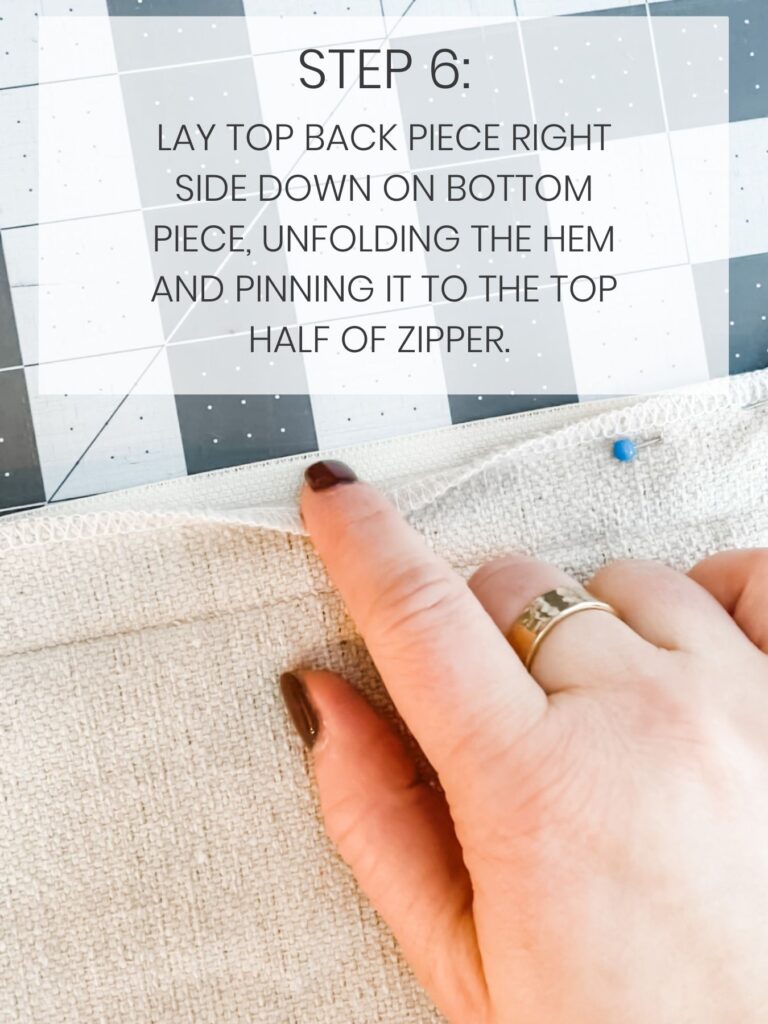
step 6: lay the top back piece of fabric right side down on the bottom piece. Unfold the hem and pin it to the top half of the zipper.
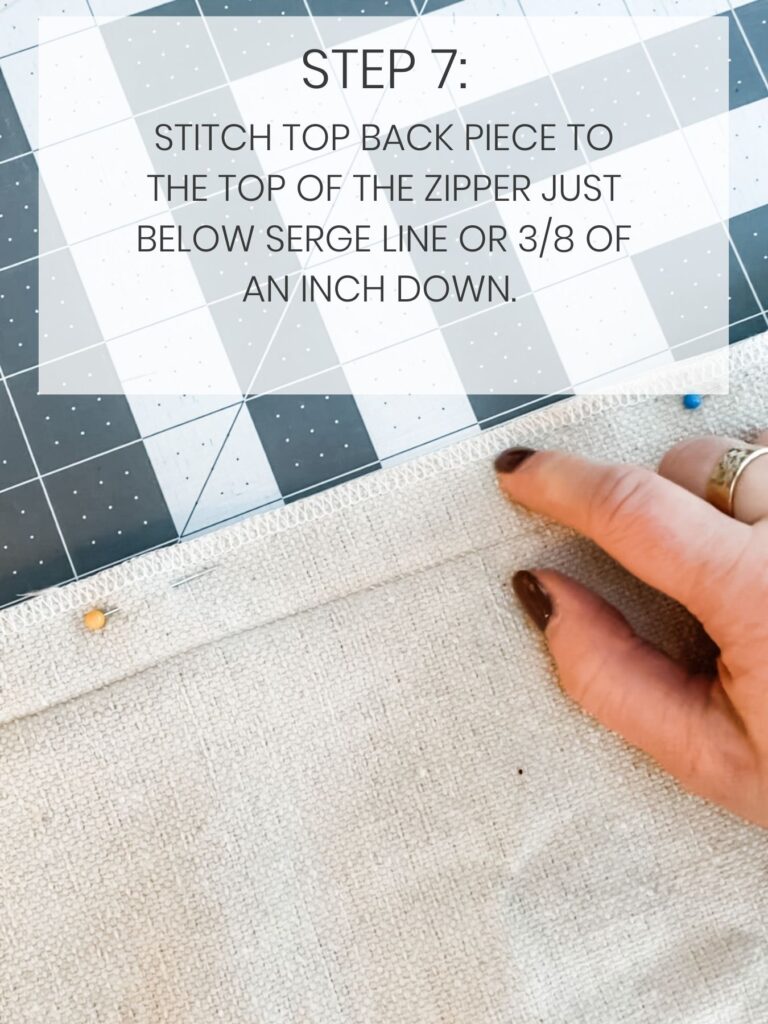
step 7: stitch the top back piece of fabric to the top of the zipper 3/8″ down from the top of the fabric.
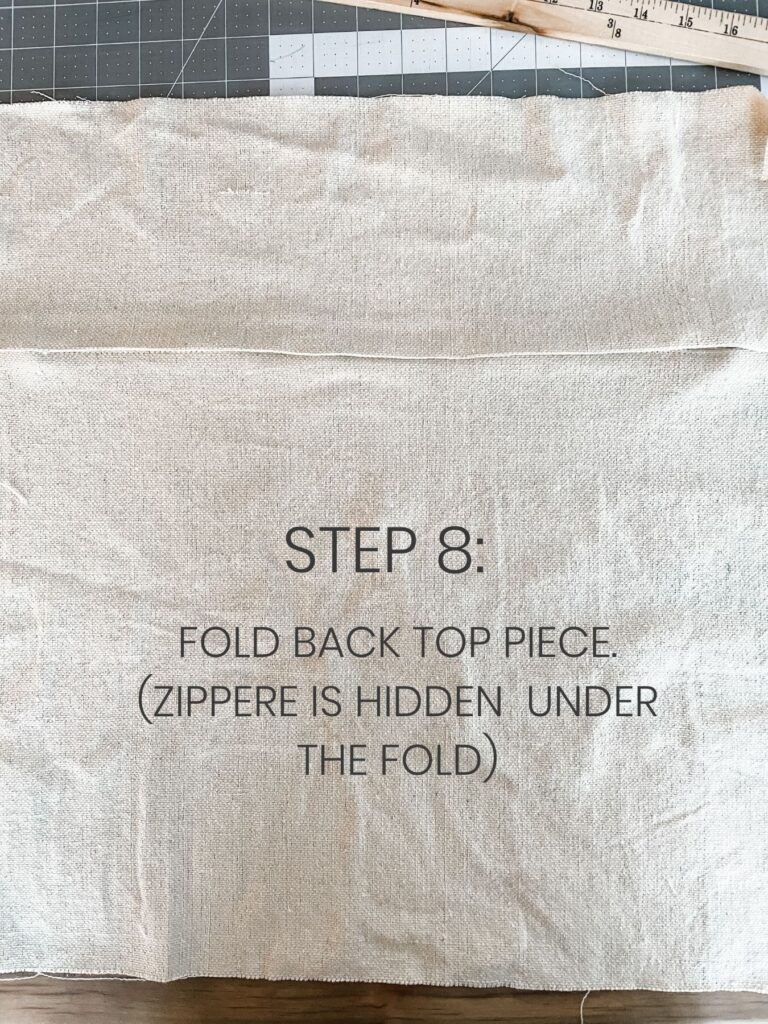
step 8: fold back the top piece. Zipper is now attached and hidden under the fold.
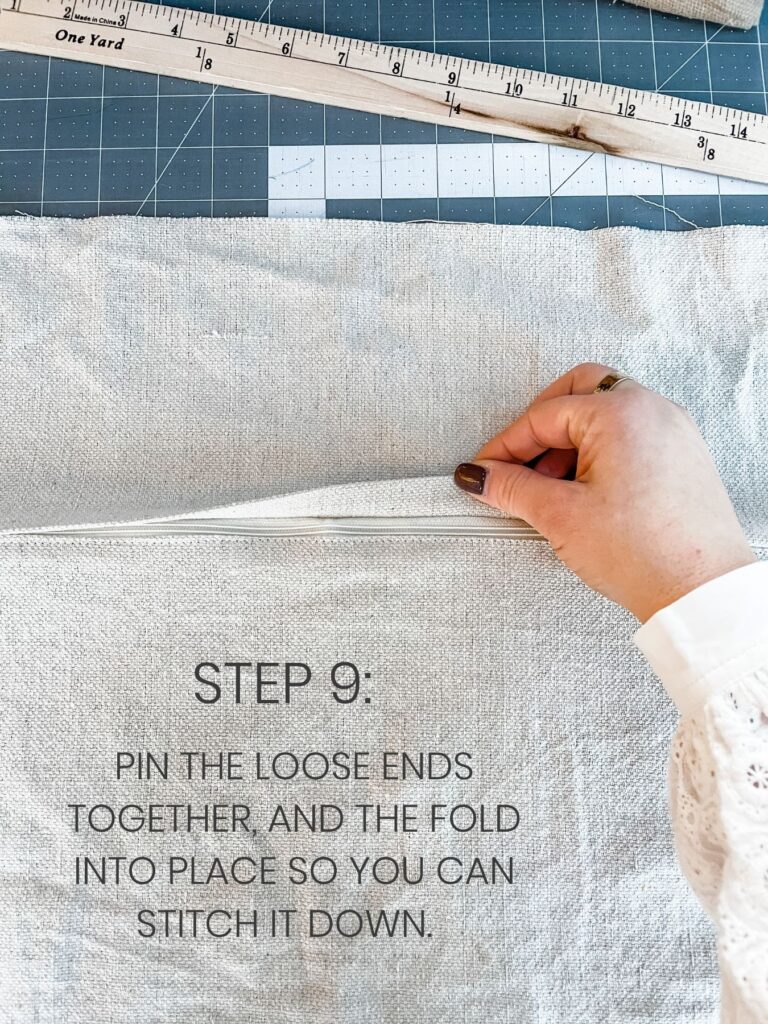
step 9: pin the loose ends together and the fold into place so you can stitch them down without them moving.
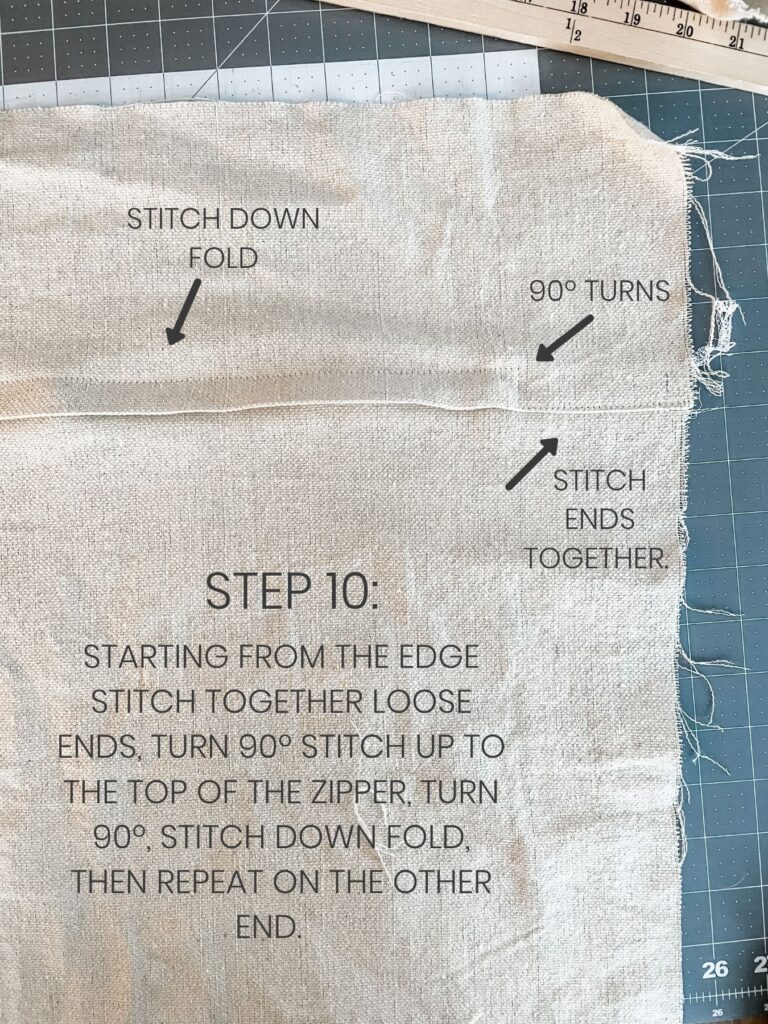
step 10: starting from the edge, stitch together the loose ends till you get to the zipper, turn 90º sew up to the top of the zipper, turn 90º then stitch down the fold above the zipper until you get to the end of the zipper. Turn 90º again, sew down the other end of the zipper, turn again and stitch together the other end of the fabric.
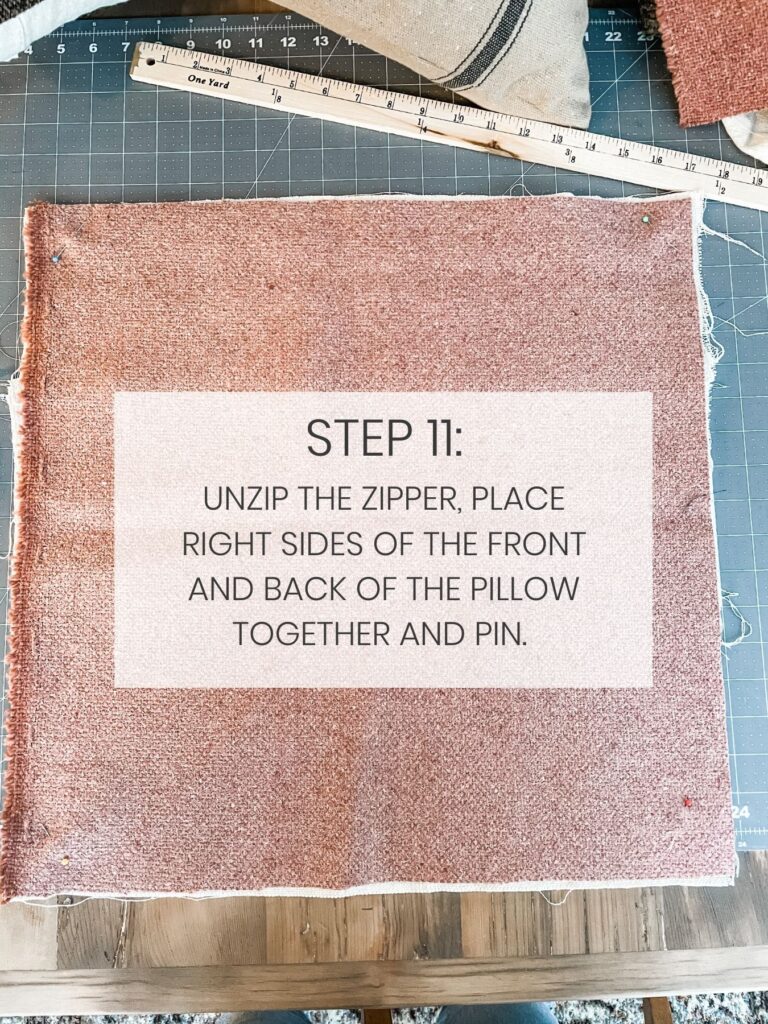
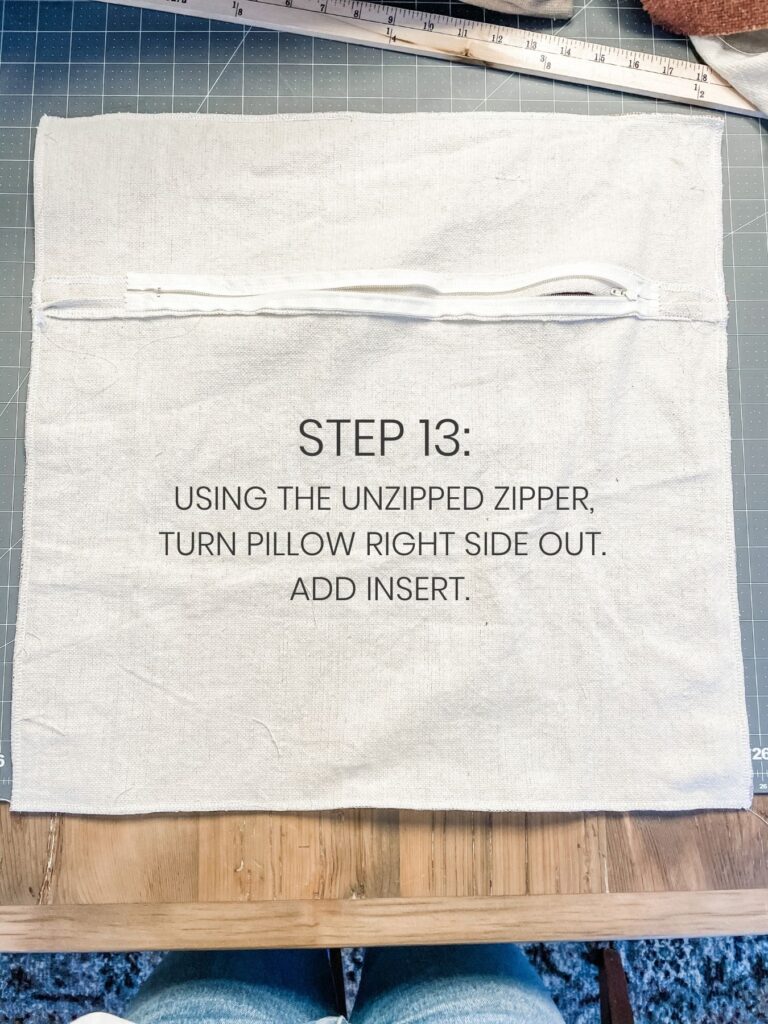
Step 11: unzip the zipper (important!), then place both pillows right sides together and pin.
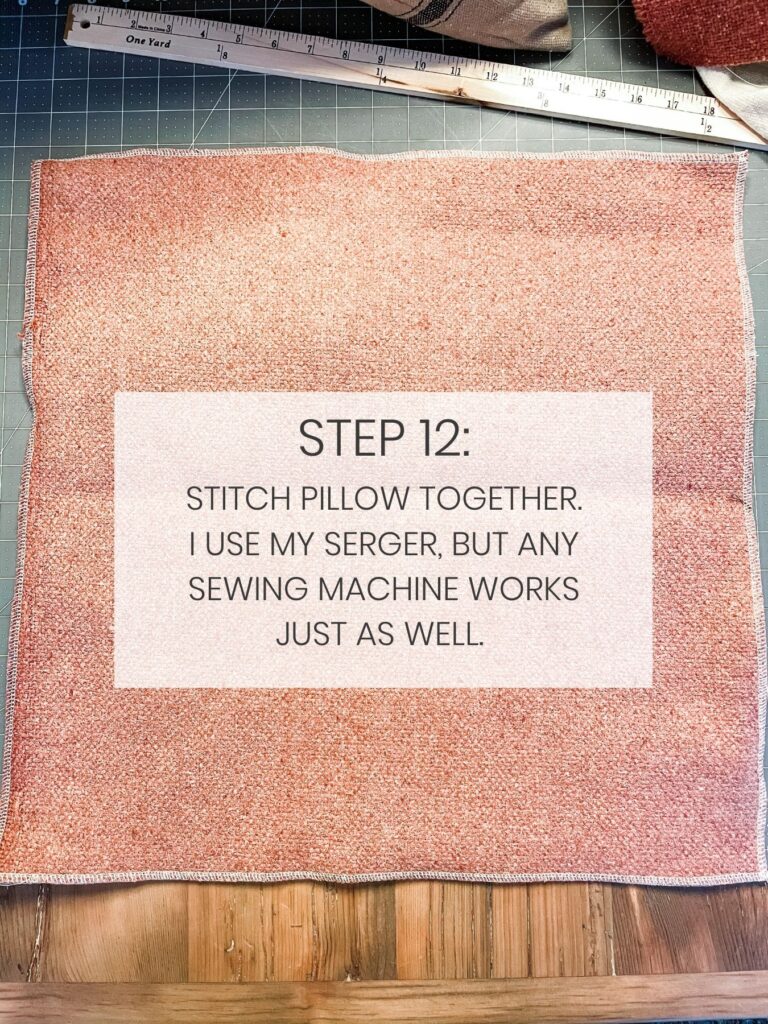
Step 12: sew all four edges together. I like to use my serger for this, but I sewing machine works just as well.
Step 13: Turn the pillow out and put in your insert!
And done!
There you go! Beautiful custom throw pillows, in no time at all! If you need any help or have any questions, please feel free to ask!
