black long-sleeved tee. Levis. also similar here. black loafer mules. black wide leg pants.

This post has been a long time coming! I try to share my petite hacks often with you all over on my instastories, because I know so many of you lovely ladies are on the shorter side like me, and we’ve got to stick together! But this is one I get asked about so often, I thought it would be good to keep in in a permanent place rather than having it disappear after 24 hours. ;-)
I’ve basically been cropping and hemming my jeans for my entire life. I can literally count on 1 hand the number of pants I haven’t had to alter in some way. This is how it goes when you’re only 4’11”. The good news is, I’ve pretty much got it down to an art form now, worked out all the kinks and found the easiest way to shorten my pants and jeans. It’s really so easy, especially now that raw hems are a huge trend, because now I don’t even need to hem my jeans after I cut them off!
I actually love the look of an unfinished hem, and it takes the process from around 45 minutes to about 5 minutes, so I’m not complaining. If you would like me to show you how I also hem and distressed my hems to make them look original, just leave a comment and let me know. Otherwise, here we go!
The super simple DIY: how I cut the hem of my jeans in a few simple steps.

Step one: You want to start by washing and drying your jeans. If you crop your brand new jeans before washing them for the first time they will end up being too short. Make sure you don’t skip this step! After I wash and dry for the first time I usually hang my jeans to dry to minimize shrinking. This also helps reduce fading and just extends the life of your jeans in general.
Now you’re going to try on your jeans in front of a mirror. Make sure they are pulled up and adjusted to just how you plan to wear them, I also usually put on a pair of shoes I plan to wear with the pants (or even try on a couple pairs).
Step two: you’re going to roll up your jeans to where you want them. Check them in the mirror. Make sure you stand up straight, turn around, adjust the length to get them right where you want them, and make sure the bottom of the fold on the leg matches while the pants are on your body. I do this rather than measure them off my body because jeans aren’t always cut and sewn perfectly, and also, one of your legs might be slightly longer than the other (fairly common) and if you cut them the same length to measurement rather than going off your body, they might be off.
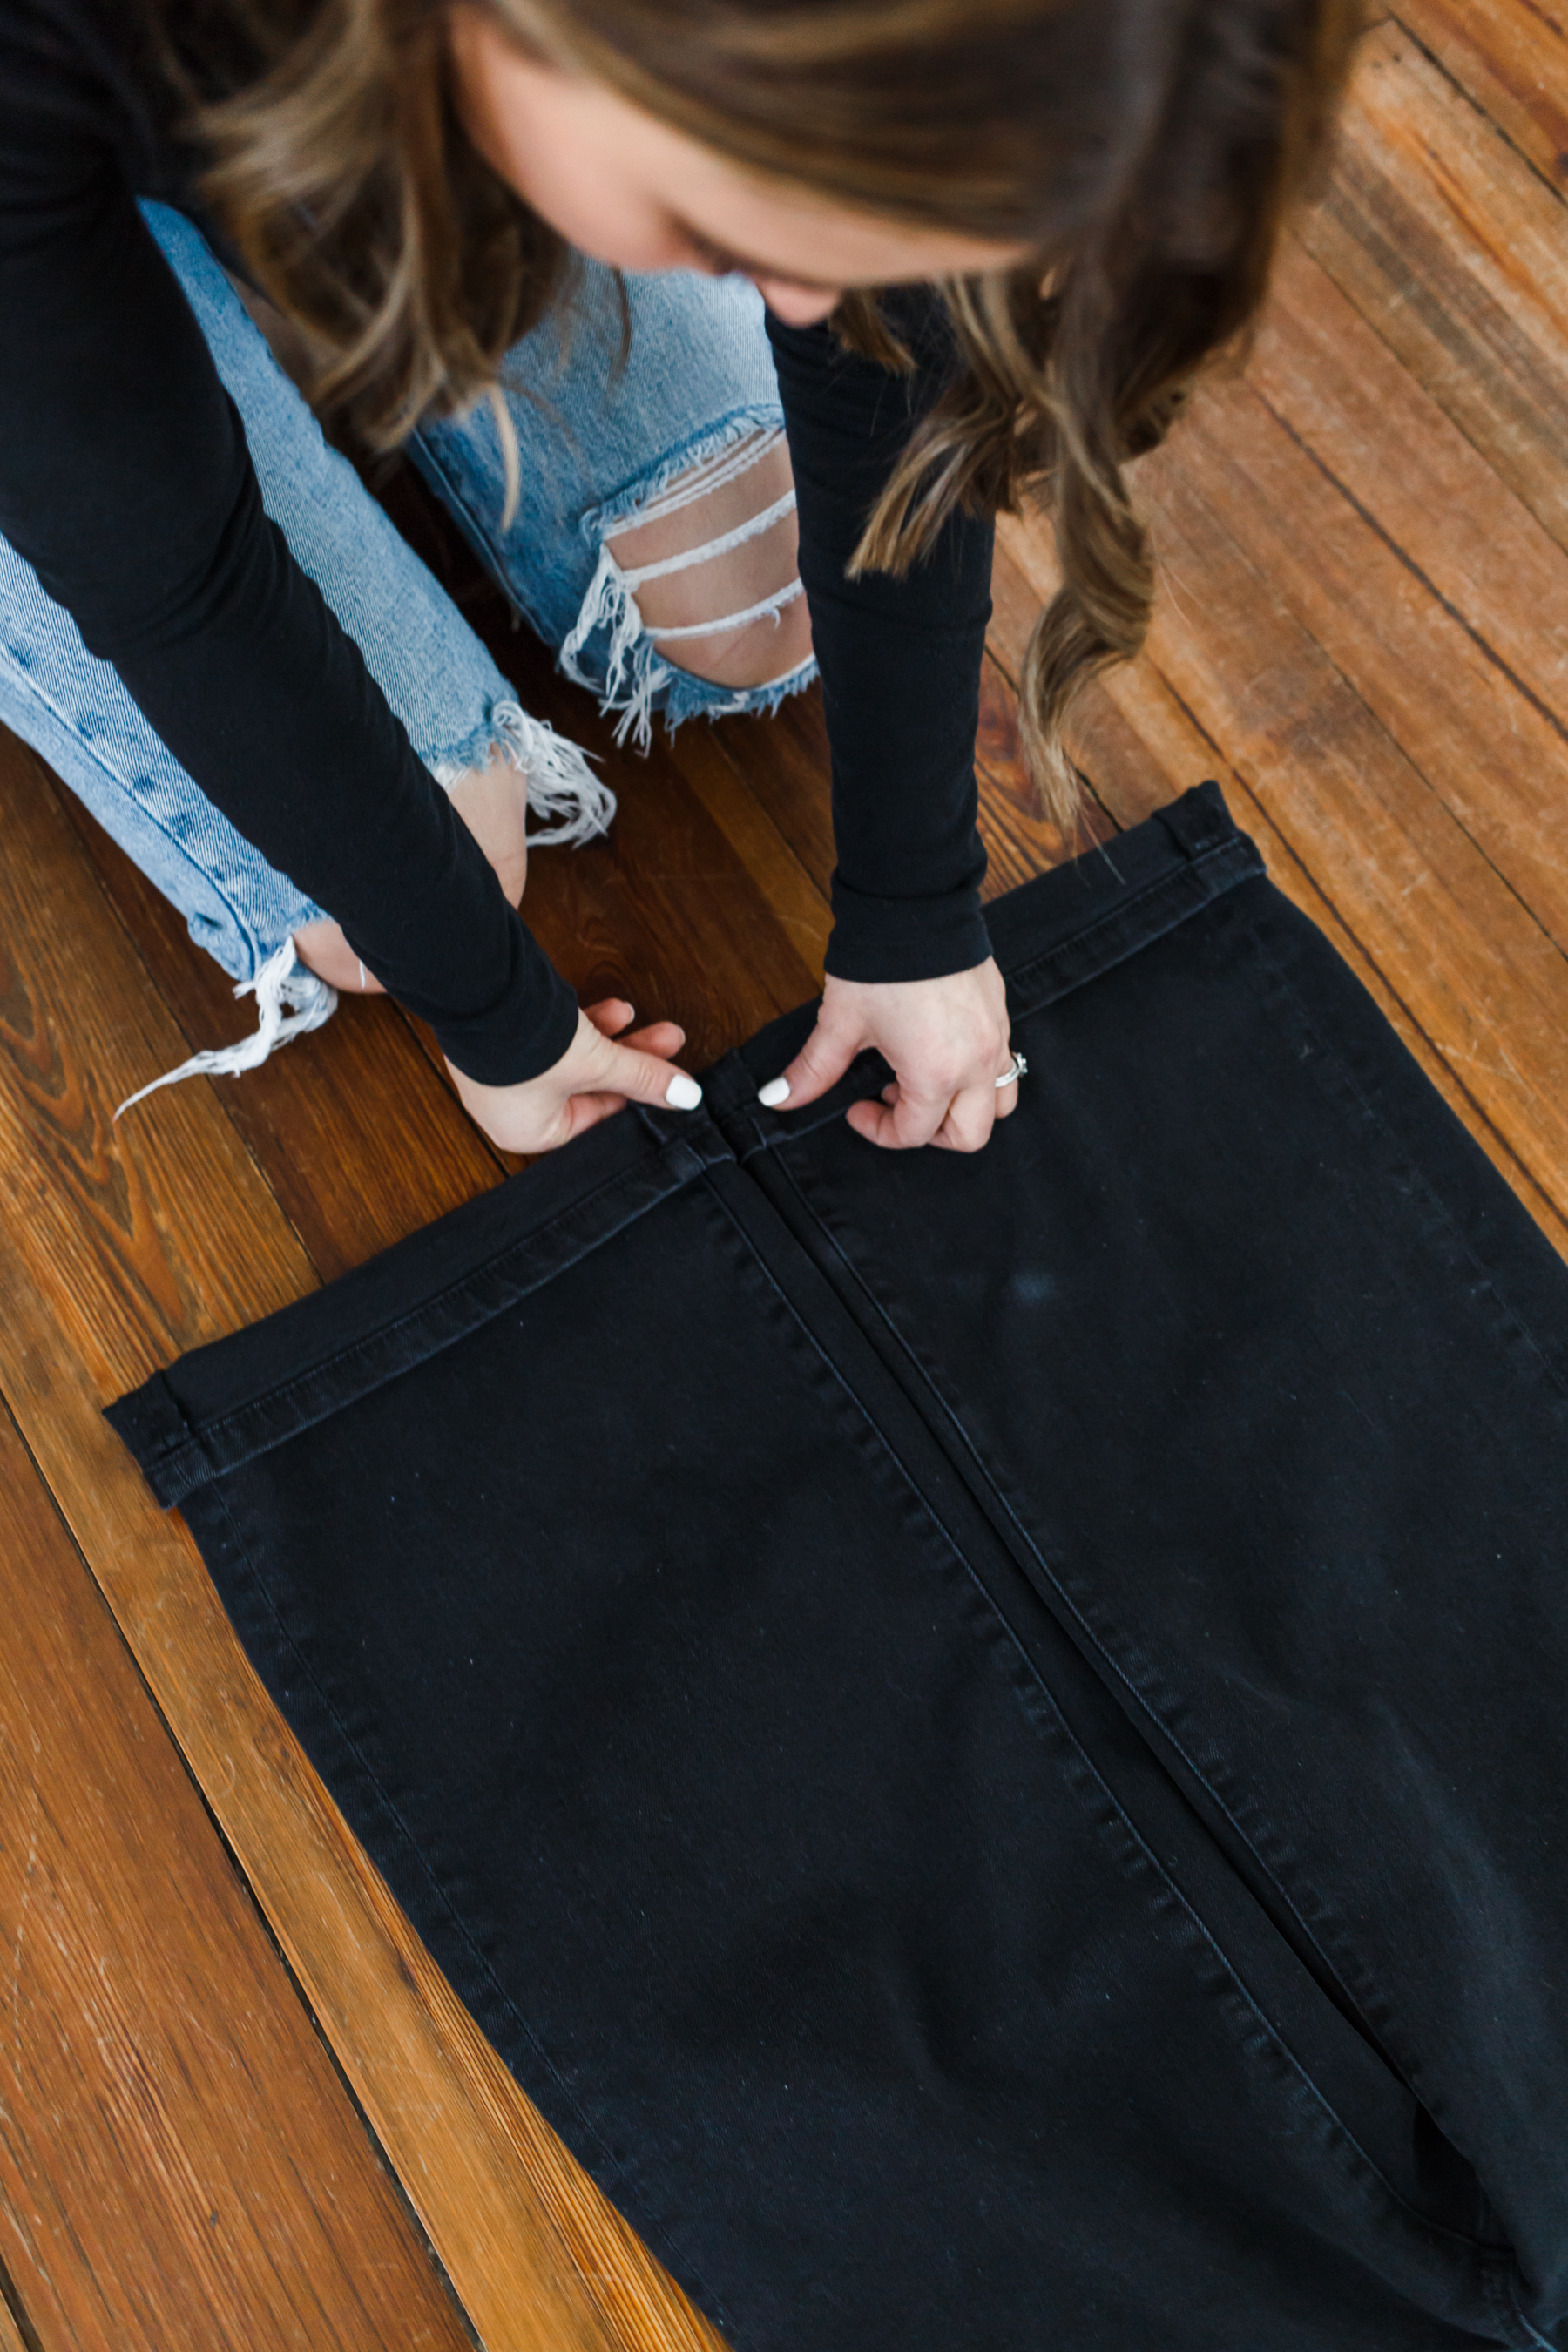
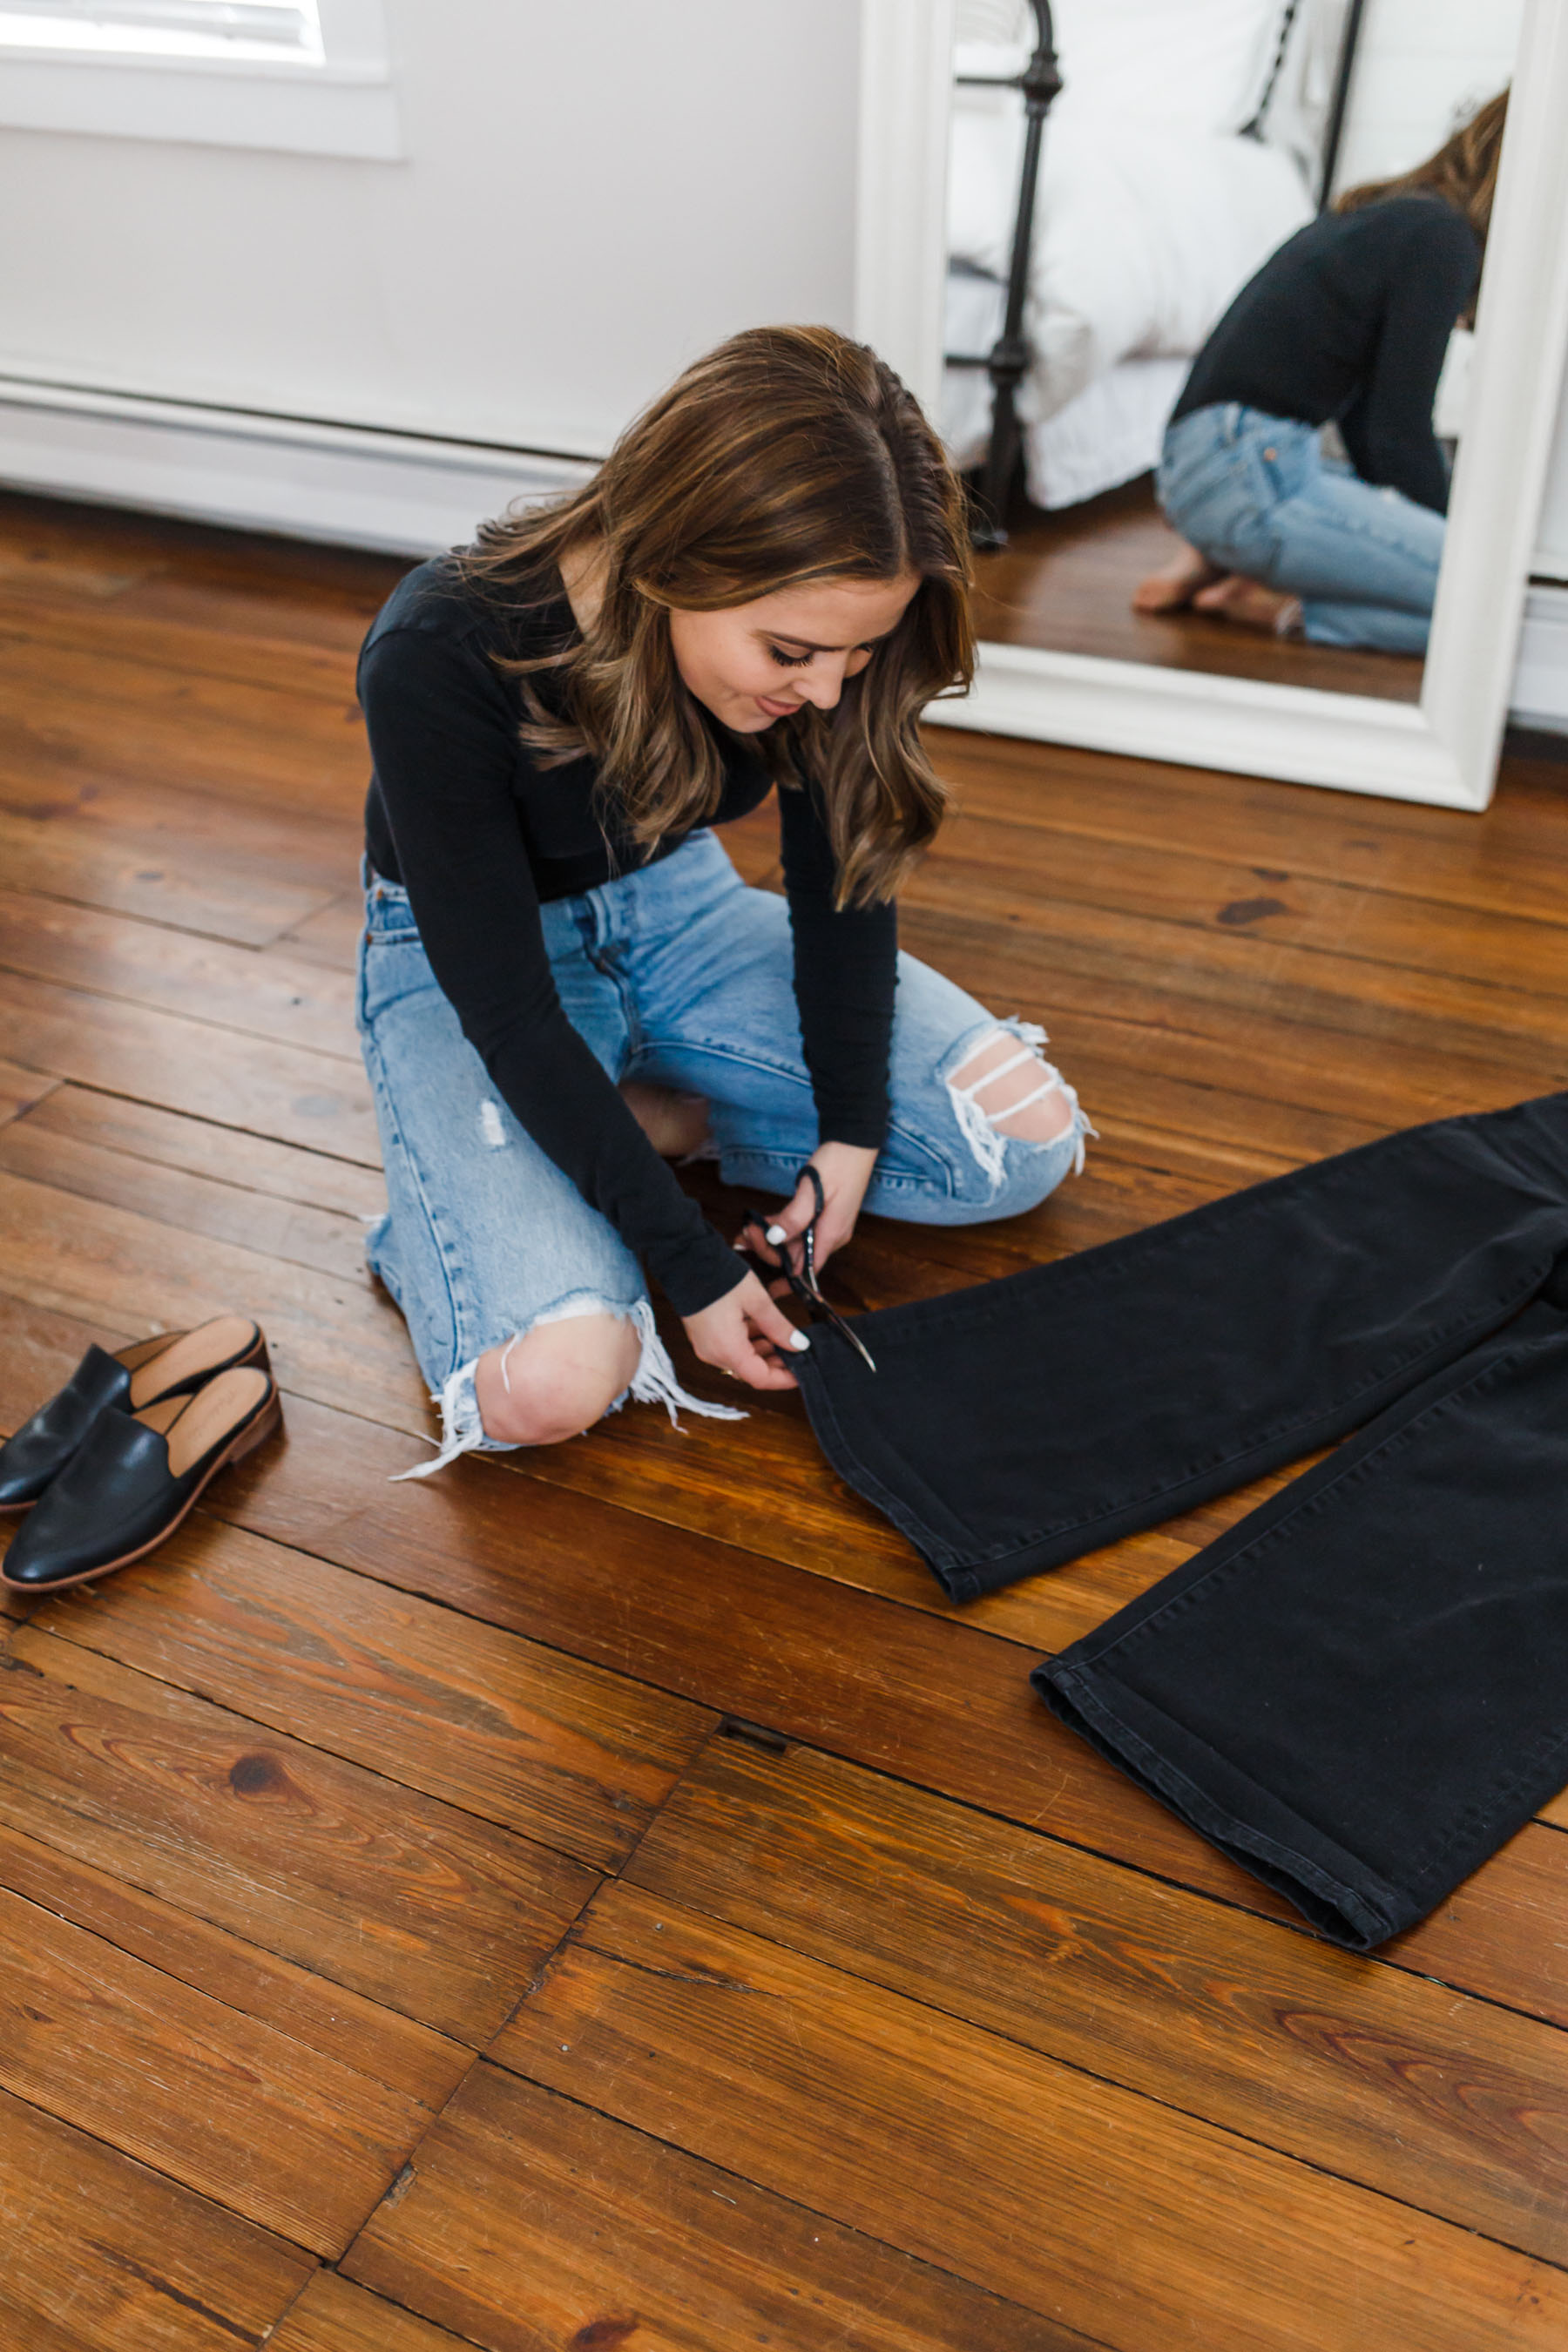
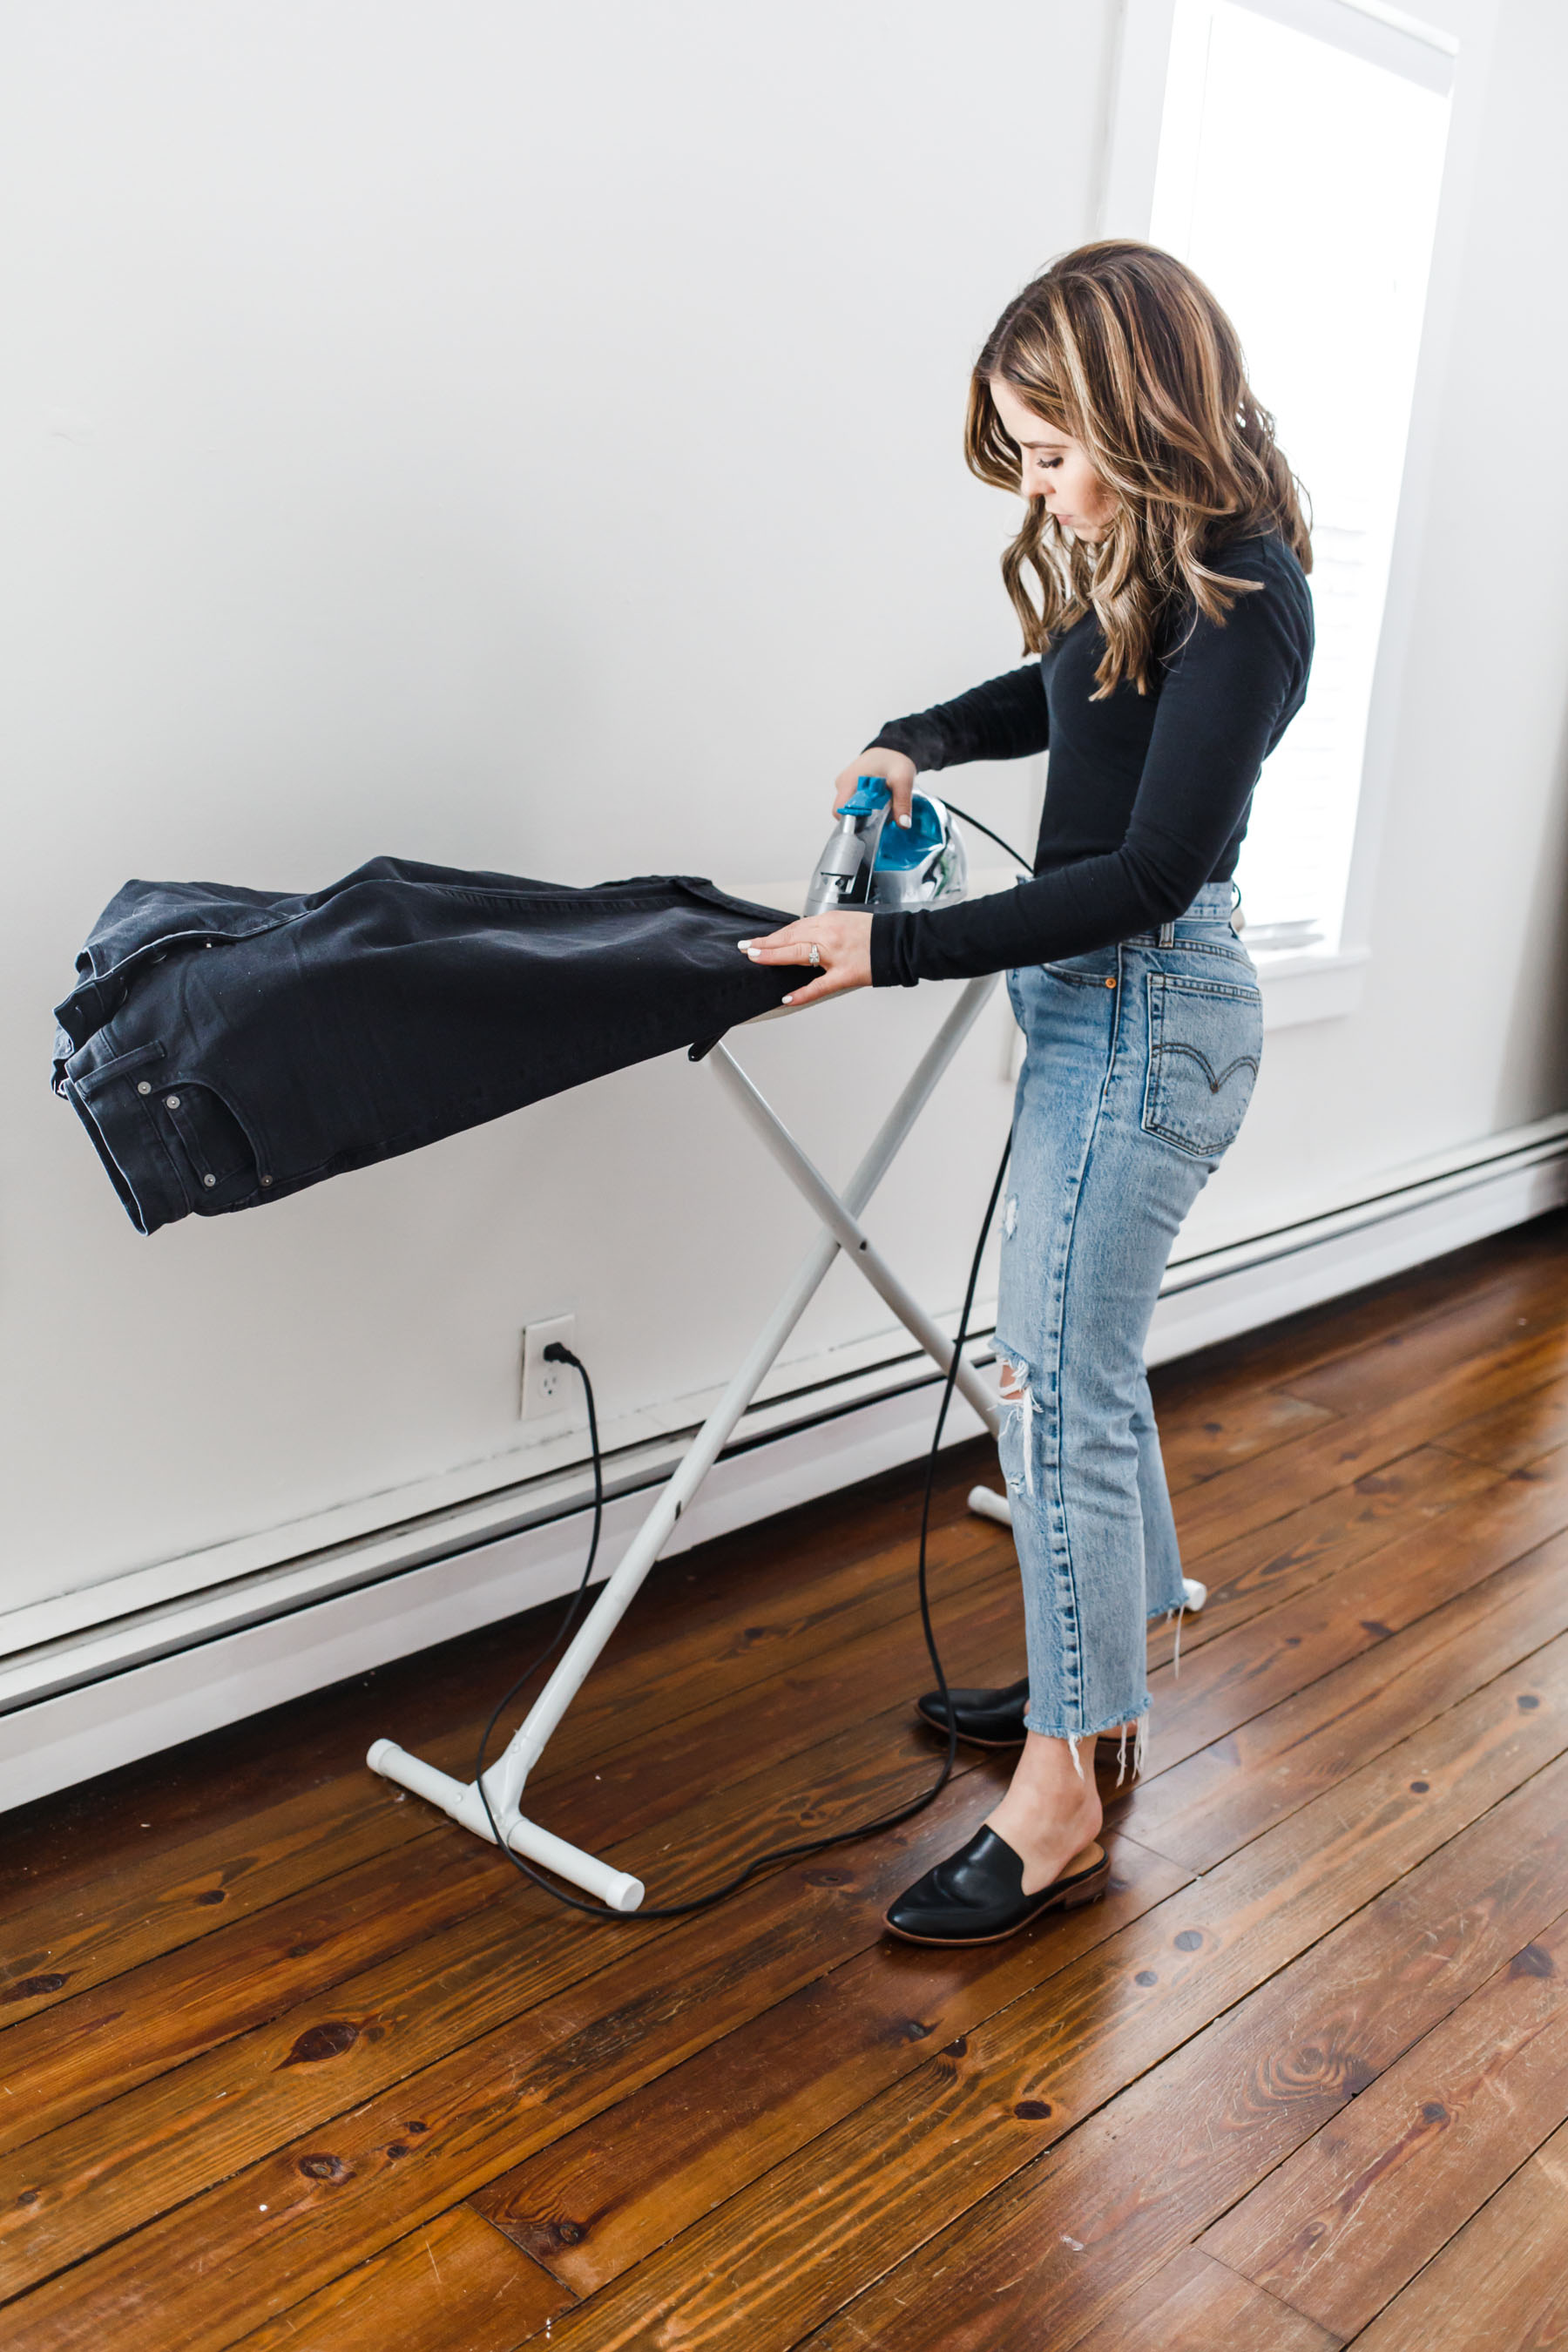
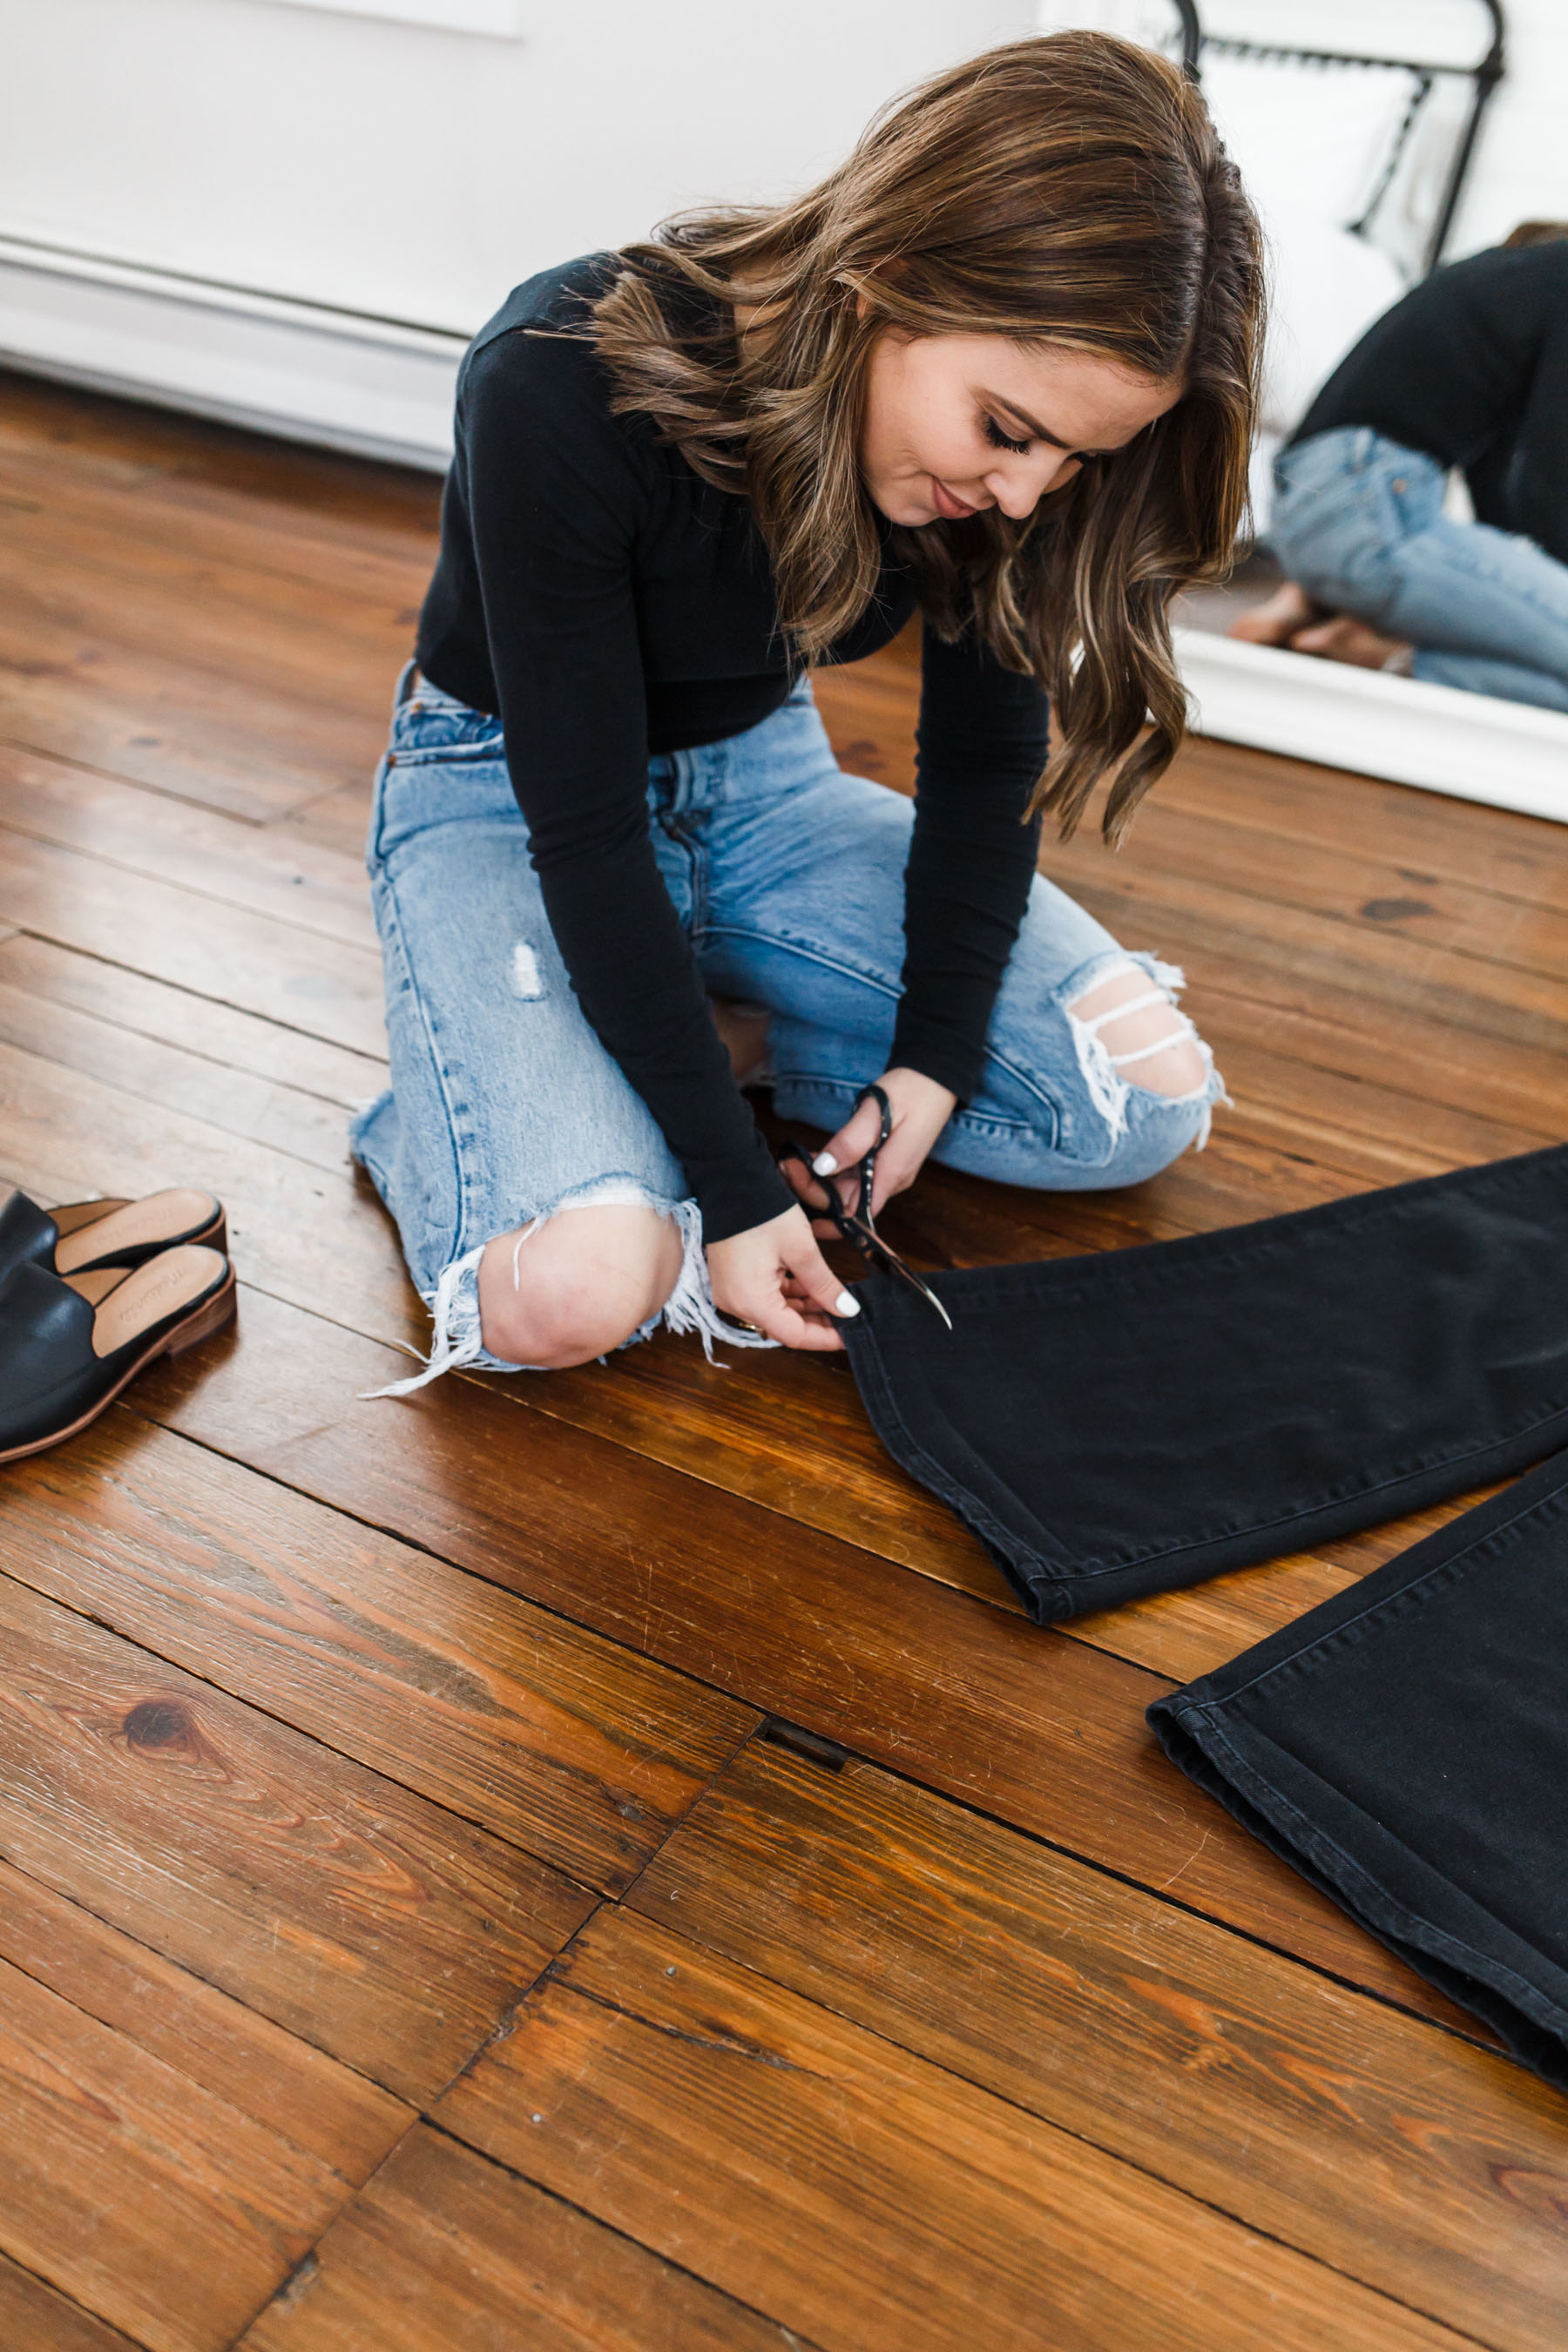
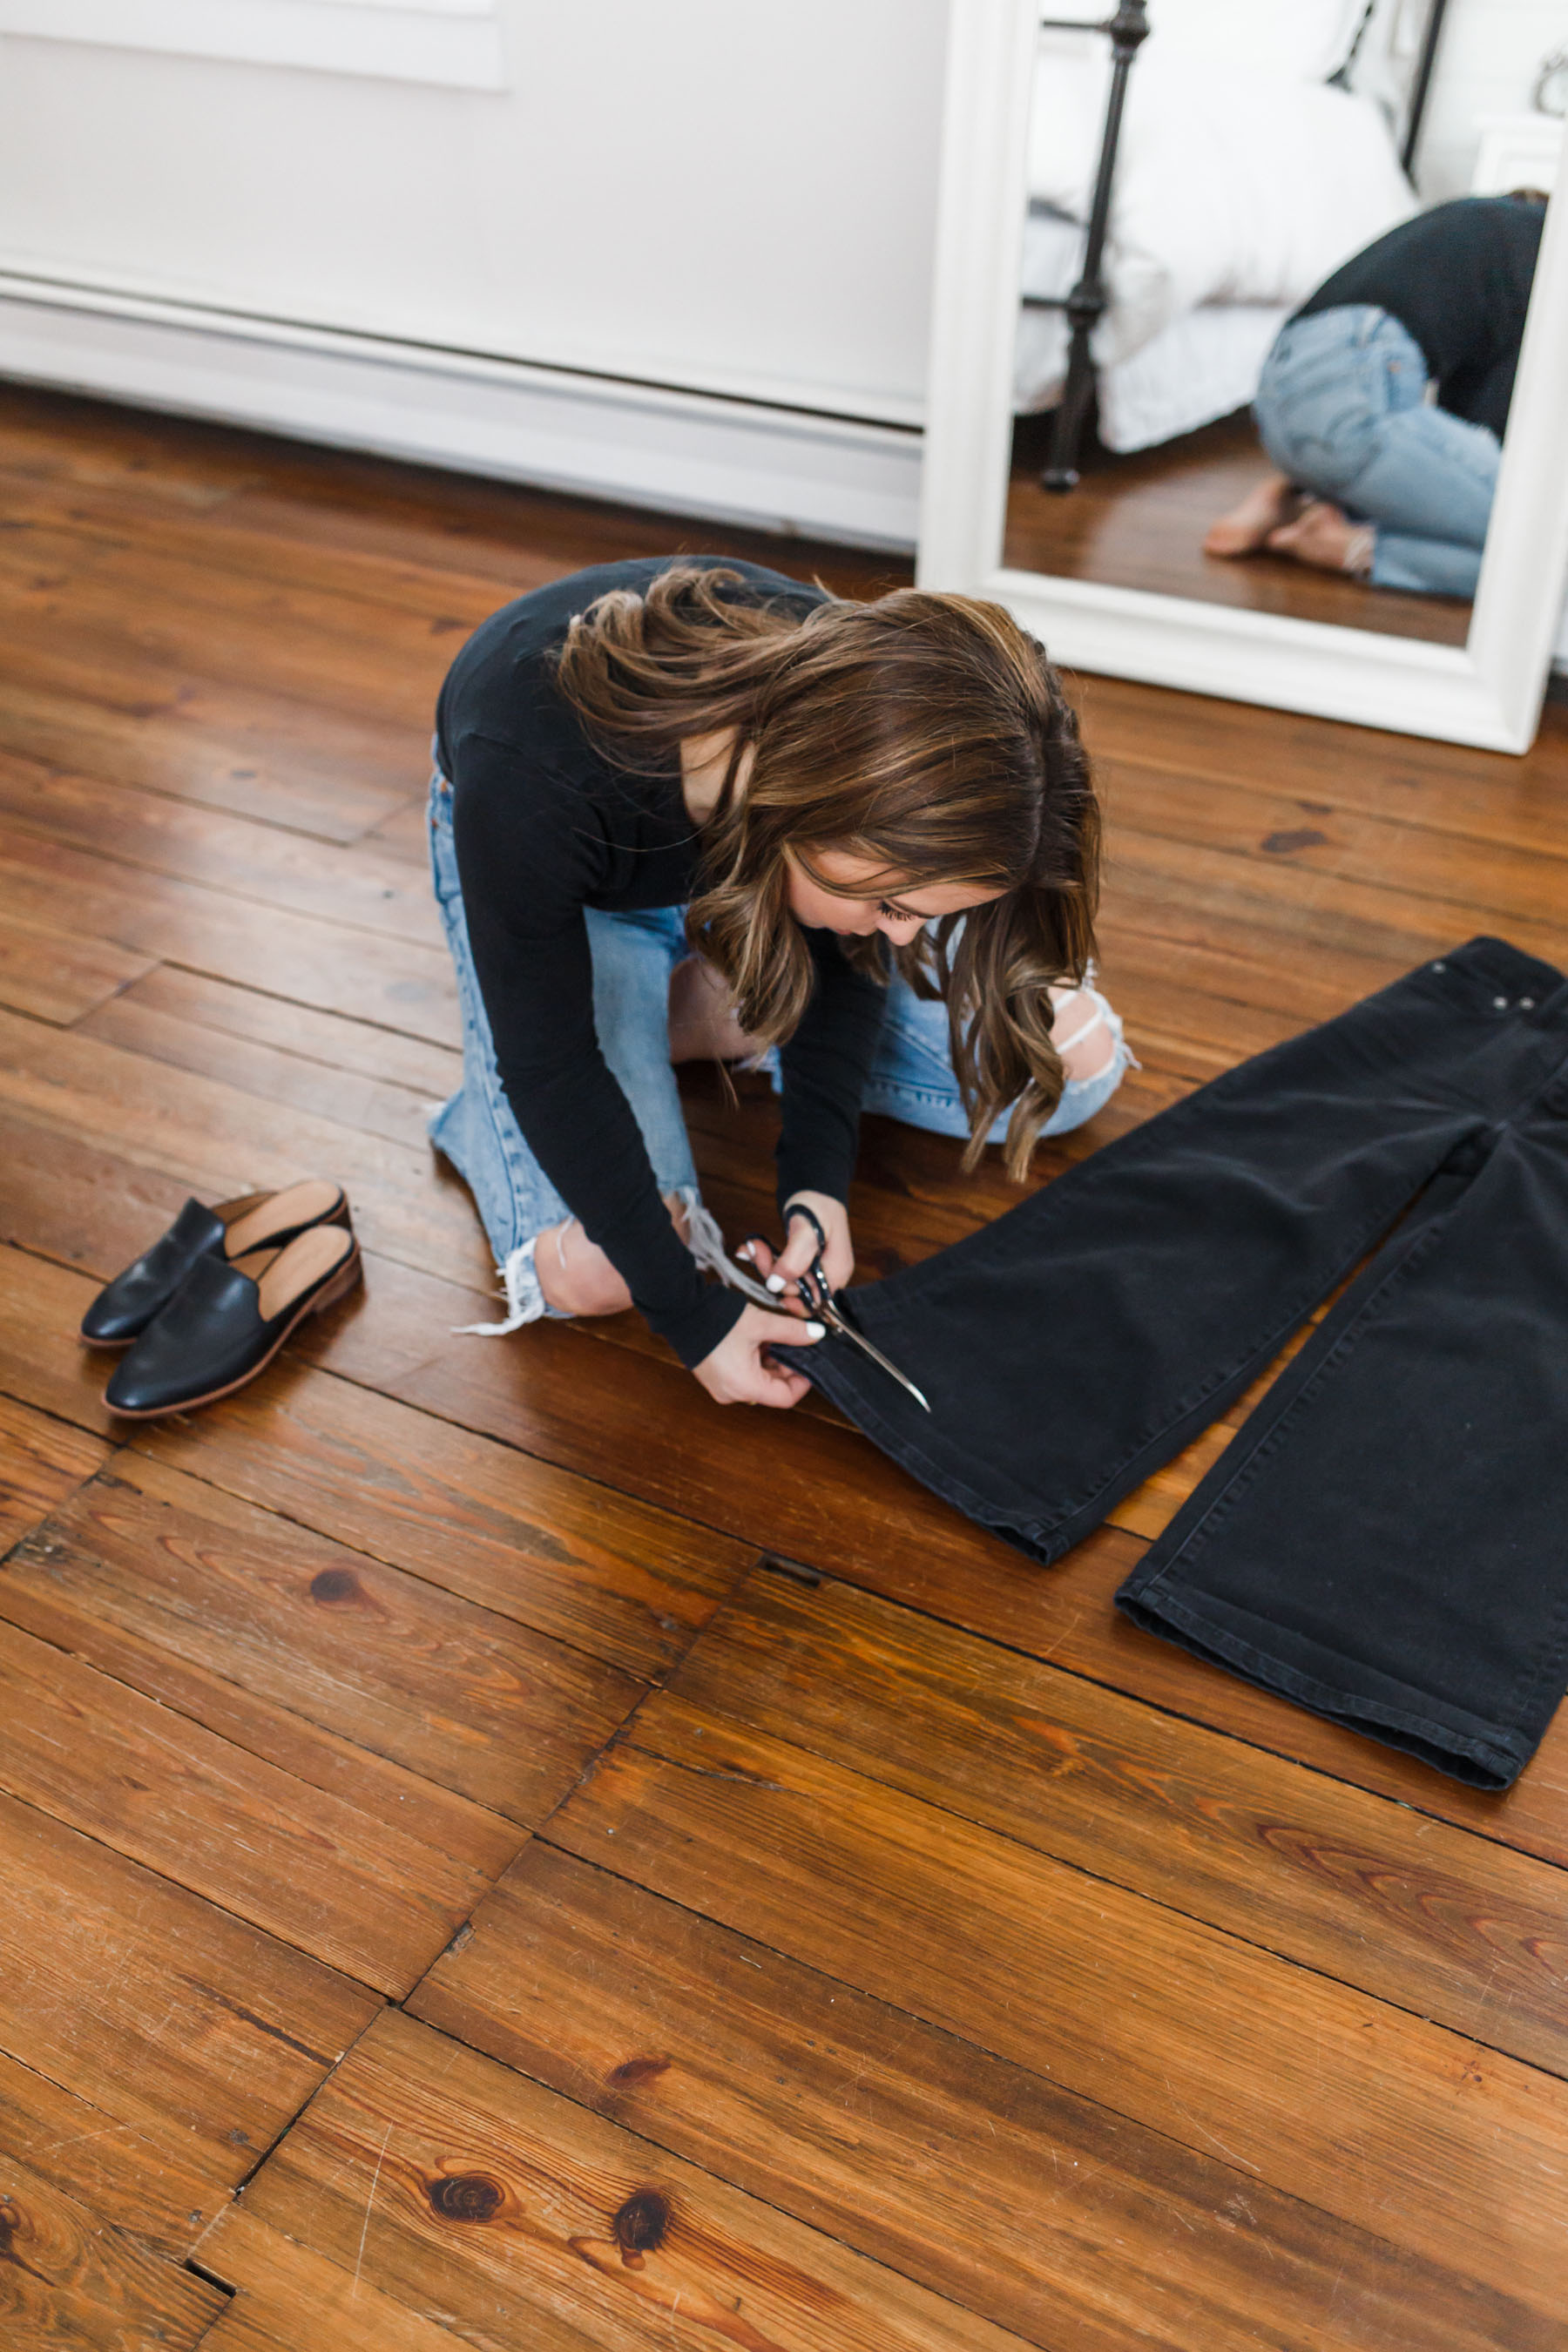
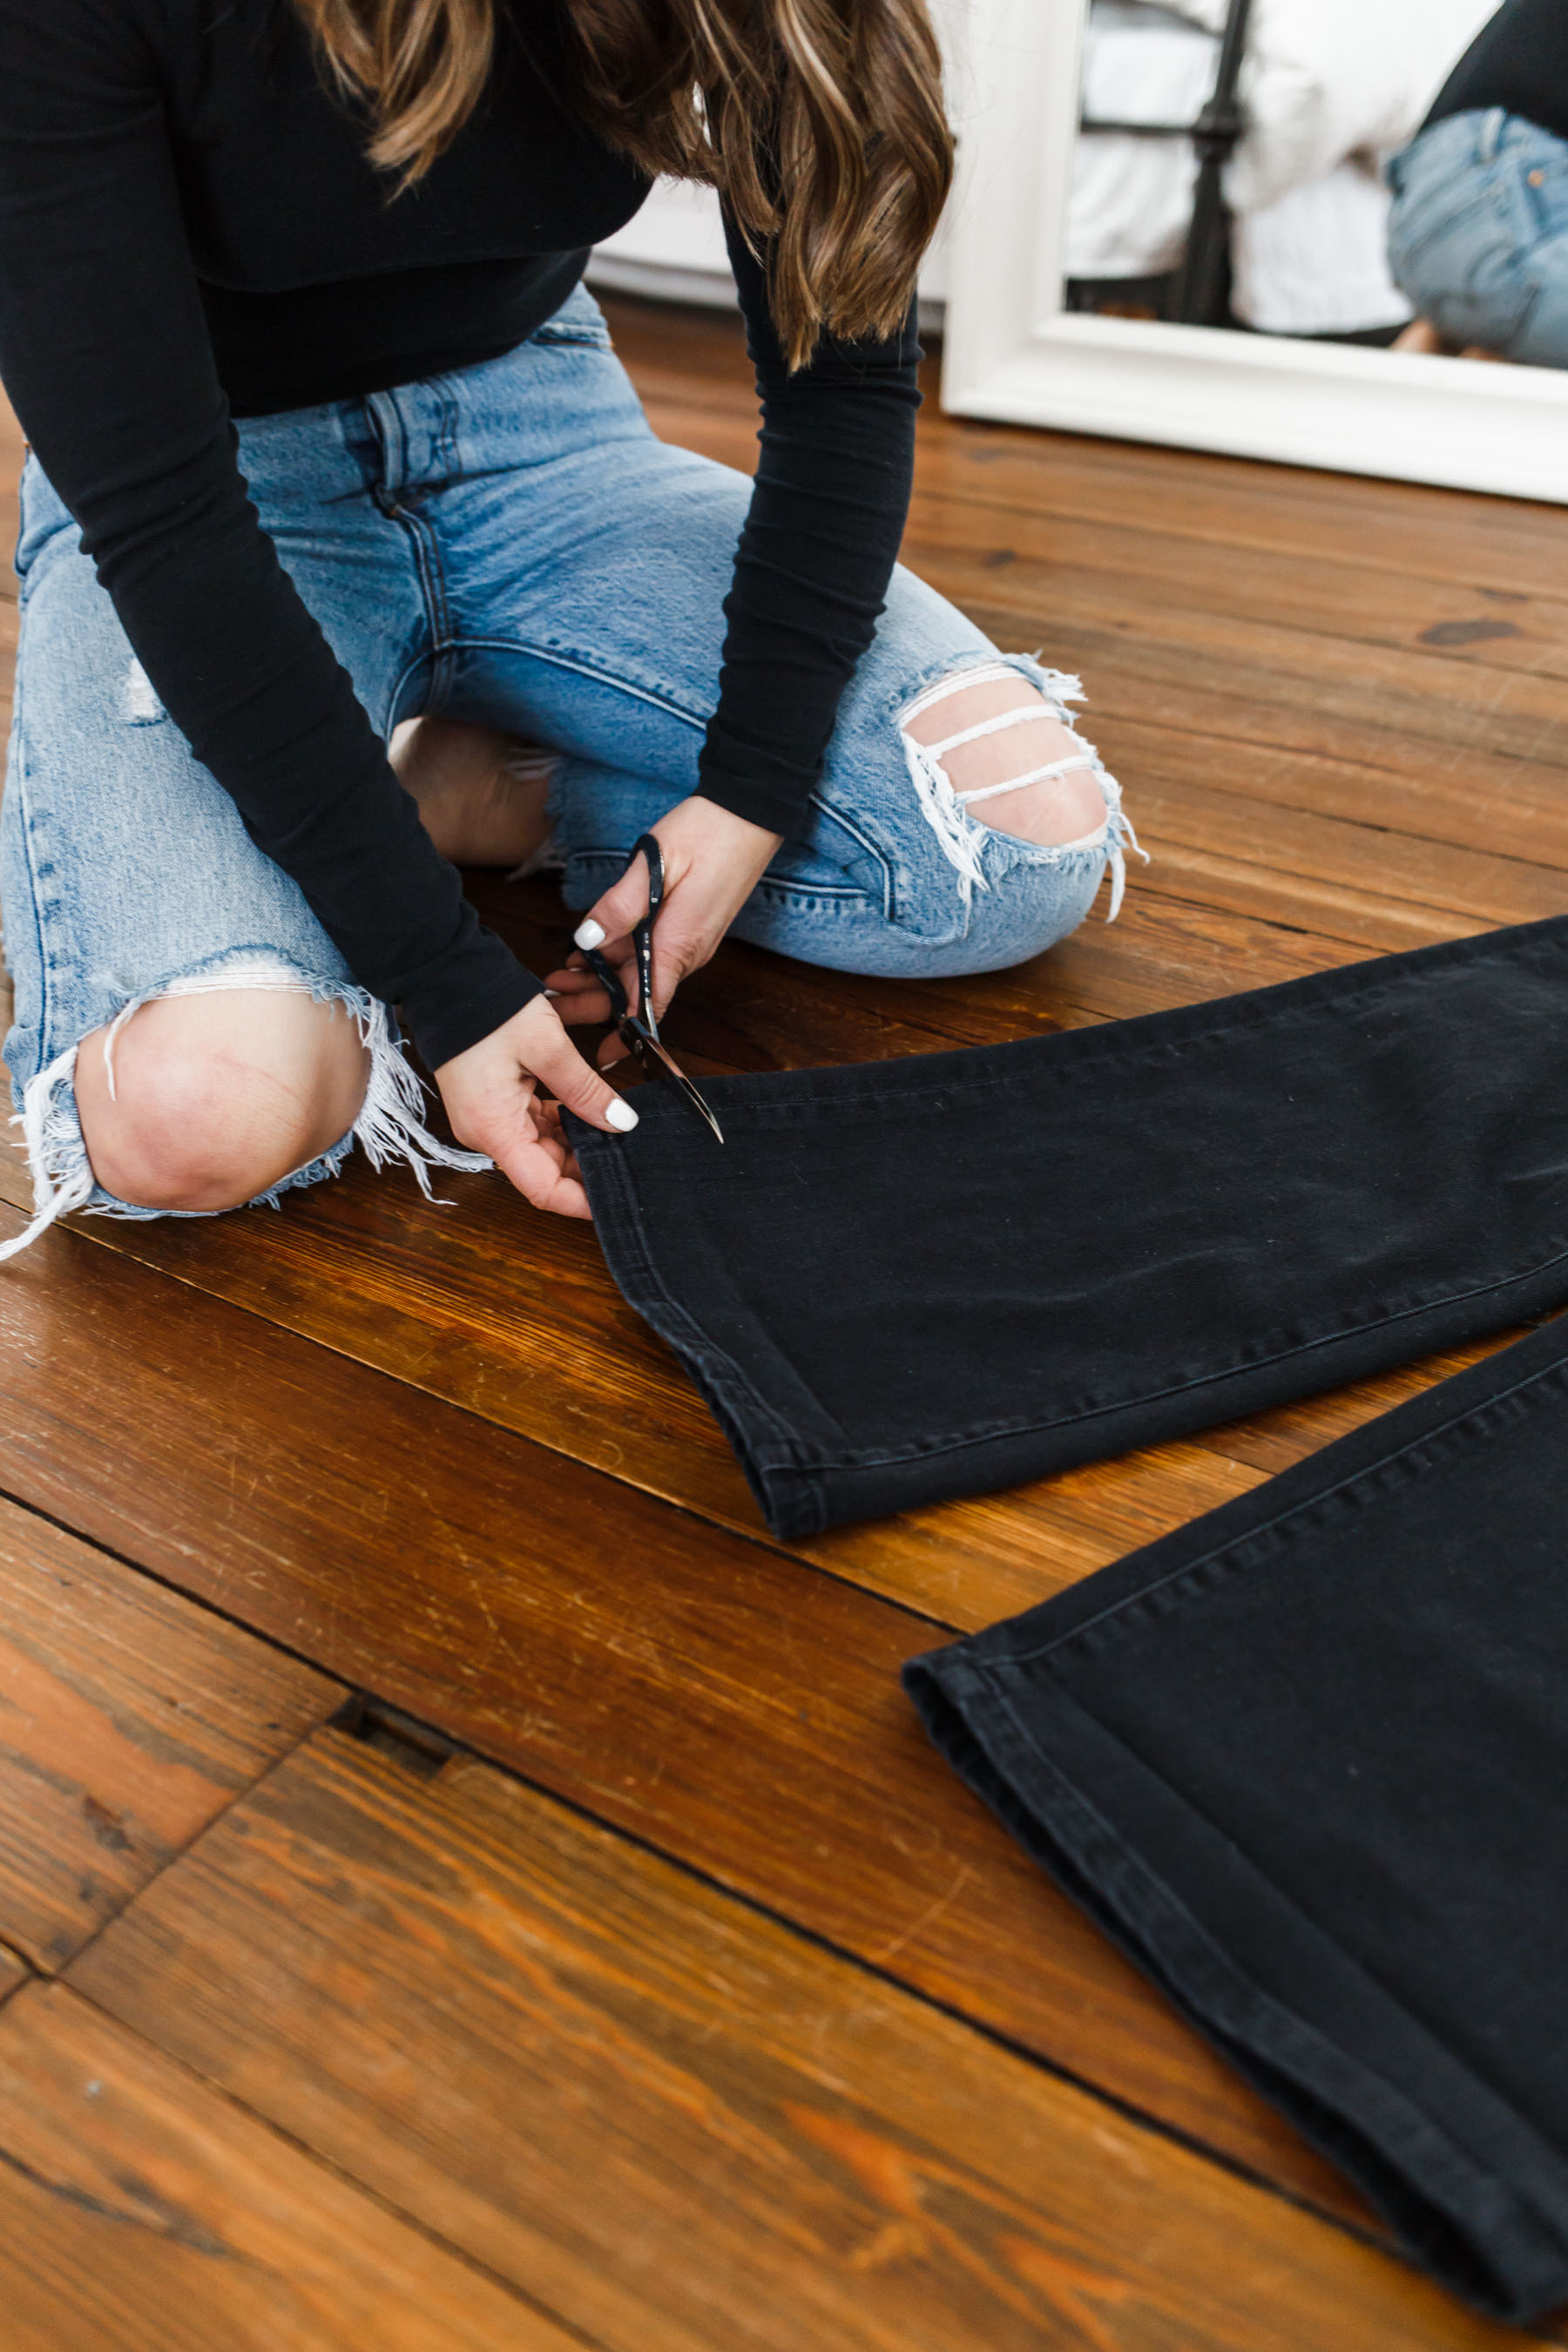
Step three: carefully removed the jeans without unrolling the hem. (You can pin them if necessary.) And you’re going to press down the fold with an iron. Now you have your nice clean cut line.
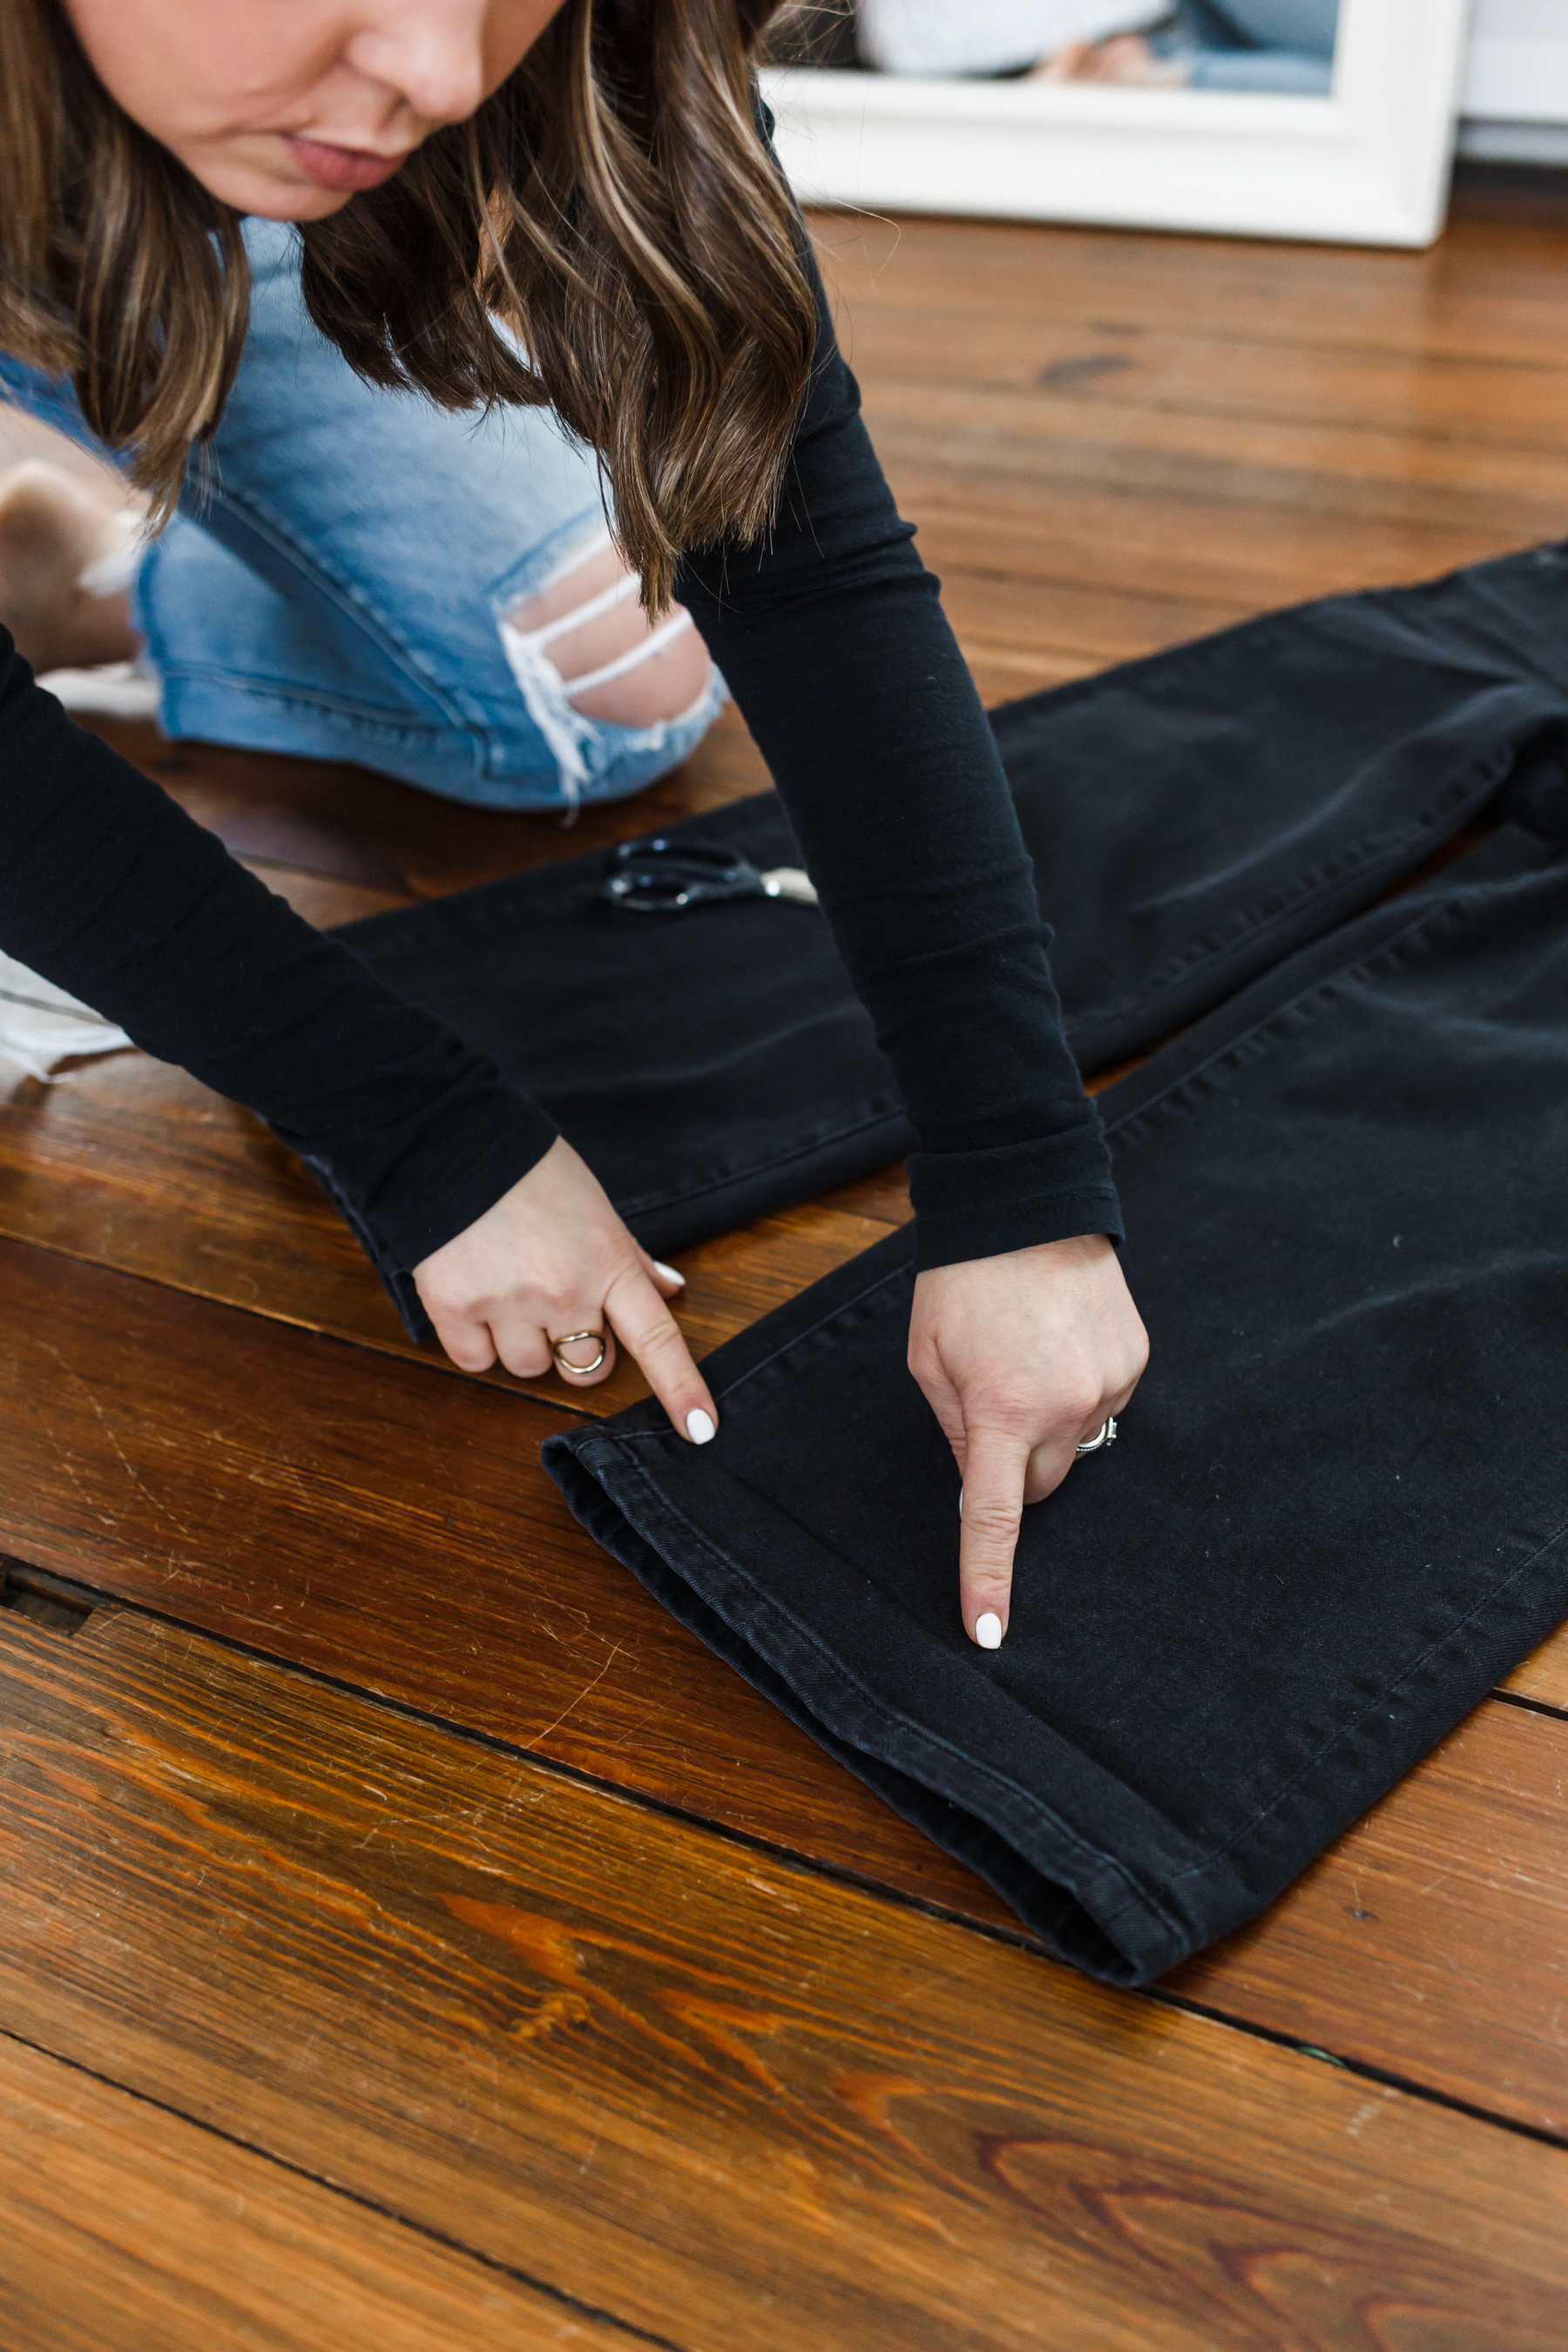

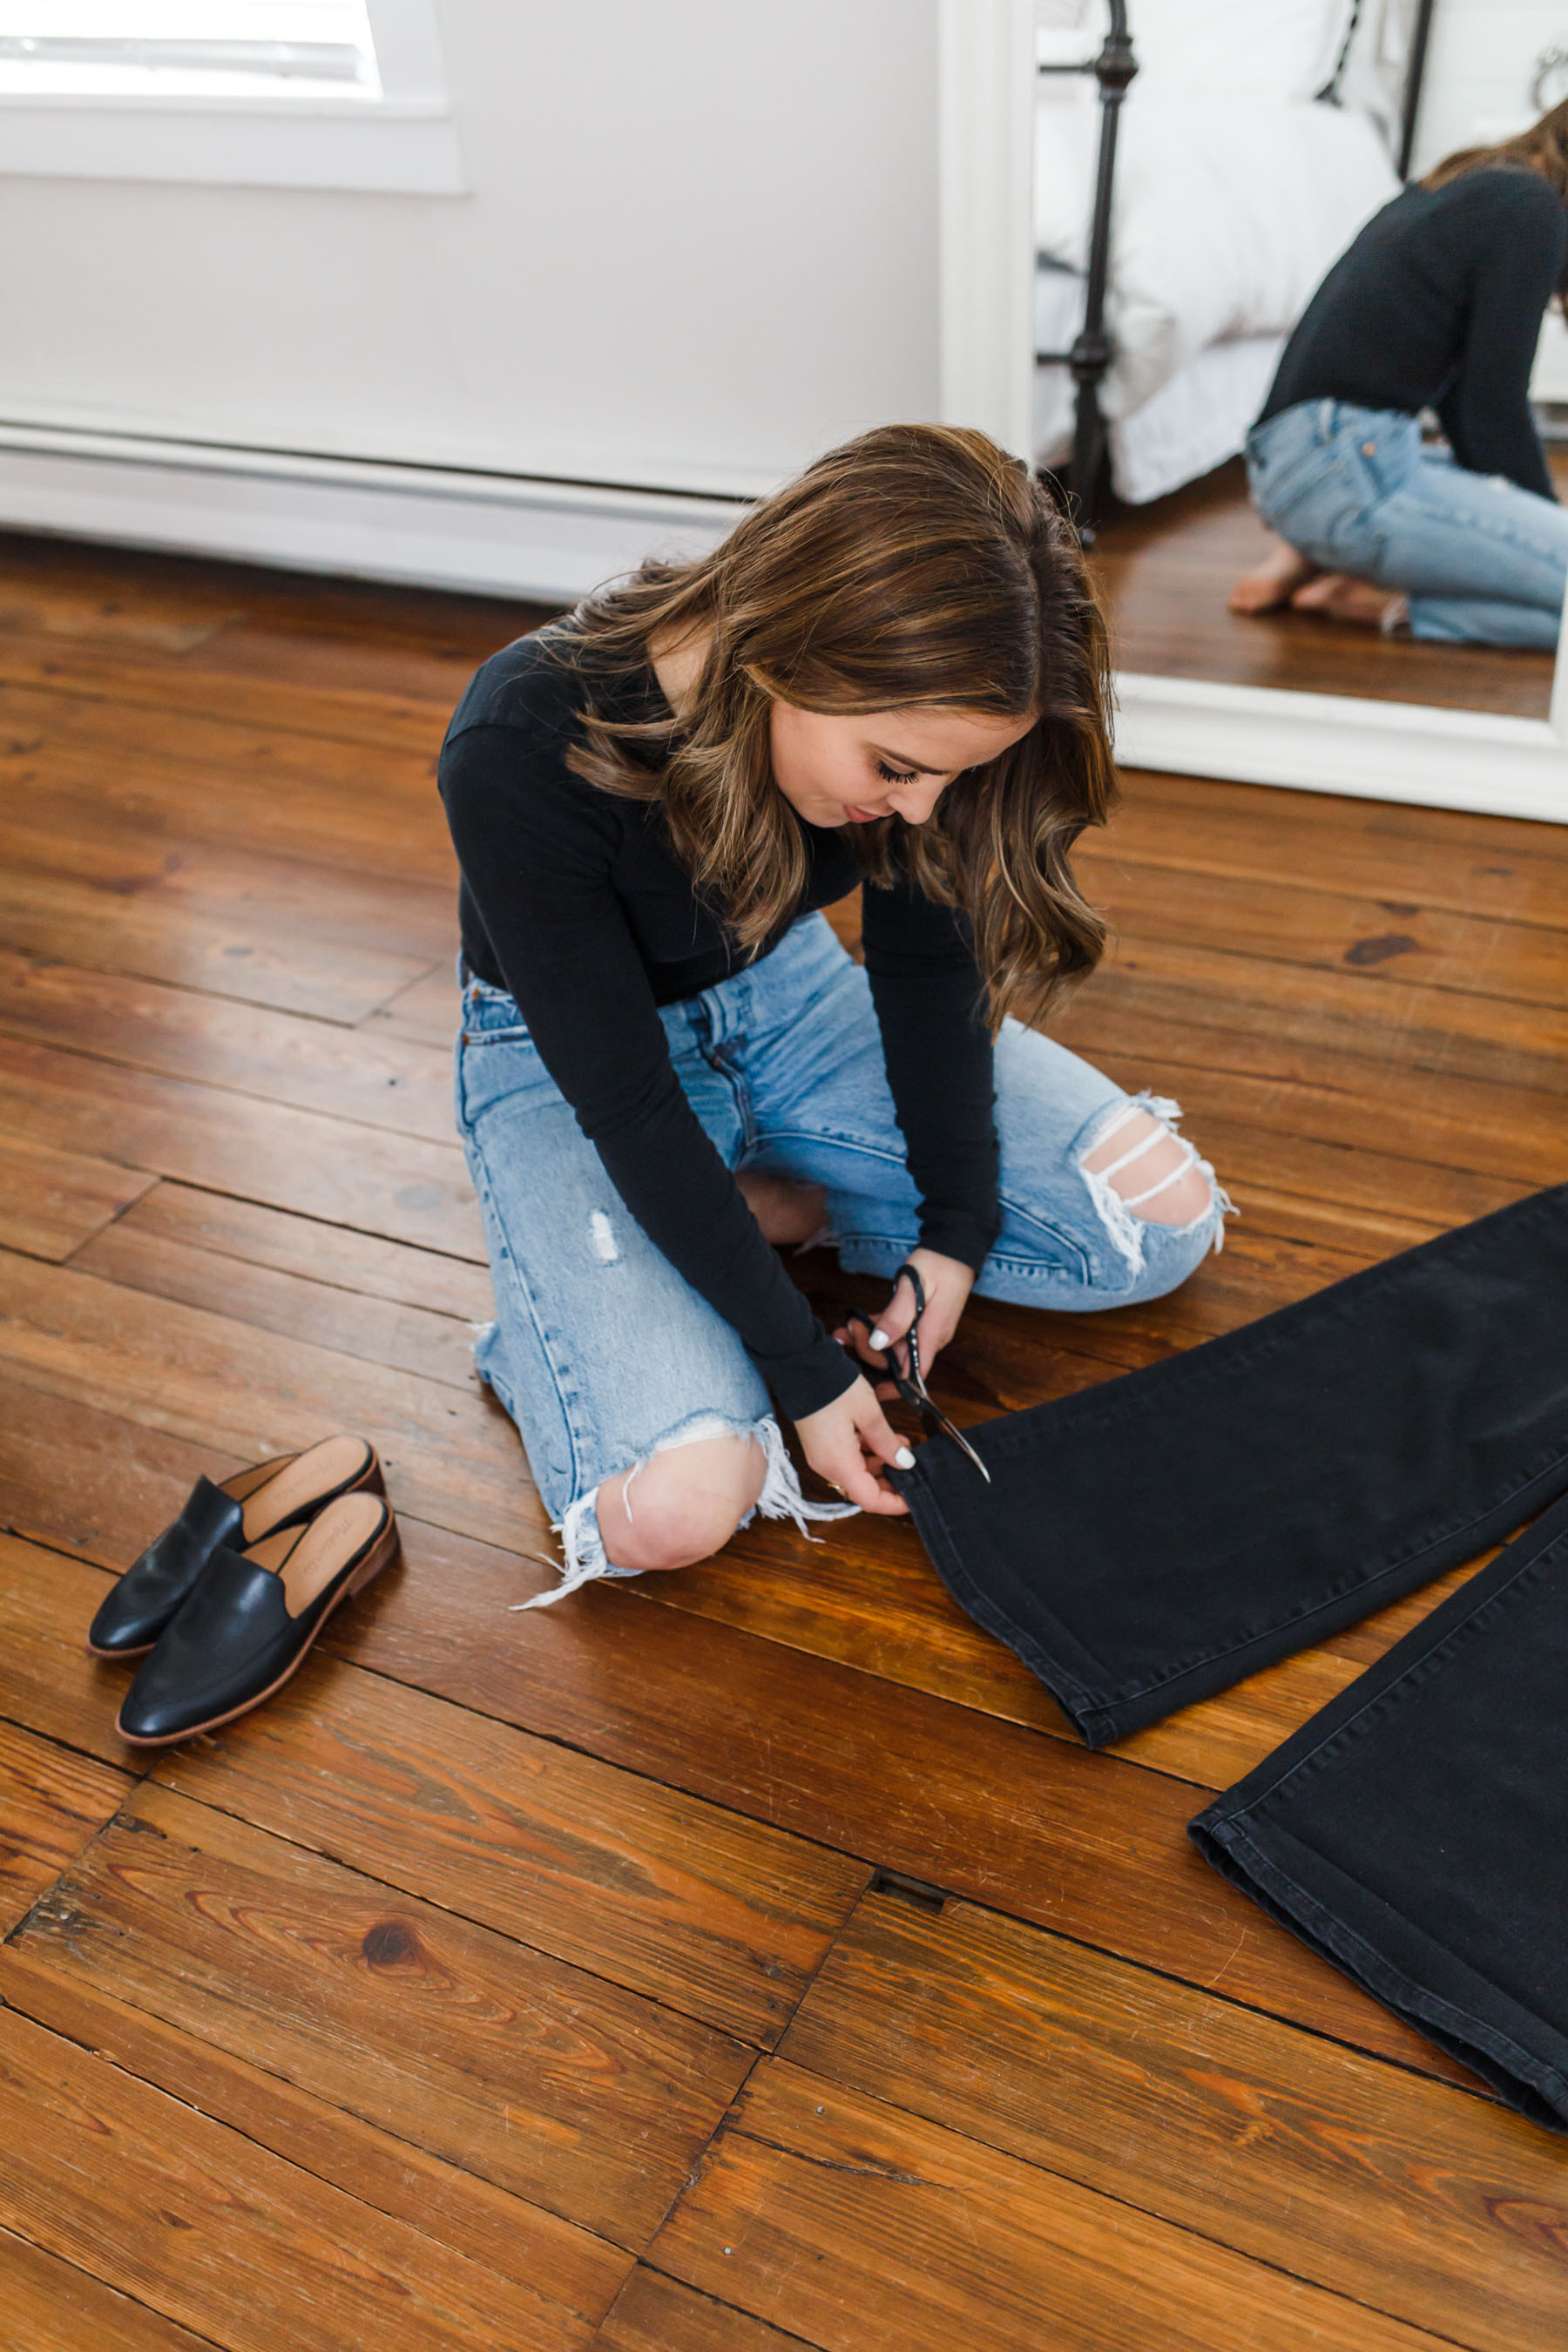
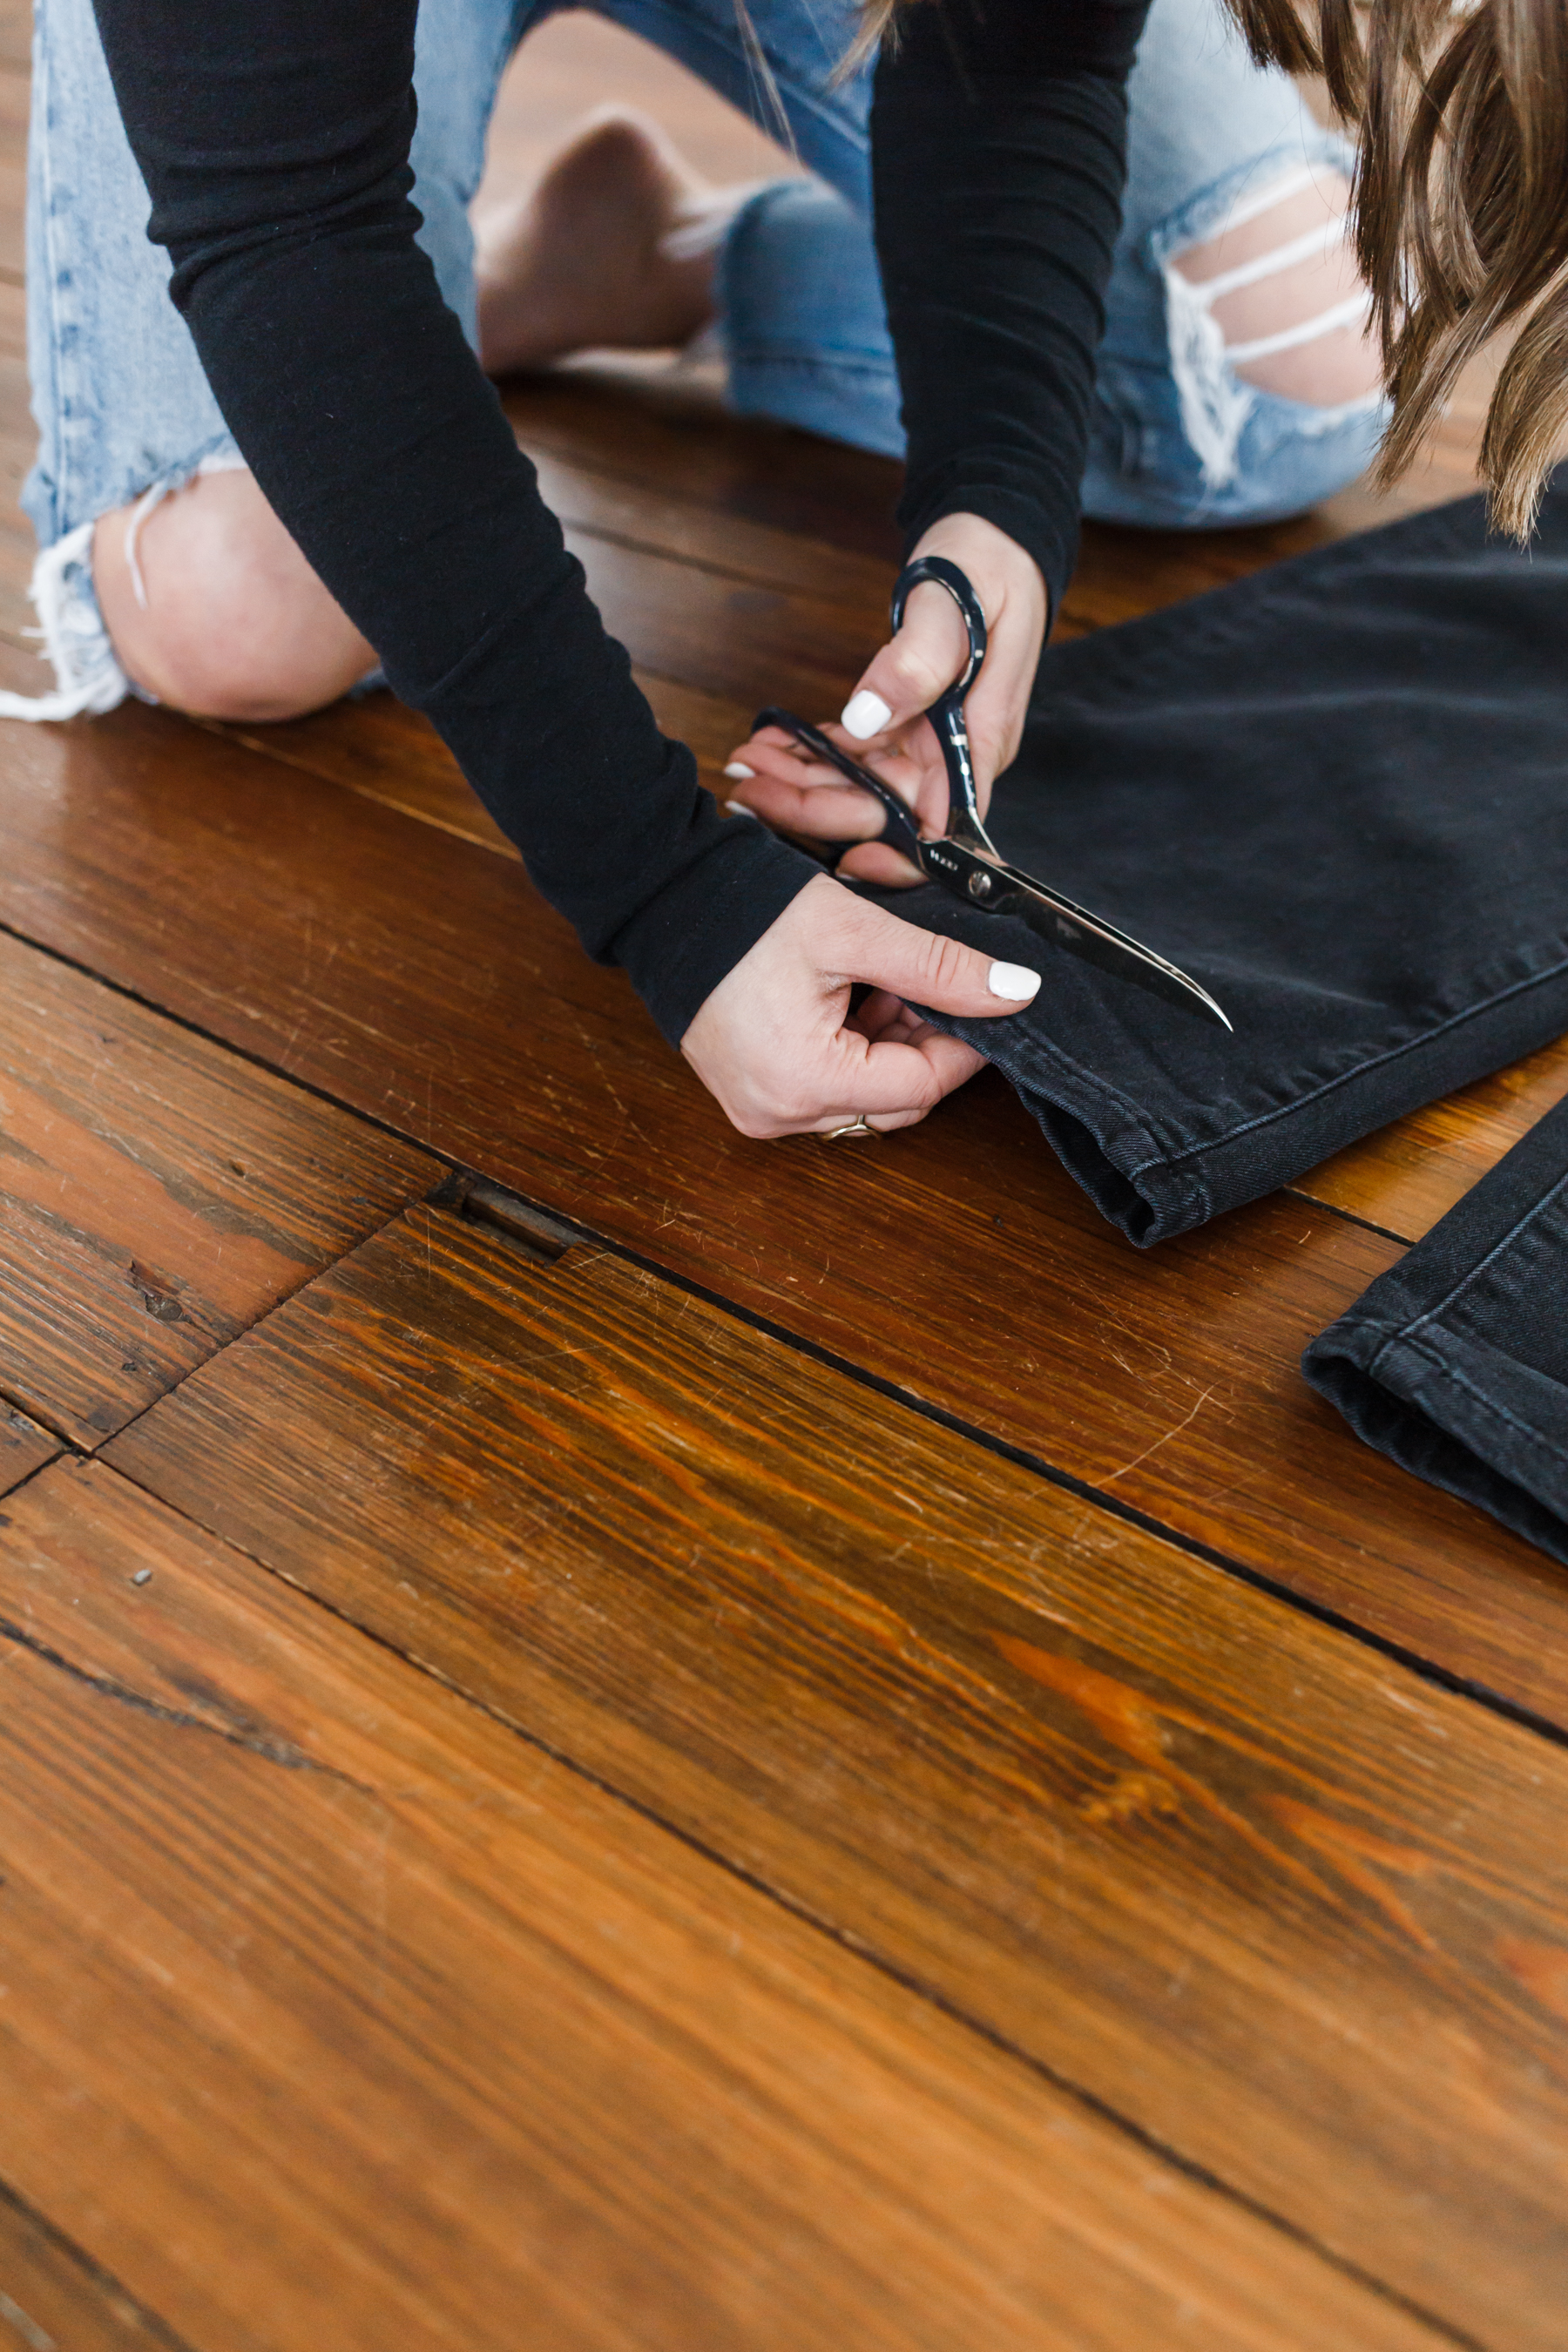
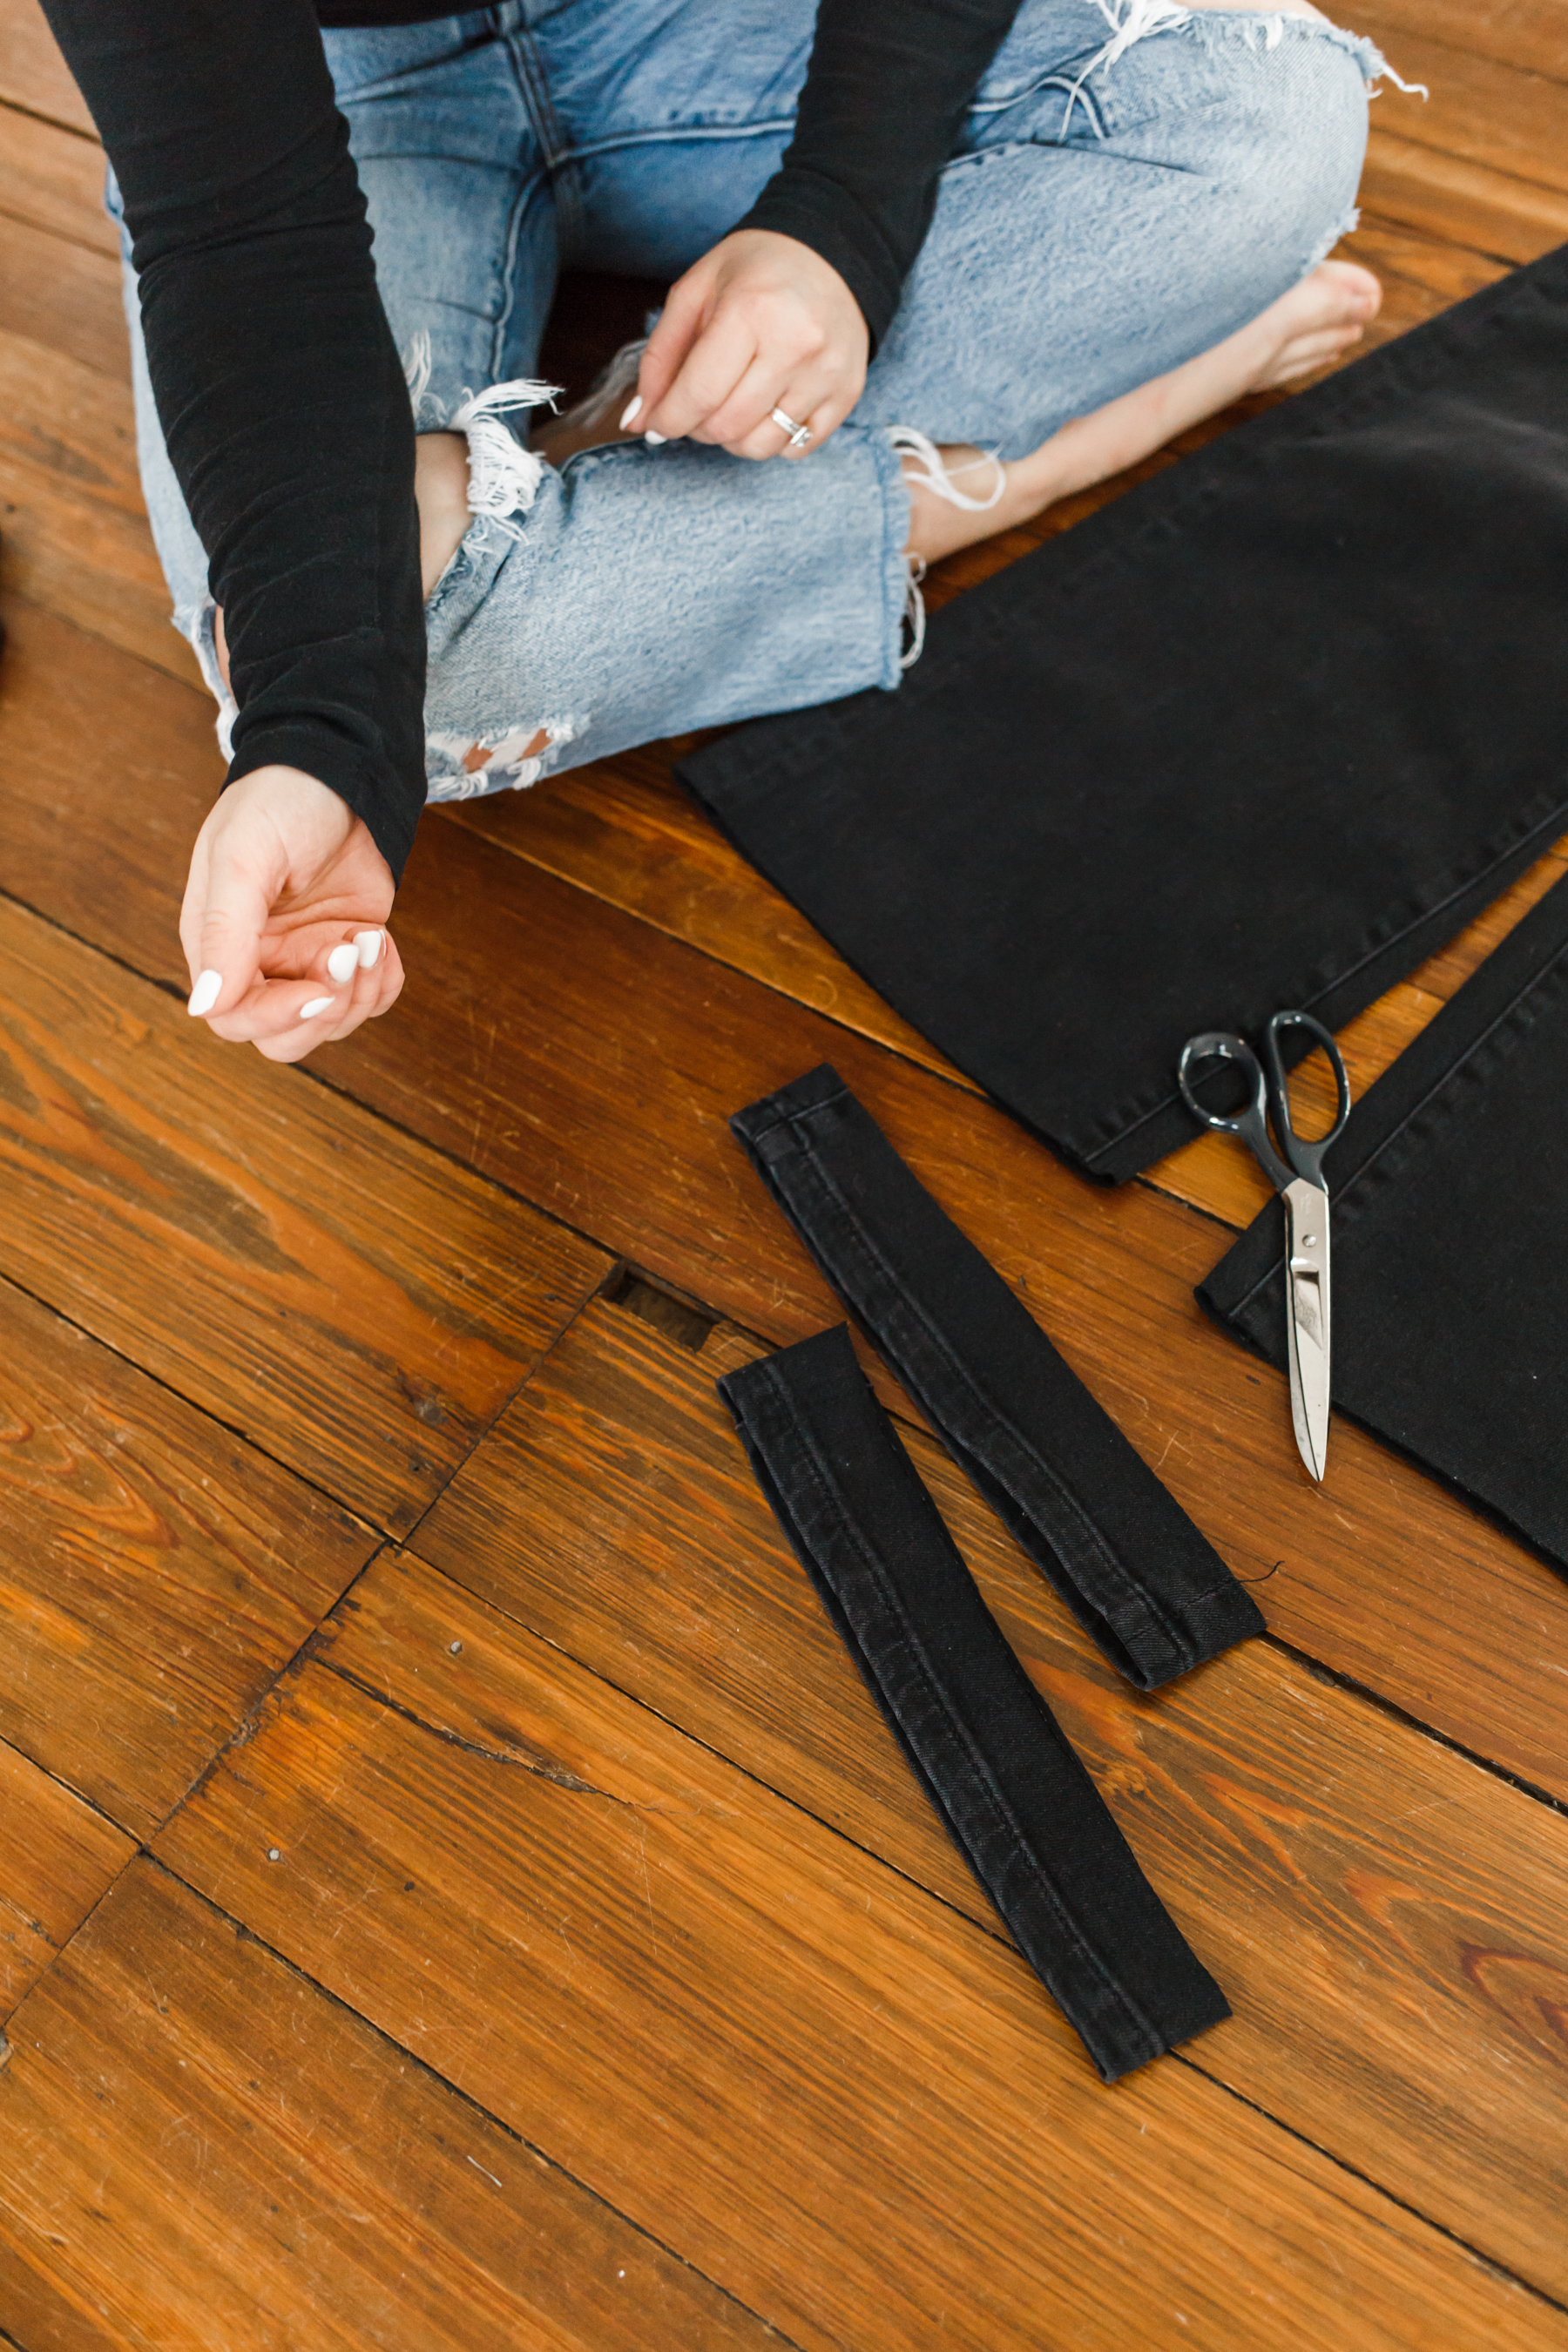
Step four: Now you’re going to take a good sharp pair of scissors. (If you are planning to do this often I recommend investing in a pair of good sewing scissors.) You’re going to take the pant leg by the top and bottom (holding the hems together) and simply cut along the iron line.
That’s it! So simple right?!
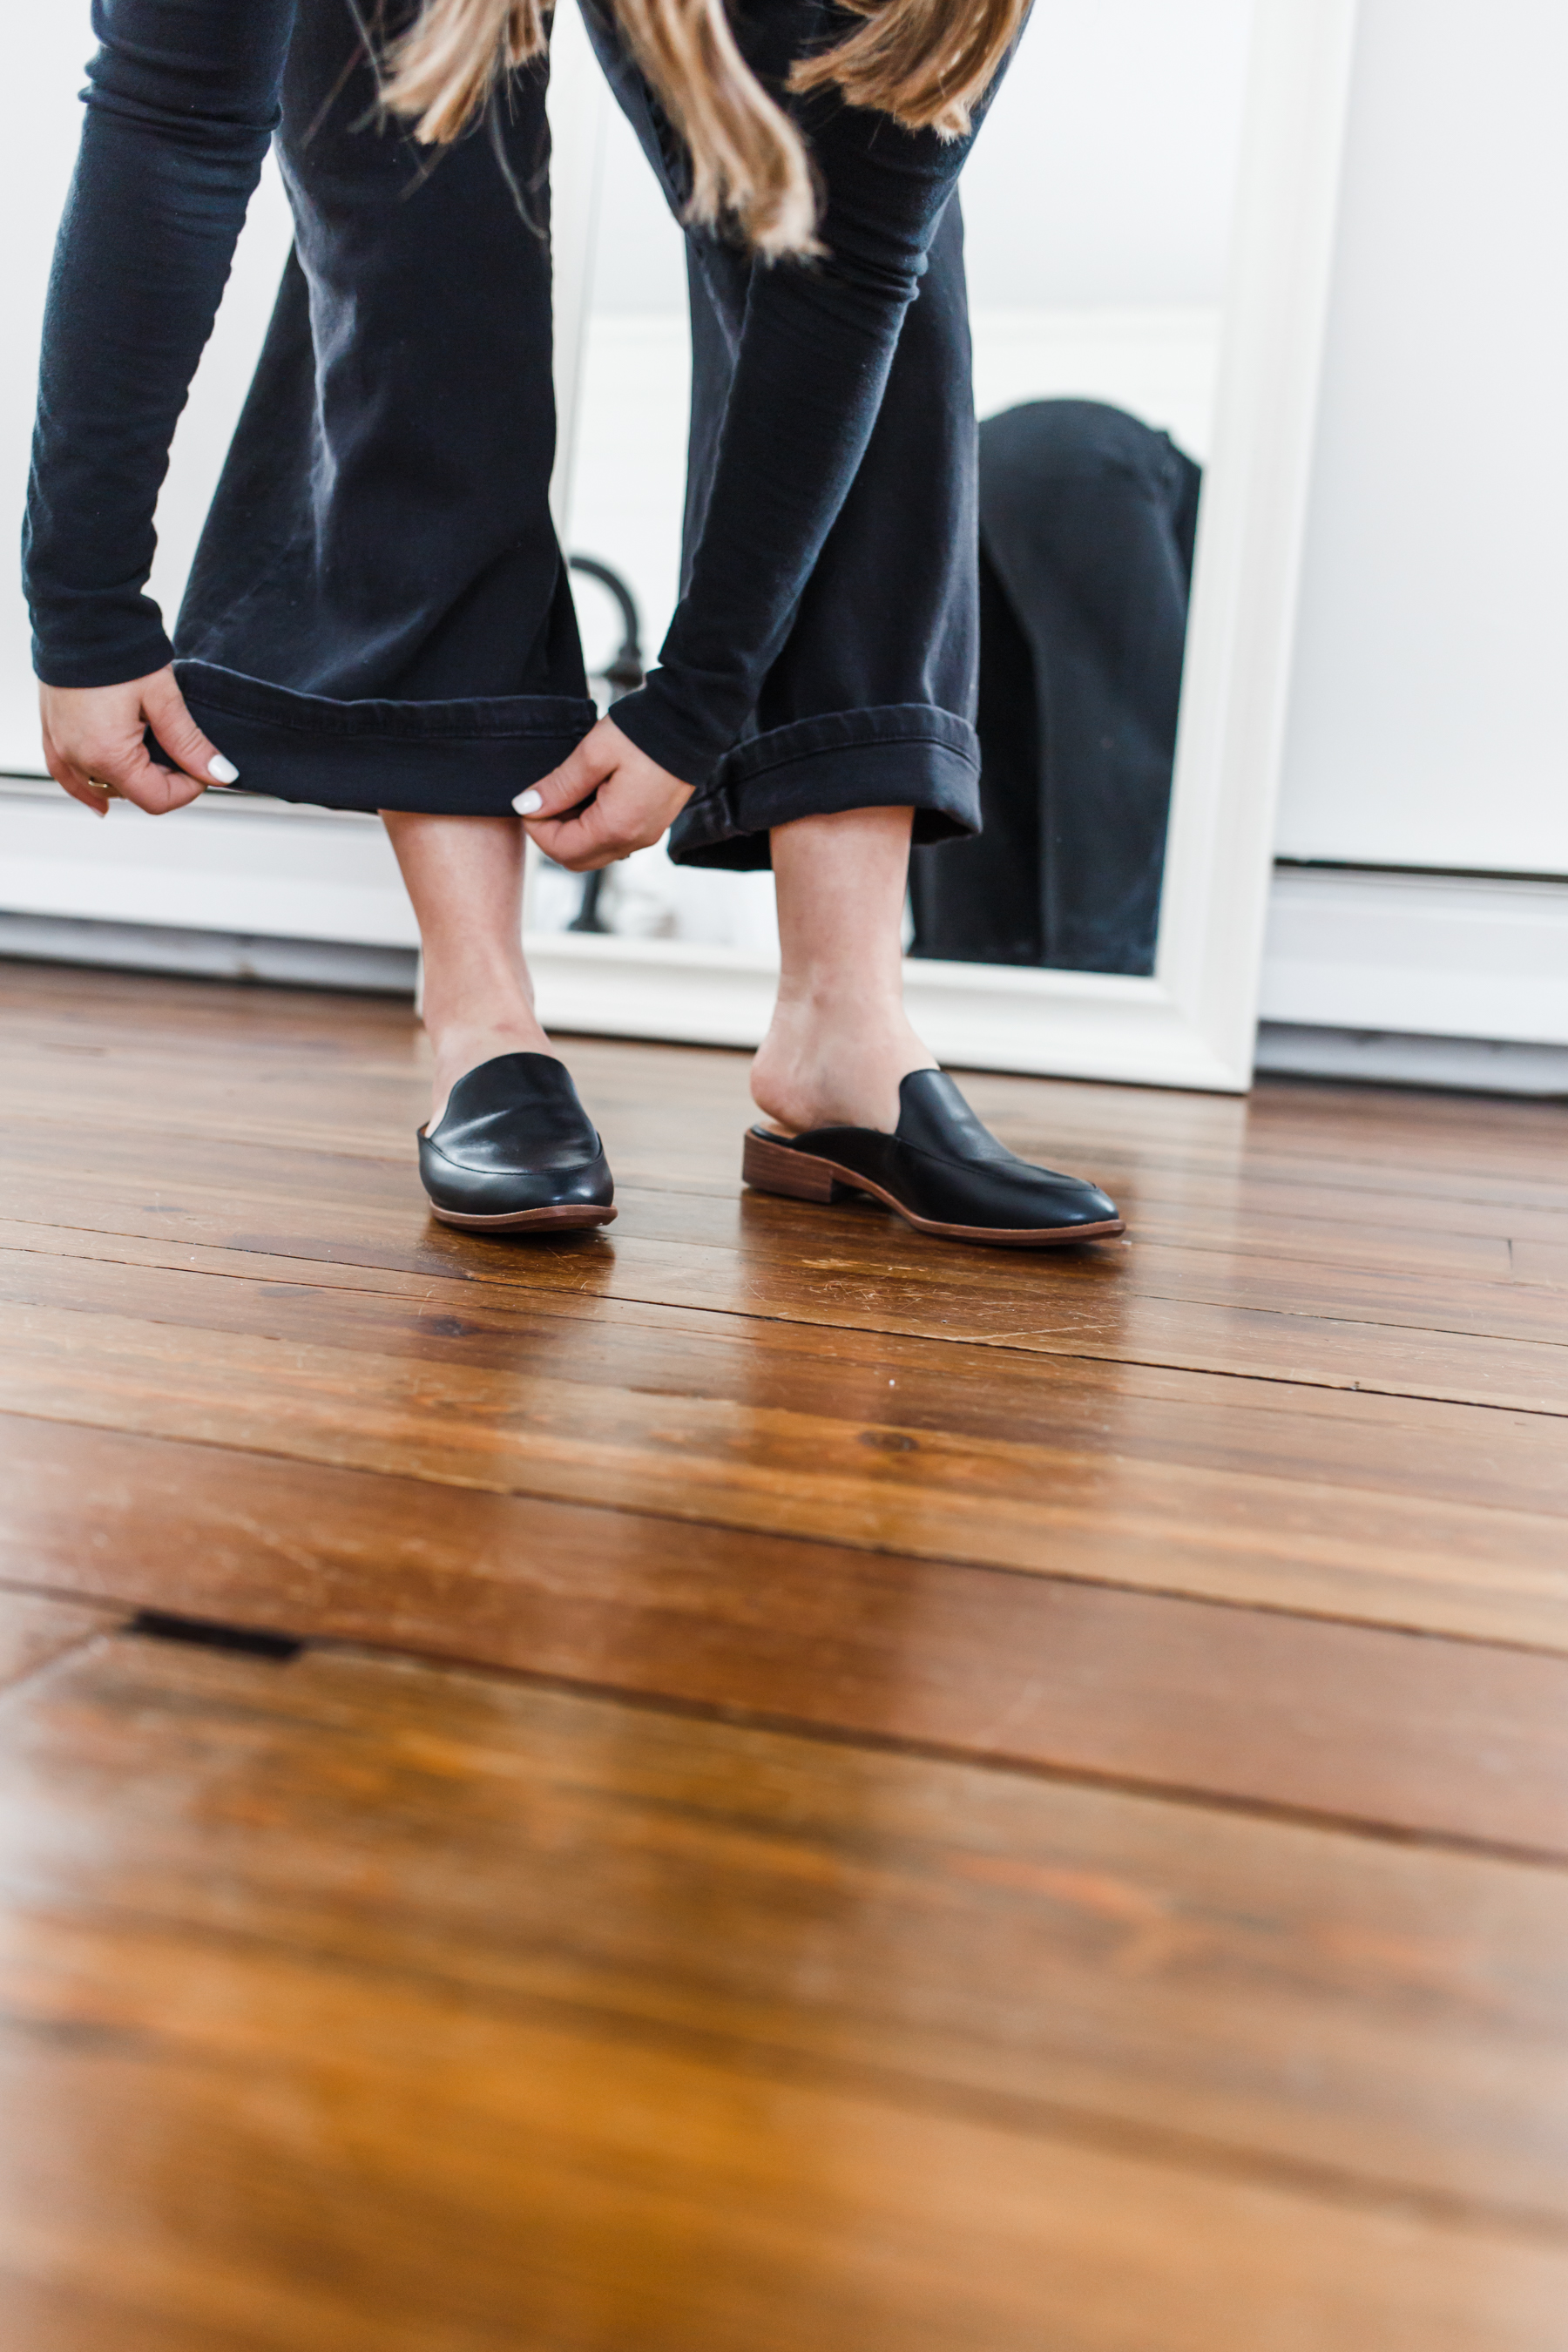
Step five: The last step is to try them back on and make sure they look right and are the length you wanted. If you’re wanting the hems to be frayed just wash them again, or wear them a few times and the next time they get washed they’ll fray nicely.

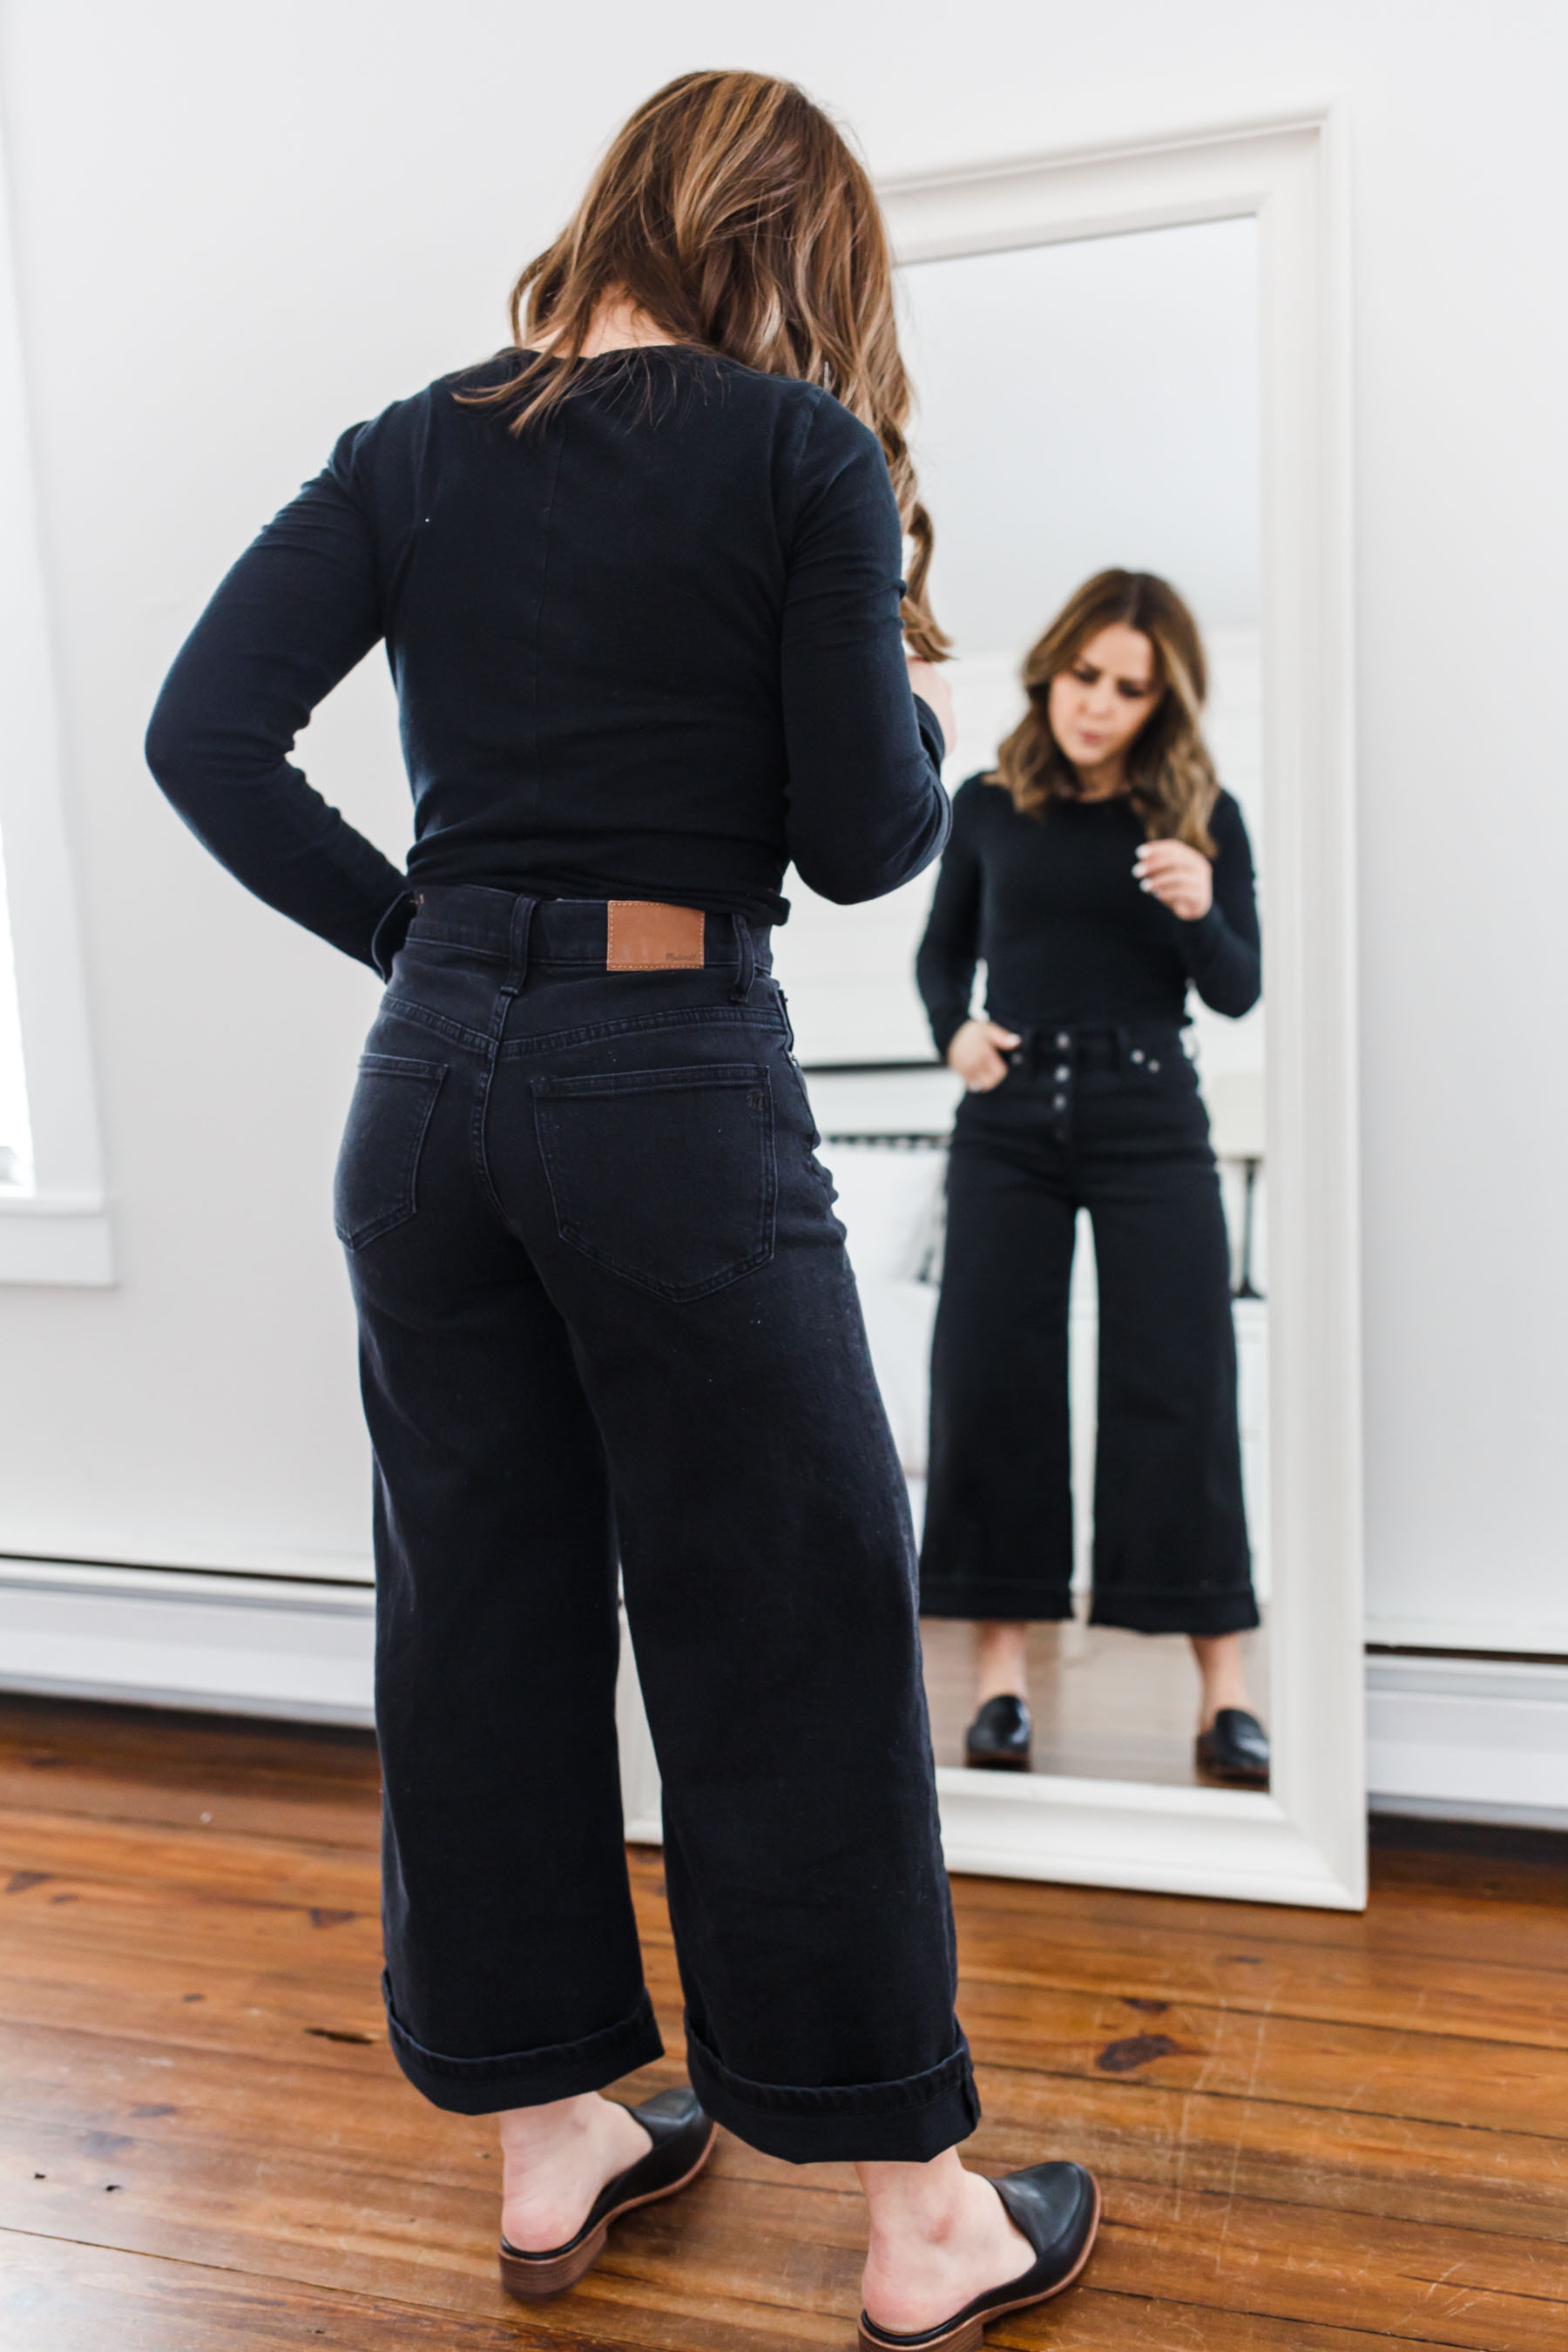
Ta-da!