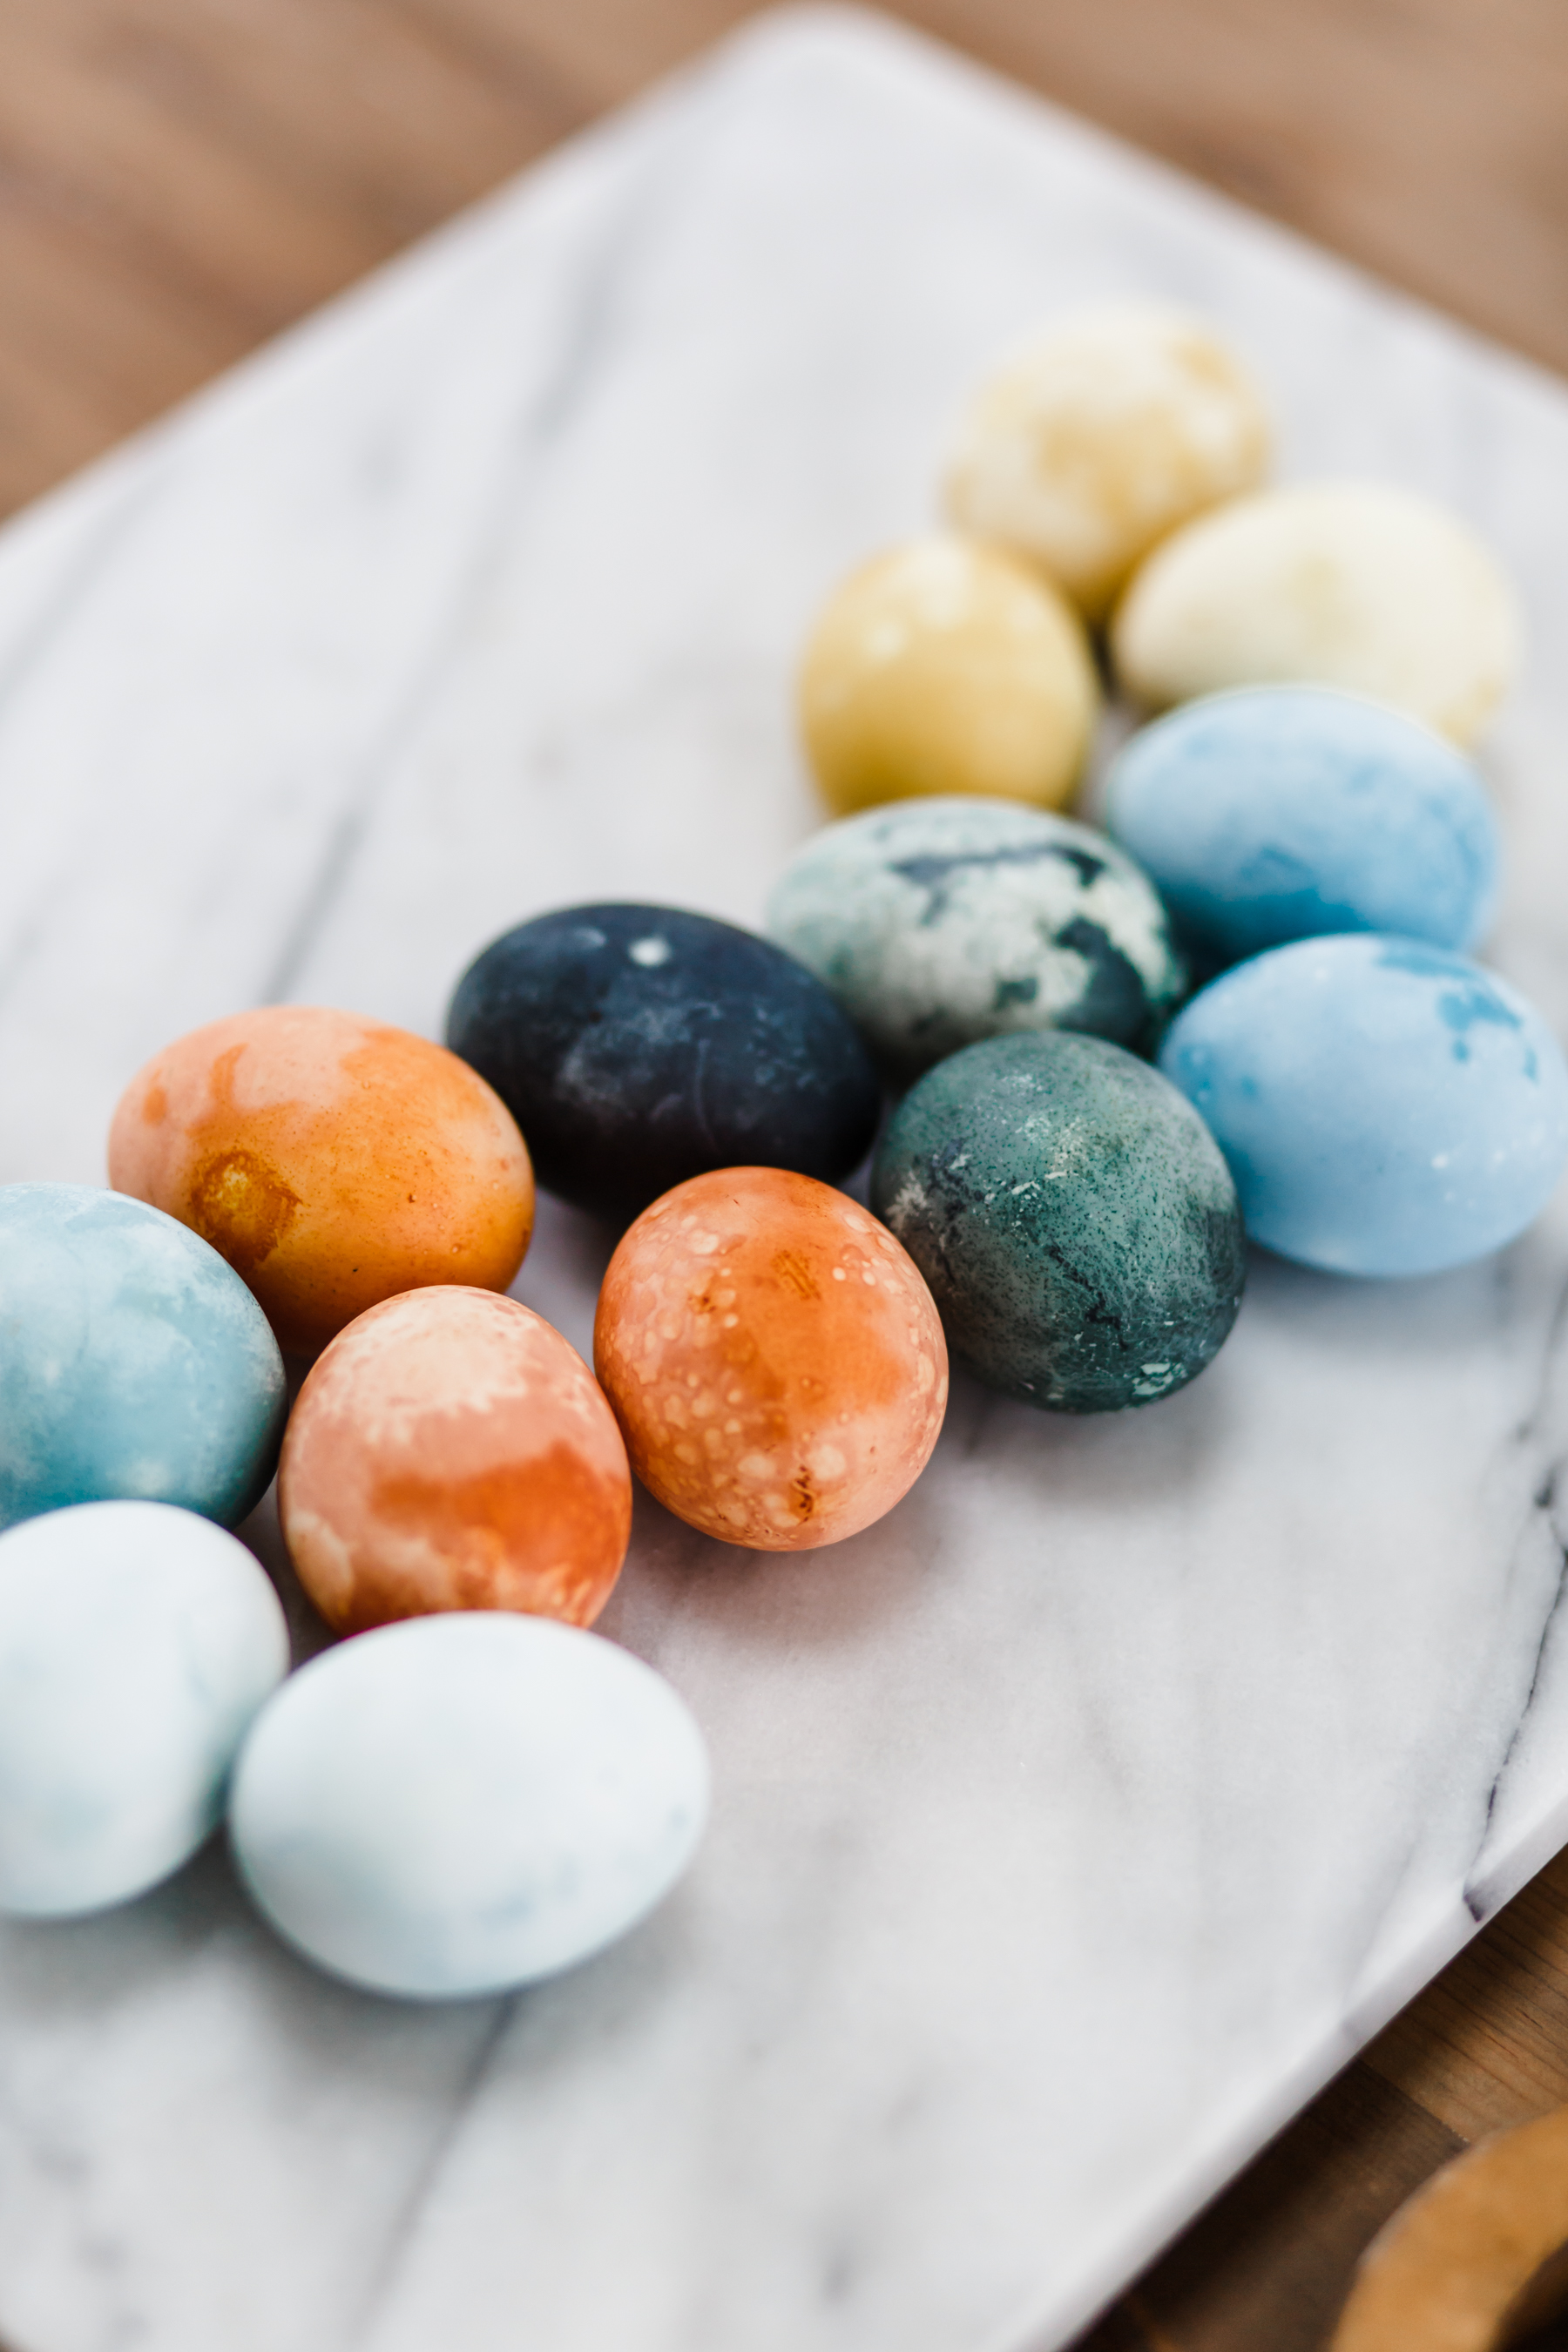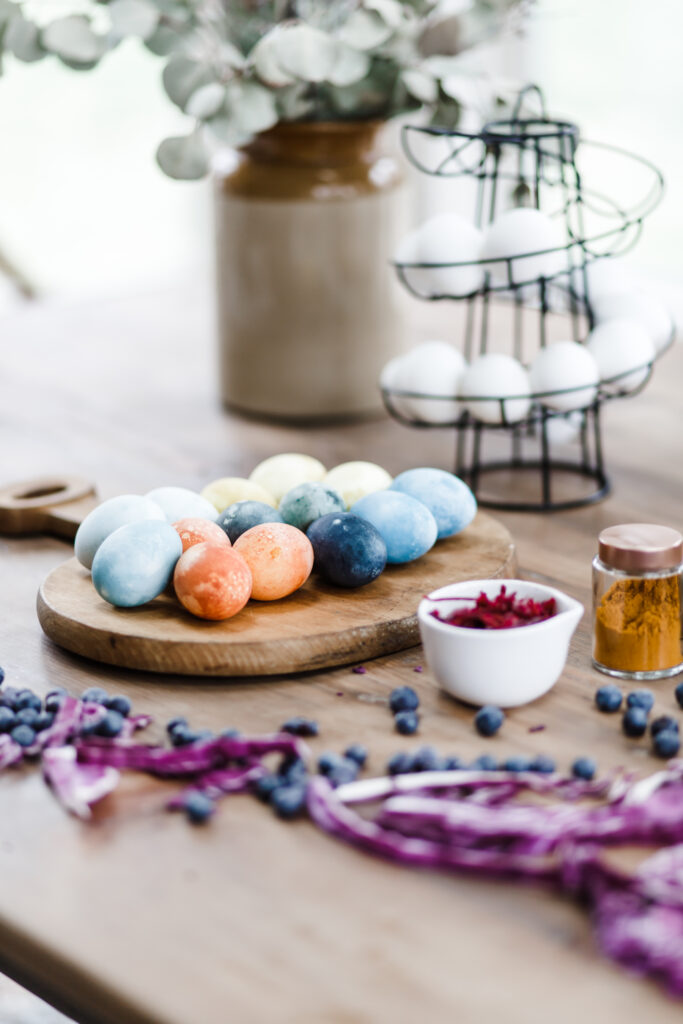
I’ve been wanting to try naturally dyeing our Easter eggs for the last several years, and never gotten around to it until this year. My goodness, they turn out so pretty and make the egg dyeing process so much more interesting and enjoyable, I’ll be doing it naturally from now on!
What I love about these naturally dyed Easter eggs, besides the fact that they’re free of chemicals, etc, is that they turn out so much prettier and more dynamic. You get a totally unique result with each egg, depending on how it takes the dye, and it makes for a fun surprise. I also found the process of preparing the dyes much more fun than just dropping a color tablet in water… and these were a hit with all my kids even my teenagers, and we really enjoyed seeing what natural materials in our kitchen created what kinds of colors. I highly recommend trying this with your kids!
Here’s how to naturally dye Easter eggs:
Step 1: Prepare your materials.
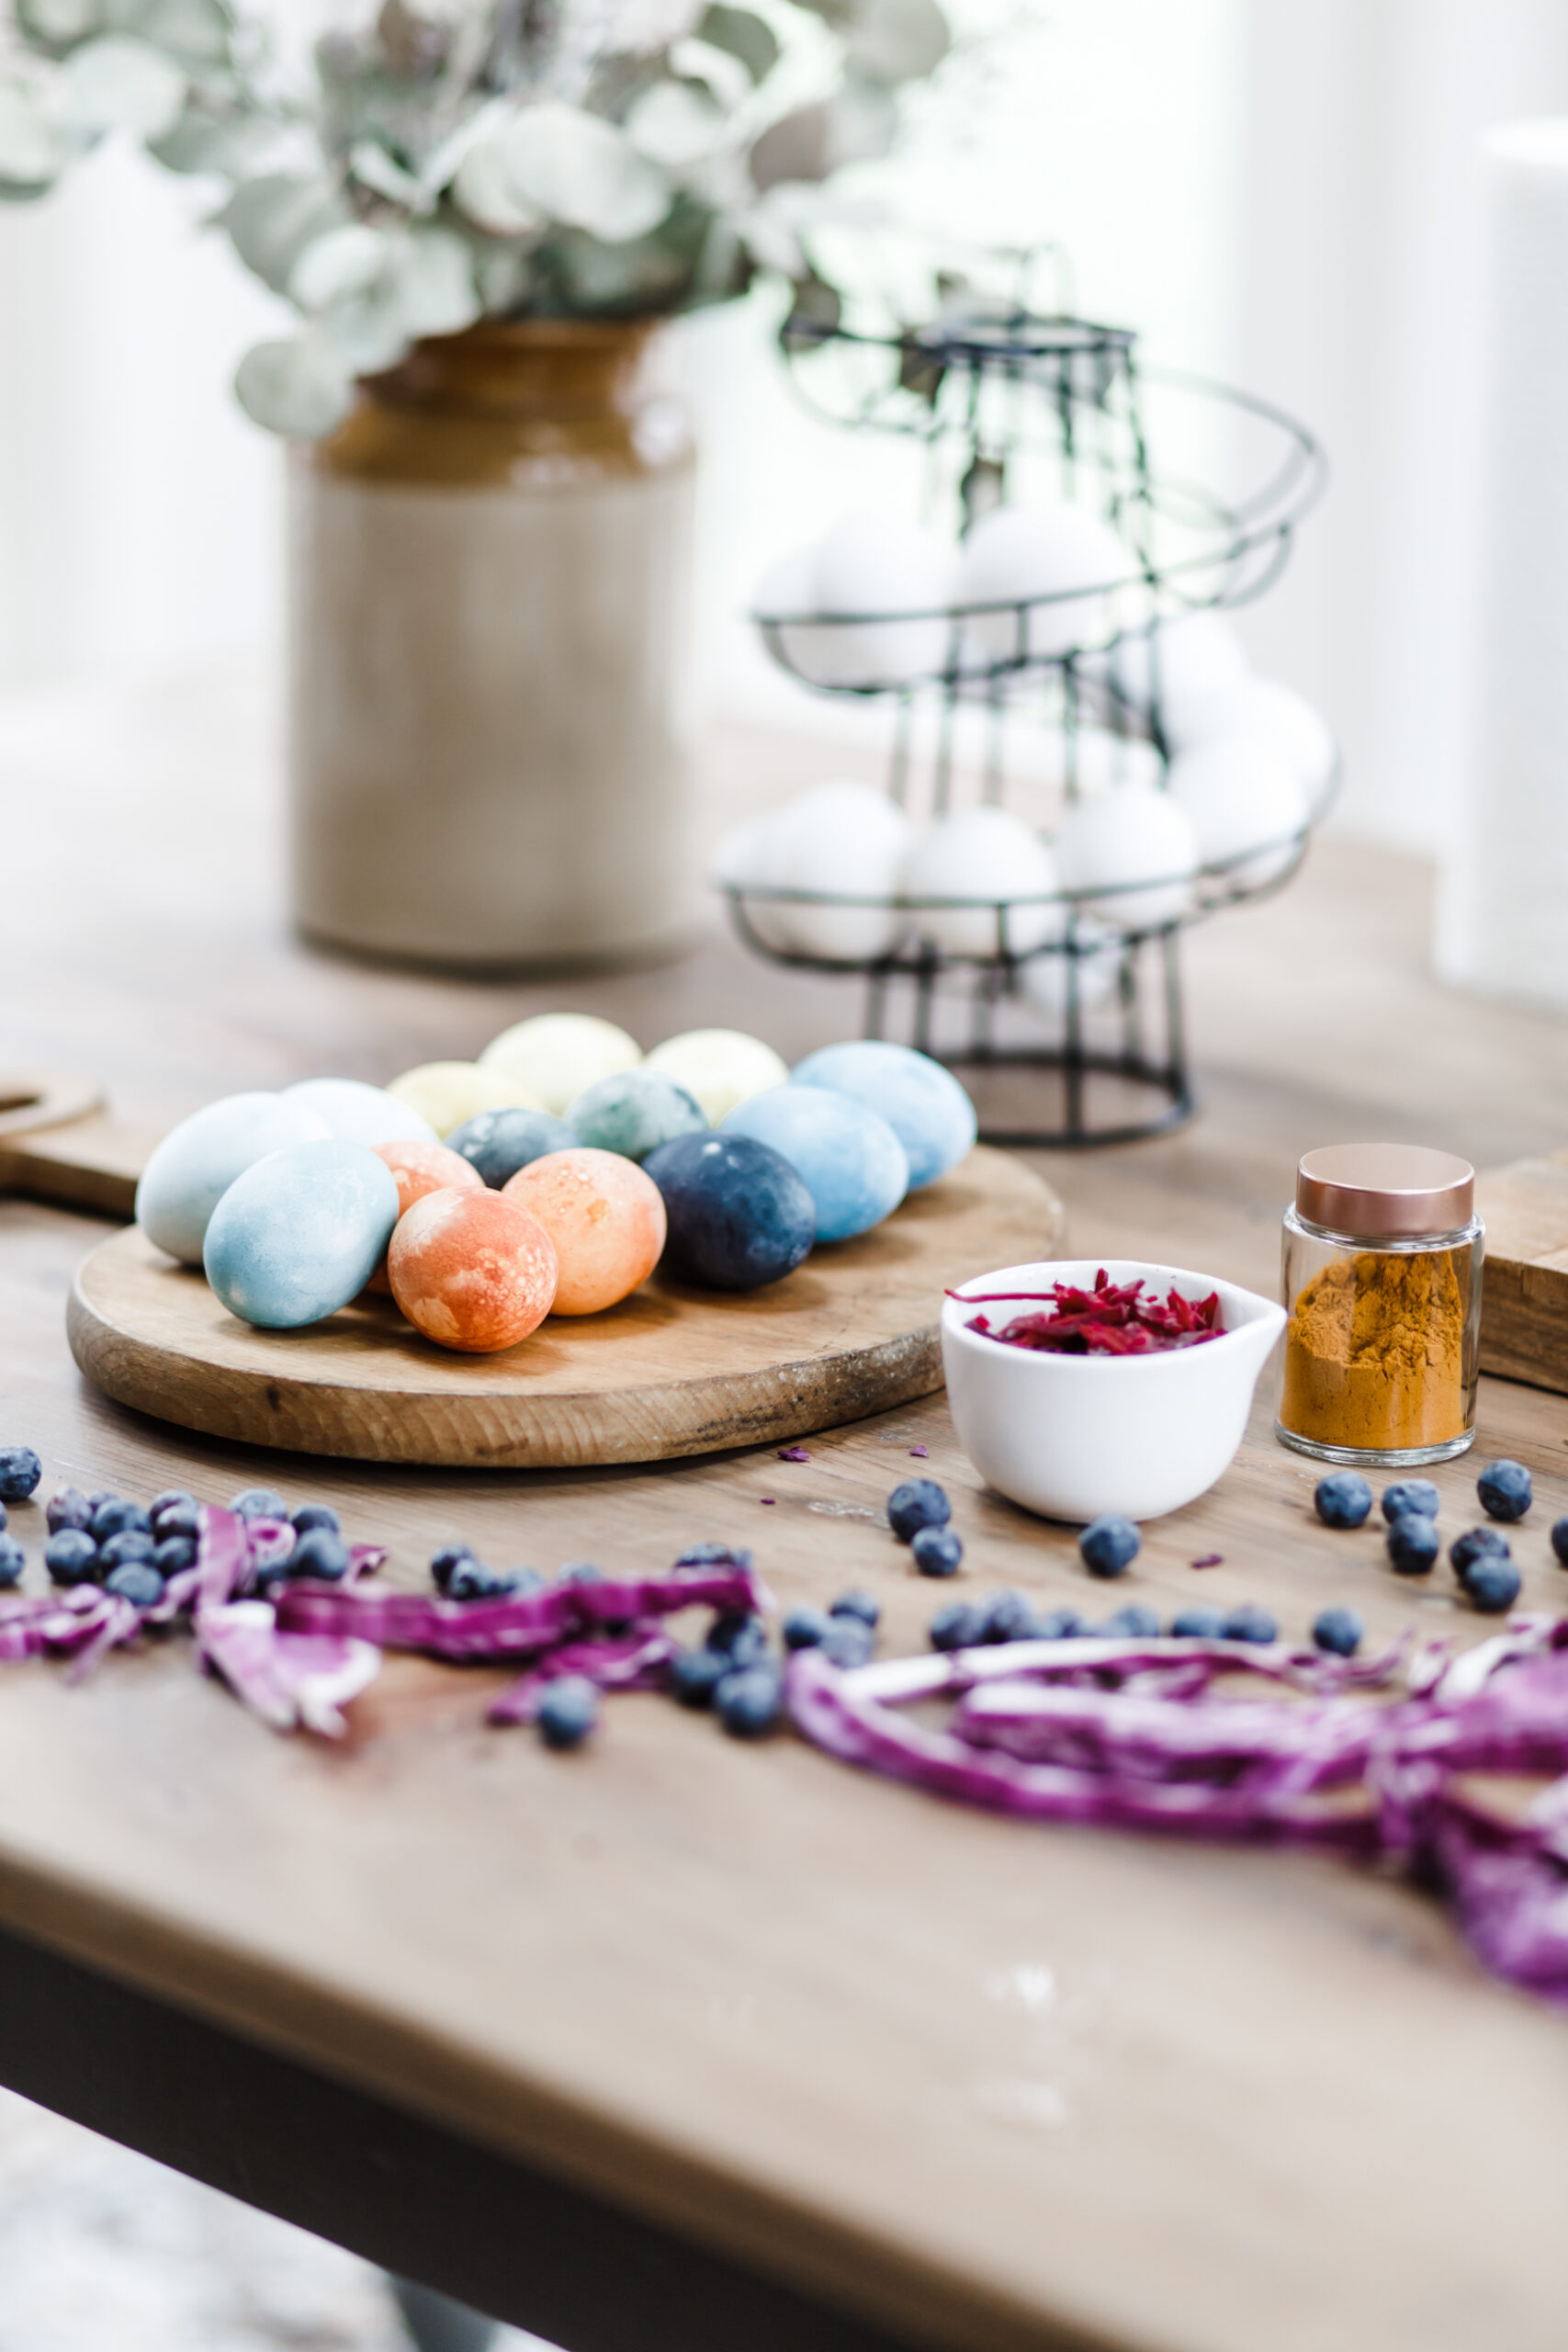
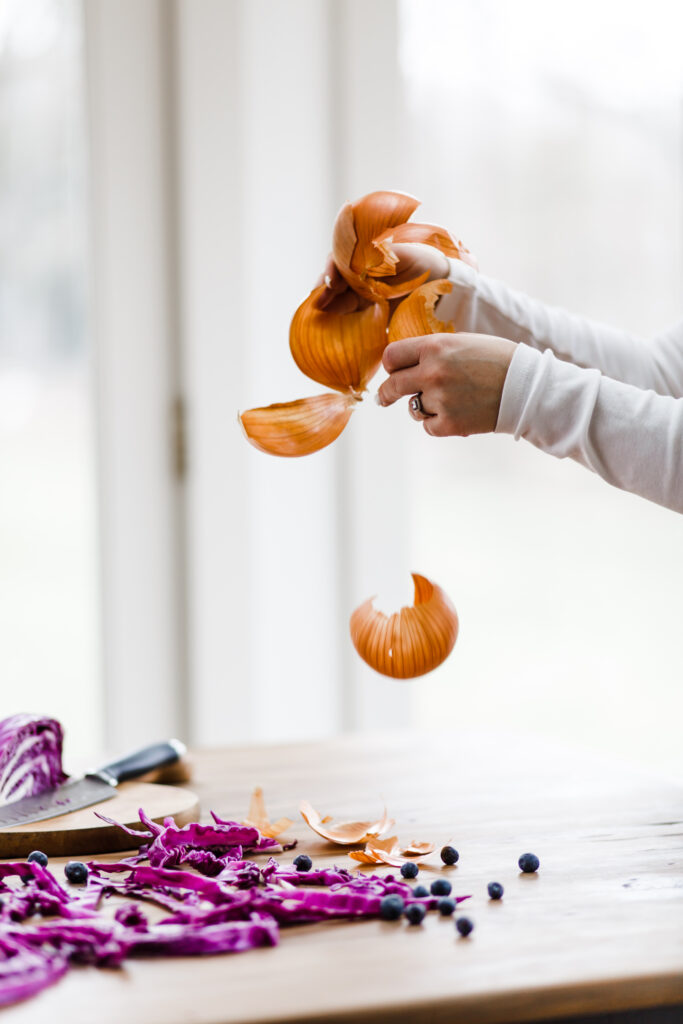
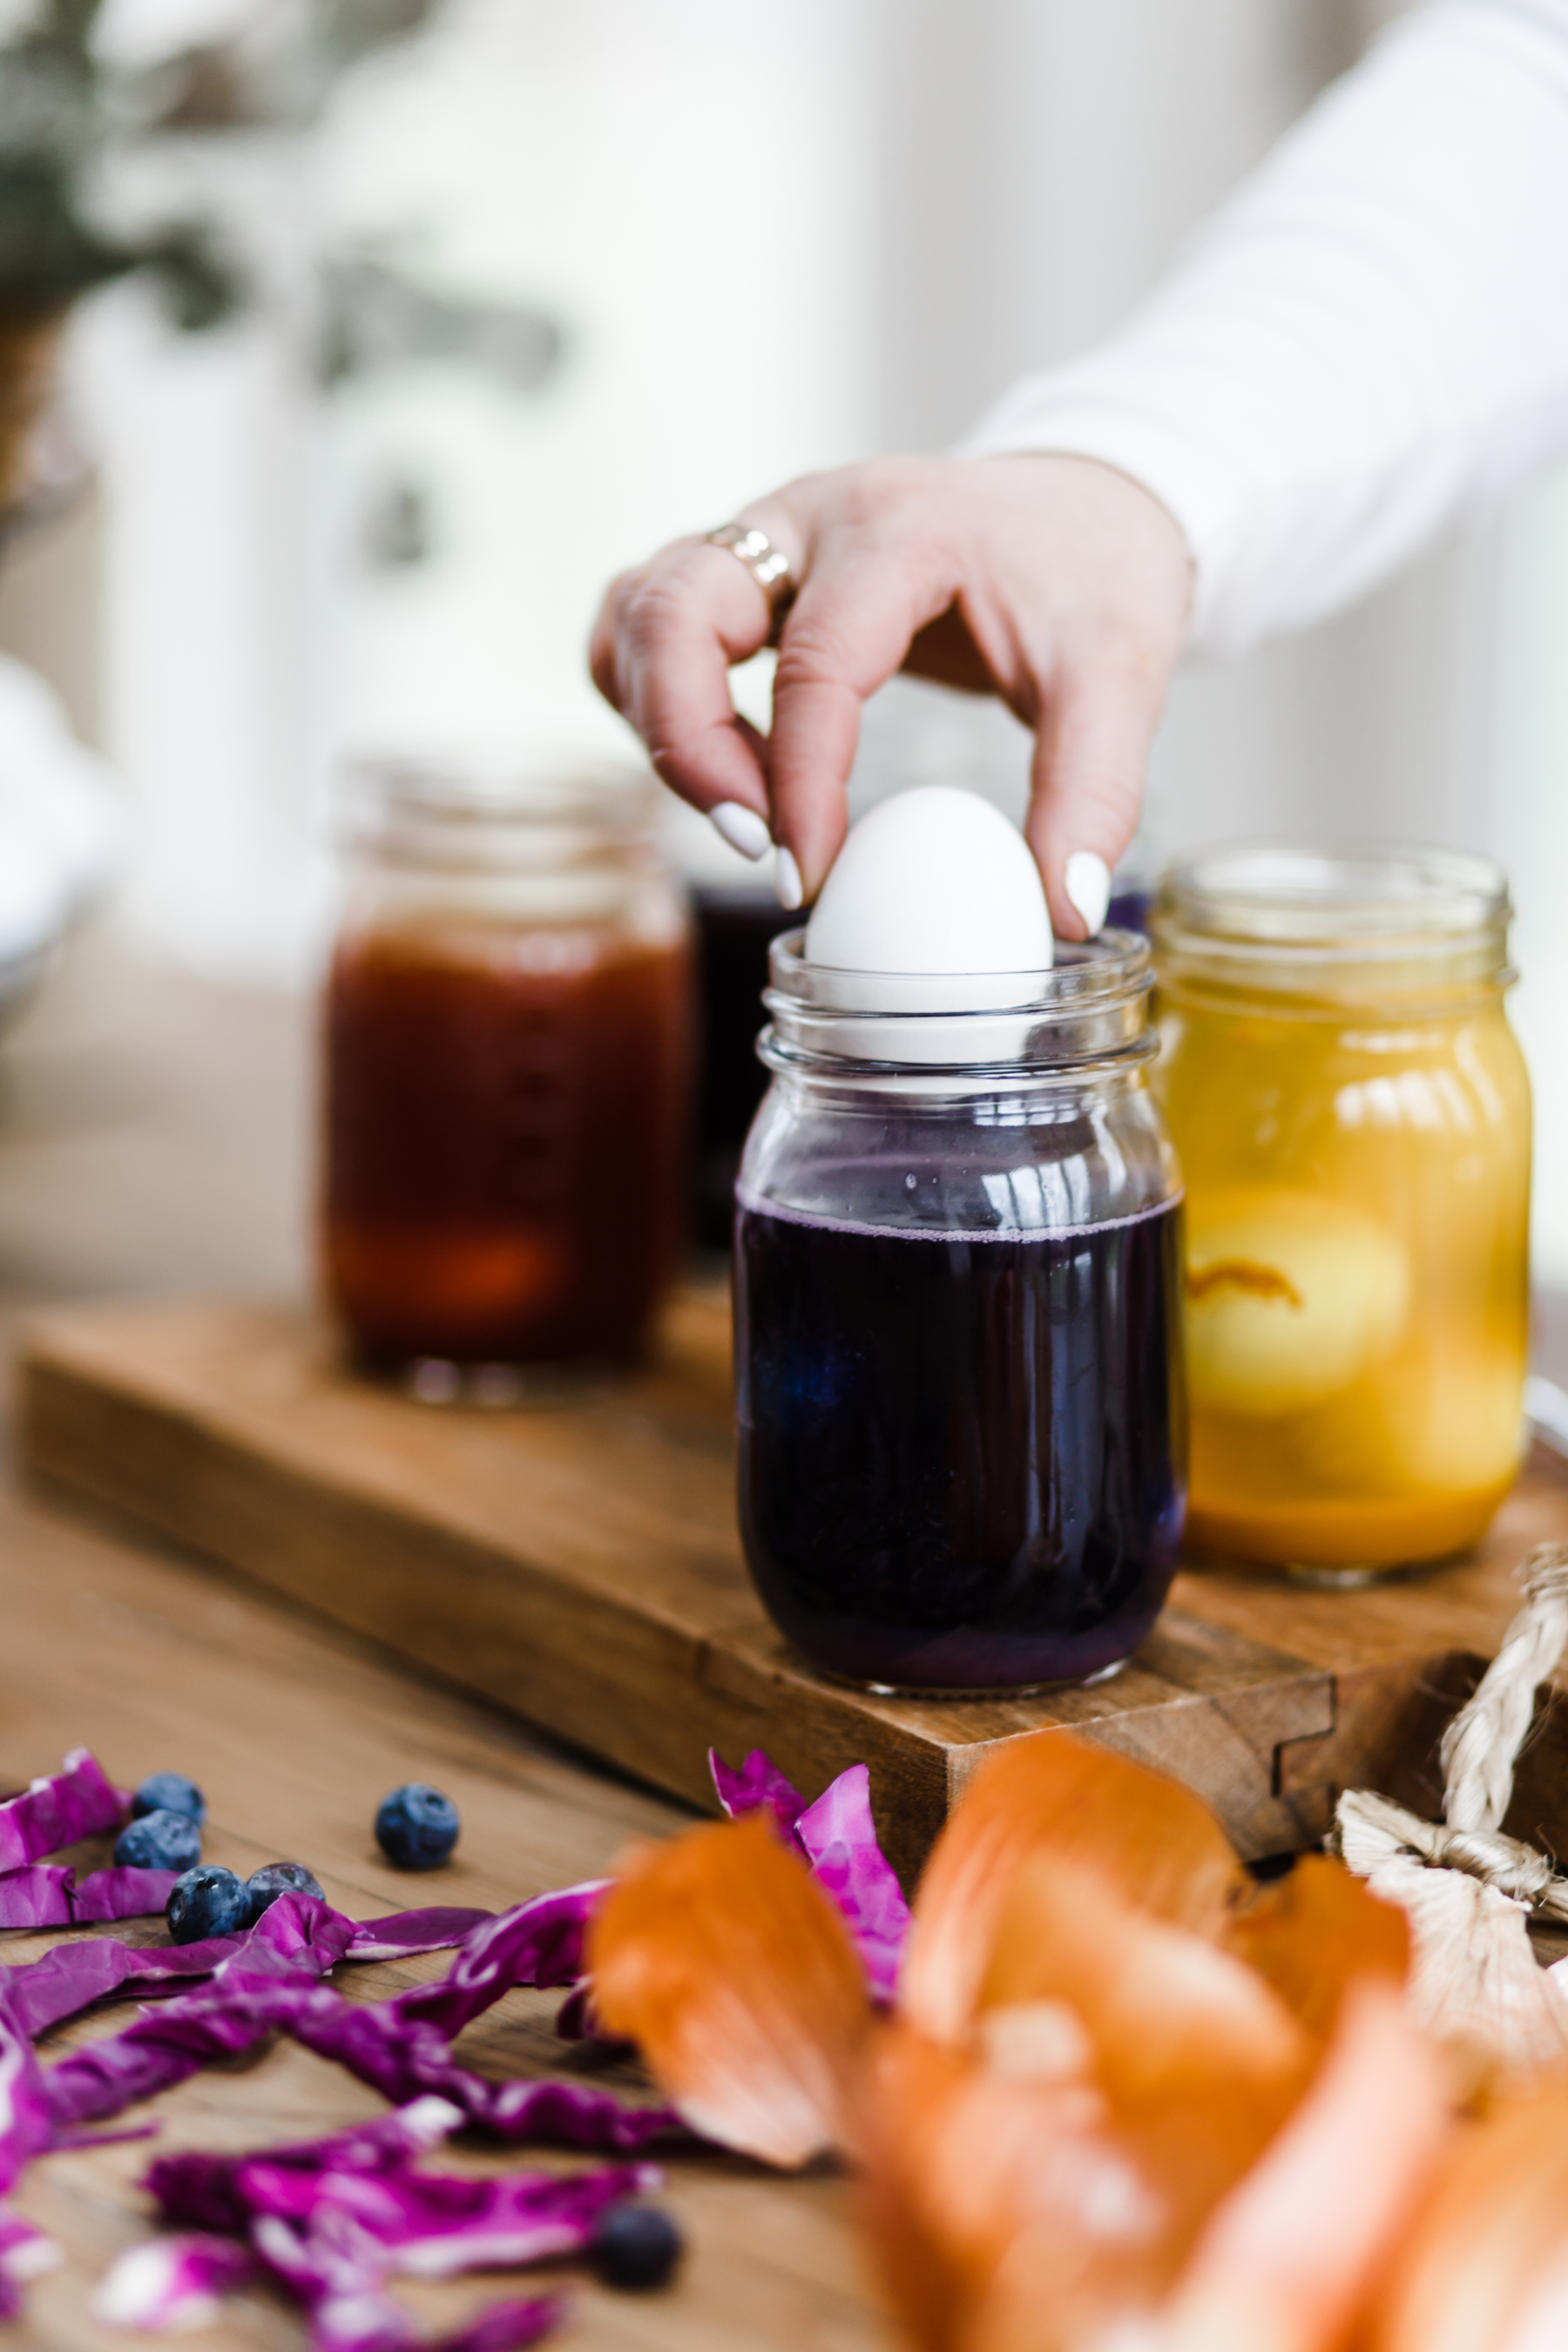
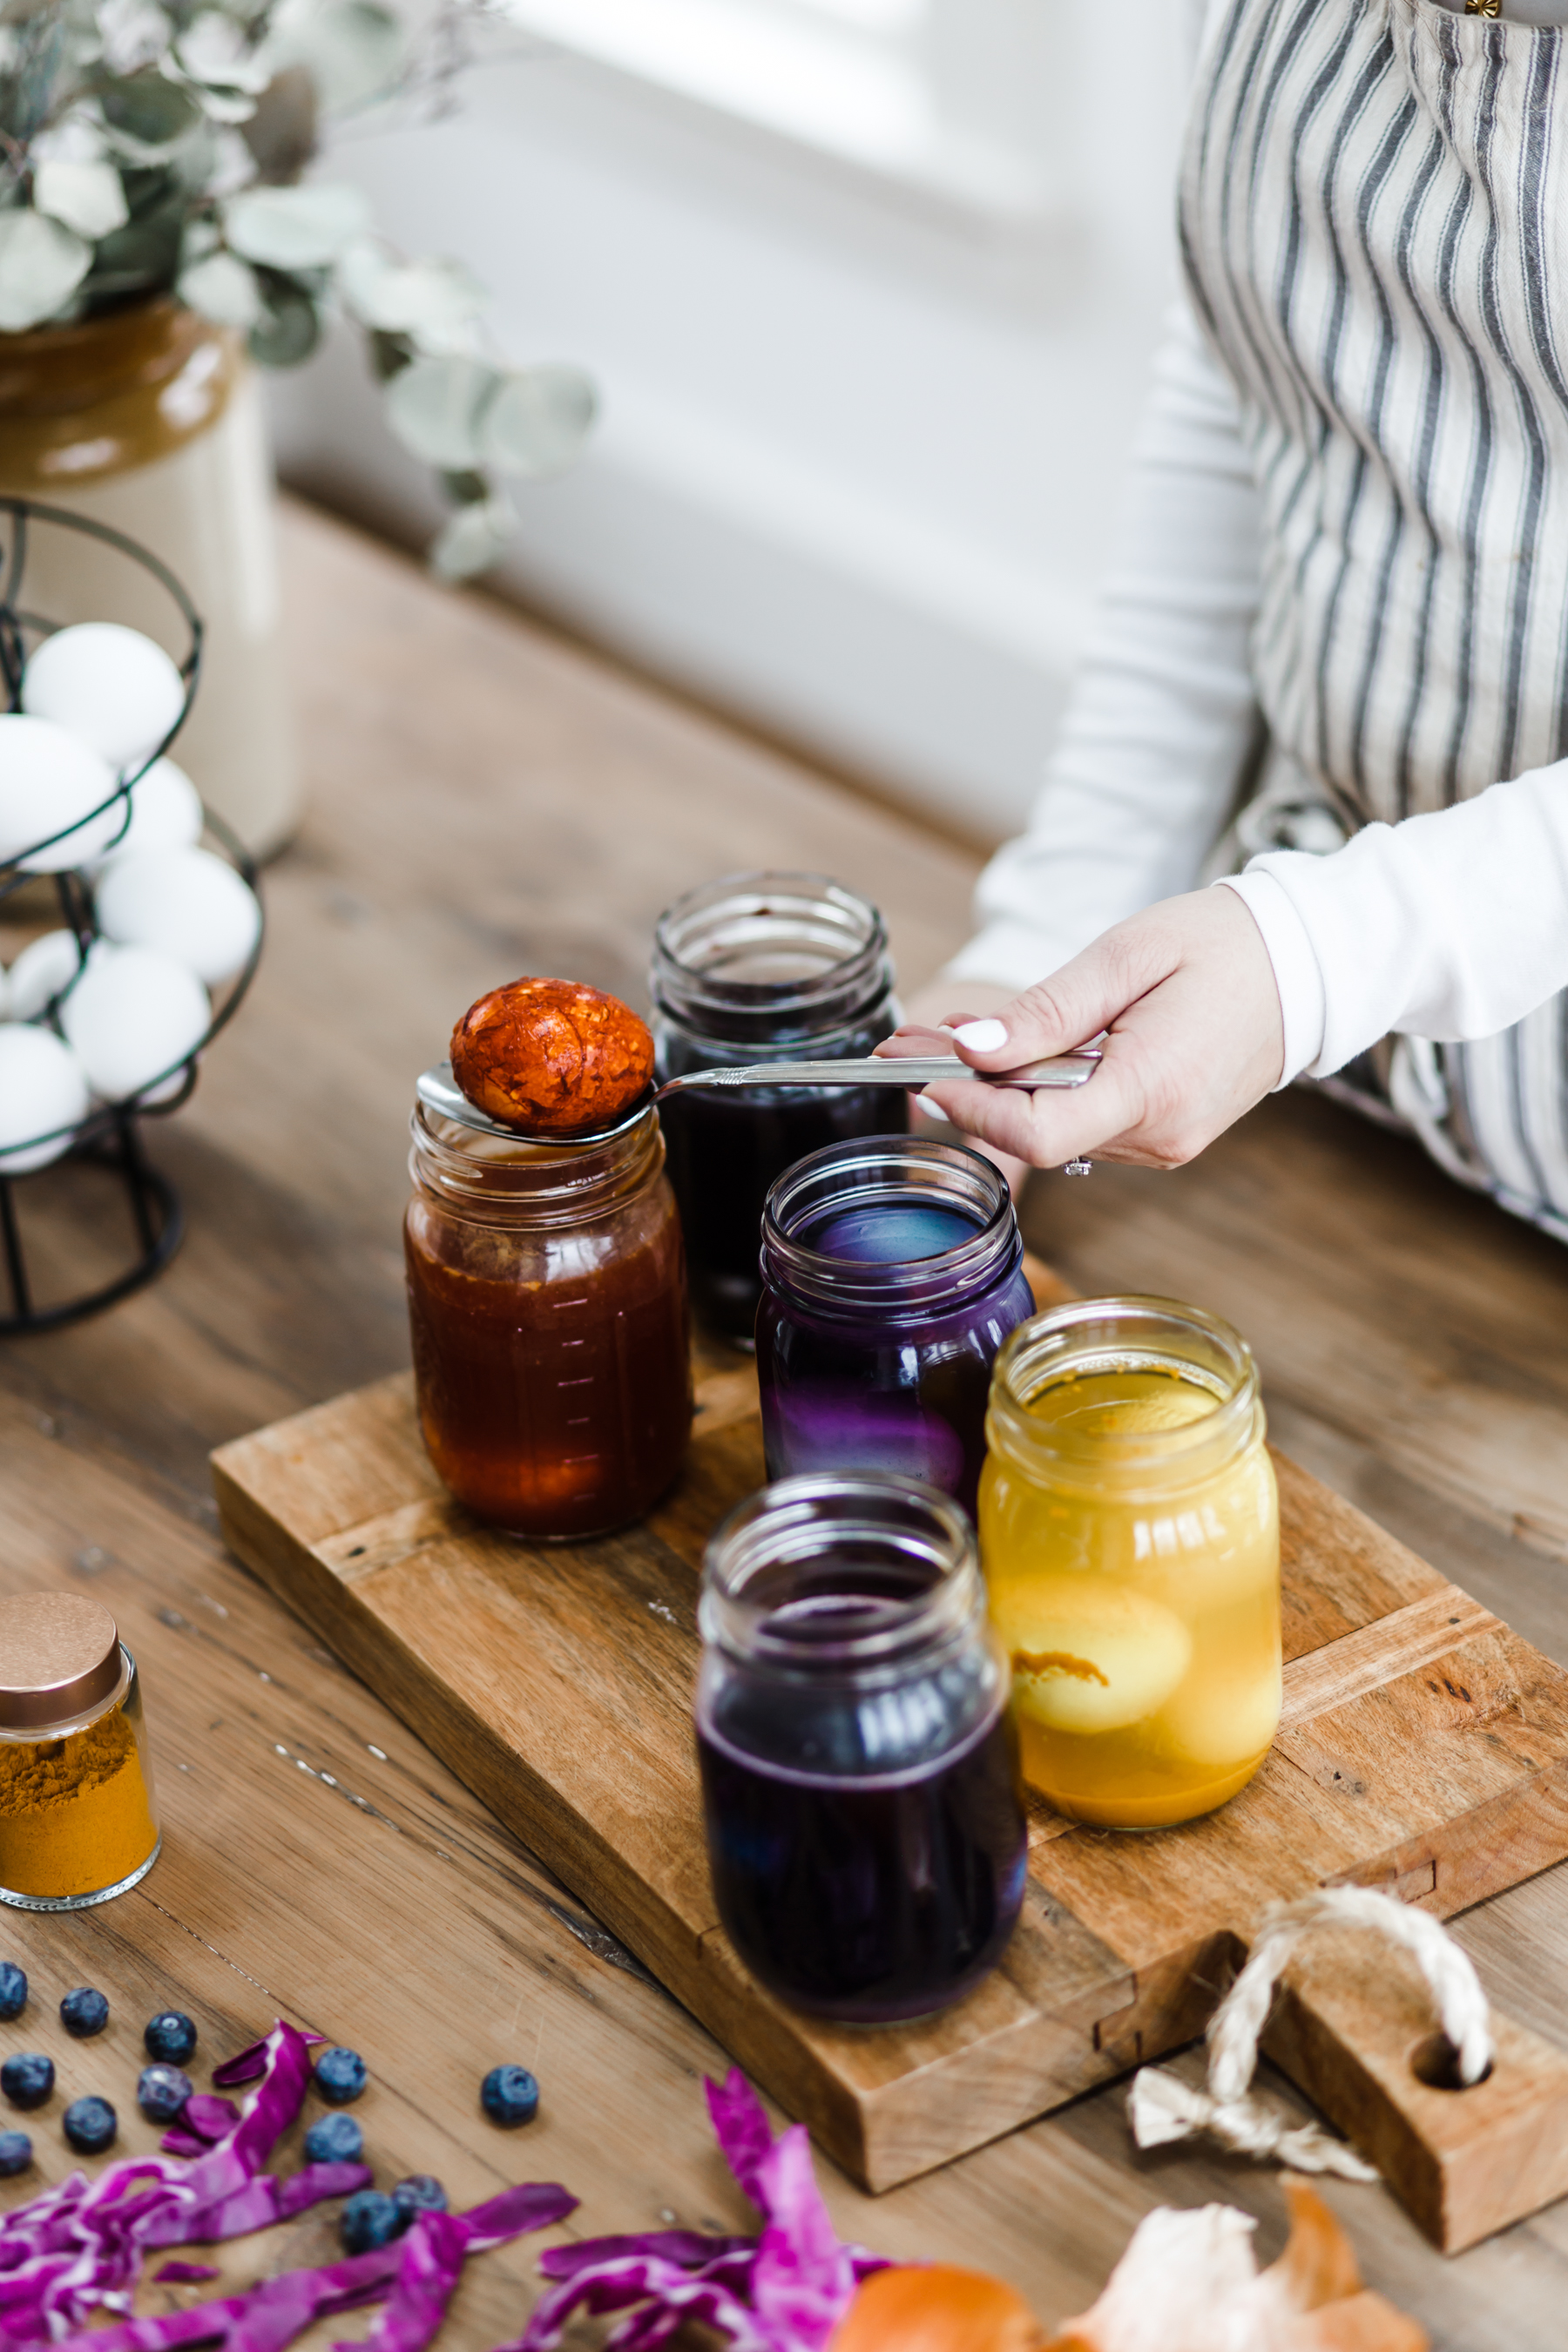
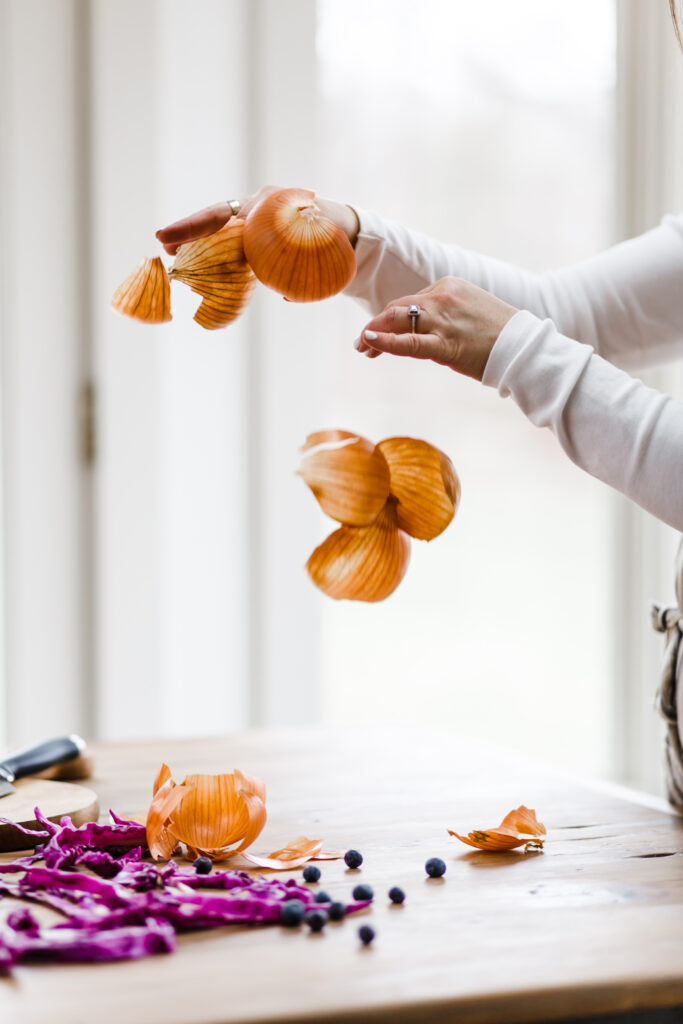
You can use a lot of natural materials you probably already have in your kitchen to dye eggs, and they make the most beautiful colors. For these eggs I used, yellow onion skins, red cabbage, beets, blueberries, and turmeric.
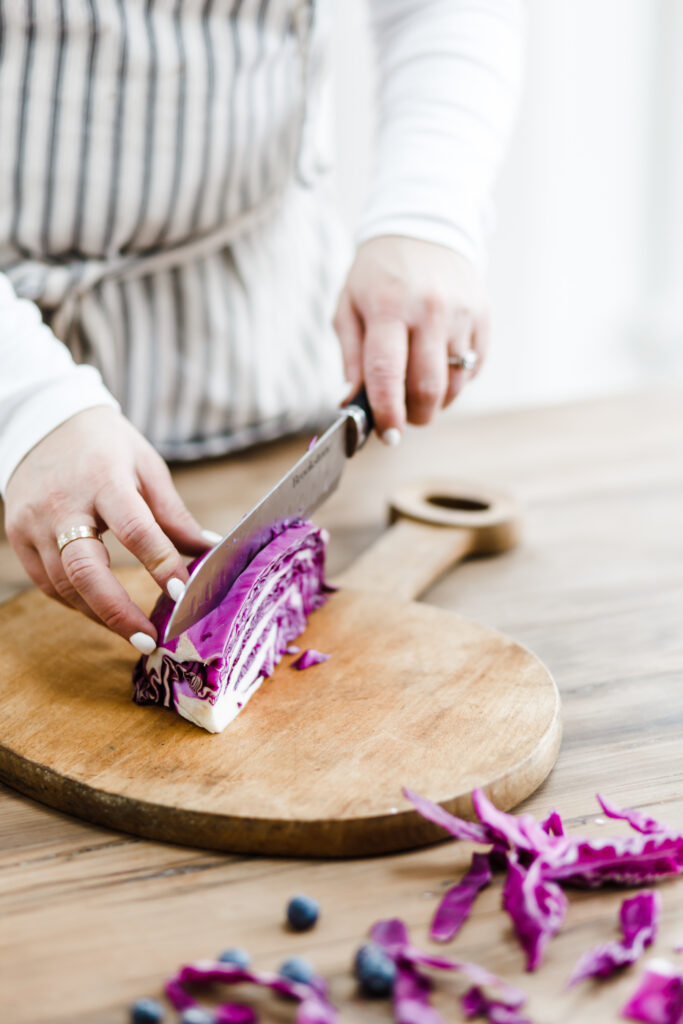
You’ll want to cut up your cabbage, crush your blueberries, dice your beets, skin the onions, etc. For each dye you’ll need about 2 cups of natural material and 2 cups of water.
Combine the materials and the water in individual pots, and bring to a boil. Reduce heat and simmer, covered for 1 hour.
While dyes are simmering, hard boil your eggs. I recommend using white eggs for better colors and you want them to be as fresh as possible. (Fresh eggs take the dye better) A good trick for finding the freshest eggs at the grocery store: look for the package with the latest sell by date. The fresher the eggs, the better the dye will take.
Once the dyes have boiled for an hour, let them cool a bit, add 1-2 tablespoons white vinegar. Drop your eggs in, and let them set in the refrigerator overnight.
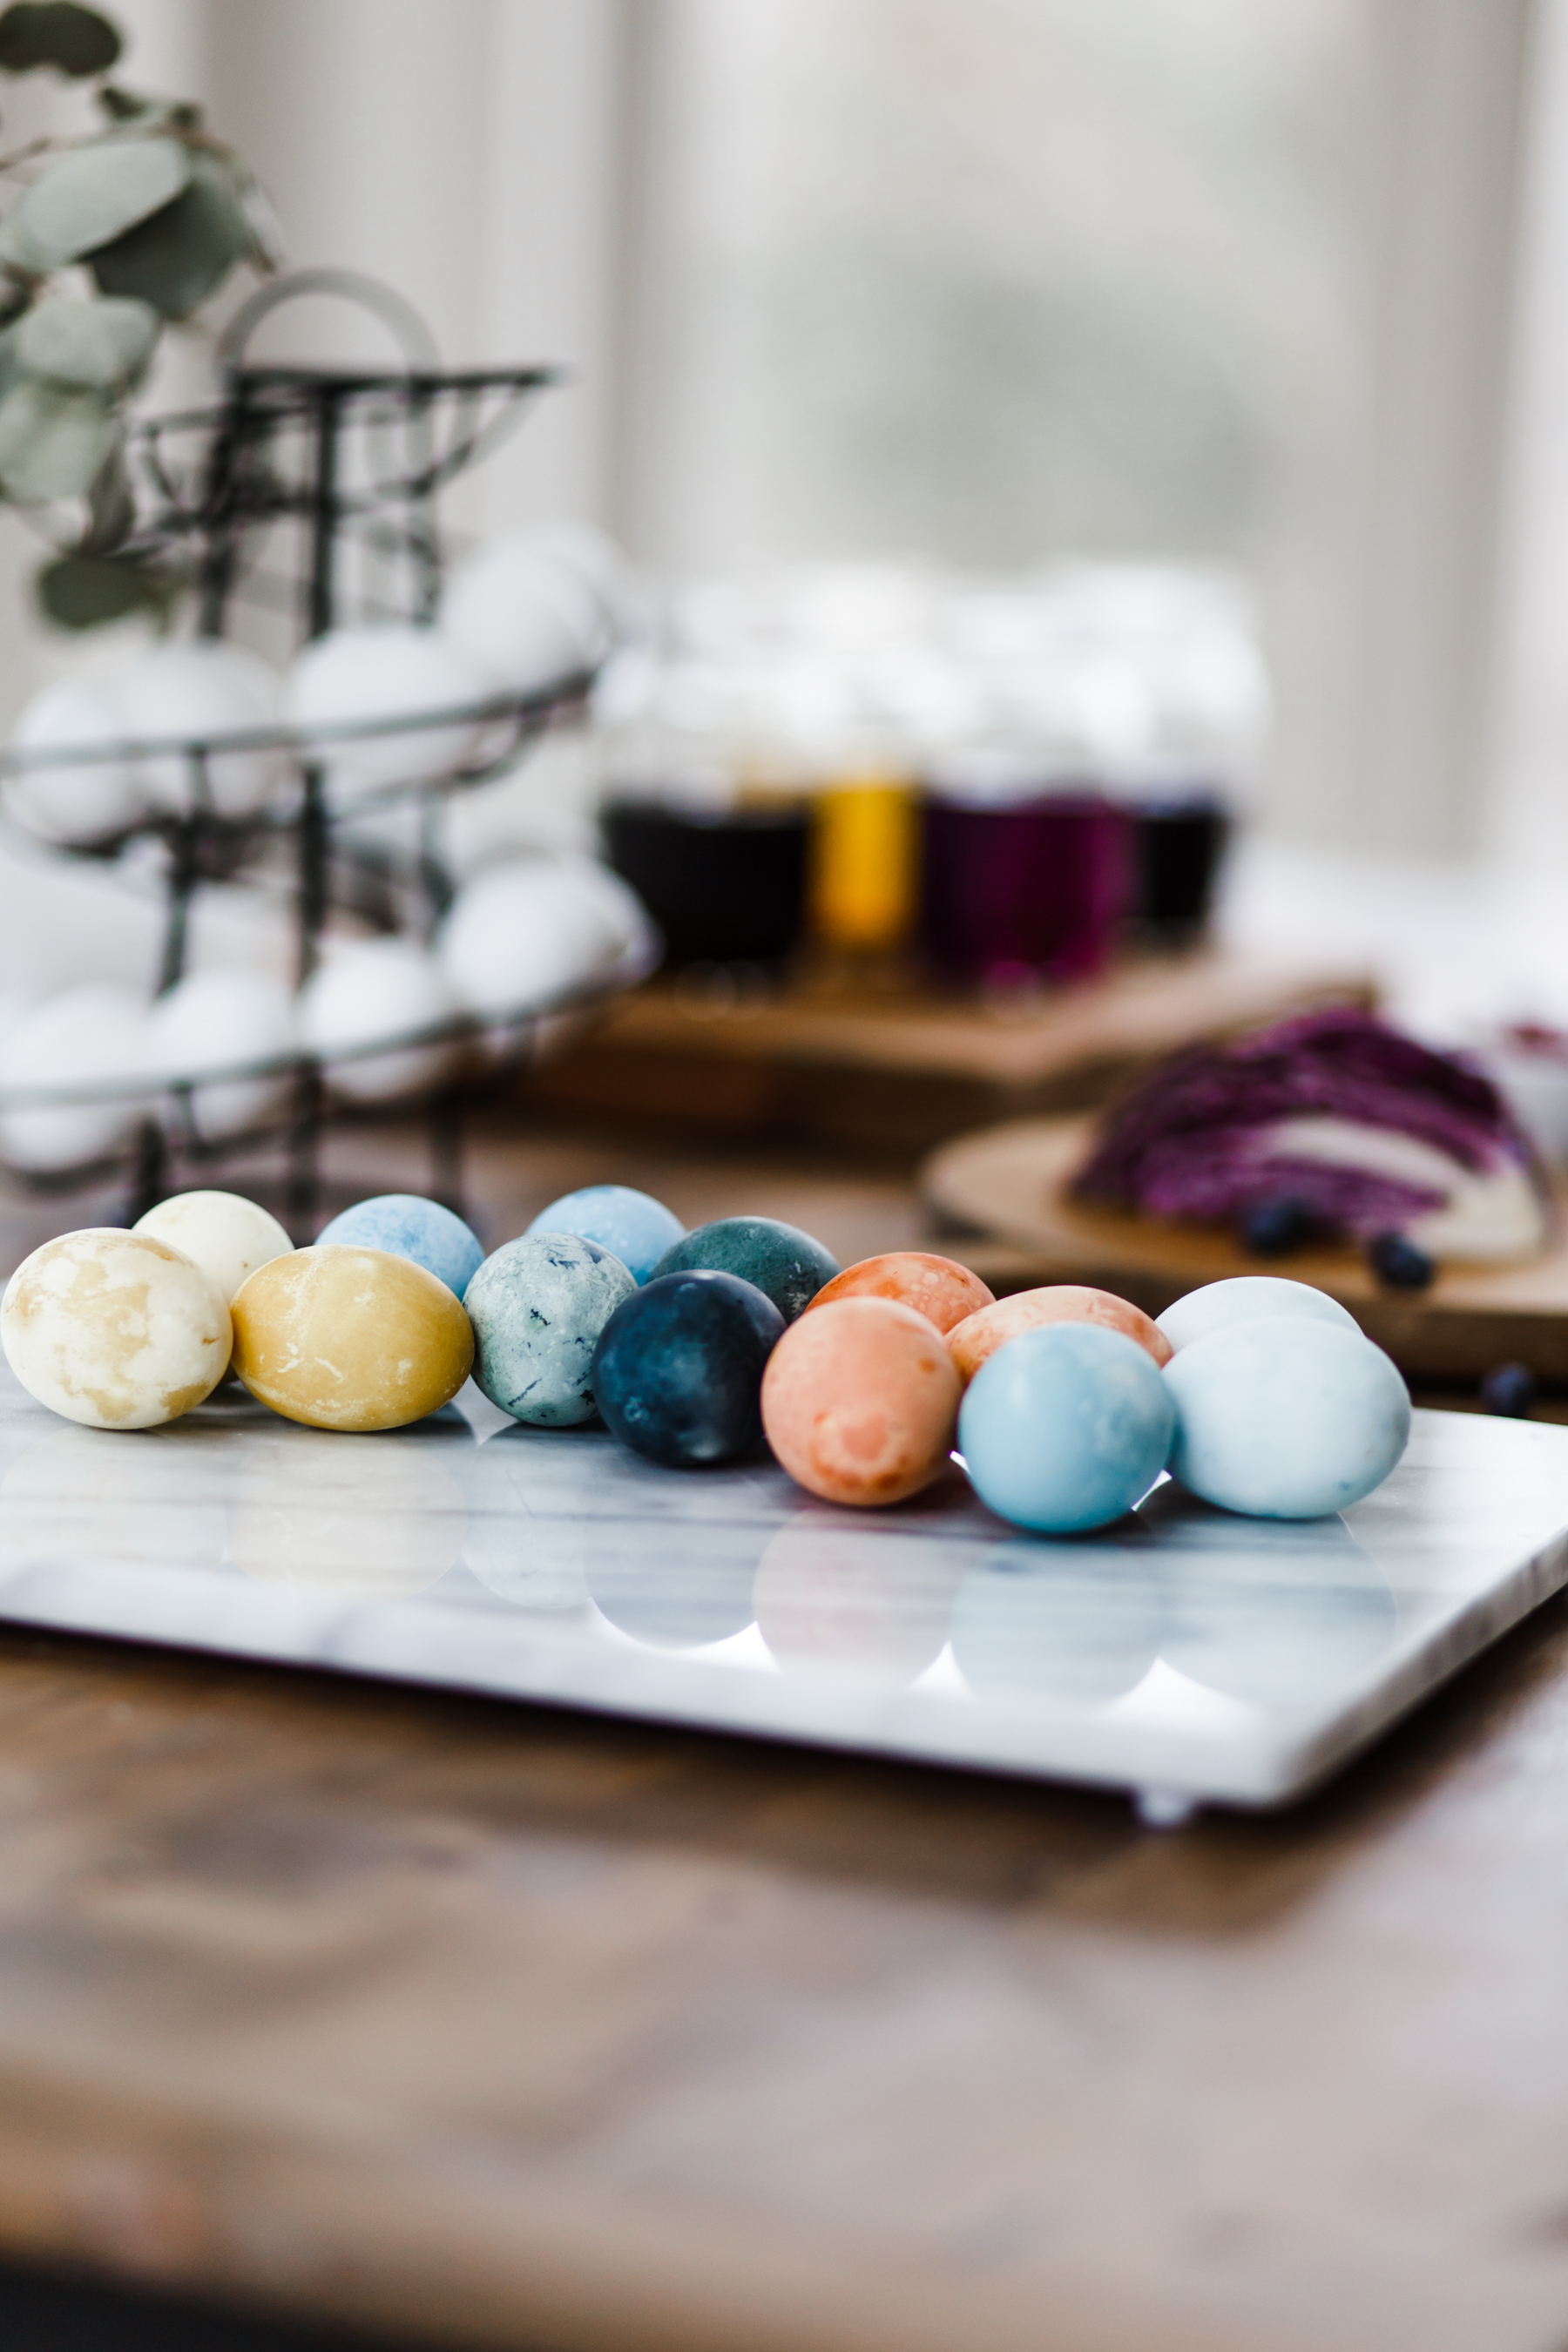
After the eggs have set over night, remove from the dye and rinse with cold water, then set them on a paper towel to dry. Natural dyes produce beautiful unique results on each egg and the colors are gorgeous and matte. If you’d like more shine, you can polish with olive oil. (My matte loving heart prefers them unpolished.)
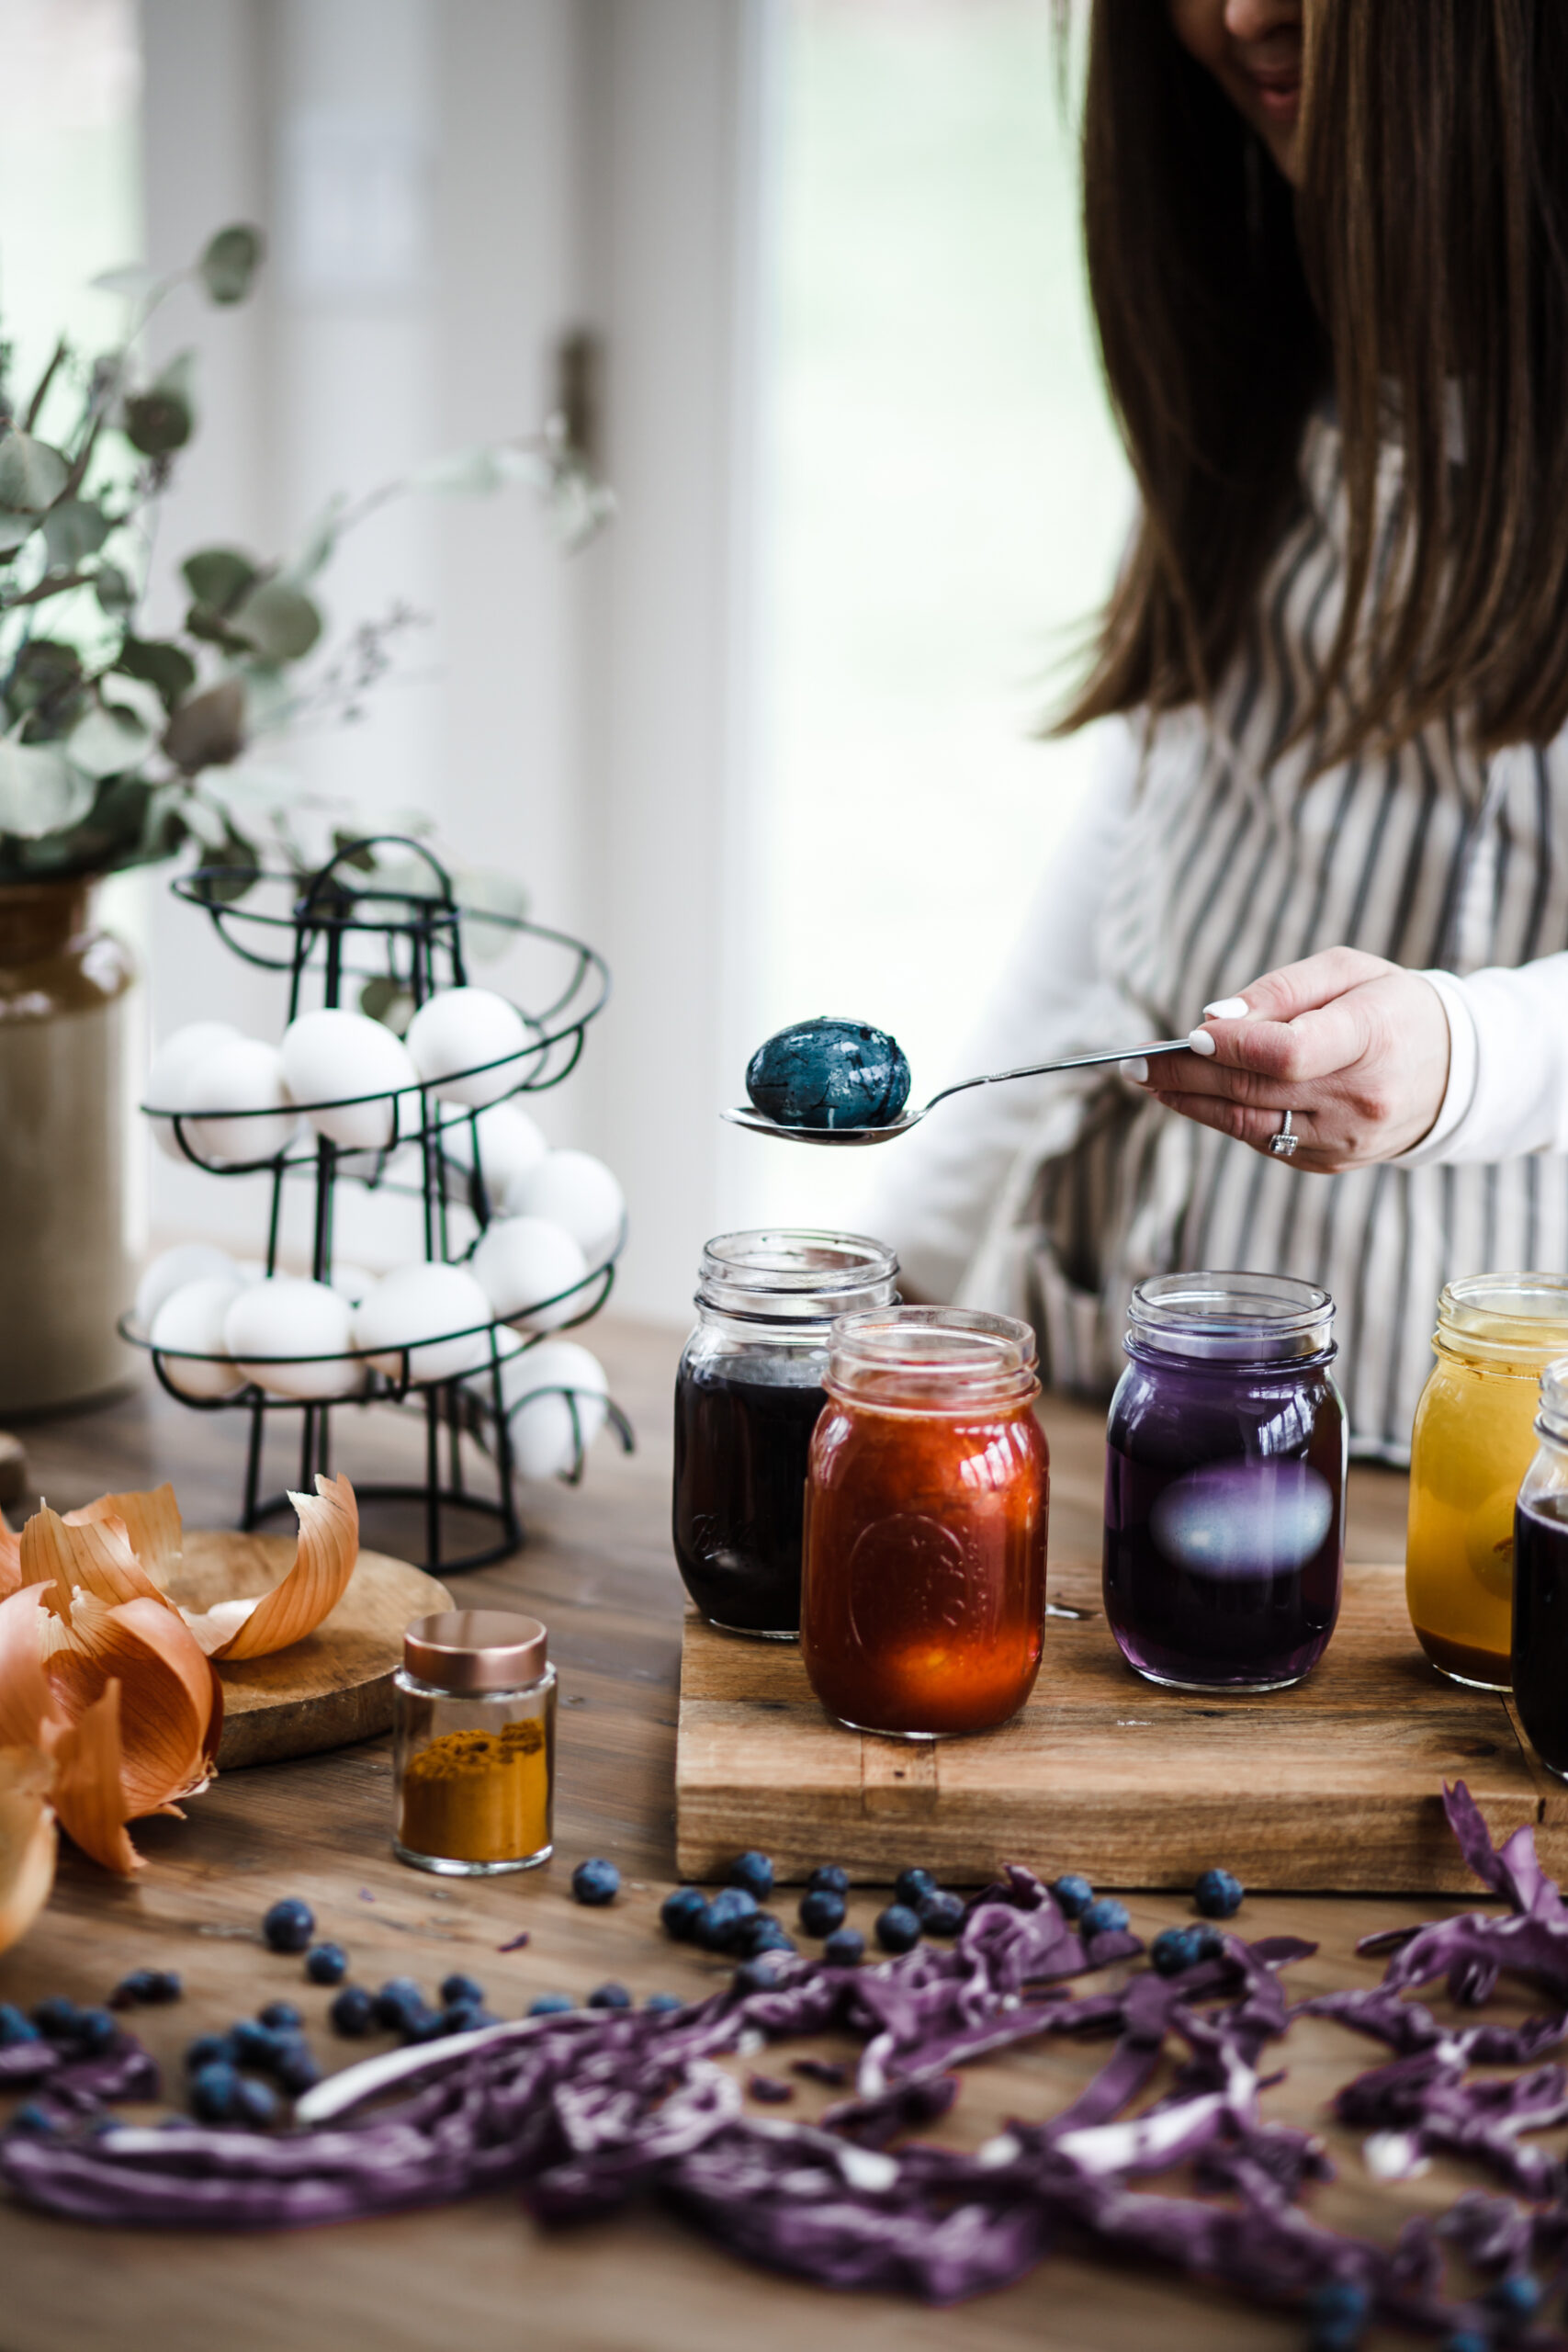
What colors do the different natural dyes produce?
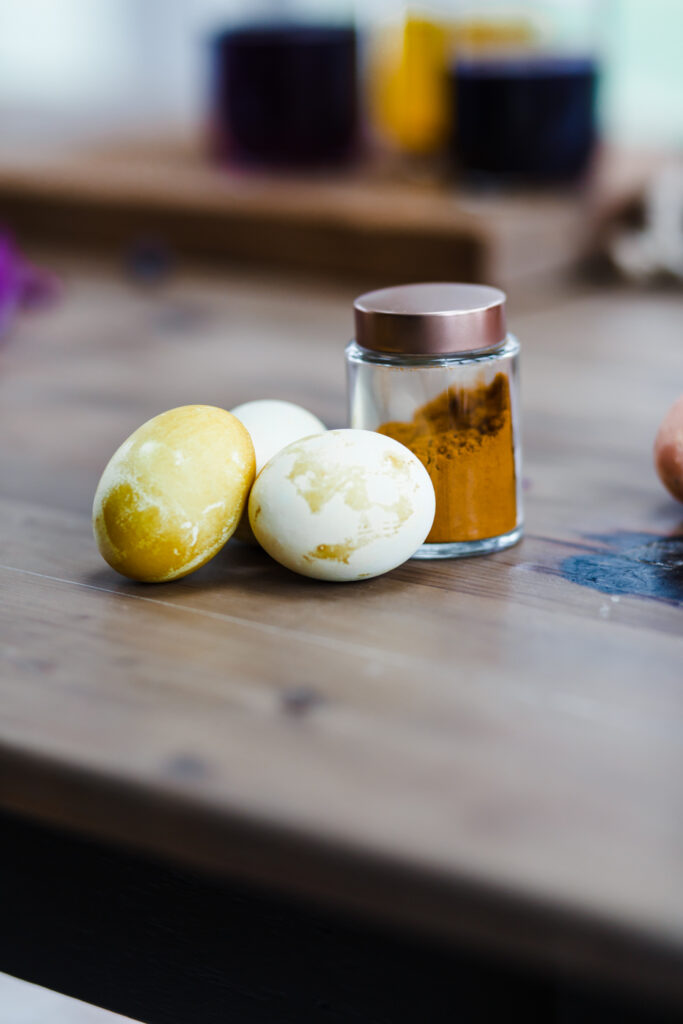
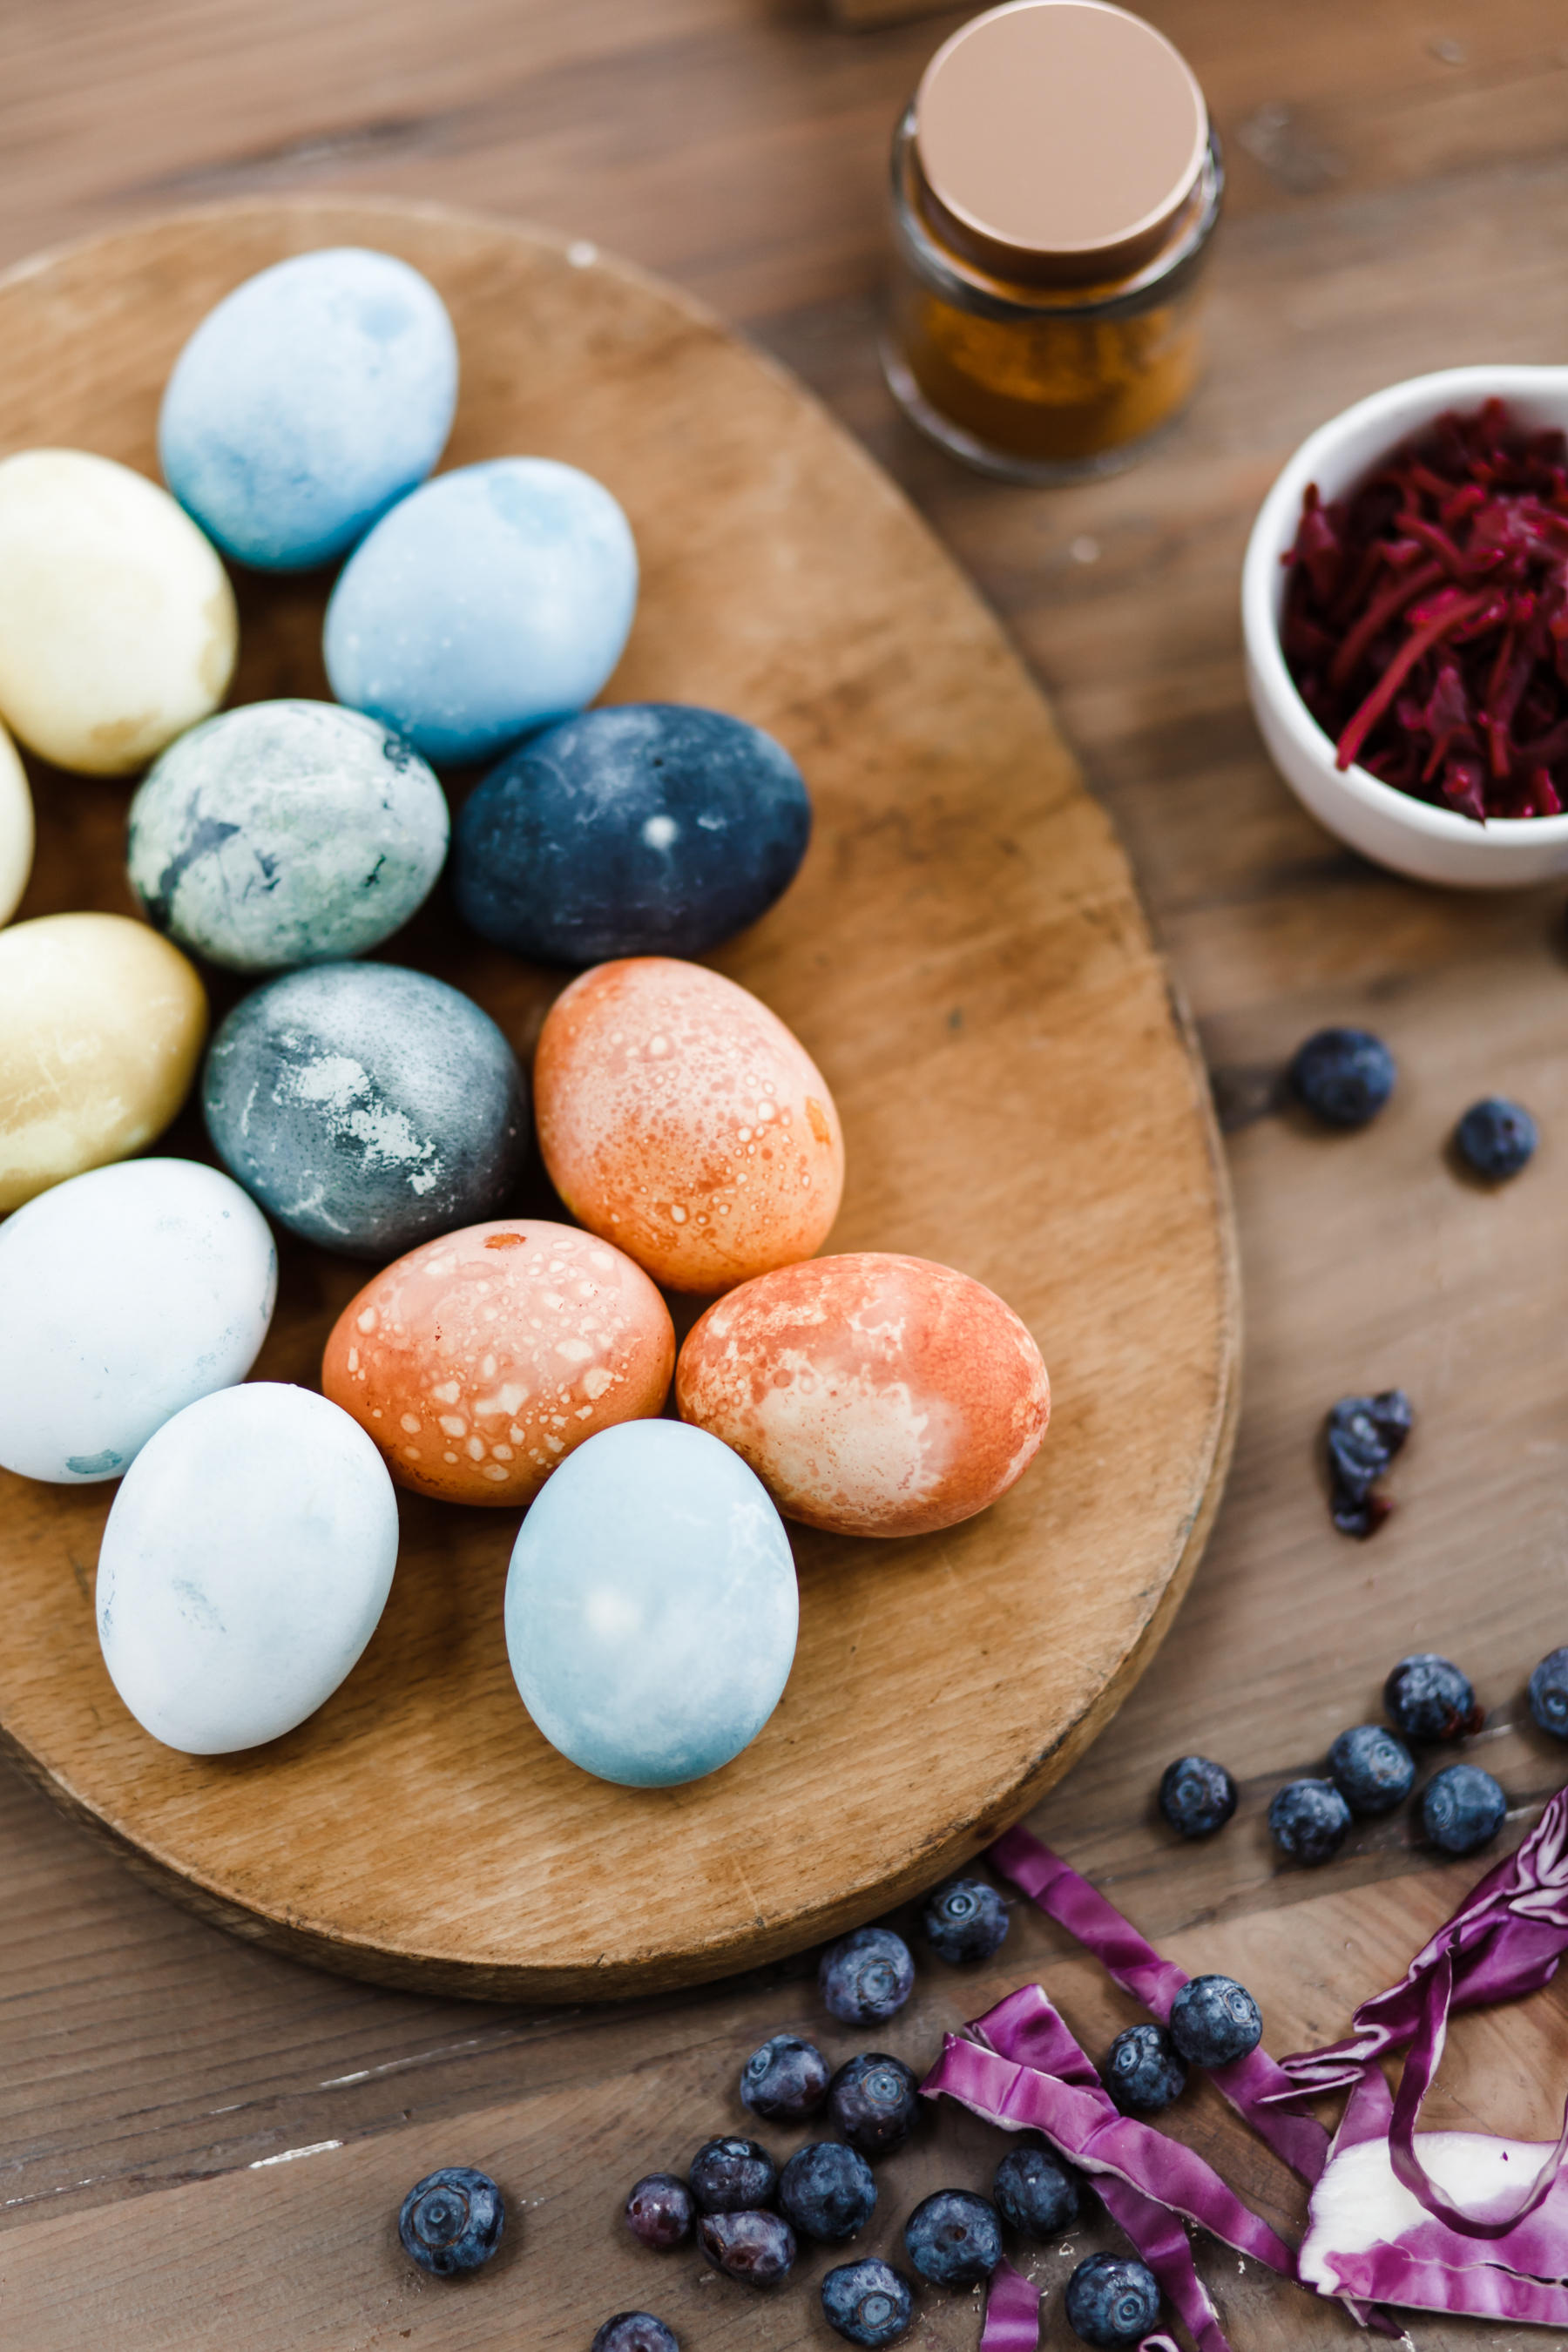
Turmeric produced a gorgeous muted yellow, speckly and lovely.
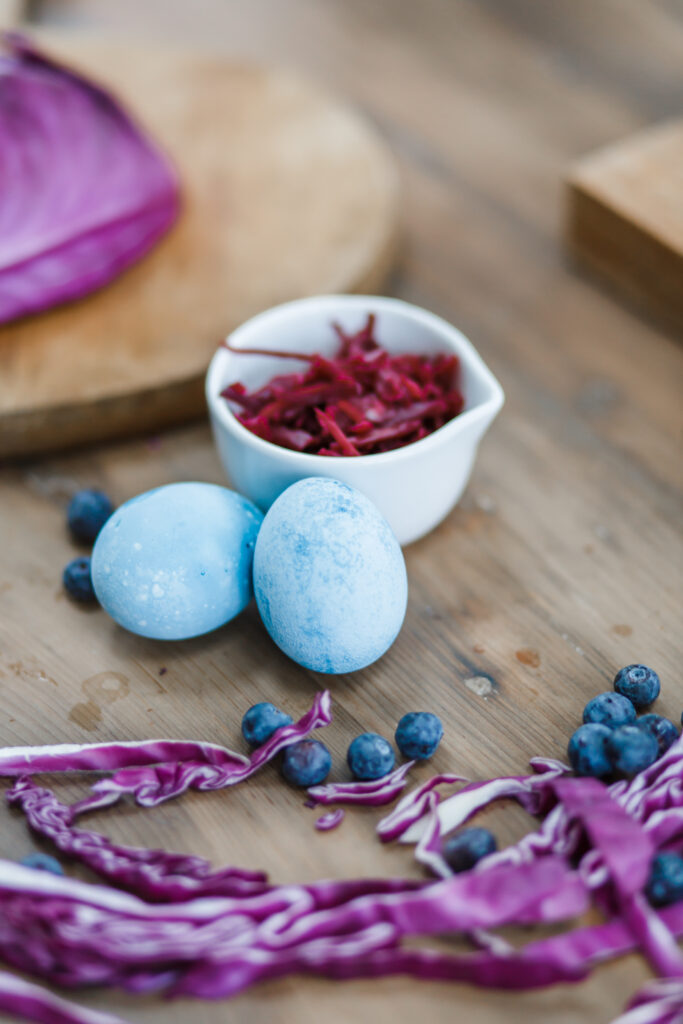
Beets produced a beautiful vibrant blue color. I’d love to try this one on a brown egg and see if it played more purple.
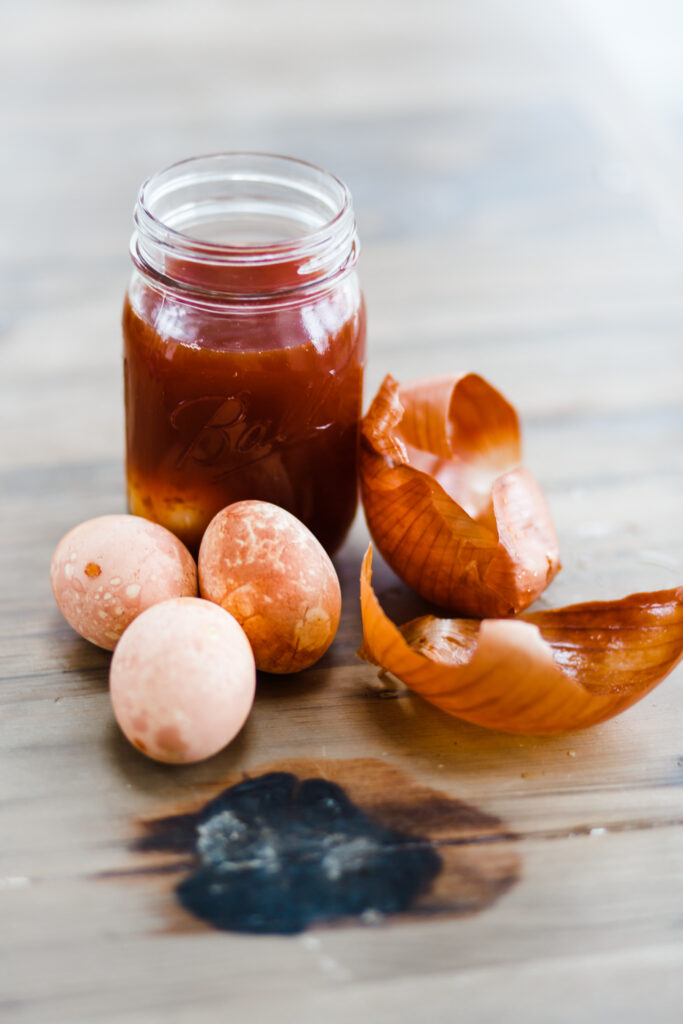
Yellow onion skins were by far my favorite, and produced these gorgeous splotchy pattern in a lovely burnt orange color.
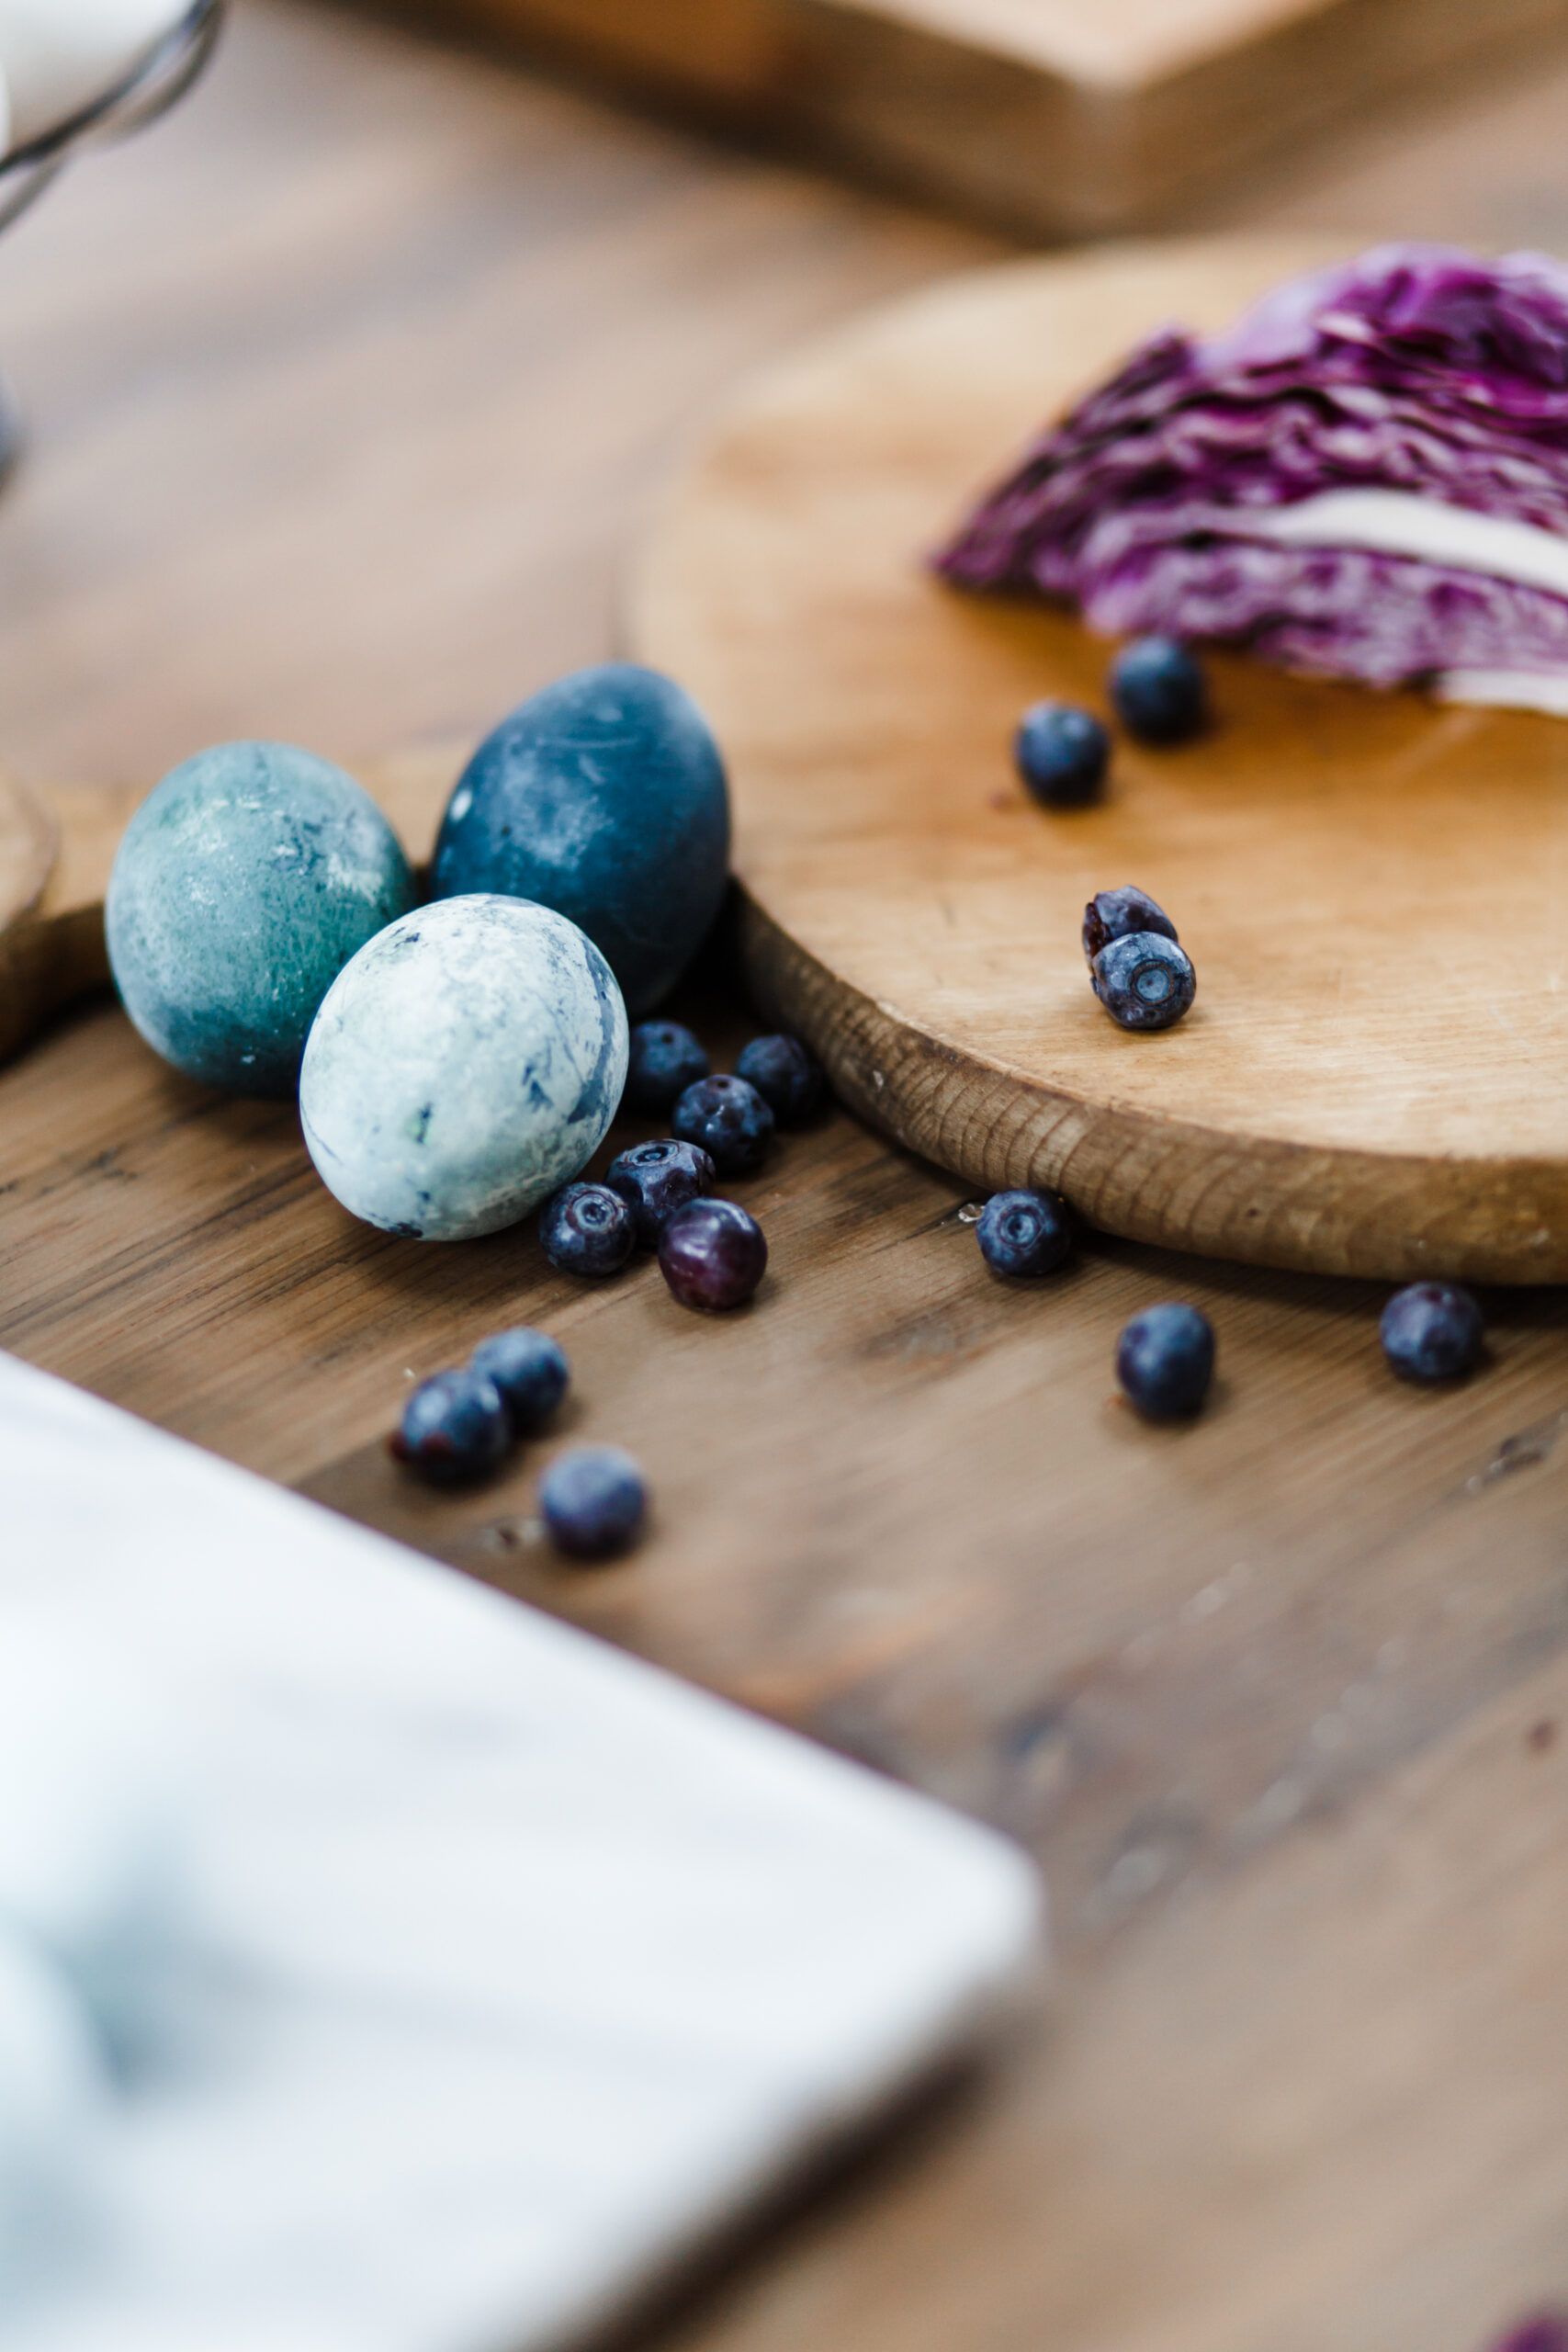
Blueberries were a close second on my favorites, producing this beautiful deep bluish-gray color. You can really see the effect of the fresher eggs on the blueberries. The fresher eggs took the dye really well.
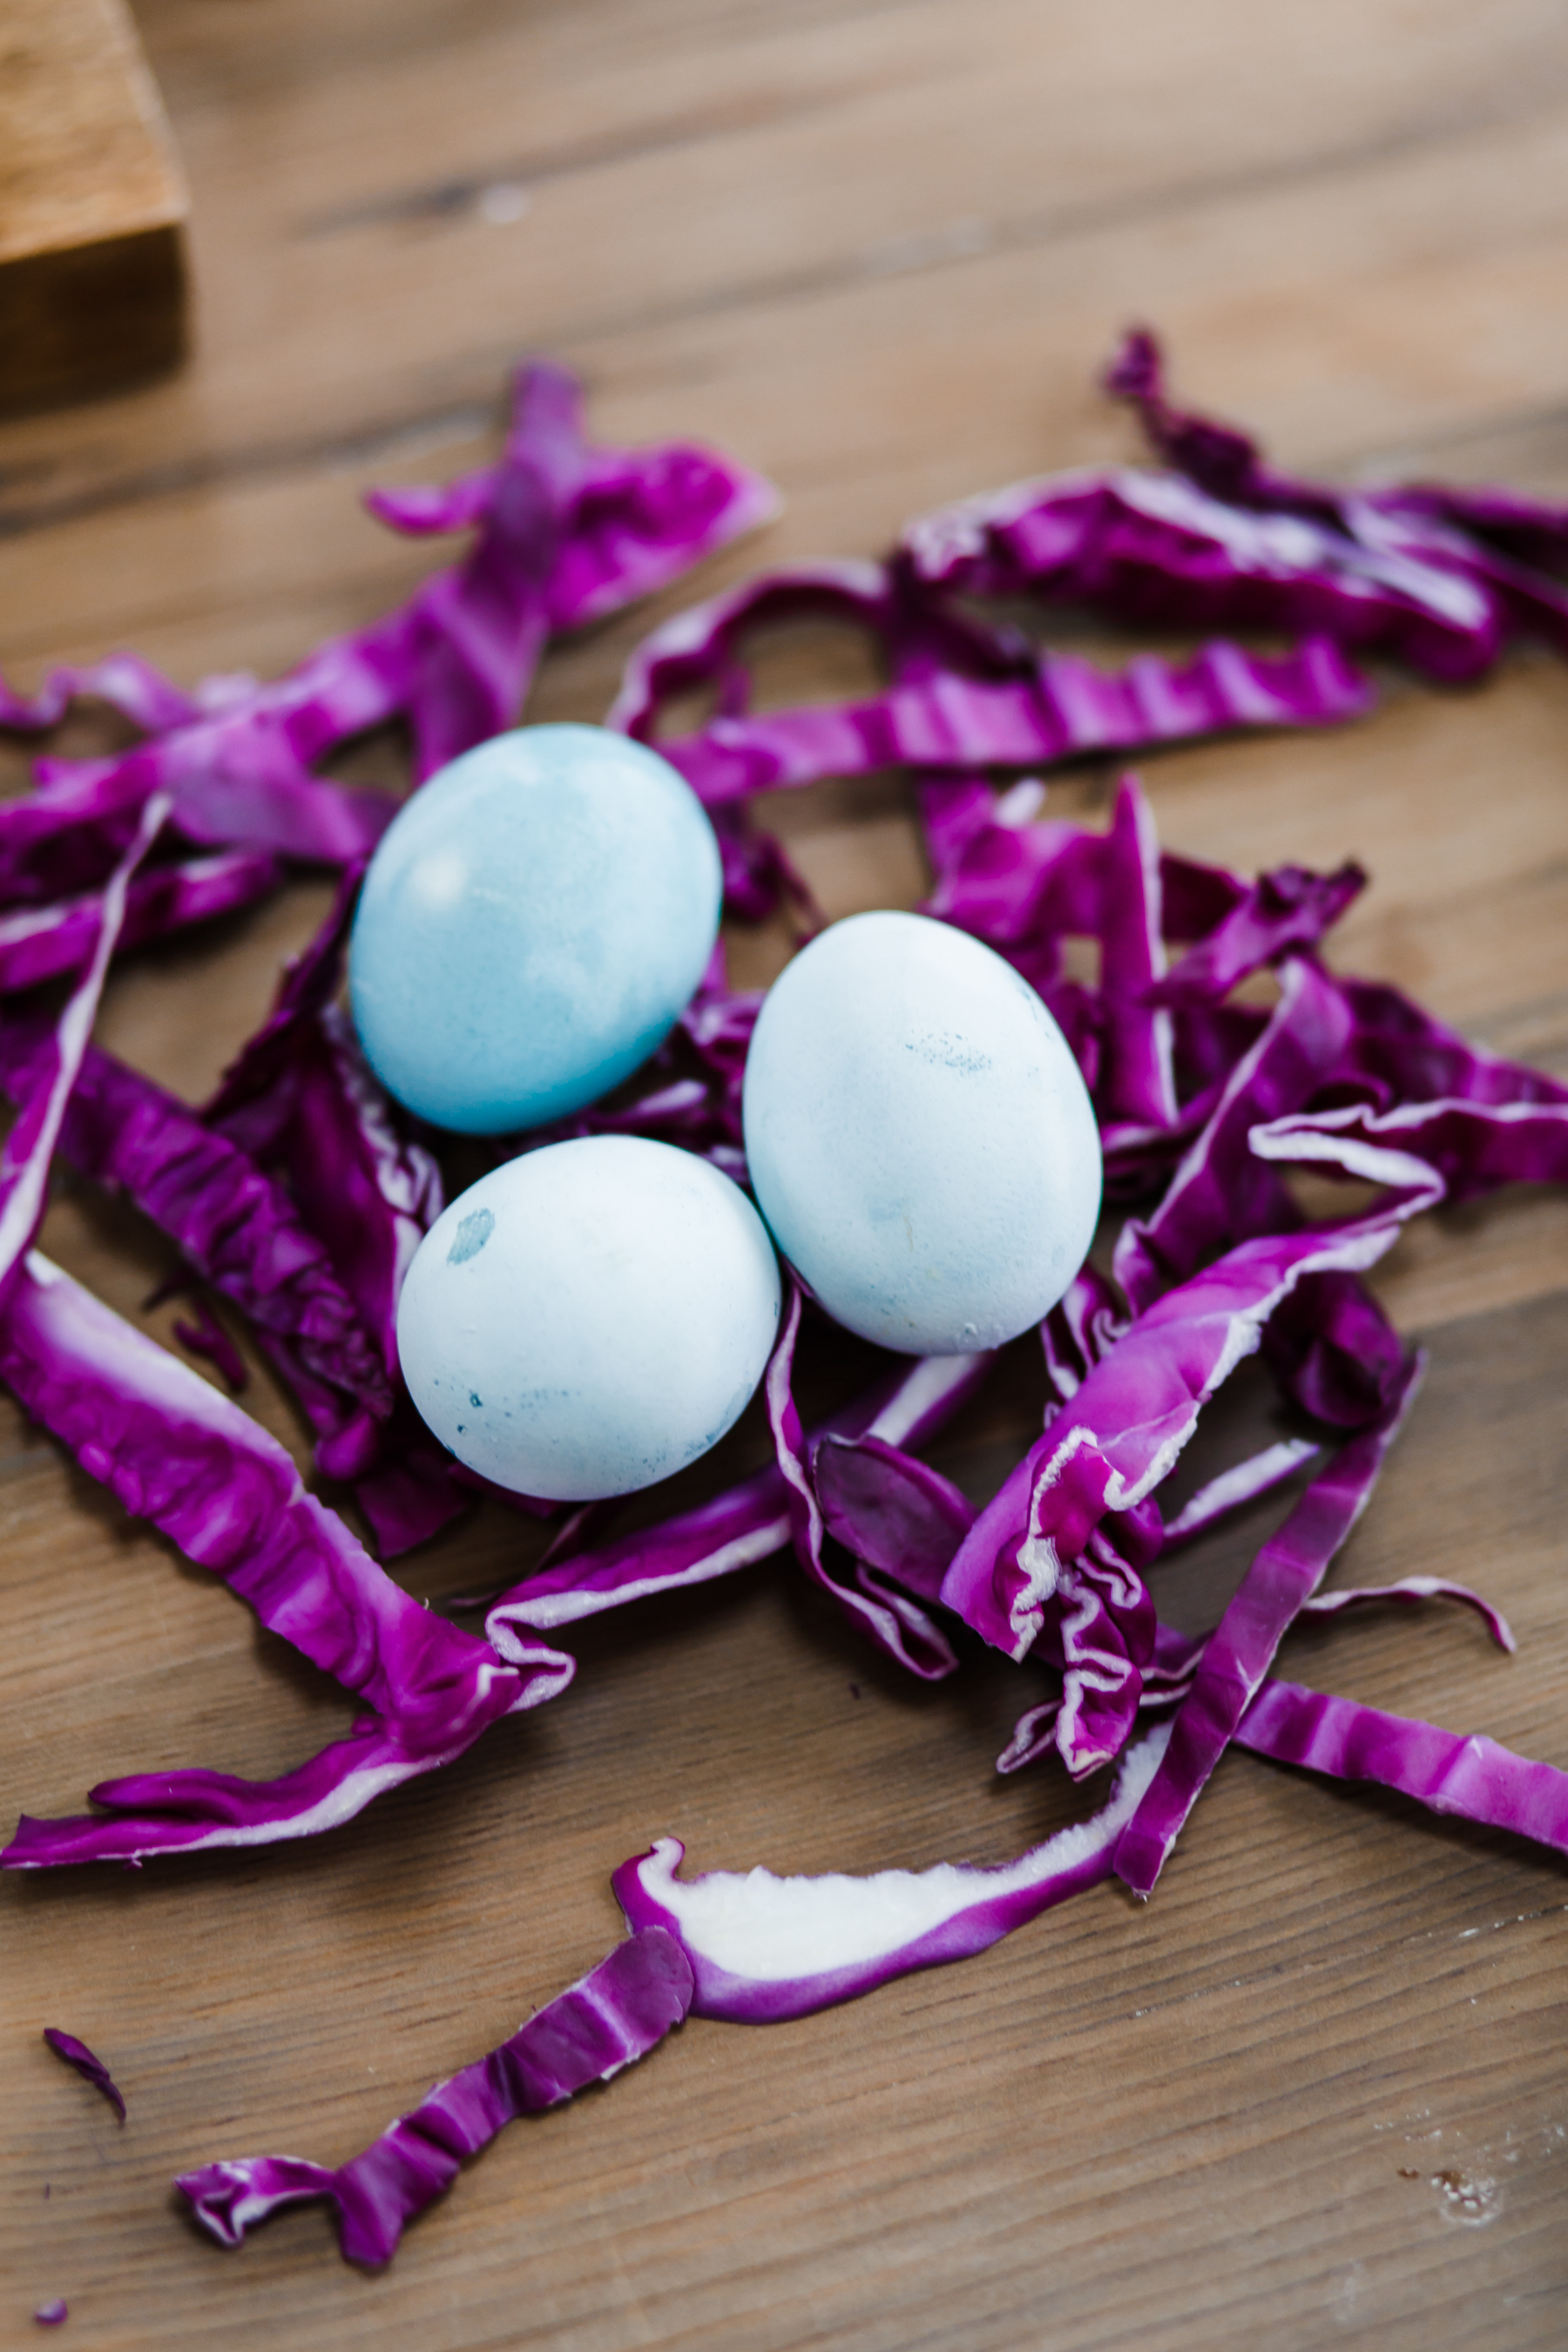
Red onions created a light blue color, simple but still very pretty. I suspect these need the longest soak time.
All-in-all I loved this project. The results were so pretty and unique. Such a lovely reminder of how much beauty God has given us in nature. I will definitely be naturally dyeing my Easter eggs from now on, and I look forward to trying even more materials next year to add more colors.
