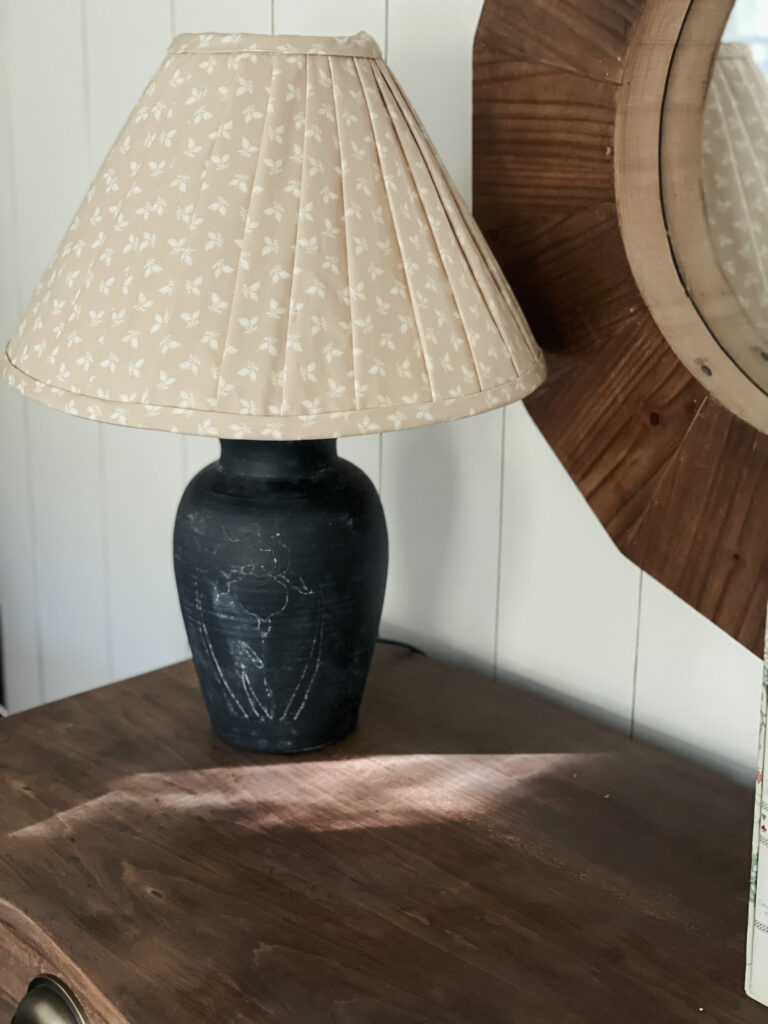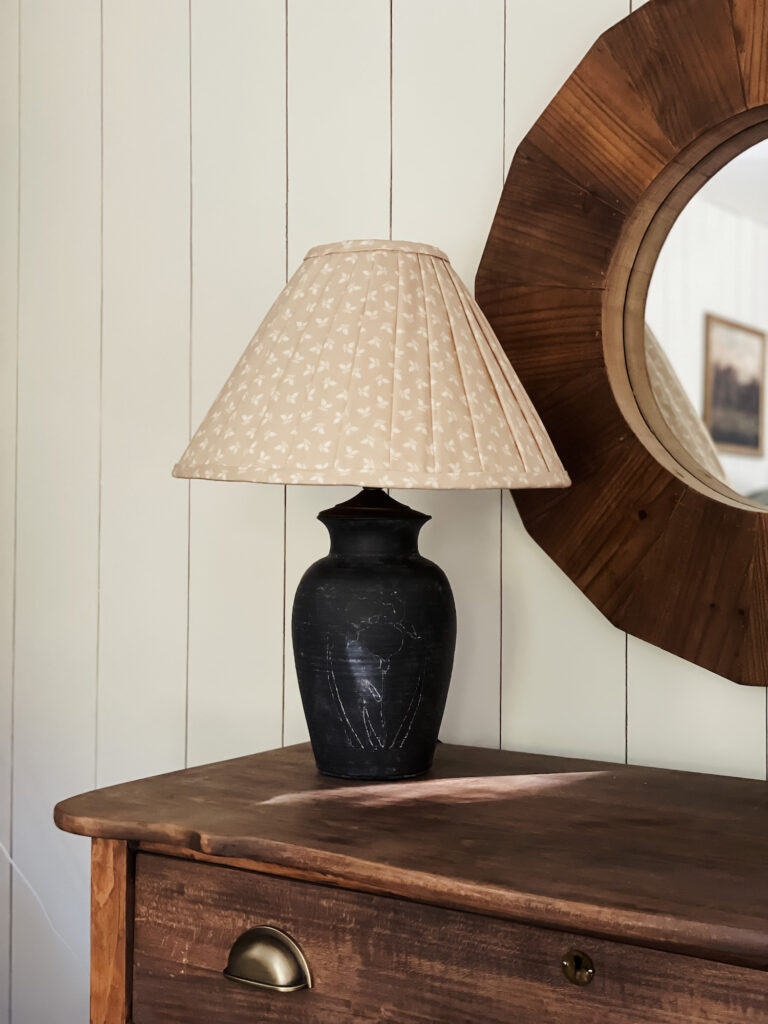
I love the look of a great pleated lampshade, they add so much personality and texture to a space, and they really cozy up a room. But my goodness are the ones you find online expensive! We’re talking fifty to well over one hundred dollars for just the lampshade. I wanted to add one to Finn’s room, but I still want my arm and leg. Also, I’m picky and I wanted to be able to get the perfect fabric for the space, so I decided to DIY my own. After I made my first one, I was hooked. It’s such a fun project and really makes a space look more custom. It’s not a hard DIY but it does take a fair bit of time, so I recommend putting on a podcast and enjoying a nice 1-2 hour date with your hot-glue gun…
I’ve seen a bunch of tutorials and methods for doing a pleated lampshade, but this no-sew method that I first saw on my dear friend Marynn’s blog, Wildflower Home, is my favorite. The great thing about this method is, it’s easy to customize depending on how wide you want your pleats and how angled your lampshade is!
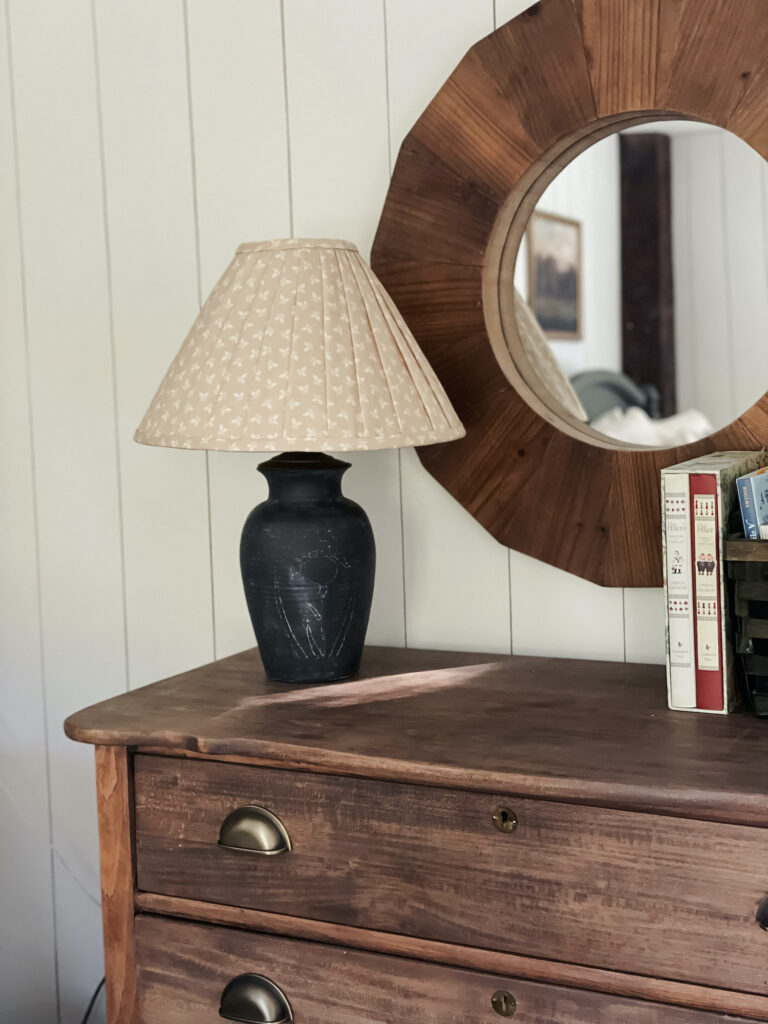
Quick tip: if you are trying this for the first time, the less angled your lampshade is, the easier it is to do the pleats. This lampshade is quite steep and it was definitely one of the more challenging pleated shades I’ve done.
All you need for this DIY is a lampshade (you can find these for a steal at the Goodwill), 2 yards of your fabric of choice (I love browsing beautiful block print fabrics on Etsy.) scissors (or a rotary cutter), a hot glue gun, and lots of hot glue sticks.
To start you are going to cut your fabric to the height of your lampshade, and give yourself an extra couple inches (don’t worry you’ll cut it off later).
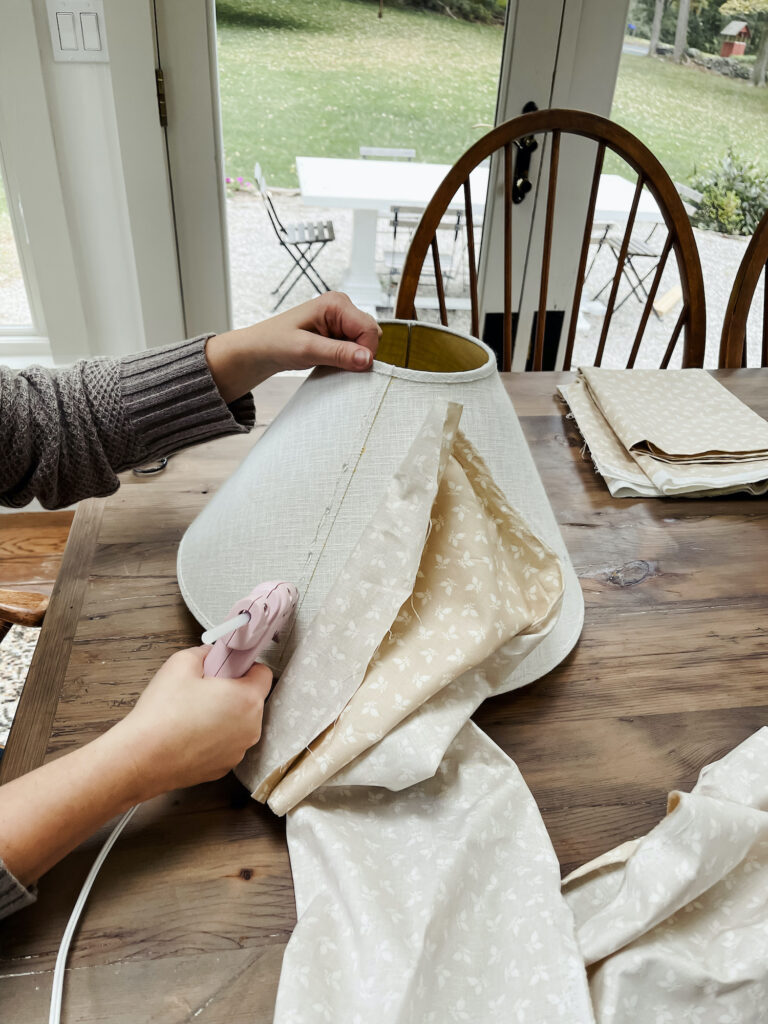
Run a bead of hot glue down the length of the lampshade top to bottom, then fold over the end of your fabric and glue into place.
Once you’ve glued the fabric into place, you are going to begin making your pleats. Starting at the top, put a dot of glue on the fabric, then fold the loose fabric to create a pleat and glue in place. Bring the fold down to the bottom, adjusting the pleat for the angle, then glue in place at the bottom.
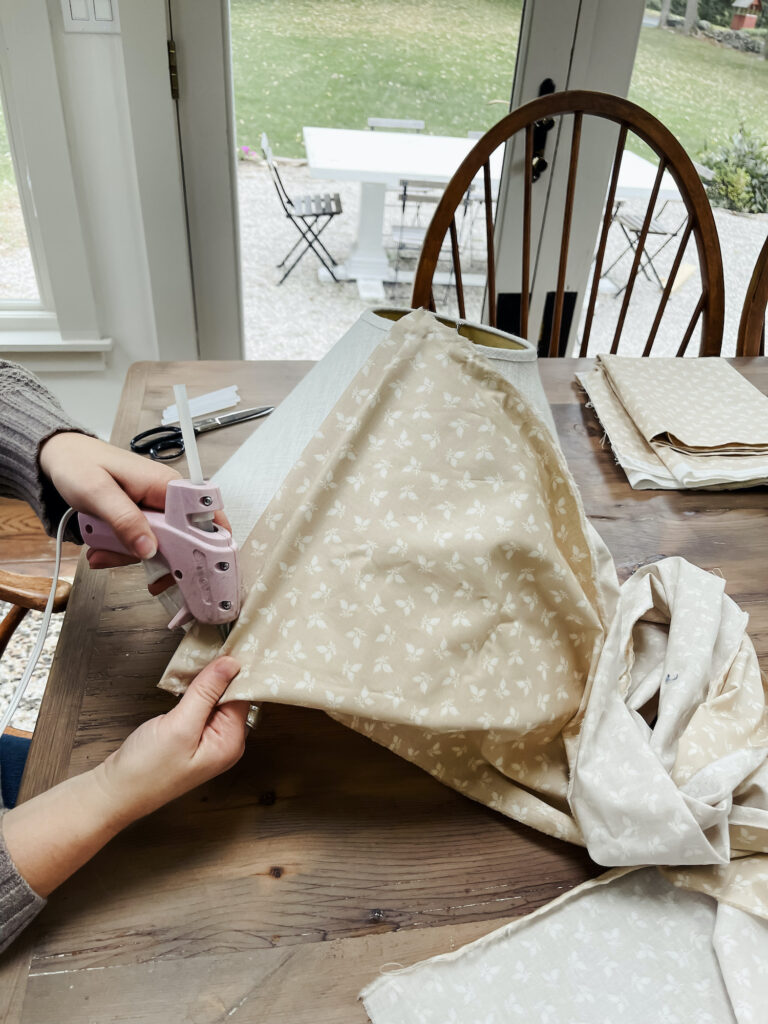
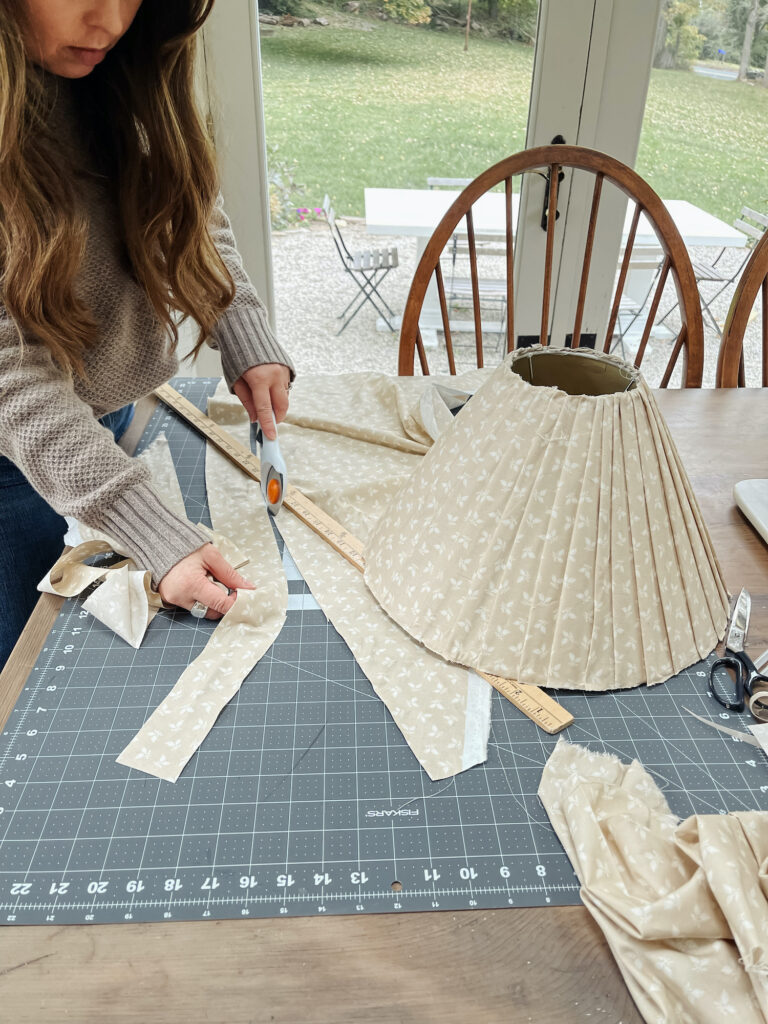
Repeat this process all the way around until the entire shade is covered. You may need to cut another strip of fabric partway through. Just glue it under the previous pleat and keep going. Once you’ve covered the entire lampshade, trim excess fabric from the top and bottom.
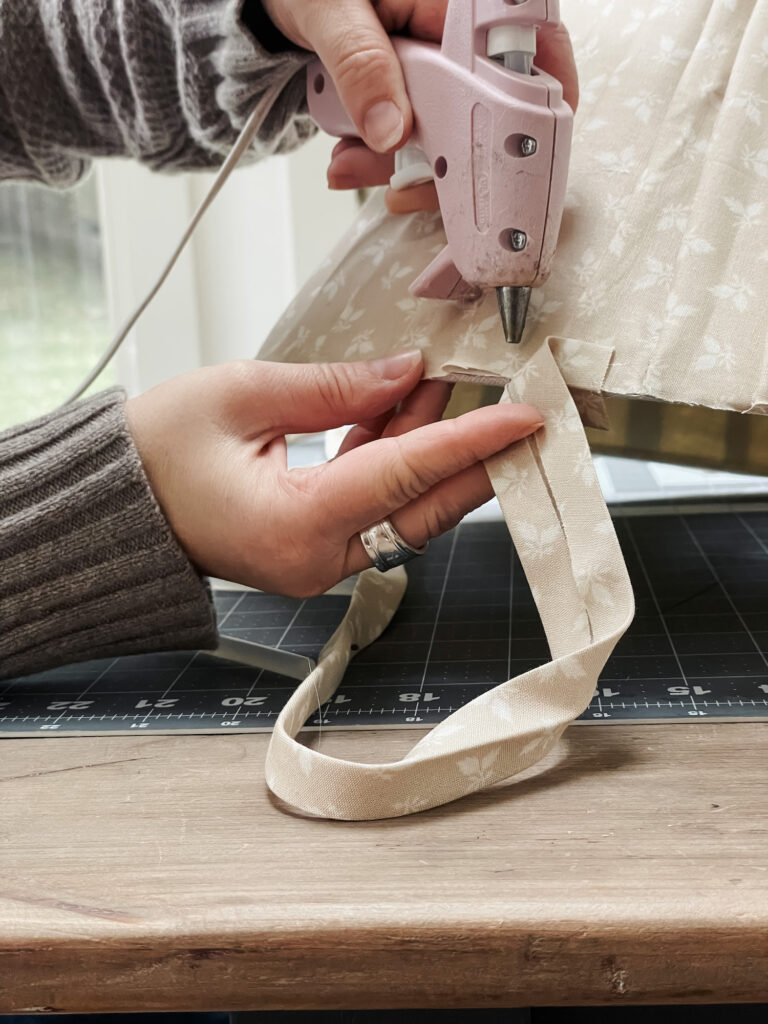
Now you’re going to make your trim piece. Turn fabric at an angle and cut a 2-inch strip of fabric, long enough to cover the top and bottom of the lampshade (you may have to cut two). This is called “cutting on the bias” and it makes it so the fabric wraps nicely in a circle without puckering.
Once your trim strip is cut, fold the top and bottom towards the middle and iron down, then fold the fabric in half and iron again.
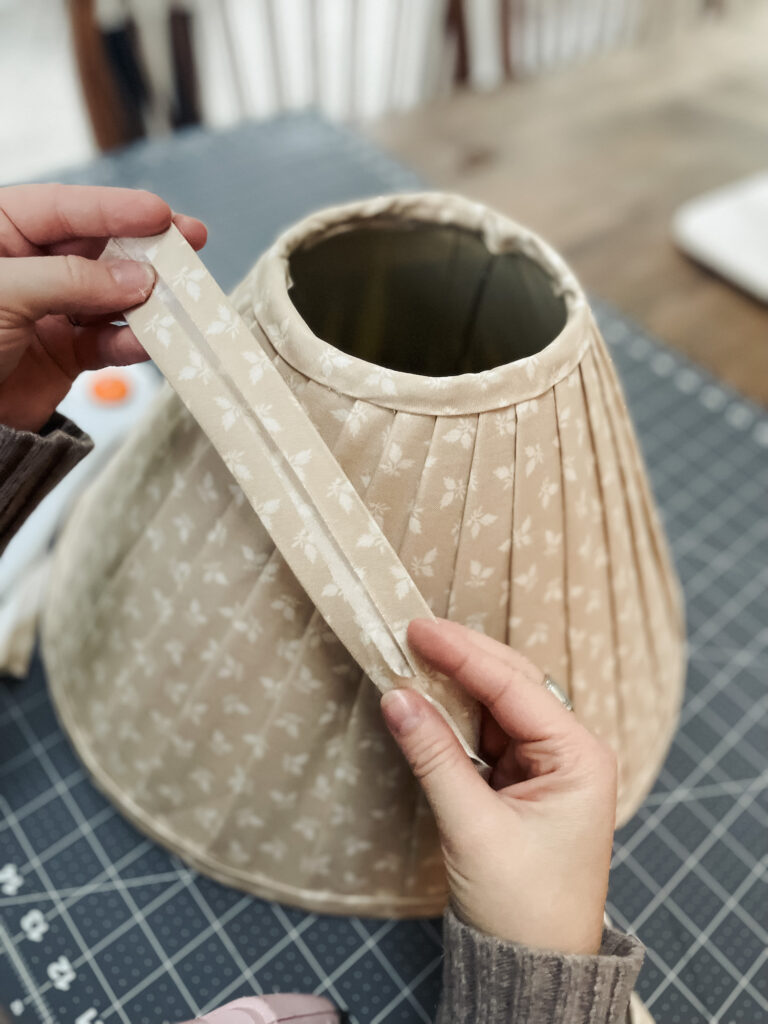
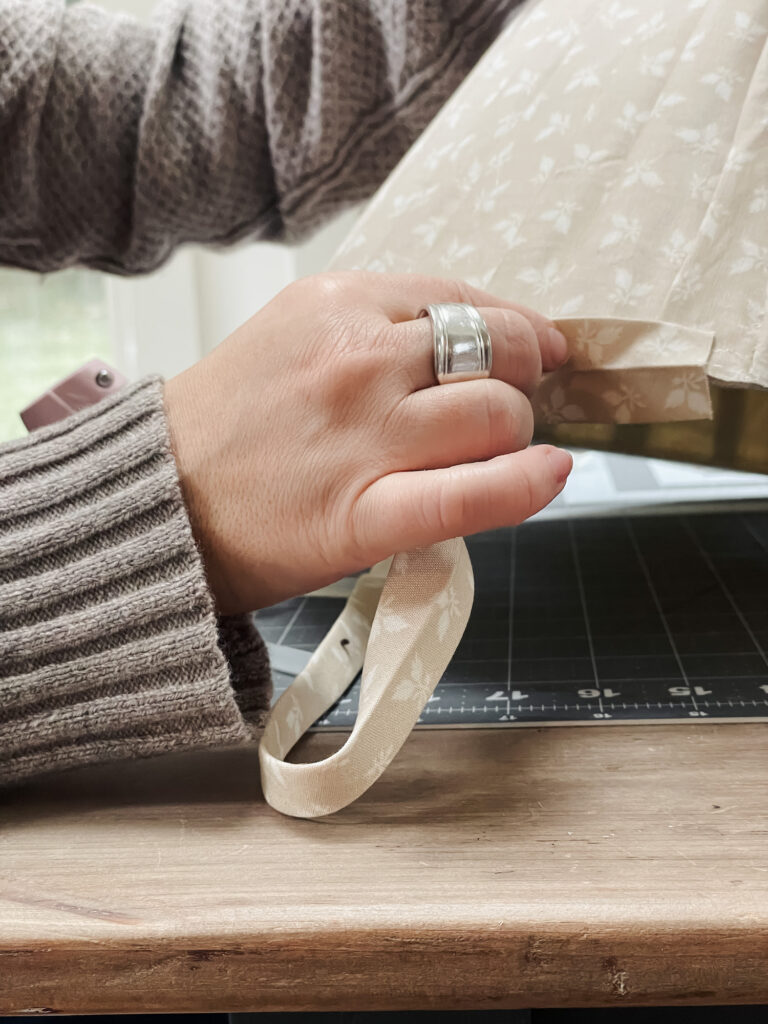
Now, starting with the outside of the shade, glue the trim all the way around, then flip it over and glue the other fold of the trim to the inside of the shade.
Work your way all the way around until the entire top and bottom are trimmed, and that’s it! You’re done!

Put your shade on your lamp, step back and admire your work! As I said, this is an easy project but takes about an hour or two. I really enjoy the process and think the finished product is so much fun! If you have any questions, feel free to ask in the comments!
