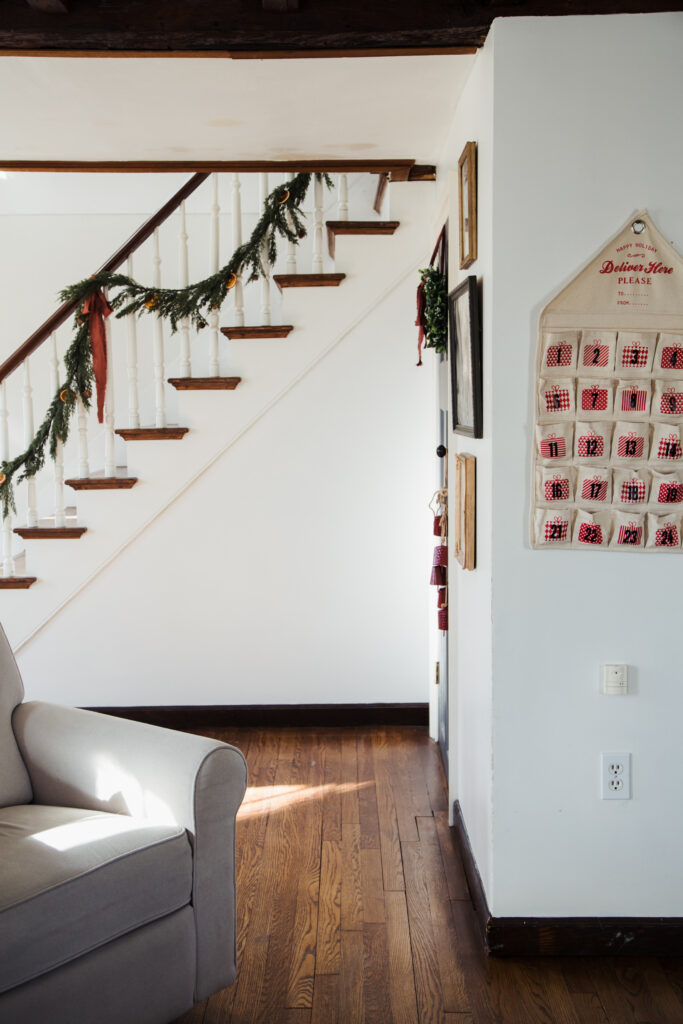
This year I leaned way in on my Little Women inspired Christmas and it’s made for the coziest, most lovely feeling in our home this season. Dried oranges, garland, paper stars and hand dyed linen ribbon adorn our walls and doorways, and everything feels so homey, and inviting. It’s the perfect old-fashioned Christmas vibe. Today I’m going to show you how to make beautiful hand dyed linen ribbons. These ribbons are easy to make, have great texture, feel very “Little Women” inspired, and are perfect for adding to garland, wreaths, and even for wrapping gifts. Make them this December and use them year after year!
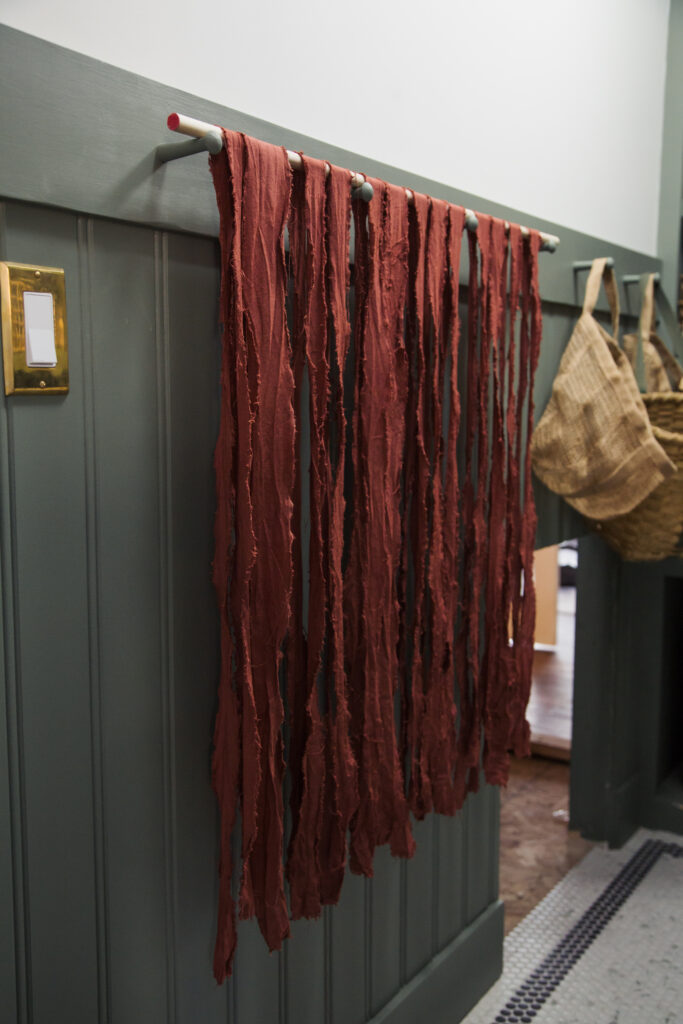
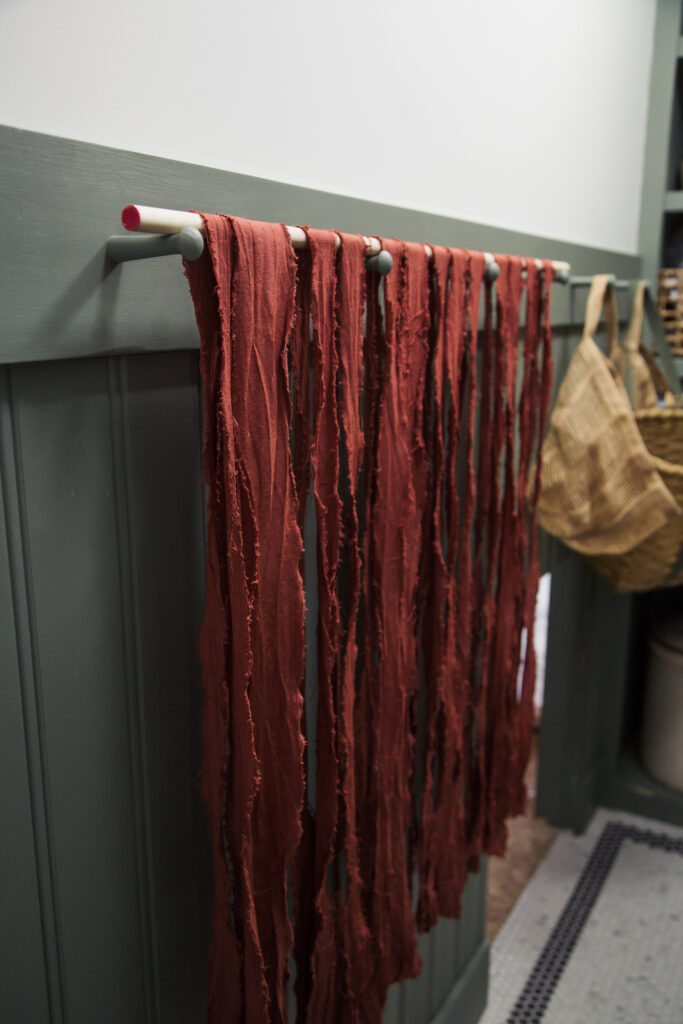
When you finish this project, you’ll have beautiful hand dyed linen ribbons with lovely fraying on the edges in the custom color of your choice. It’s little details like this that I think make a space feel really special, especially during this time of year.
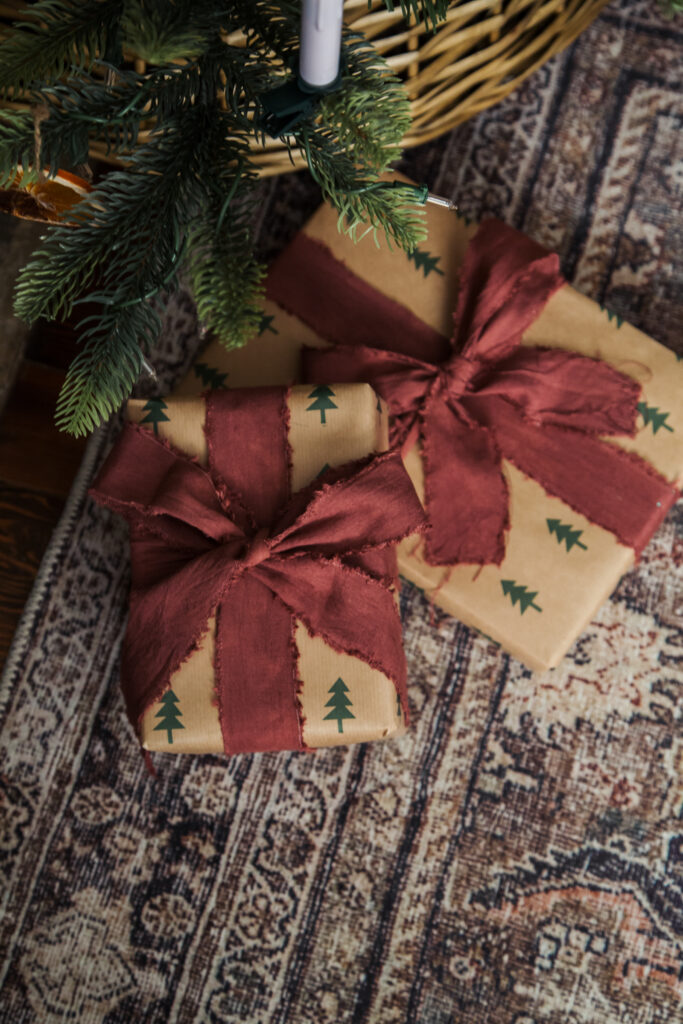
It’s only takes about 15-30 minutes of active time to do this project (plus a few hours dry time) and it’s beginner DIY level easy.
All you need to make these beautiful hand dyed linen ribbons is a couple yards of linen fabric (a linen/cotton blend works just fine) and some Rit dye in the color you want to dye. Since I wanted a ruddy red color, I used a deep red and brown, and I also added a little yellow (un-pictured) to the dye bath as well. I highly recommend mixing dye colors to get the perfect shade you’re looking for. I buy my linen blend fabric, and Rit dye at Joanns but you can find it on Amazon too. The total cost of this project is around $30, and makes roughly 48 yards of hand dyed linen ribbon.
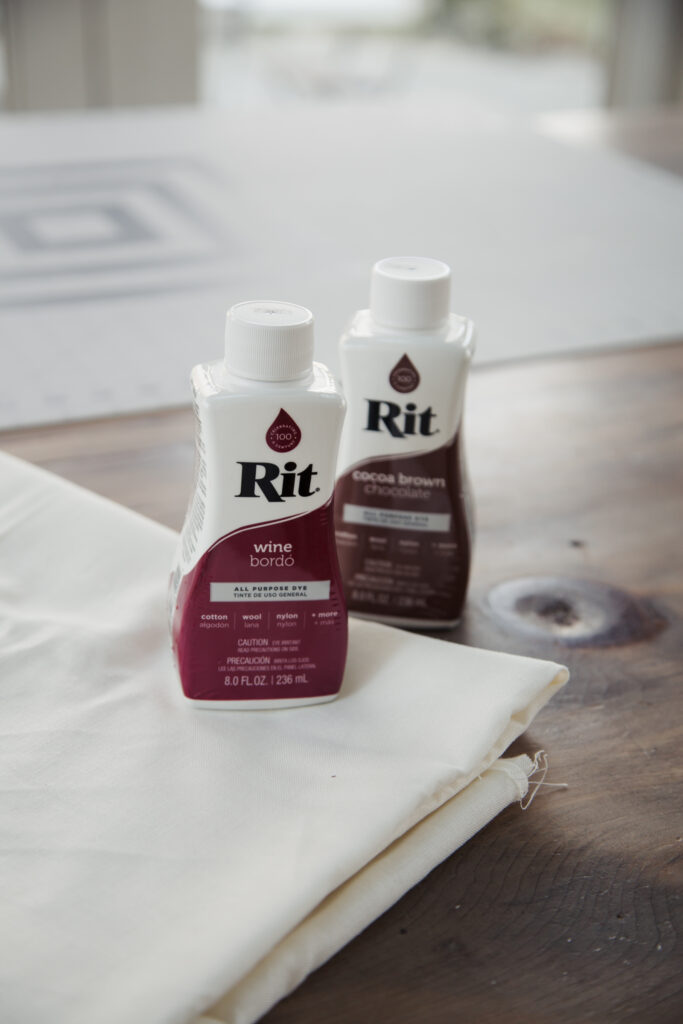
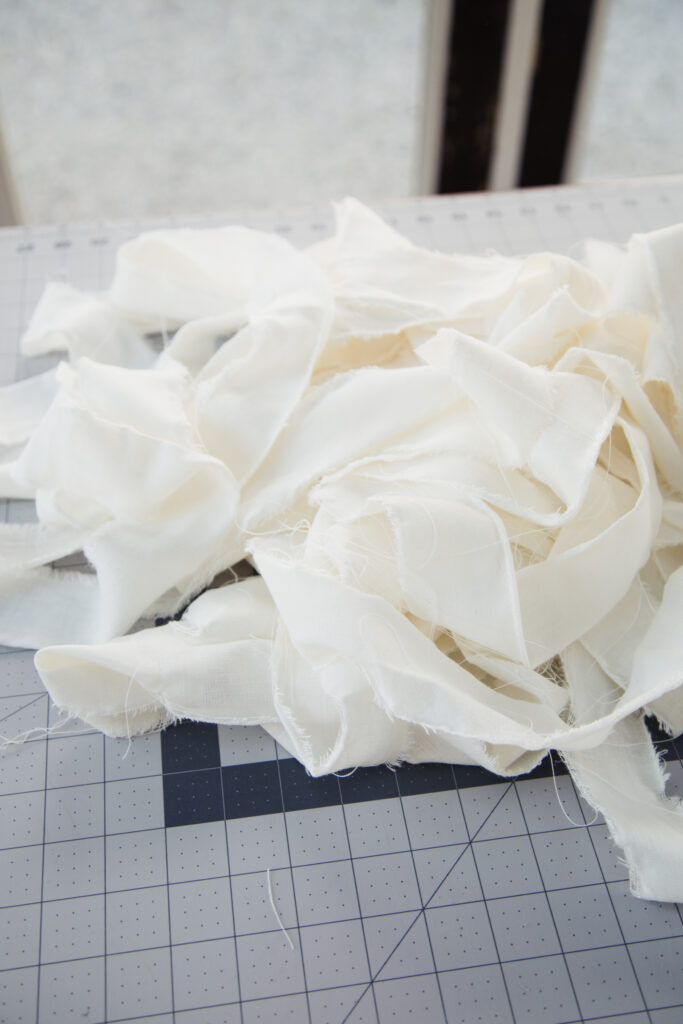
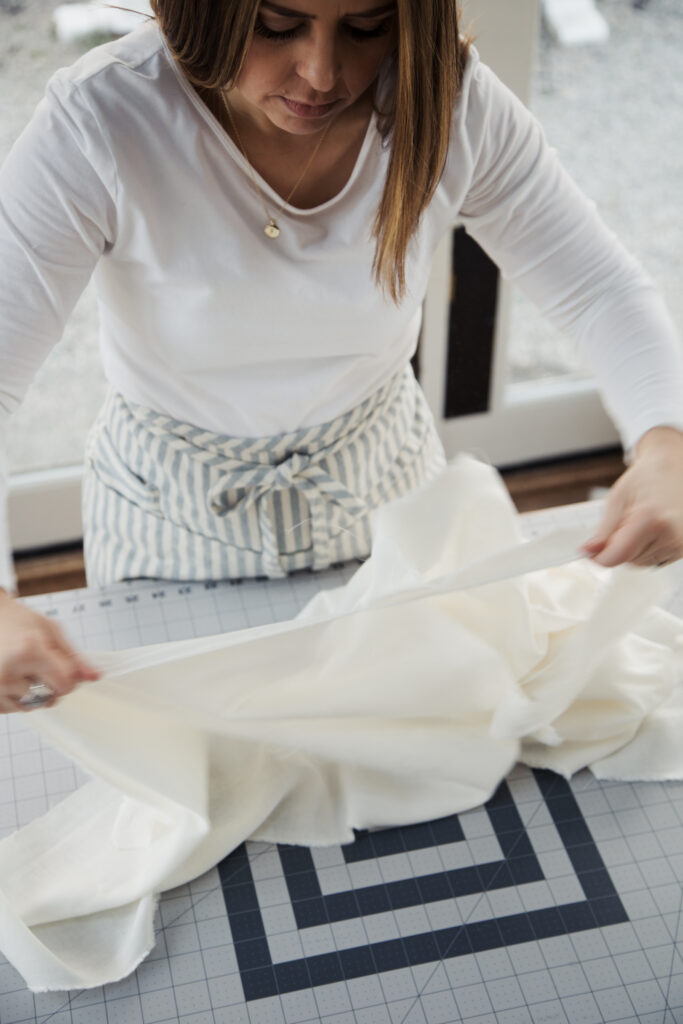
After doing this project I would change the order up, just a bit, to make it a little easier, quicker and more straightforward, so keep that in mind. When I made these ribbons, I cut/ripped the fabric into ribbons first, but now having done it, I would do that after dyeing the fabric. (This is why the pictures are of the fabric undid, but I will put the directions in the order I would do them next time).
Step 1: Create your dye bath.
Following the directions on the Rit bottle, create your dye bath using very hot water, dye, and salt. If you don’t have a stainless steel sink, use a plastic 5 gallon bucket. Make sure to test your color before you put all your fabric in to make sure you like the color.
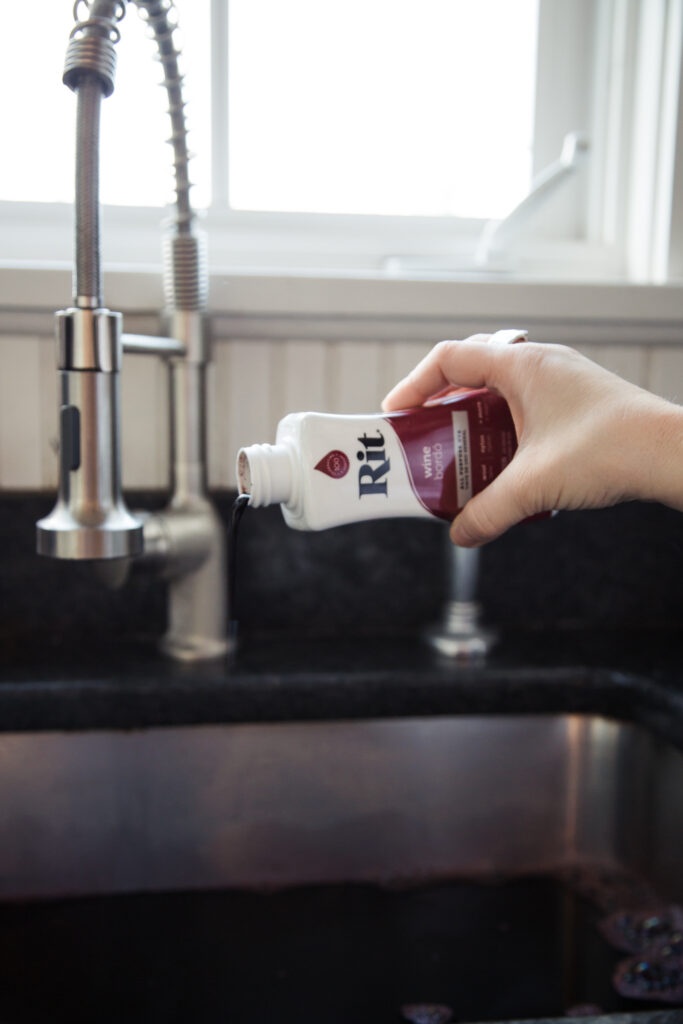
Step 2: Dye the linen.
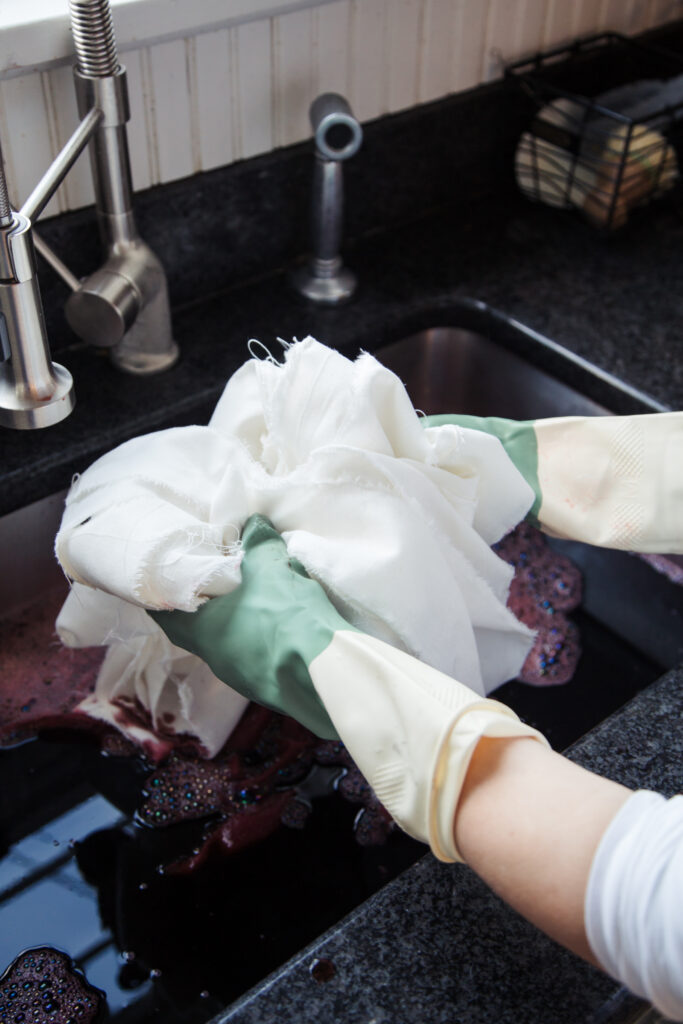
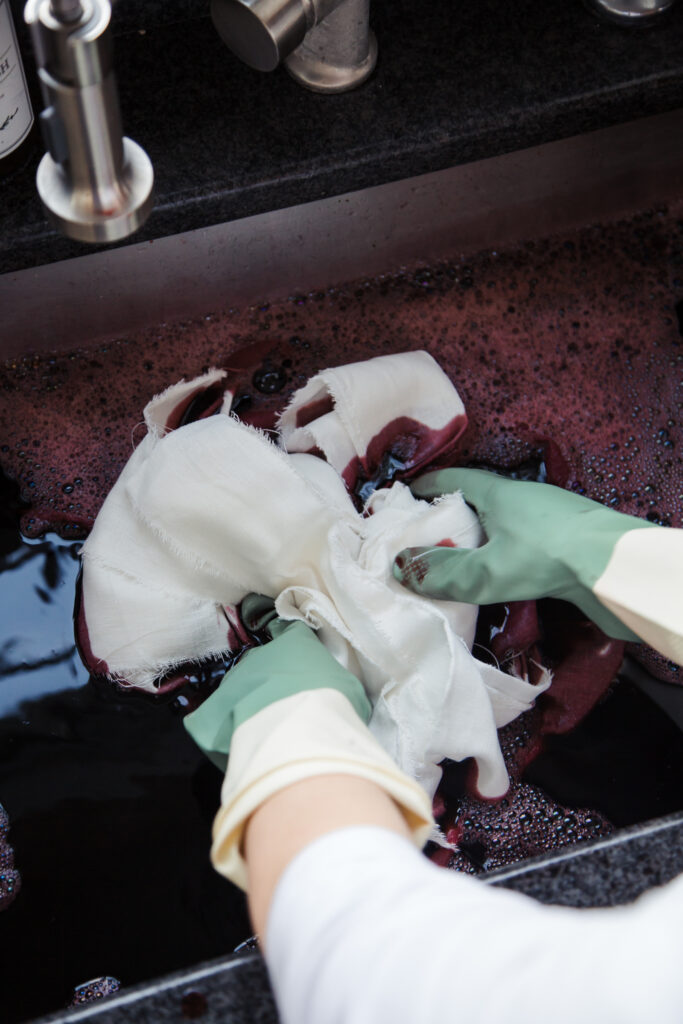
Using rubber gloves, place your linen fabric in the dye bath and stir it around making sure you’ve fully immersed the fabric. Let the fabric sit in the dye bath for 30 minutes, stirring the fabric every 5 minutes or so.
Step 3: Rinse and dry your linen.
The picture doesn’t match my instructions here, but if you dye your fabric before cutting the ribbons, just thoroughly rinse the fabric, till the water runs clear, and then put the fabric in the dryer or hang to dry. If you cut your ribbons first you need to hang to dry, otherwise the ribbons will fray too much.
After the fabric is dry iron out the wrinkles. Now we make the ribbons!
Step 4: Snip and rip your ribbons.
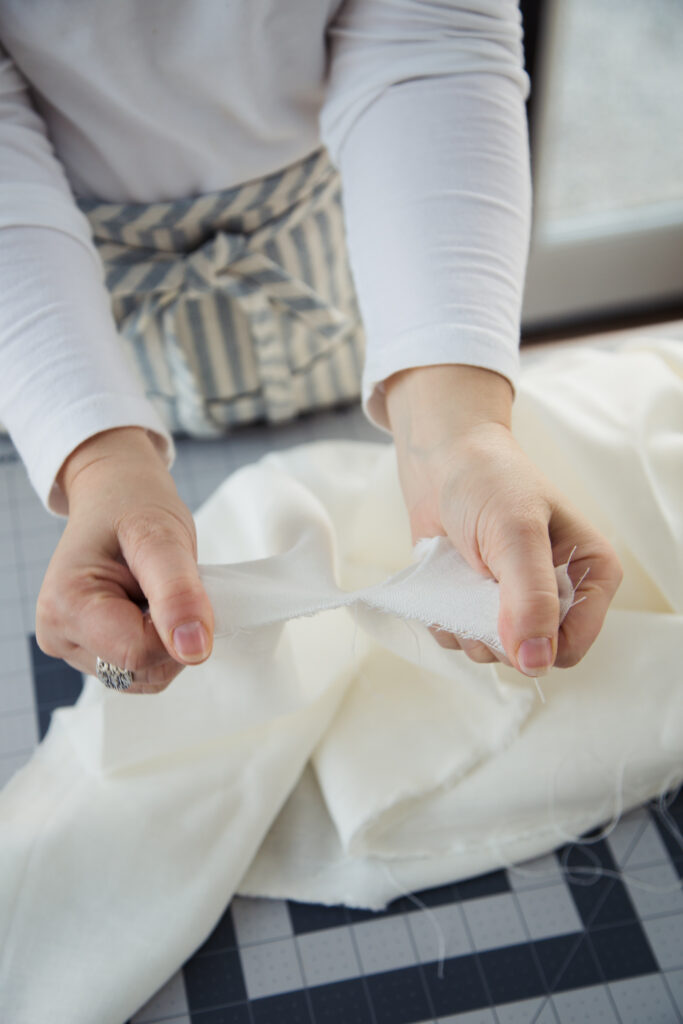
Now that your fabric is dyed and dried, it’s time to make your ribbons! This is so easy. Just grab a pair of scissors and snip the fabric every 2-3 inches depending on how thick you want your ribbons, (I made both 2 and 3 inch ribbons).
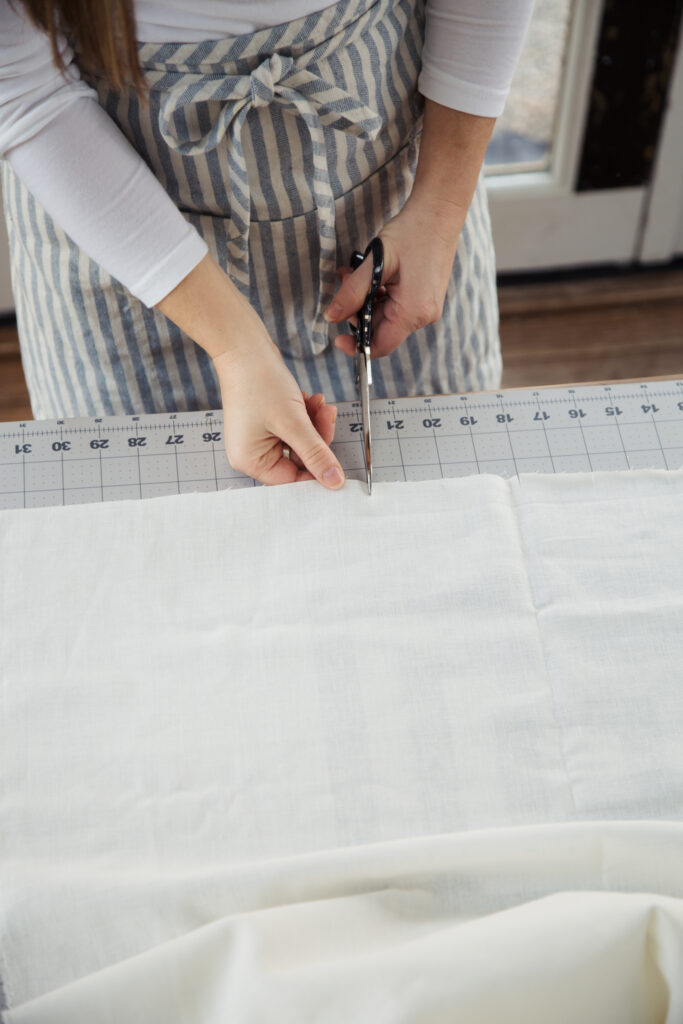
Grab the fabric on either side of each snip and give it a good firm pull, it will rip the fabric right down the grain line and give you a nice straight line. Repeat until all your ribbons are ripped and then you’re done!
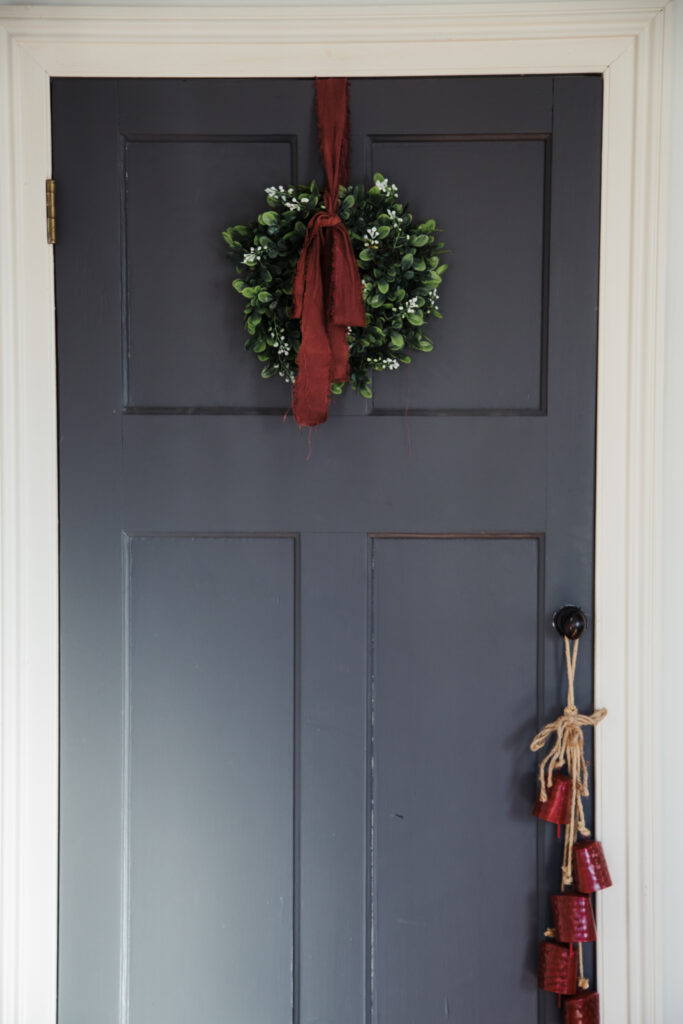
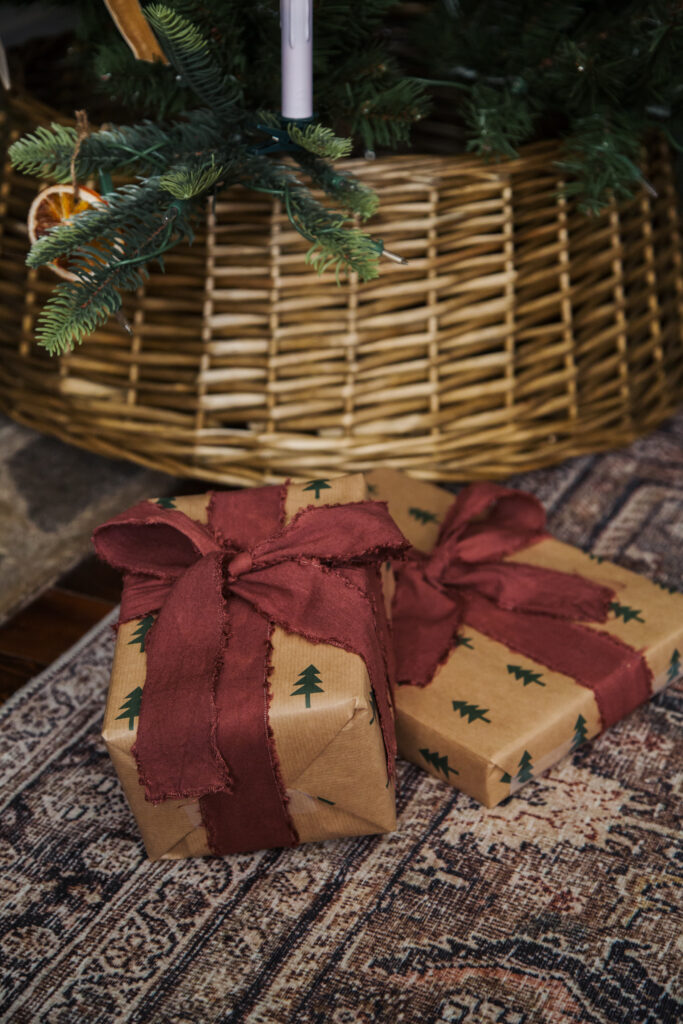
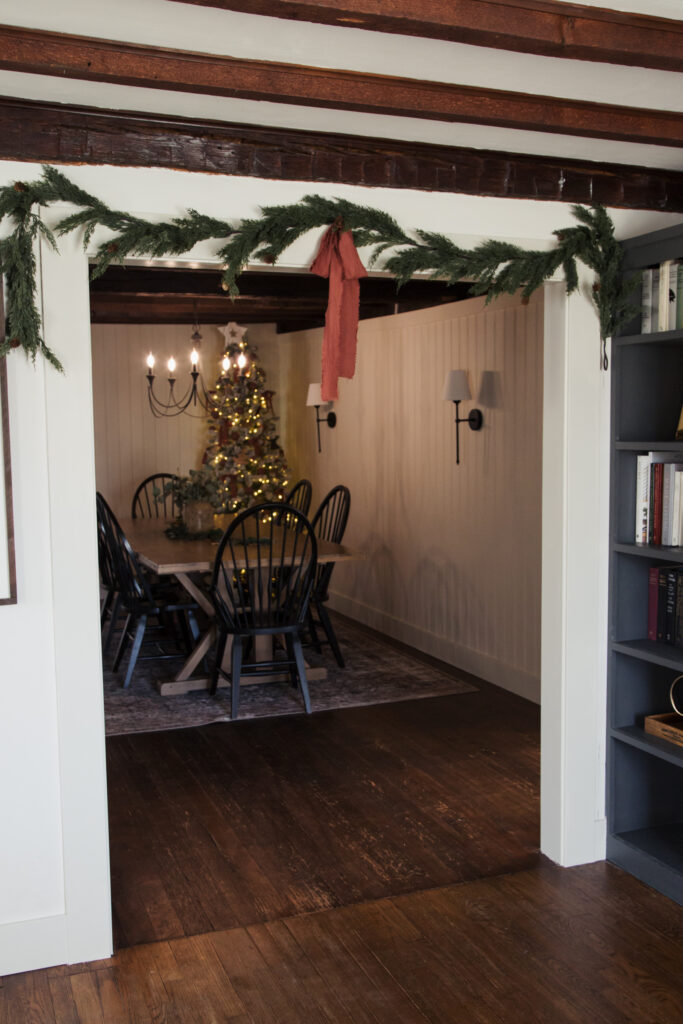
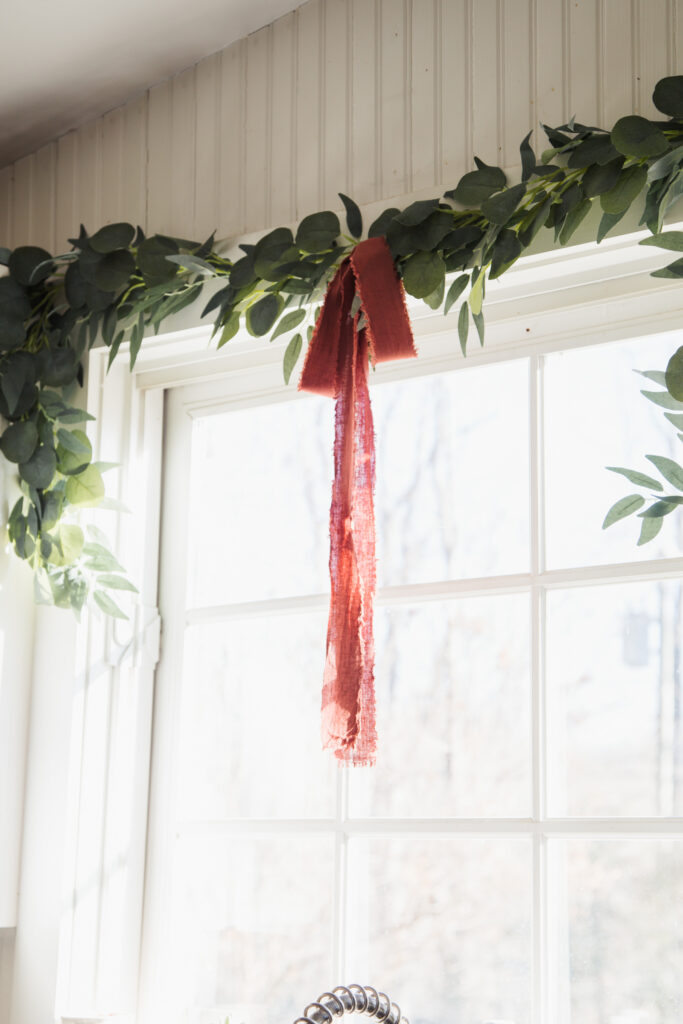
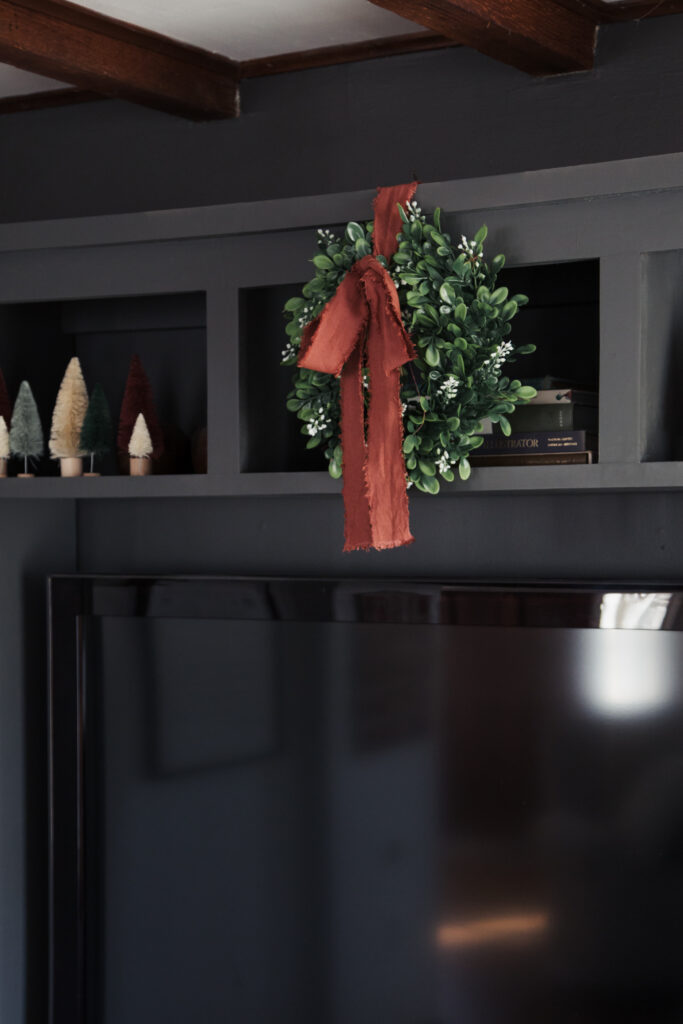
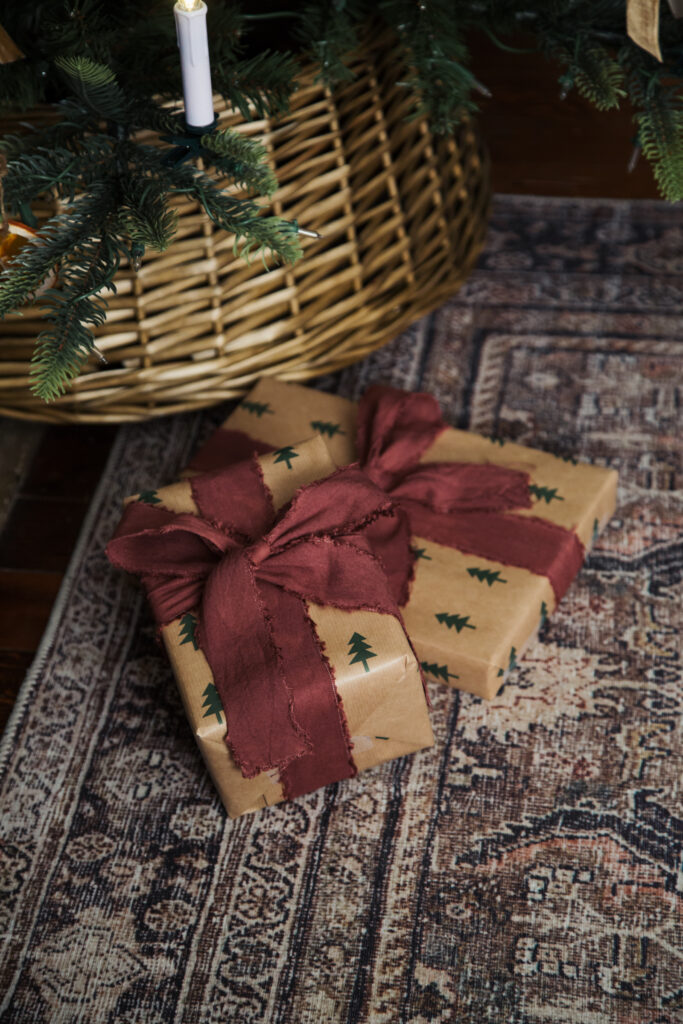
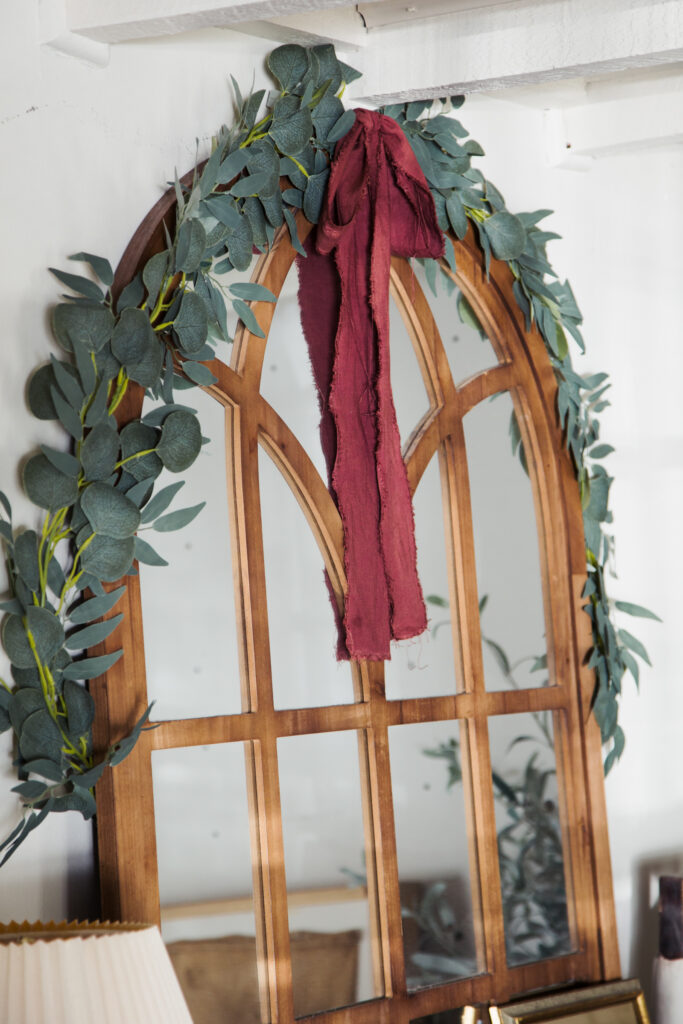
Beautiful hand dyed linen ribbon, ready to hang from the tree, wreath, garland, or around your gifts. See some of my favorite ways to use my hand dyed linen ribbons below. If you have any questions, feel free to ask in the comments!
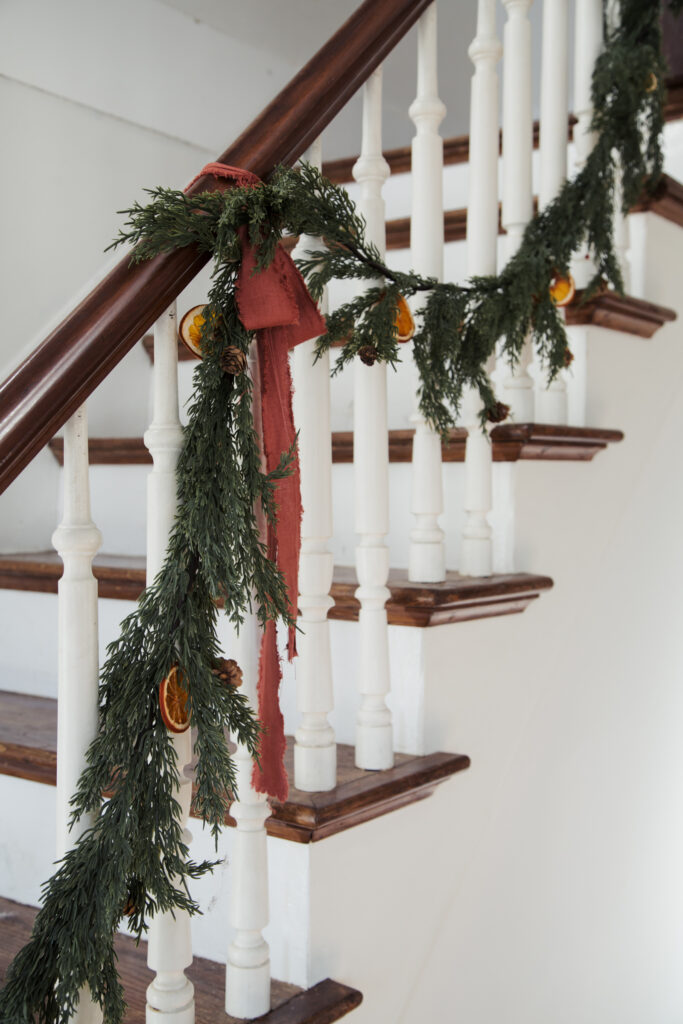
Learn how to make dry orange slices, right here.
Want more old fashioned Christmas? Learn how to make easy paper stars right here.

So beautiful! Would you mind sharing the gray paint color of the door and the built-ins?