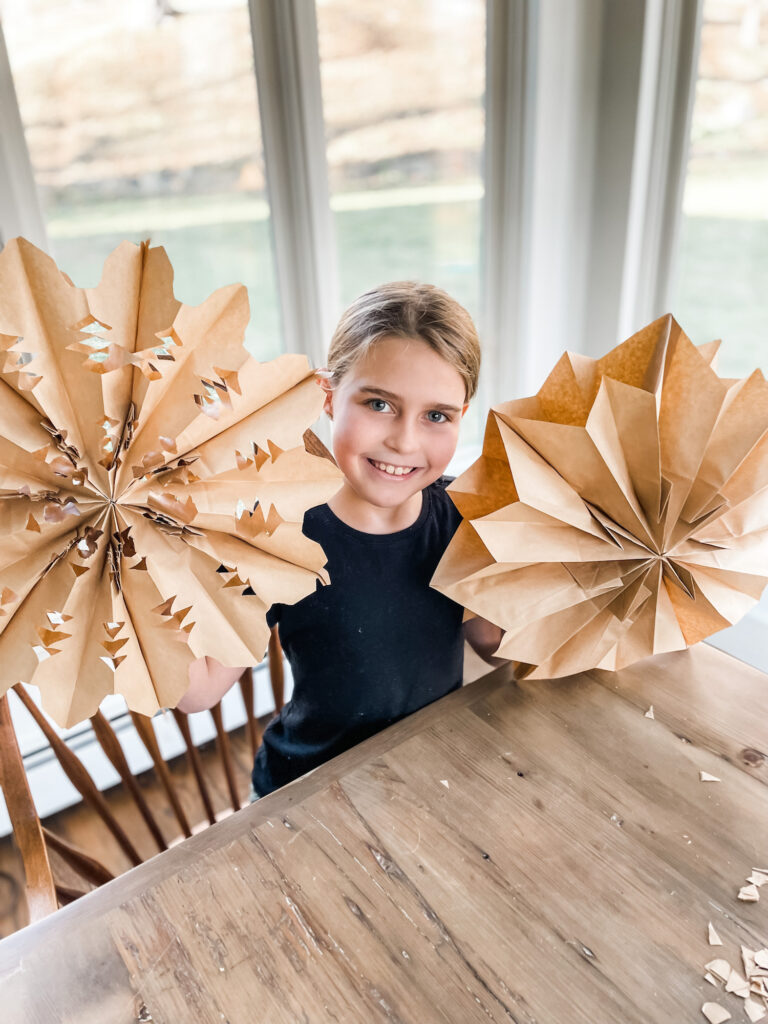
I’ve got a charming, easy Christmas DIY for you today… paper stars! It’s a perfect craft to do with your kids this week while they’re home from school, and adds the most charming old fashioned trimming to your holiday decor. If you want your home to feel like Orchard House from Little Women at Christmas time, this is the DIY for you.
This is the second year we’ve decorated our home with these paper stars and they might be the easiest and least expensive DIY I’ve ever done. Plus they’re so fun! All you need is some paper lunch sacks (you can also use snack bags if you have them), and some hot glue.
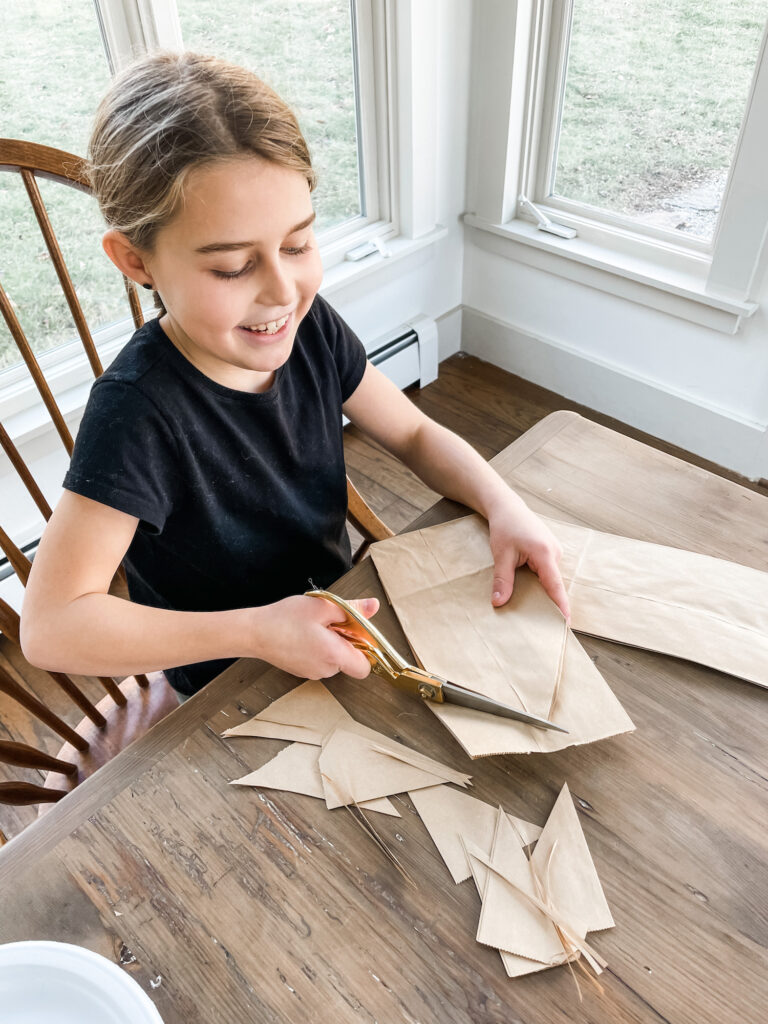
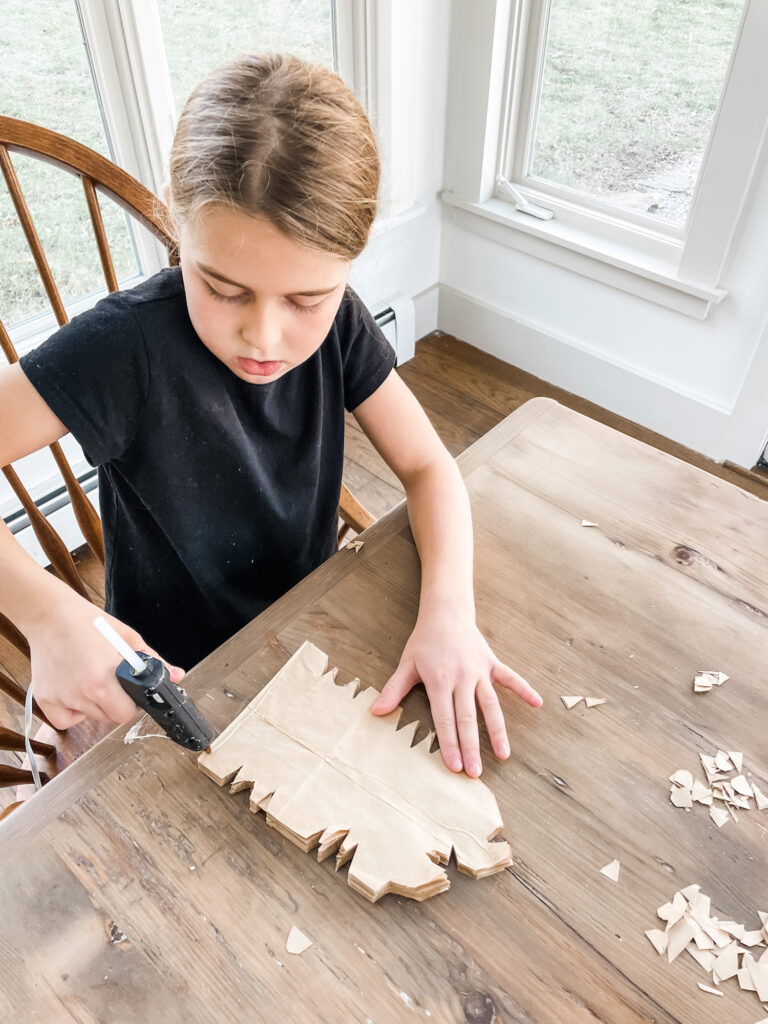
Step one: count out 7 paper bags. You can adjust the number based on the size of your bags but for the classic brown paper lunch sacks, 7 is a great number. Then cut the tops into a triangle shape.
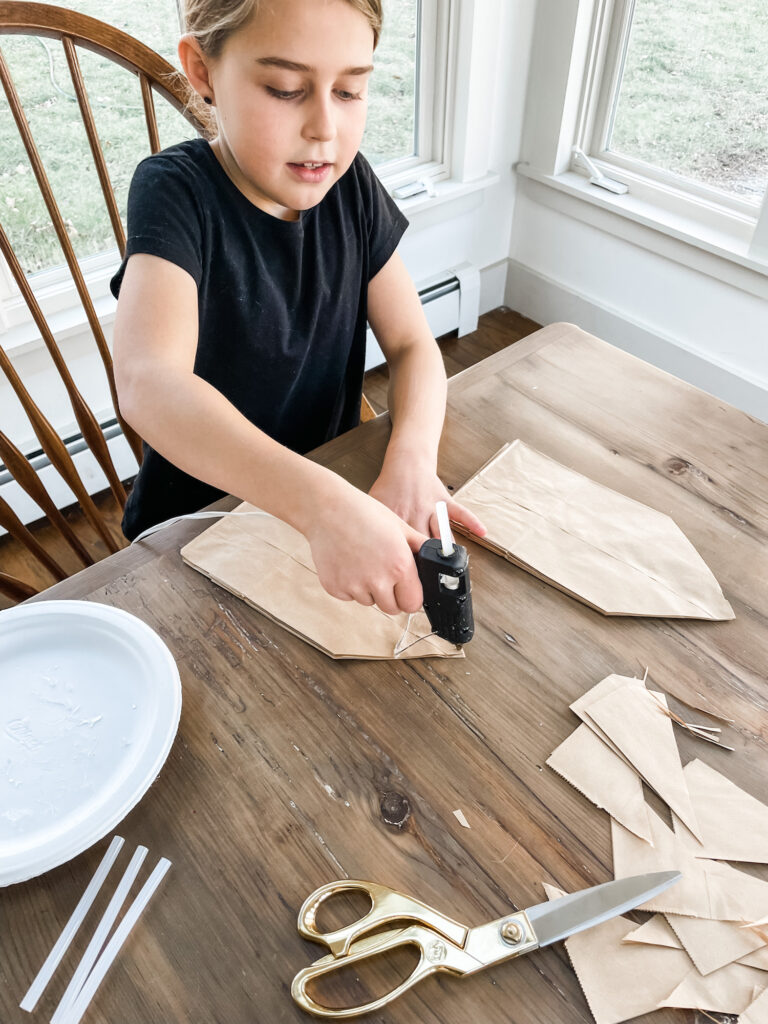
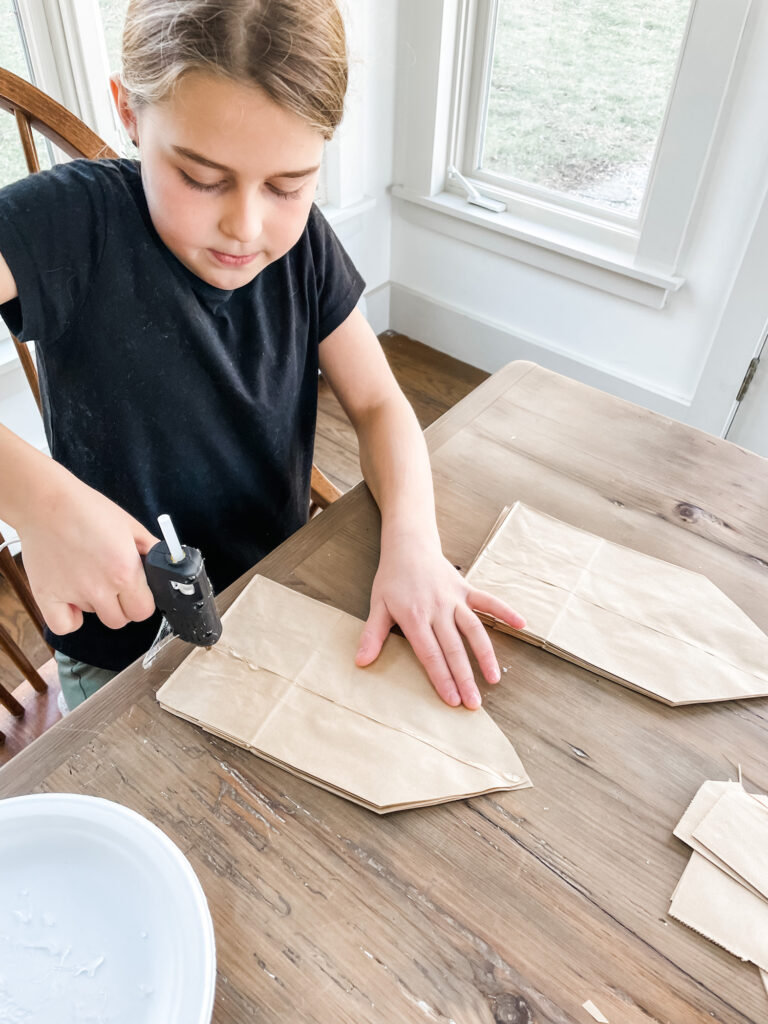
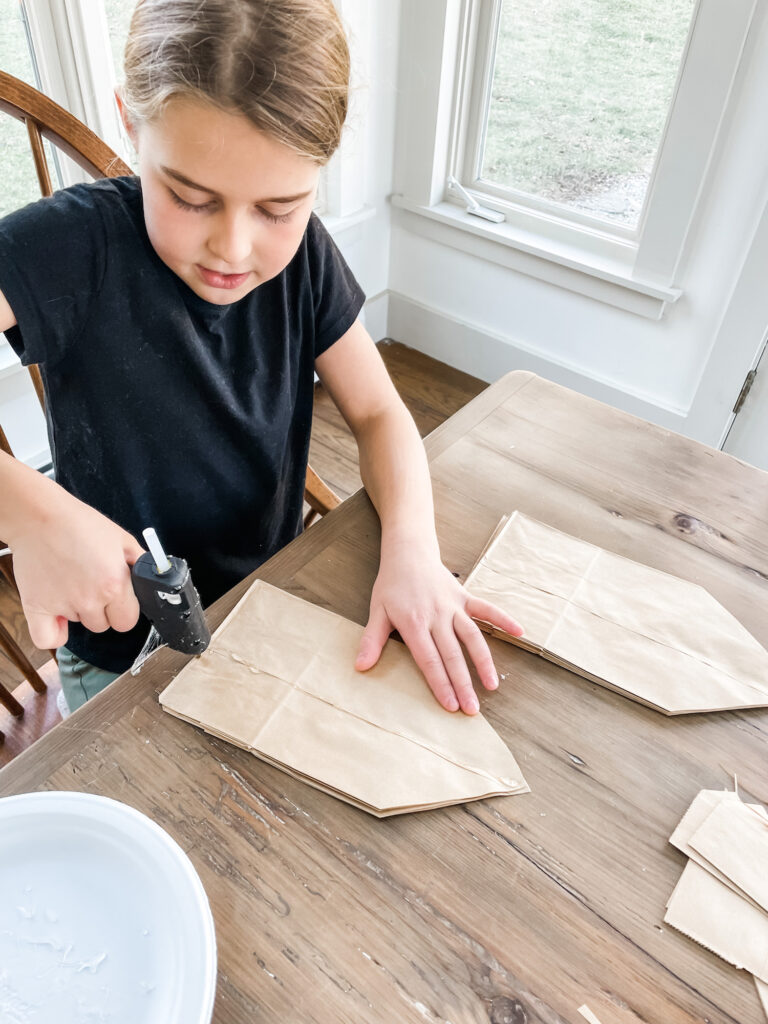
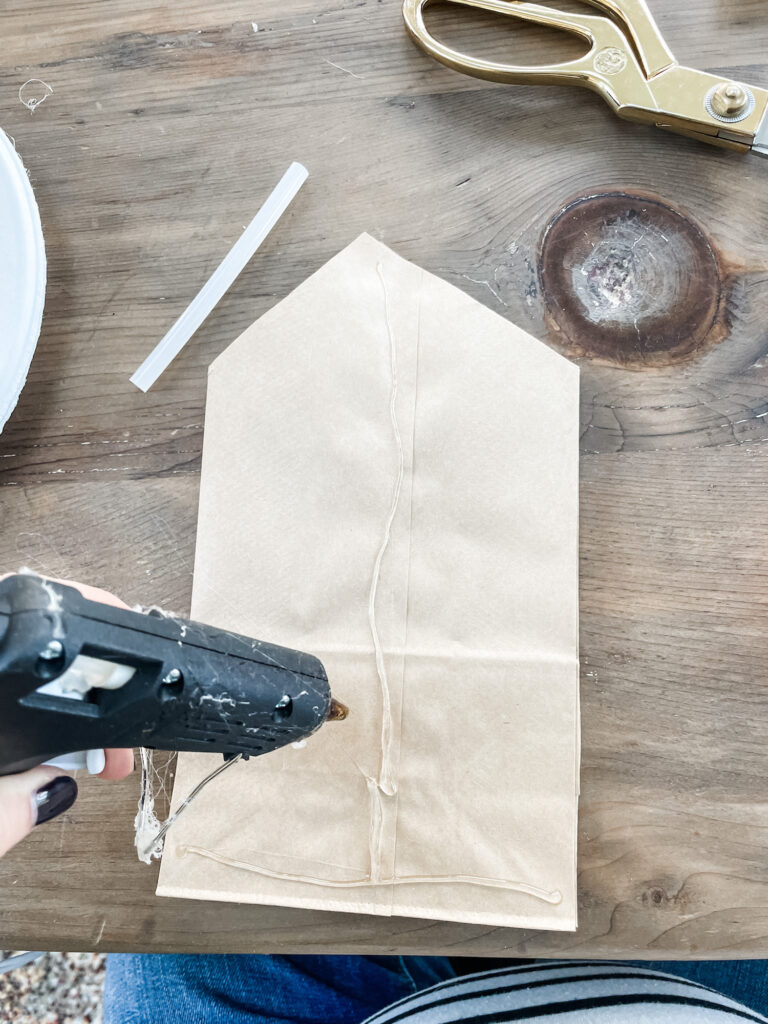
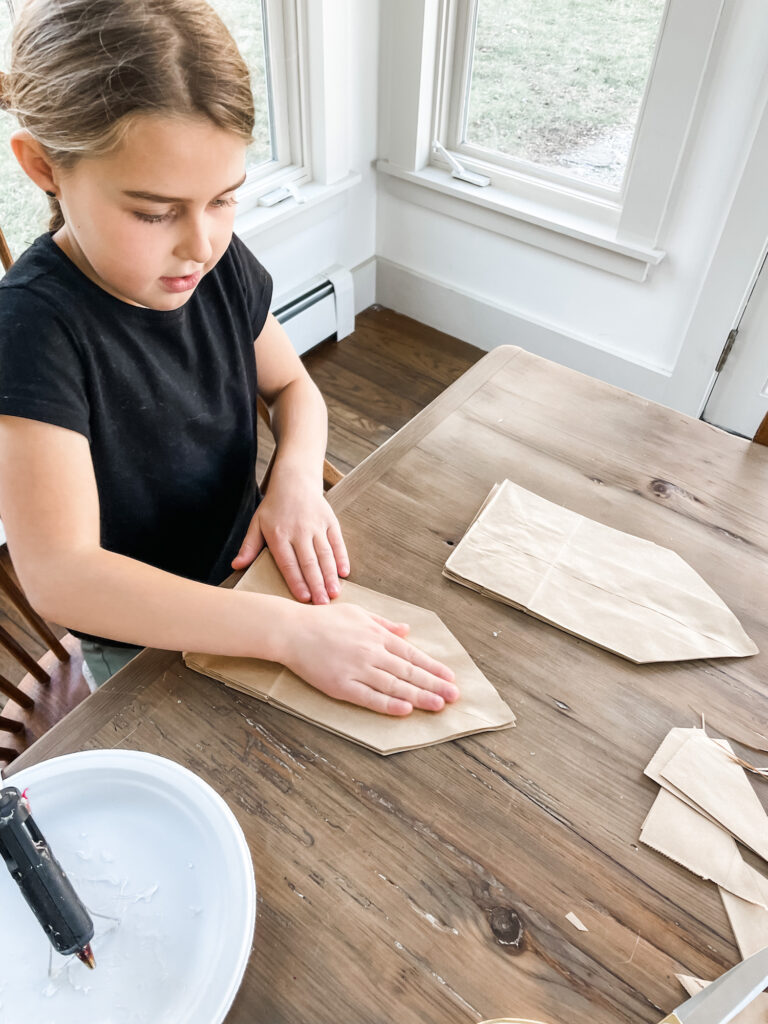
Step two: once the tops are all cut into triangles you are going to glue the bags together. Using your hot glue gun, glue the bags together one at a time with a simple upside down “T” pattern. (See below)
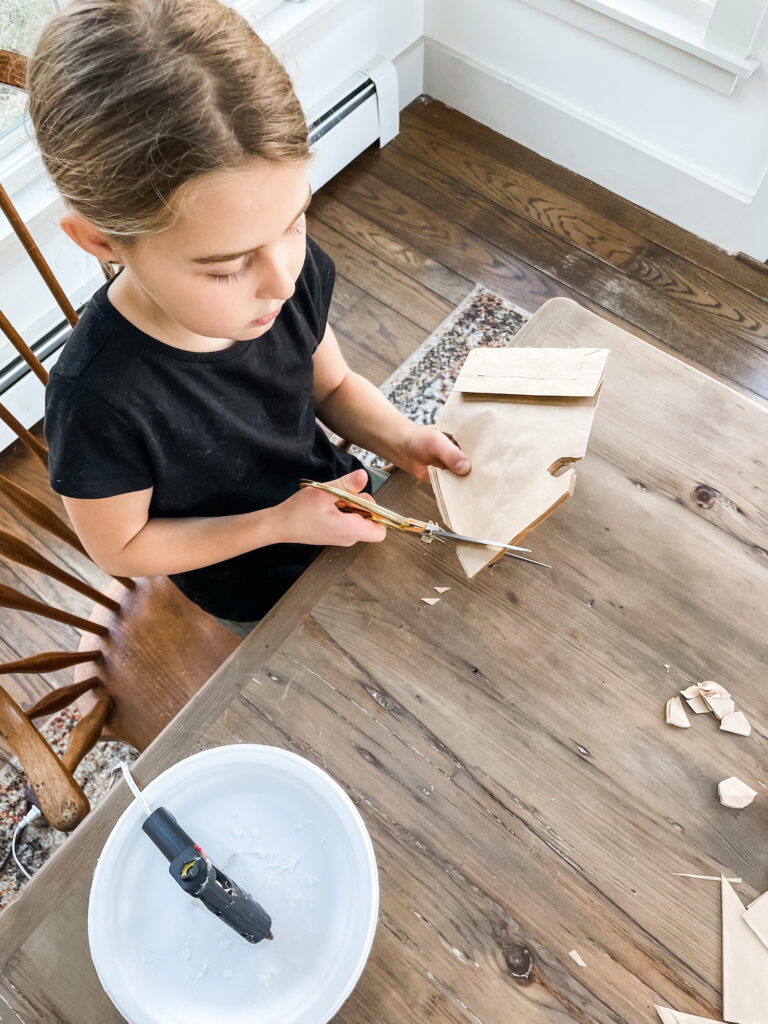
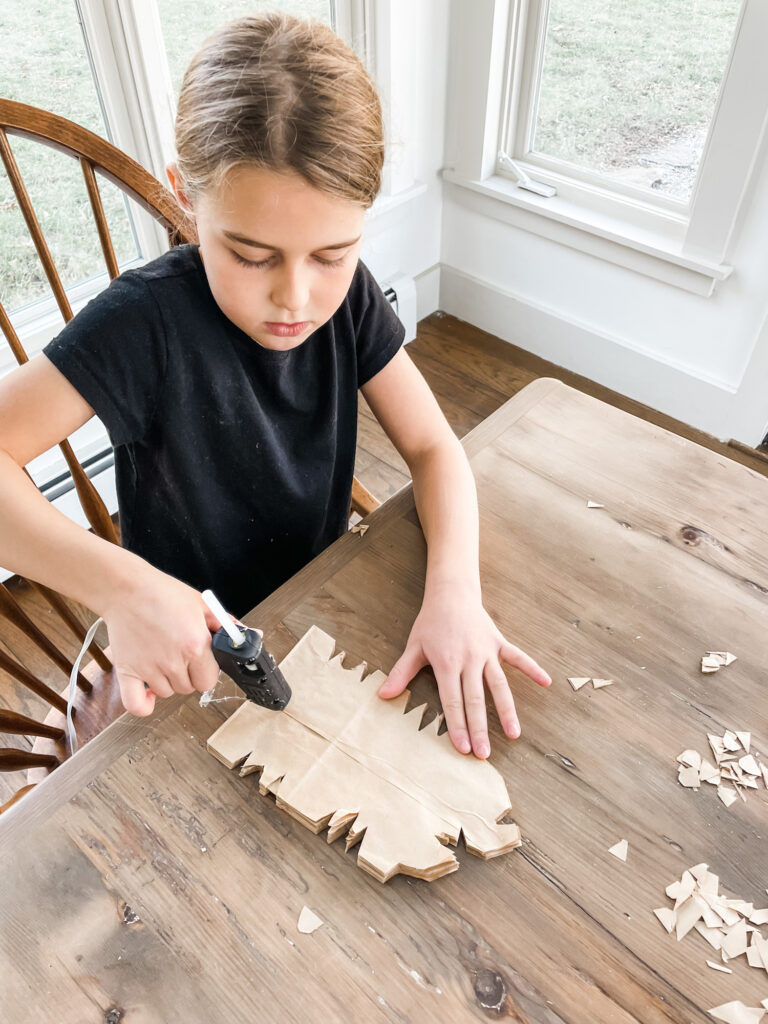
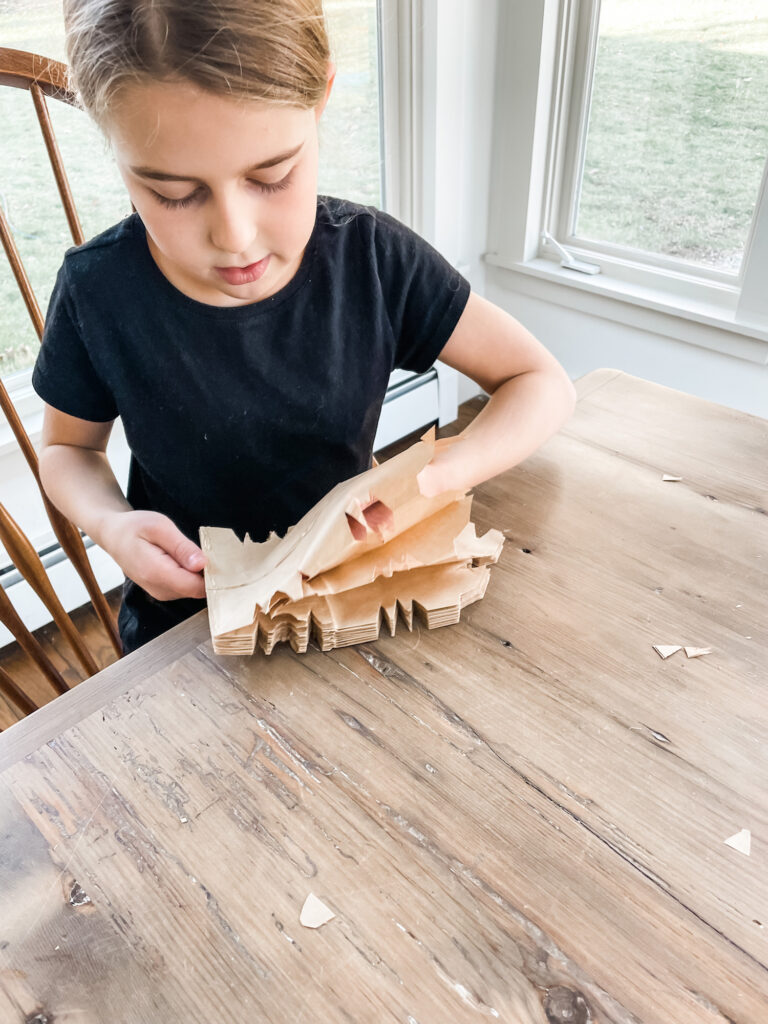
Step three: cut patters into the sides of the bags. Have fun with this step! Or you can leave the bags as they are for a simple star look.
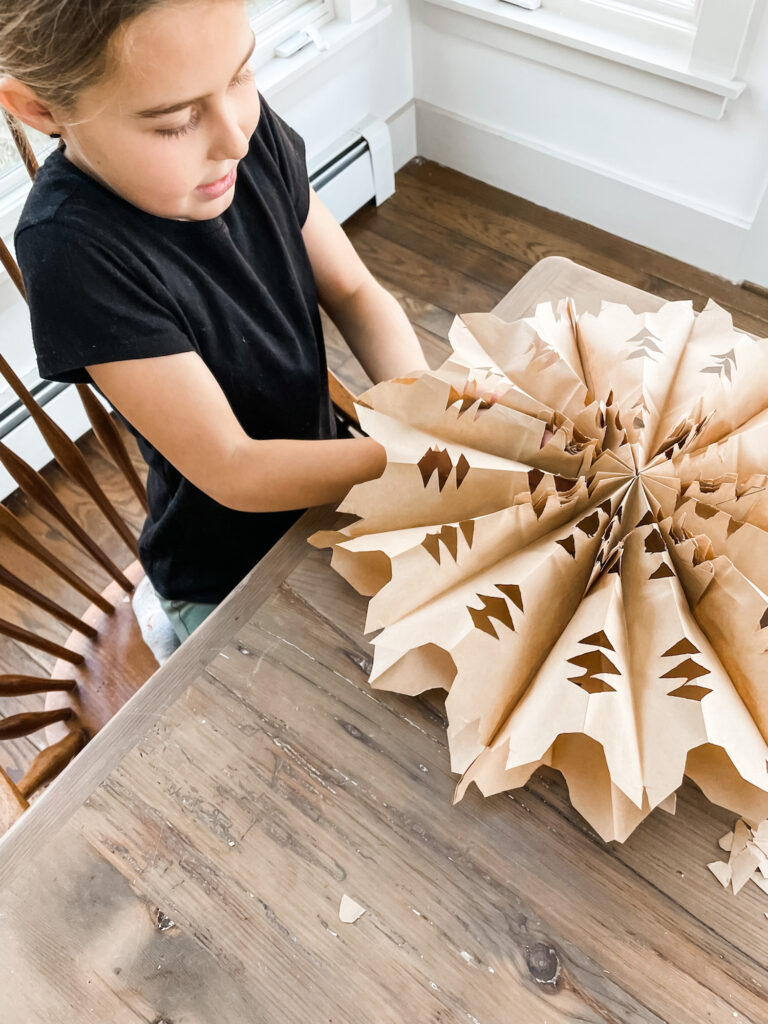
Step four: once you’re done cutting your designs in, add another glue “T” to the top of your bags, then slide your hands in each end, bring the bags around in a circle and “clap” them together. (See below)
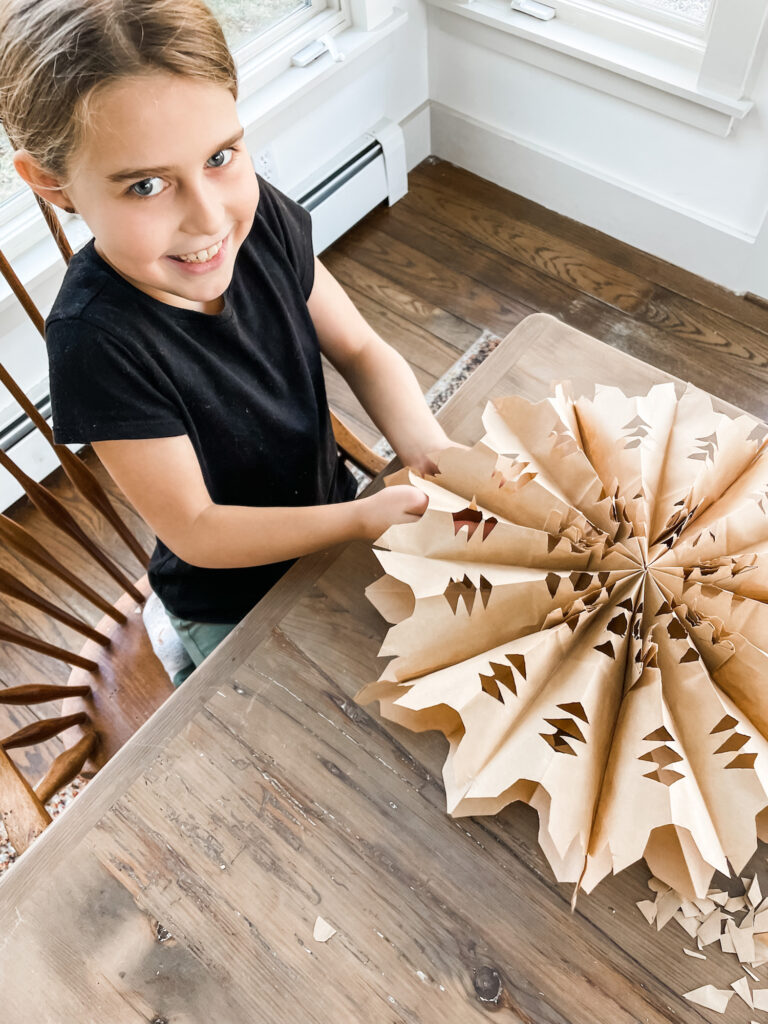
That’s it! Add a little hole to hang and you’re done! Aren’t they just darling! Try them with your kids and let me know how you like the project!
Check out this fun Christmas DIY- A cherry doormat- from last year!
