I want to talk to you about wall texture today, specifically how to get rid of it. We know that heavily textured walls are a trend of the past, but did you know there’s something you, yes, YOU can do about it? Let me tell you about skim coating.
I remember as a kid, growing up in California, I loved the orange peel texture on our walls. I would lay in bed at night and find faces and shapes in the bumpy spackling. It provided hours of entertainment, and I feel nostalgic just thinking about the ones I’d find over and over. The lady with a deep frown, the elephant with a short trunk, the one that looked like a slug bug… Now that I’m an adult, I’m less keen on a textured wall. The walls in our old farmhouse are luckily without texture, but they have their own problems. Since our home is over 230 years old, we often run into other issues: cracks, uneven drywall, and other spots that need repair and/or a good smoothing.
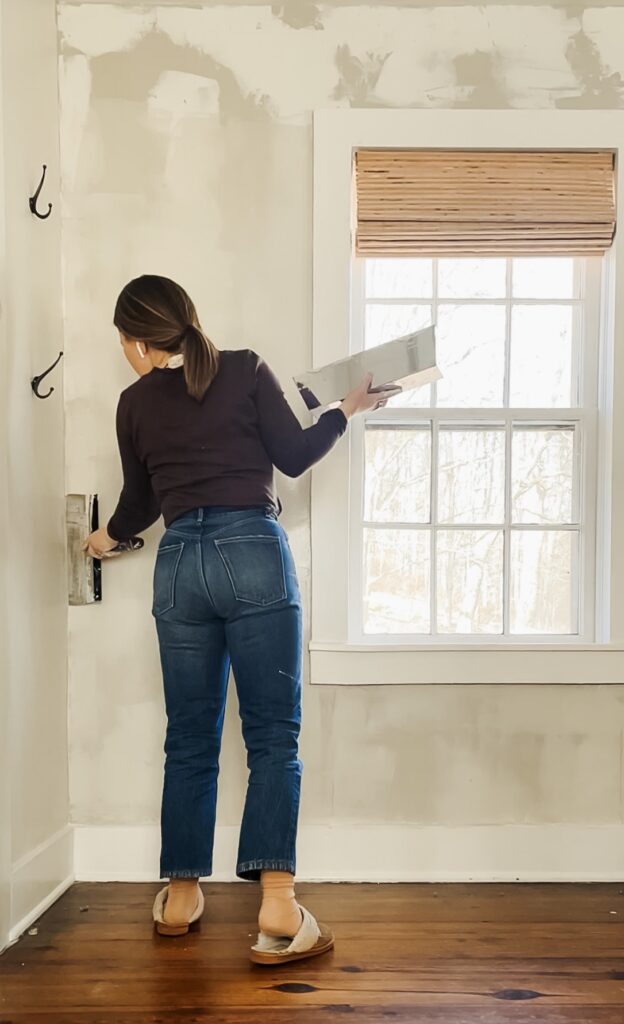
Whether you’re dealing with walls in need of repair, a texture you don’t love, or you’re just looking to update the walls in your home, one very affordable option to consider is skim coating. I recently skim coated our bedroom walls and I fell in love with the process.
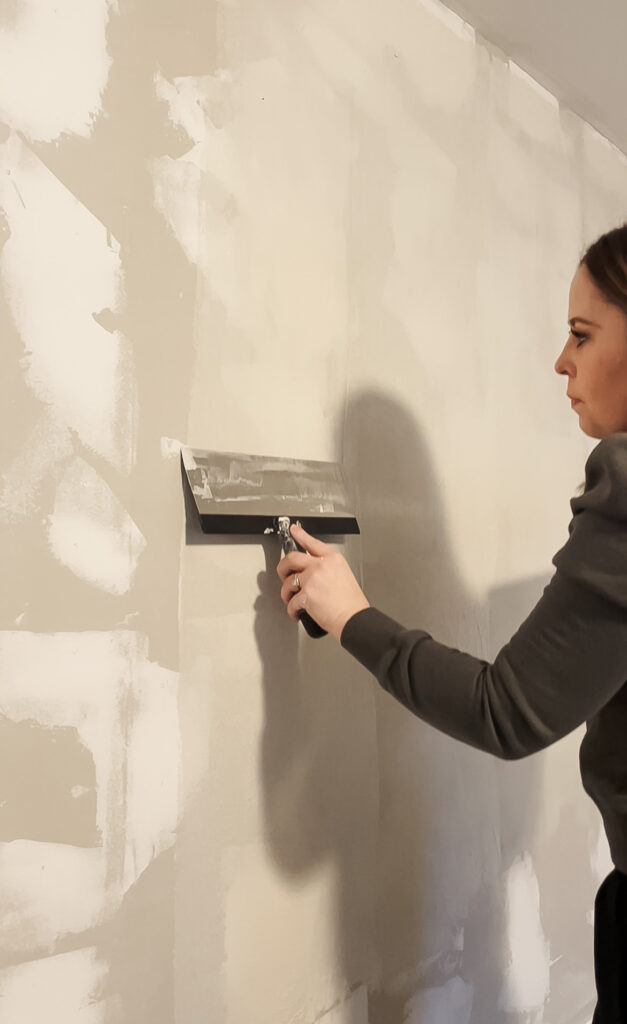
What is skim coating?
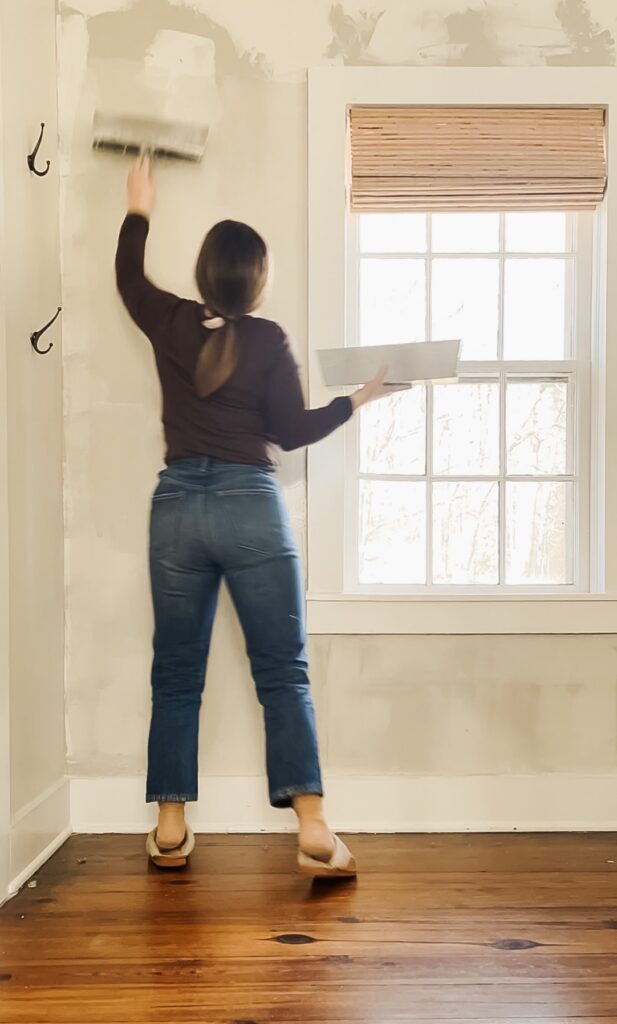
Skim coating is a process of applying a thin layer of joint compound, or “mud,” over a surface to create a smooth, even finish. This technique is commonly used on walls and ceilings to cover up imperfections, or to create a smooth new surface for painting or wallpapering. I wish I’d known about skim coating when I was living with the knockdown wall texture I hated in our Arizona house.
The process can be pricey to hire out, but it’s a very affordable DIY and not hard to learn. There are tons of resources and tutorials (especially on Youtube) for learning how to do it yourself. I also found the process to be fairly easy to pick up, and actually quite fun and satisfying to do.
In this post, we’ll go over the basic steps involved in skim coating walls. I highly recommend spending a few hours before getting started watching different YouTube videos on how to skim coat and gleaning the best advice from experts. The best part about this is, it’s basically impossible to mess up. If it doesn’t look great the first pass, just sand it down a bit and add another layer… but I’m getting ahead of myself. Let’s dive in.
Step 1: Gather the skim coating materials before you begin.
Of all the DIY’s you can do to make a big impact on your house, this is 100% the most affordable. Like it’s cheaper than buying paint at Benjamin Moore. The supplies you need to skim coat your walls include: joint compound, a sanding block, a bucket for mixing, a drywall knife and a mud pan. (I also recommend a drill with a mud mixer paddle attachment). A big ole’ bucket of joint compound costs about $20 and this kit with all the tools you need is under $50. Under a $100 and it will completely transform the look of your walls.
Step 2: Prep the wall.
Next, you’ll need to prepare the wall by cleaning it thoroughly and removing any loose or peeling paint. If there are any holes or cracks in the wall, fill them in with joint compound and allow them to dry completely.
Step 3: Thin the joint compound.
You want to thin your joint compound before you begin skim coating. When it comes to thinning joint compound for skim coating, the amount of water you need to add can vary depending on the brand of joint compound you’re using and the specific conditions of your project, such as temperature and humidity.
As a general guideline, you can start by adding small amounts of water, about 1/4 cup at a time, to a gallon of joint compound until you achieve a smooth, workable consistency. You want the joint compound to be about the consistency of yogurt for skim coating. It’s important to mix the joint compound and water thoroughly, using a mixing paddle and drill or by hand, to ensure that the mixture is evenly blended.
Step 4: Apply the joint compound
Once the wall is prepared, and the joint compound is thinned, it’s time to apply the joint compound. Before doing this you want to thin your compound out. Start by dipping your trowel into the joint compound and spreading it over the wall in a thin, even layer. Work in small sections, smoothing out the compound with your trowel as you go. It’s important to keep the layer of joint compound thin so that it dries evenly.
Step 5: Sand the wall
After the joint compound has dried, use a sanding block to smooth out any bumps or rough spots on the wall. Sand the wall until it is completely smooth, taking care not to sand too hard or you may damage the wall.
Step 6: Repeat the process if necessary
Depending on the texture of your walls, you may need to repeat the skim coating process a few times to achieve a smooth finish. Simply repeat steps 3 and 4 until you’re happy with the result.
Step 7: Finish the wall
Once you’ve achieved a smooth finish, you can finish the wall with paint or wallpaper. Make sure to prime the wall before painting to ensure that the paint adheres properly.
That’s it!
I hope you found this helpful, and that it’s inspired you to give it a try if you’d like a smoother look on your walls. Skim coating textured walls is a great way to update and elevate the look of your home, and while it does take some time and effort, the end result is a smooth, even finish that can make a big difference in the overall appearance of your walls. With the right materials and a little bit of patience, you can achieve professional-looking results without the need for costly professional services, and trust me, if I can do this one, you can too!
More fun home things:
10 DIY projects you can do in a weekend.
FB marketplace find in the kitchen hutch of my dreams.
Design tip for creating depth in neutral spaces.
The new rug in our family room and why I’m in love with it.
After the joint compound has dried, you’ll need to sand it down to create a smooth, even finish. This may require several rounds of sanding and additional applications of joint compound to fill in any remaining imperfections.


