
I’ve noticed something about myself in the last few years: I’ve really leaned into the handmade Christmas decorations. Maybe it’s the old soul in me, but I’ve always preferred a more nostalgic, organic Christmas. I like to create a home at Christmas where everything feels traditional and handcrafted. Fresh garland, dried orange slices, hand dyed linen bows, paper stars and of course, homemade ornaments. In a world of mass-produced holiday decor, and viral Christmas trees, there’s something really special about returning to the old traditions, and old-fashioned, homemade crafts.
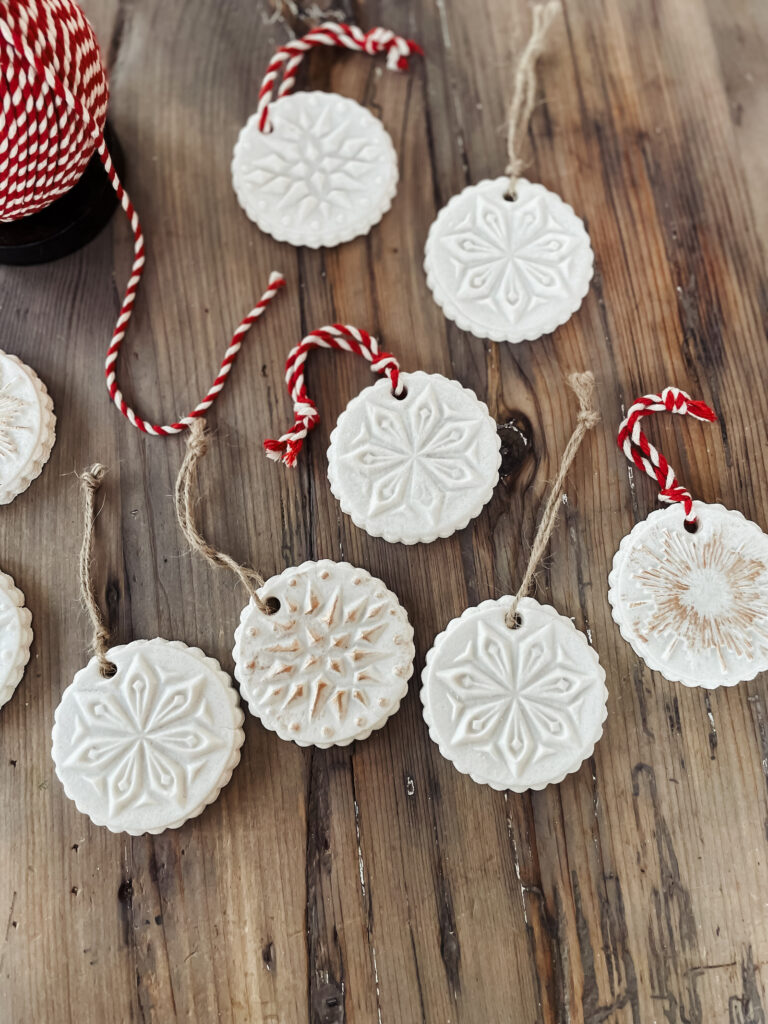
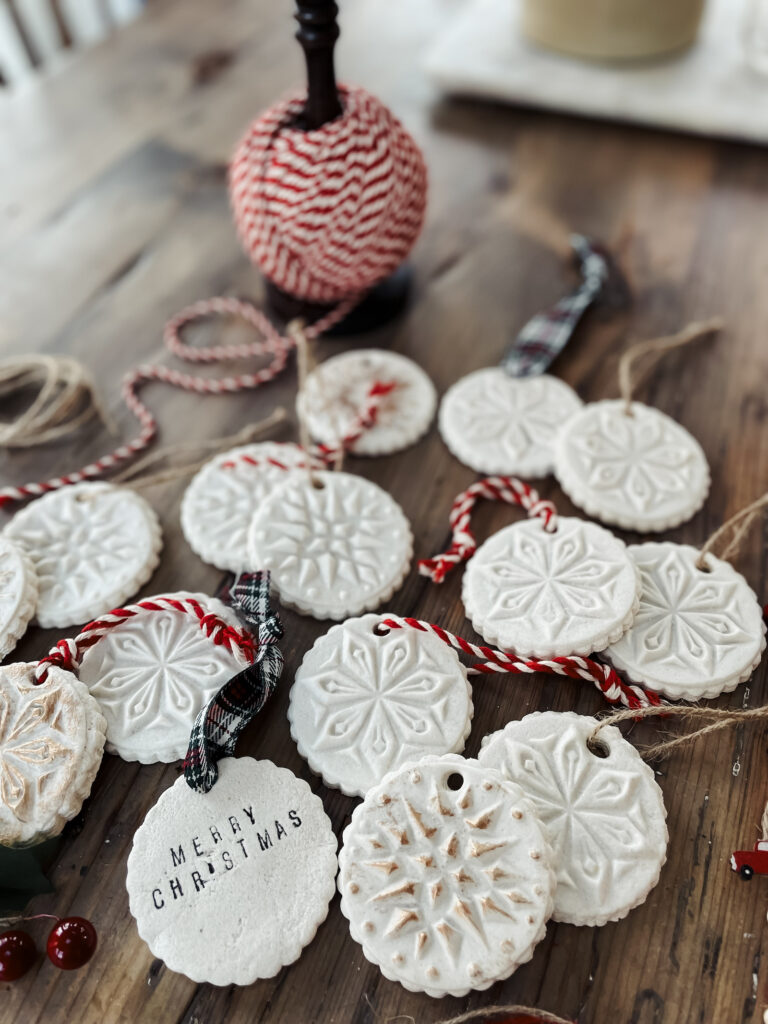
Salt dough ornaments have been around forever, and are one of my favorite Christmas crafts. They’re a charming and nostalgic way to spend time with your kids, creating something really special for your holiday tree. Plus, they’re easy, inexpensive, and a wonderful way to embrace the art of homemaking during this festive season.
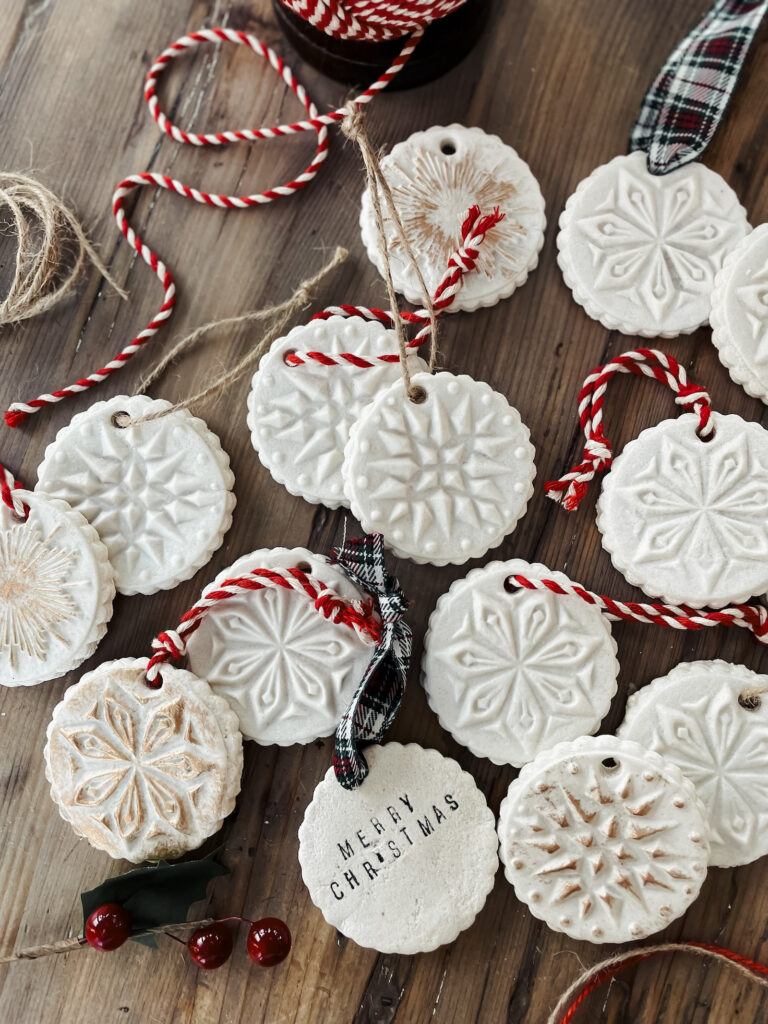

The other day, Ava, Finn and I pulled the flour and salt out of the pantry and got busy. As we were stamping out ornaments, listening to Christmas music and laughing, all three of us covered in flour, I was thinking about how many memories I have with my big kids of spending time in the kitchen, rolling out salt dough and cutting out shapes. Those memories are just as precious as the ornaments that came from them. And every year when we pull them from the box, I get to relive that time, if only for a moment. This is why I love creating with my kids, especially at Christmas. You’re not just creating beautiful decorations for your tree, you’re also fostering a family culture and sense of tradition that will last for years. So, let’s dive into how to make these lovely salt dough ornaments!
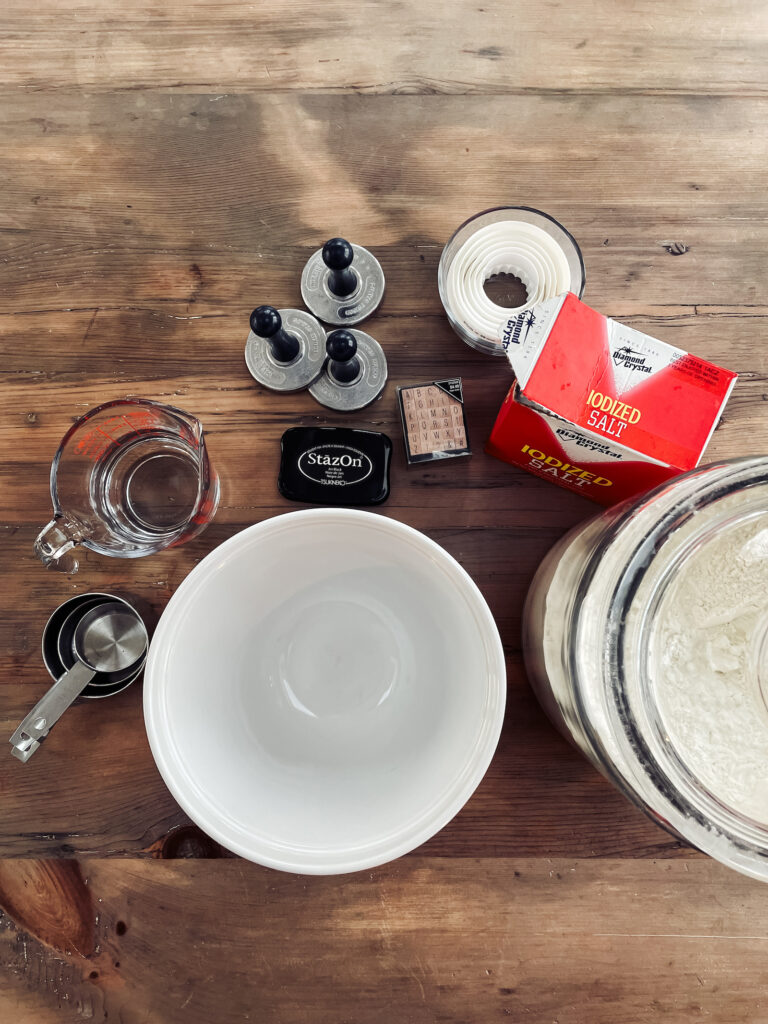
Handmade Salt Dough Ornaments ingredients and supplies:
The great thing about salt dough ornaments is it’s a very simple process. All you need for the recipe is 2 cups flour, 3/4 cup salt and 3/4-1 cup water. You can go as simple or extravagant as you want for these, but you don’t really need many supplies either. I used these beautiful Nordic Ware cookie stamps and biscuit cutters to create these ornaments, but you can cut them out however you want. Regular cookie cutters work fine! You’ll also want a straw for cutting the hole out for the string, and possibly a rolling pin depending on how you want to cut them out. (More on that in a minute…) I like to use my silicone baking mat for setting the wet ornaments on to start drying, because I’ve found the moisture in the ornaments causes parchment paper to wrinkle up and create lines in the underside of the ornament, but the silicone baking mat works perfectly. Beyond those, you’ll just need twine and/or ribbon and anything fun you want to embellish your ornaments.
Handmade Salt Dough Ornaments: instructions:
Step 1: The process of making these ornaments is very simple. Mix the Dry Ingredients: Begin by combining 2 cups of flour and 3/4 cup of salt in a large bowl. Stir them together until they’re well blended. The salt gives the dough its texture and durability, making it perfect for crafting ornaments that will last for years.
Step 2: Add the Water: Slowly pour in the water, starting with 3/4 cup. Stir the mixture as you go to combine. You may find you need to add a little extra water, depending on the humidity or the type of flour you’re using. The dough should come together and be smooth, not too sticky or too dry. If it feels too crumbly, add a bit more water; if it’s too sticky, add a little more flour.
Step 3: Knead the Dough: Once everything is mixed together, turn the dough out onto a clean surface and knead it for about 5 minutes. This helps develop the texture and ensures it’s smooth and pliable. If you have kids helping, this is a great time to get their hands in there and get a little messy!
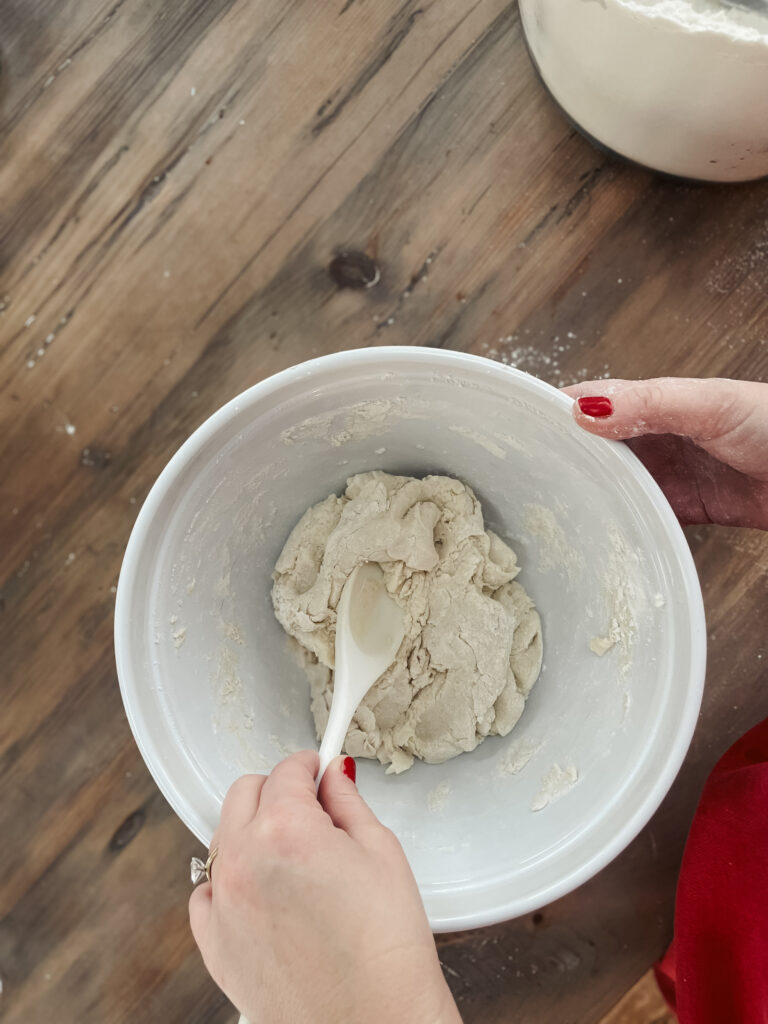
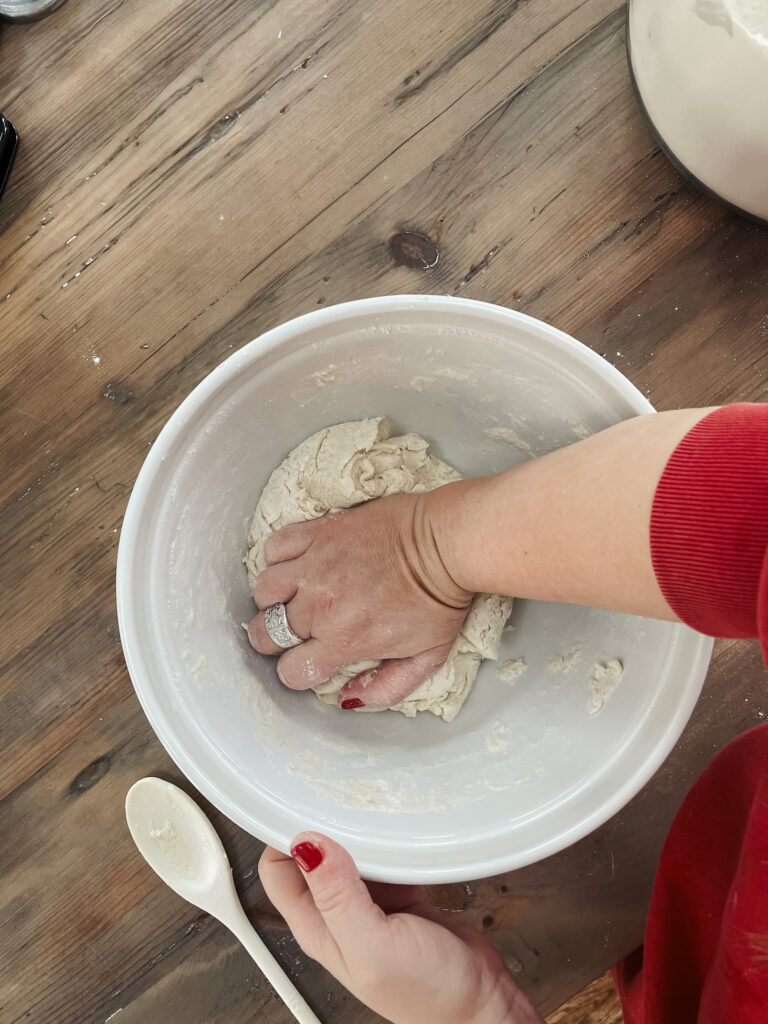
Step 4: Roll Out the Dough: After kneading, roll the dough out to about 1/4 inch thick. If you have a rolling pin, use it; otherwise, just use your hands! If you’re using cookie stamps, get 2 TBSP dough and roll into a ball.
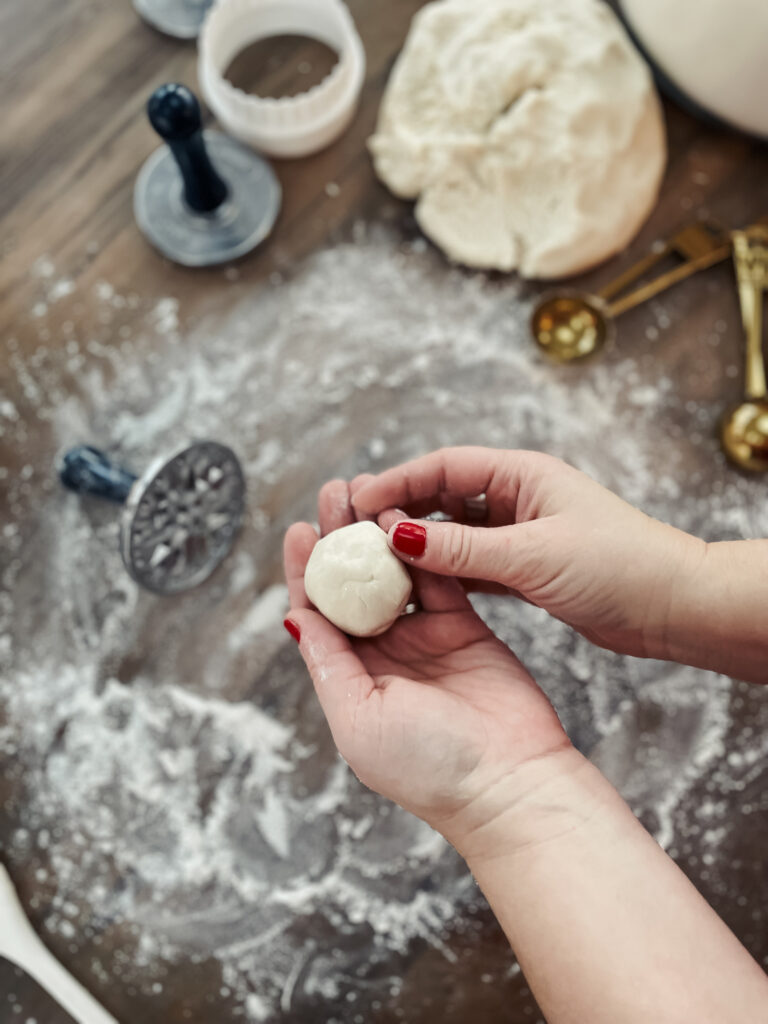

Step 5: Cut Out the Ornaments: Now for the fun part! Use cookie stamps, biscuit cutters, or any other fun shape cutters you have around to make your ornaments. Christmas tree shapes, stars, hearts, and even simple circles work wonderfully. You can even use stamps! Don’t forget to use a straw or skewer to make a hole at the top for hanging later. If you’re using a cookie stamp, take the dough ball and pressed it with the stamp until it’s flat, dough spreading from the outside of the stamp and about a 1/4 inch thick.
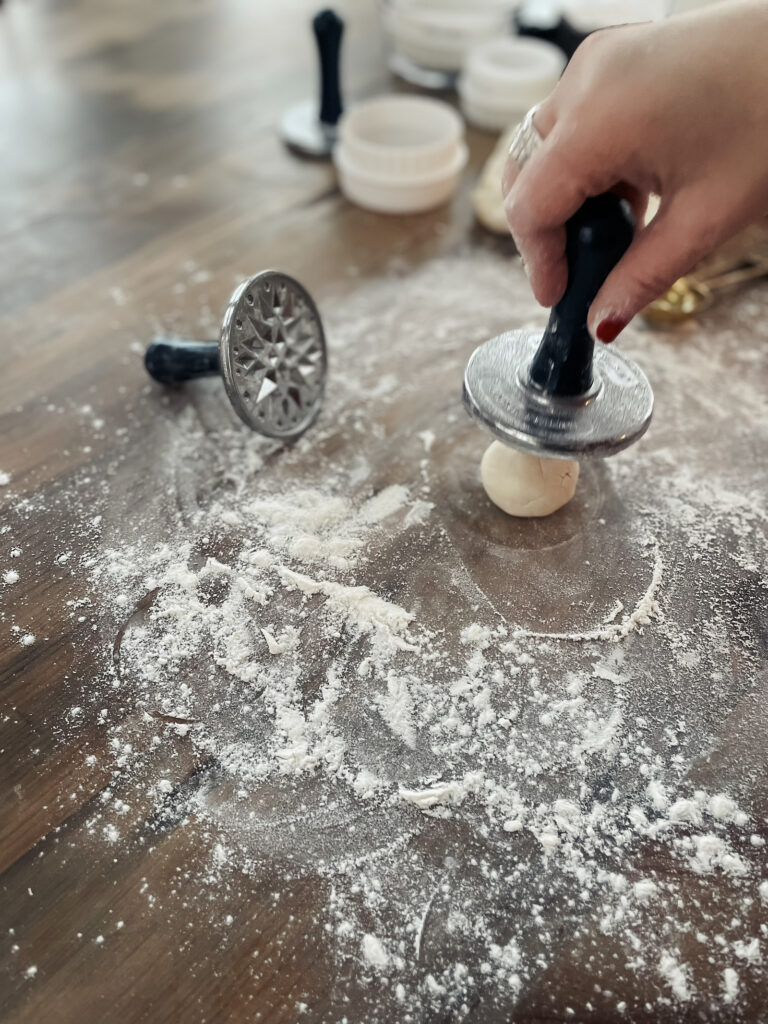
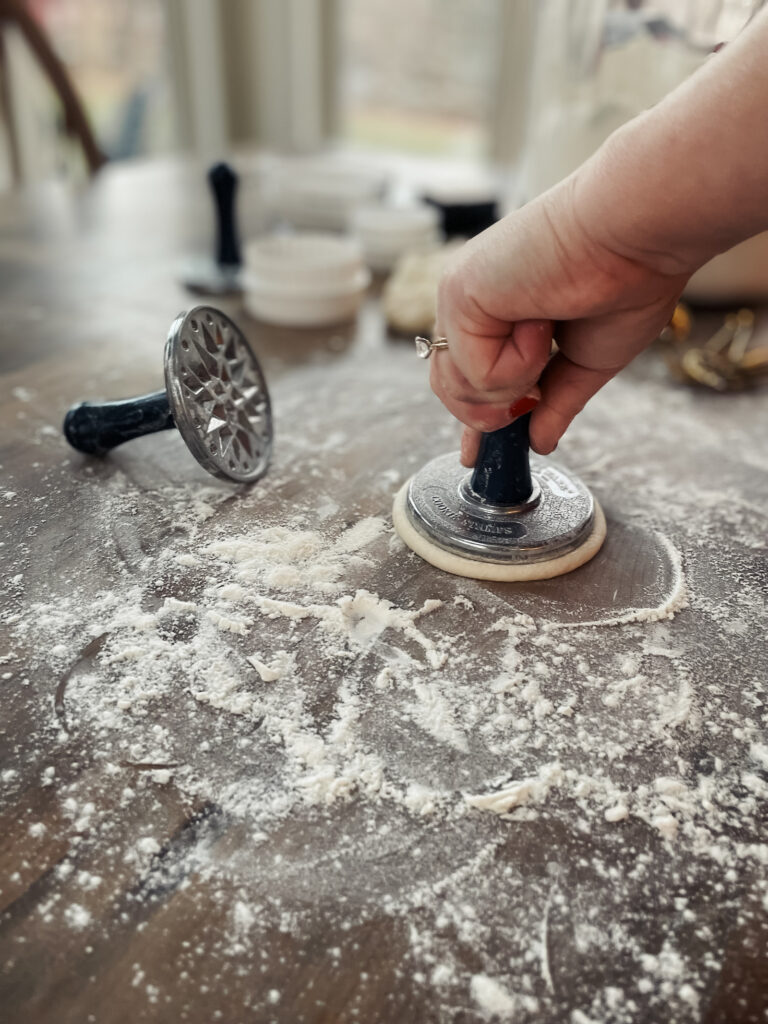
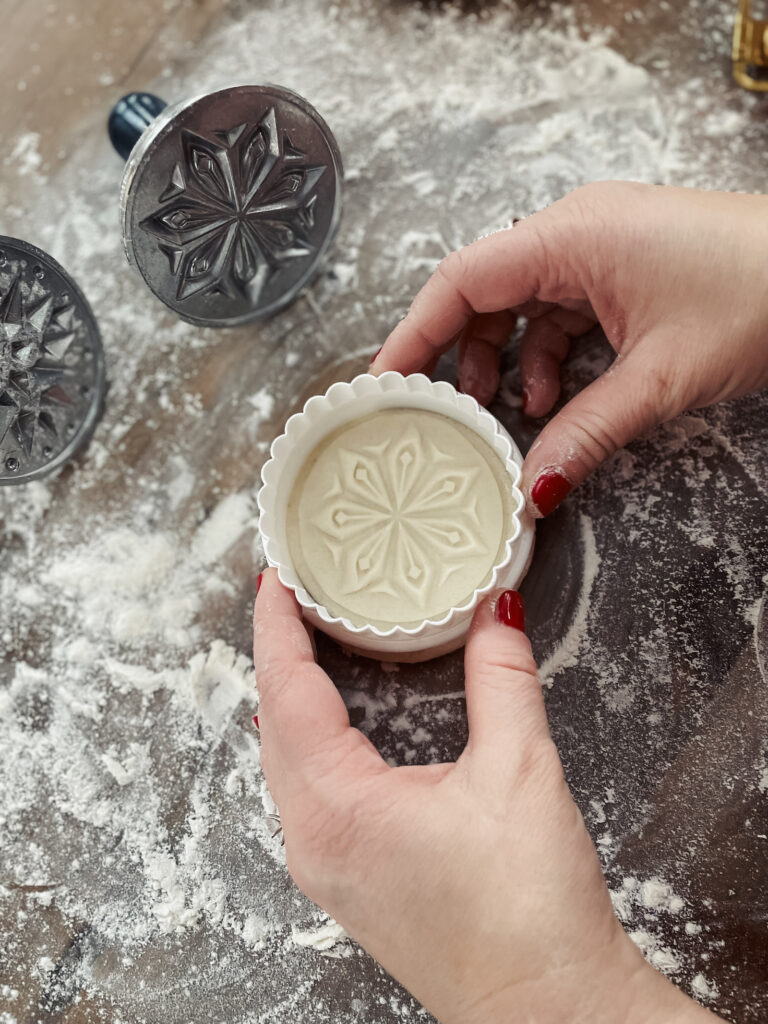
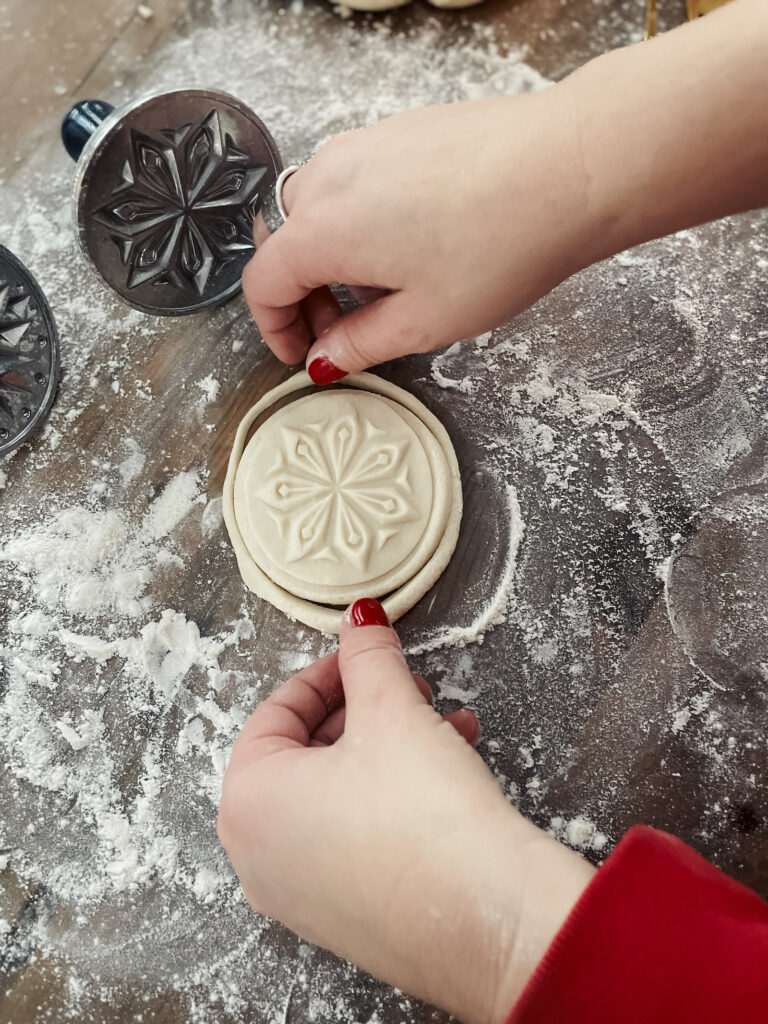
Step 6: Let ornaments dry 2-3 hours, then flip and let the backs dry until a slight dry crust has formed.
Step 7: Bake the Ornaments: Preheat your oven to 200°F (120°C). Place your cut-out shapes on a baking sheet with a wire rack and bake them for about 3-4 hours, or until they are hard and completely dry. You can also leave them to air dry for a couple of days if you prefer. I like to seal mine with modpodge after they dry. I found it makes a prettier finish and preserves them really well.
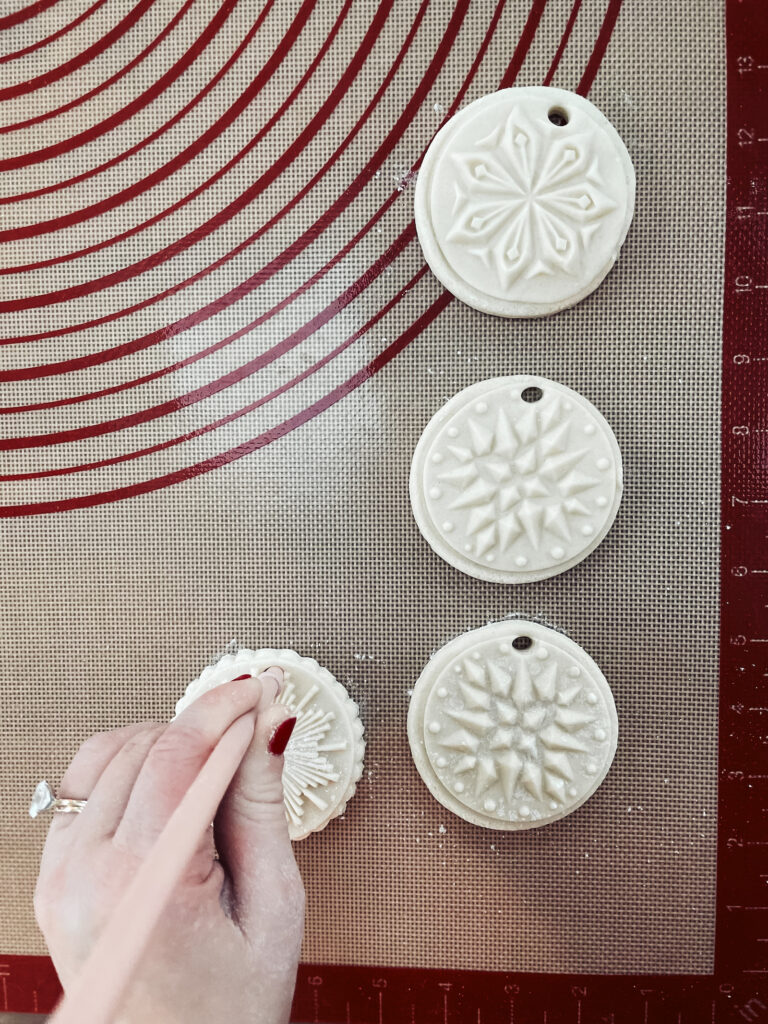
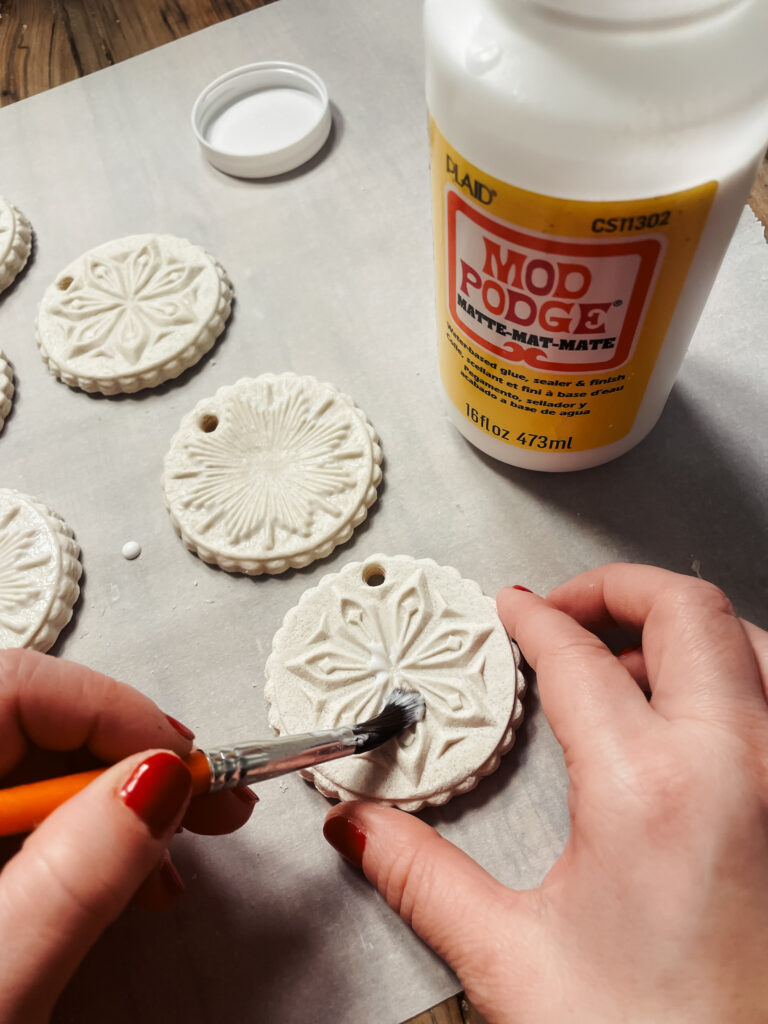
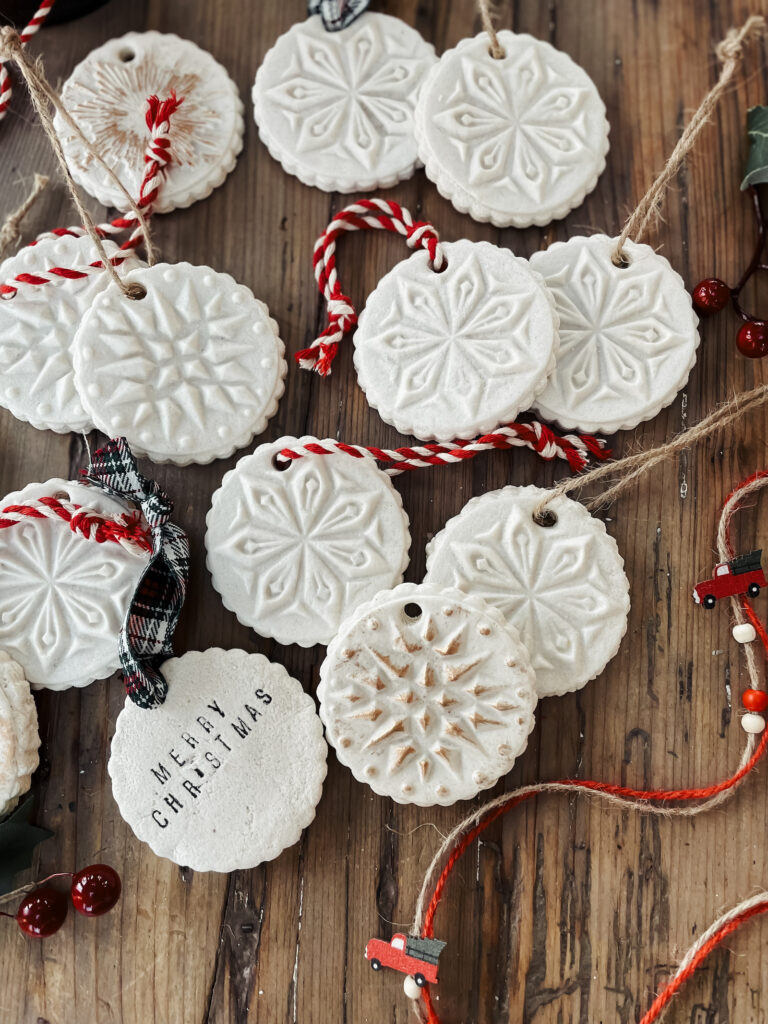
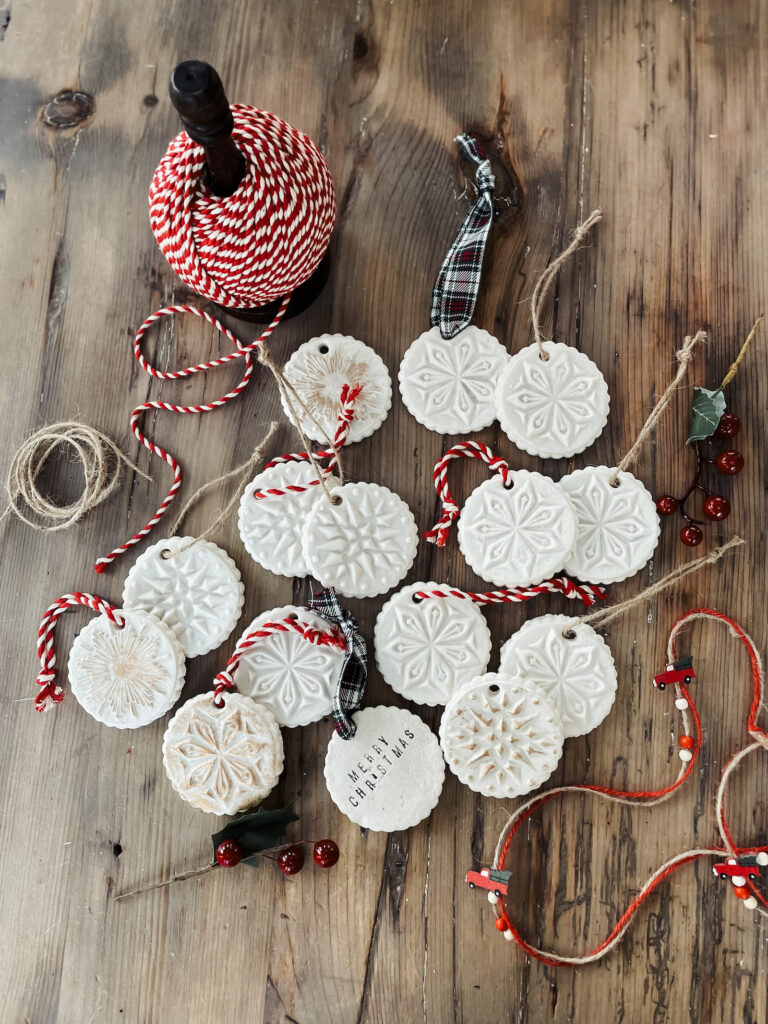
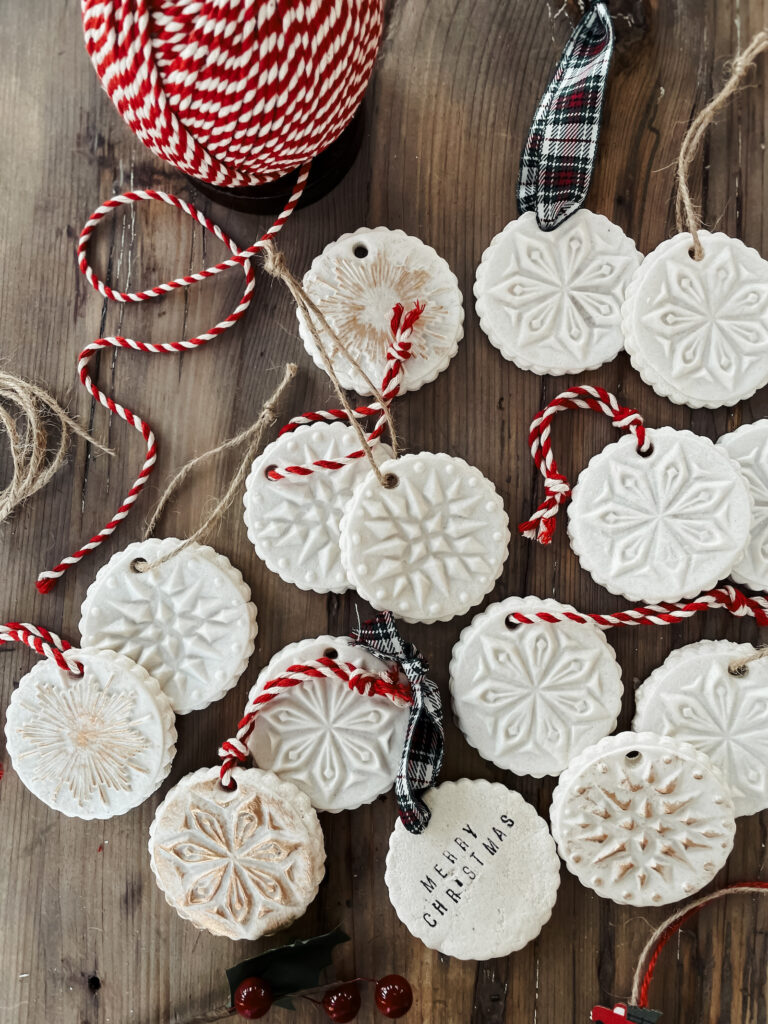
Step 8: Decorate and Hang: add your ribbon or twine for hanging and you can decorate your salt dough ornaments with paint, glitter, or even a little rub’n’buff.
Handmade Salt Dough Ornaments Recipe:
Ingredients
- 2 cups of flour
- 3/4 cup of salt
- 3/4 to 1 cup of water (start with 3/4 and add more if needed)
Directions
- Mix the Dry Ingredients: Begin by combining 2 cups of flour and 3/4 cup of salt in a large bowl. Stir them together until they’re well blended.
- Add the Water: Slowly pour in the water, starting with 3/4 cup. Stir the mixture as you go to combine. You may find you need to add a little extra water, depending on the humidity or the type of flour you’re using. The dough should come together and be smooth, not too sticky or too dry. If it feels too crumbly, add a bit more water; if it’s too sticky, add a little more flour.
- Knead the Dough: Once everything is mixed together, turn the dough out onto a clean surface and knead it for about 5 minutes. This helps develop the texture and ensures it’s smooth and pliable. If you have kids helping, this is a great time to get their hands in there and get a little messy!
- Roll Out the Dough: After kneading, roll the dough out to about 1/4 inch thick. If you have a rolling pin, use it; otherwise, just use your hands! If you’re using cookie stamps, get 2 TBSP dough and roll into a ball.
- Cut Out the Ornaments: Now for the fun part! Use cookie stamps, biscuit cutters, or any other fun shape cutters you have around to make your ornaments. Christmas tree shapes, stars, hearts, and even simple circles work wonderfully. Don’t forget to use a straw or skewer to make a hole at the top for hanging later. If you’re using a cookie stamp, take the dough ball and pressed it with the stamp until it’s flat, dough spreading from the outside of the stamp and about a 1/4 inch thick.
- Let ornaments dry 2-3 hours, then flip and let dry until a slight dry crust has formed.
- Bake the Ornaments: Preheat your oven to 200°F (120°C). Place your cut-out shapes on a baking sheet with a wire rack and bake them for about 3-4 hours, or until they are hard and completely dry. You can also leave them to air dry for a couple of days if you prefer. I like to seal mine with modpodge after they dry. I found it makes a prettier finish and preserves them really well.
- Decorate and Hang: add your ribbon or twine for hanging and you can decorate your salt dough ornaments with paint, glitter, or even a little rub’n’buff.
Salt dough ornaments are a simple but fun way to celebrate the season with your kids. They offer a chance to slow down, get your hands a little floury, and create something special that will bring joy year after year and are sure to become cherished keepsakes. So gather your supplies, invite your little ones to join in, and start creating memories that will hang on your tree for Christmases to come. Happy crafting!


