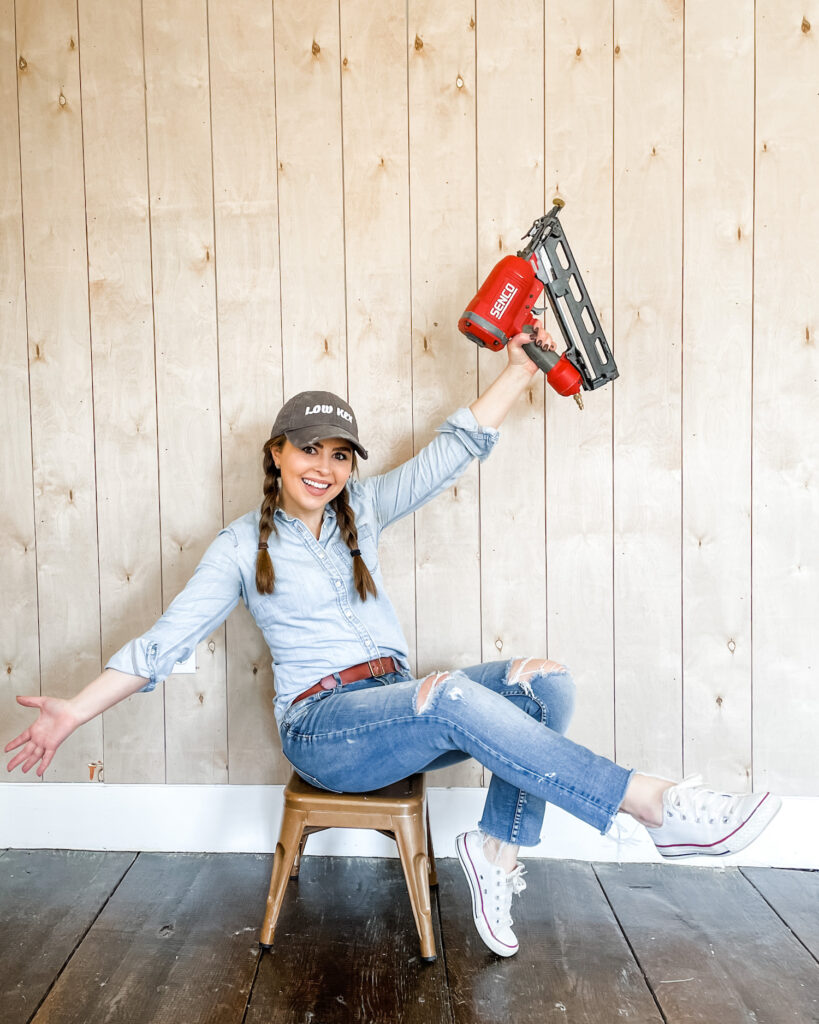
chambray shirt. jeans. converse sneakers. similar hat.
The first time I ever used a power tool I was 23 years old, and it intimidated the heck out of me. We were a few months out of college, Carter was a baby and Hannah was a toddler. We had just bought our first house (a tiny little starter home), and had a tiny little budget for making it our own. I wanted to make some cut-out wooden decor for our front porch that I had seen at a craft mall (but couldn’t afford) so I saved up for a couple months and bought a $30 jigsaw- yes that was a stretch for our budget- and some wood at Home Depot.
The first time I used that saw, it scared the heck out of me. So loud, so hard to control. But it didn’t take long before I loved it. Making things was so fun, addictive, the perfect creative outlet… I made a lot of cheesy stuff with that jigsaw (which we still have and I still use BTW- 15 years later) pumpkins for the fall, a whole family or wooden snowmen for Christmas… eventually I started using it to put headboard up in the kids room. We’ve had a lot of fun, me and that saw over the years… but I digress.
The point is, I grew up thinking power tools were for men, I know, a totally antiquated idea that the internet has long ago smashed, but I just want to put this out there to empower you fellow ladies out there. If you want to do things like this, you can, by yourself, and it’s really not that hard. YOU CAN DO THIS!
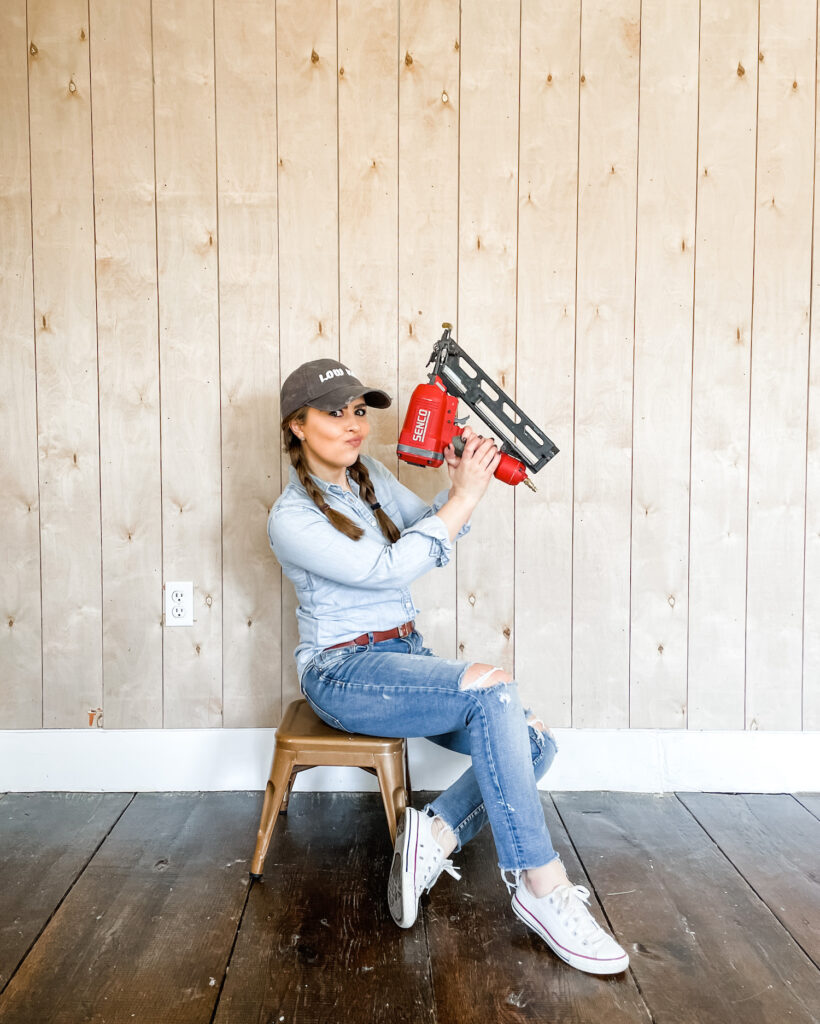
Okay, so let’s talk about hanging shiplap! I love a good shiplap wall, whether it’s hung vertically or horizontally, I think it’s a great classic style and adds character and texture to otherwise boring walls/spaces. It’s especially great if you want to paint your walls white but don’t want your space to feel dull.
Today I’m going to show you how to hang what I call faux shiplap, because it’s not “real” nickel gap shiplap, where the boards have built in spacers. It’s a much more affordable option, but gives you essentially the same look. We have used traditional shiplap in our bathroom remodel, and it’s great, but I think it’s overkill for a wall treatment over existing sheetrock, because this looks just as nice when it’s finished. I use 1/4 inch sanded plywood that we cut into 6 inch strips with our table saw. I’ve done this both horizontally and vertically, and the process is essentially the same. Today I’m going to be showing you how I hang it vertically because that’s what I am doing in our guest bedroom/my office.
What you need for this project:
- tape measure
- Miter saw
- table saw
- Finish nailer
- Liquid nail
- Square
- level
- 1/4 inch sanded plywood (cut into 6 inch strips)
- nickle!
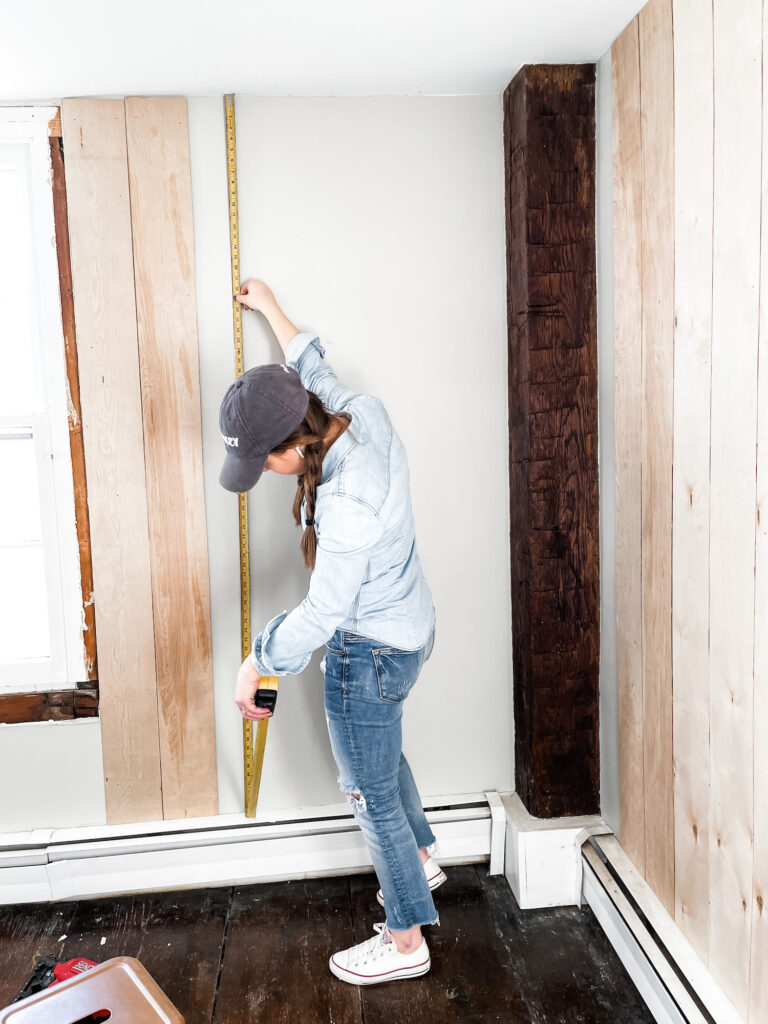
The first step after you cut down your boards into the width you want, is to measure the height of the wall you are hanging on. I’m not being super precise here, because I’m going to be adding trim to the top of the shiplap, but if you aren’t adding trim you really want to make sure you’re getting a precise measurement.
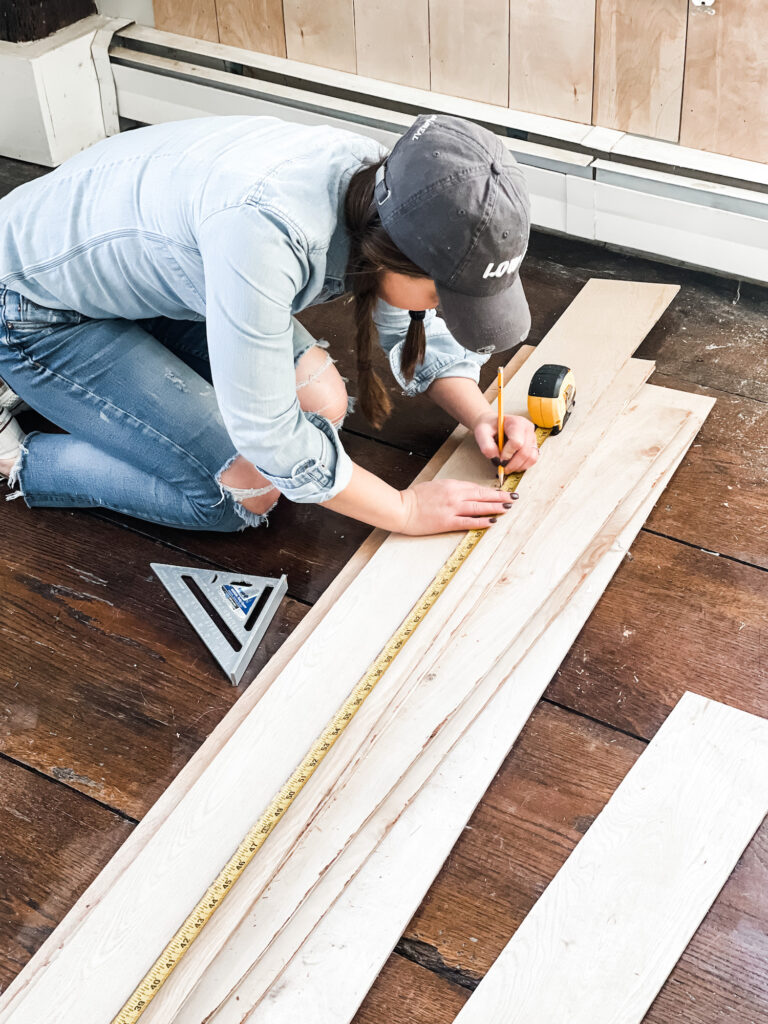
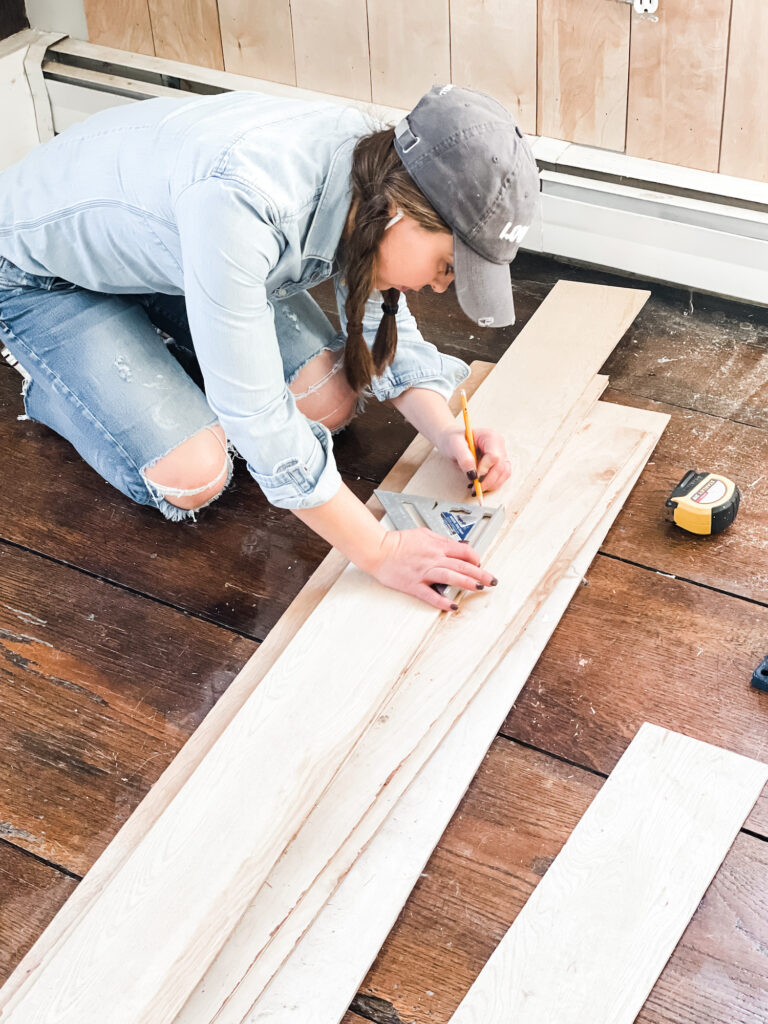
Once you measure the wall, you’re going to measure and mark your board with a tape measure and then use your square to get a nice straight line.
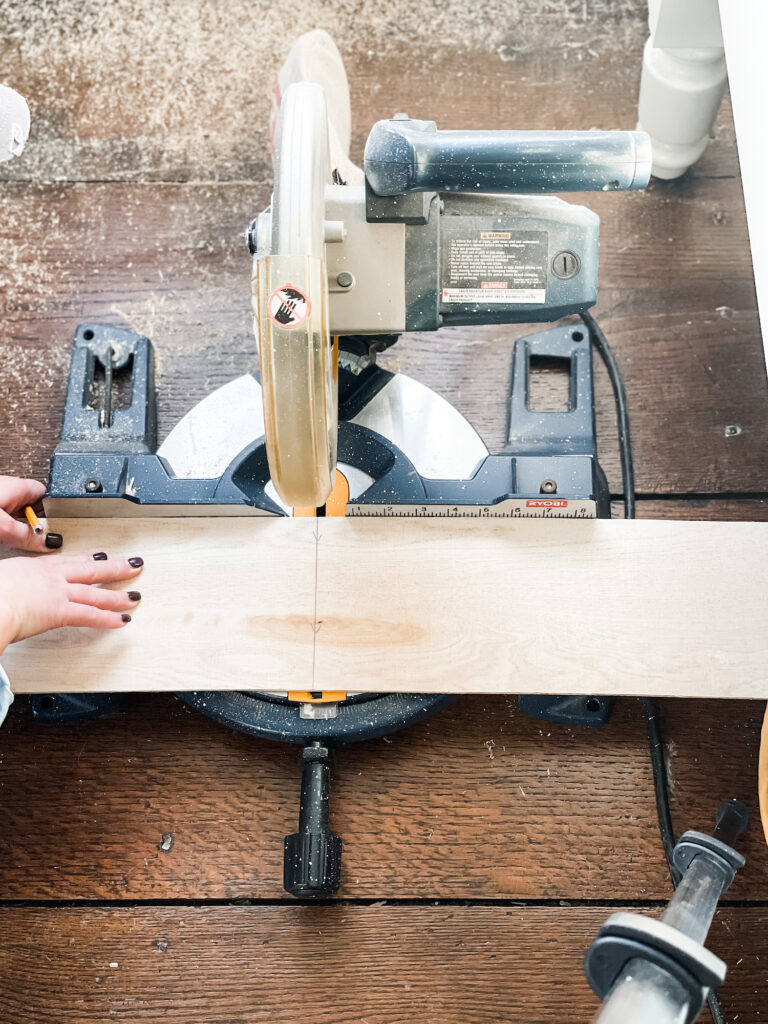
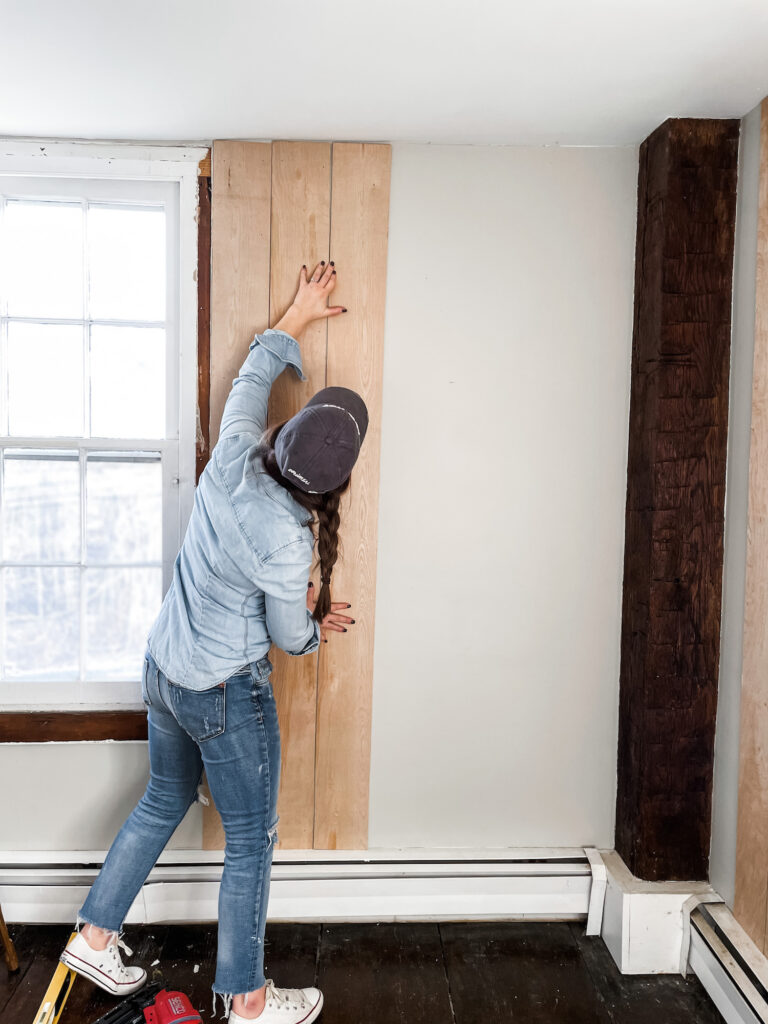
Cut your board on the line marked using a miter saw (paying attention to the saw blade width and adjusting accordingly). Now, you’re going to want to use your level to get your first board nice and level. Once you level the first board, it works as a guide, so be finicky on that one, it will make the job easier down the line. I like to mark the wall where the board should line up.
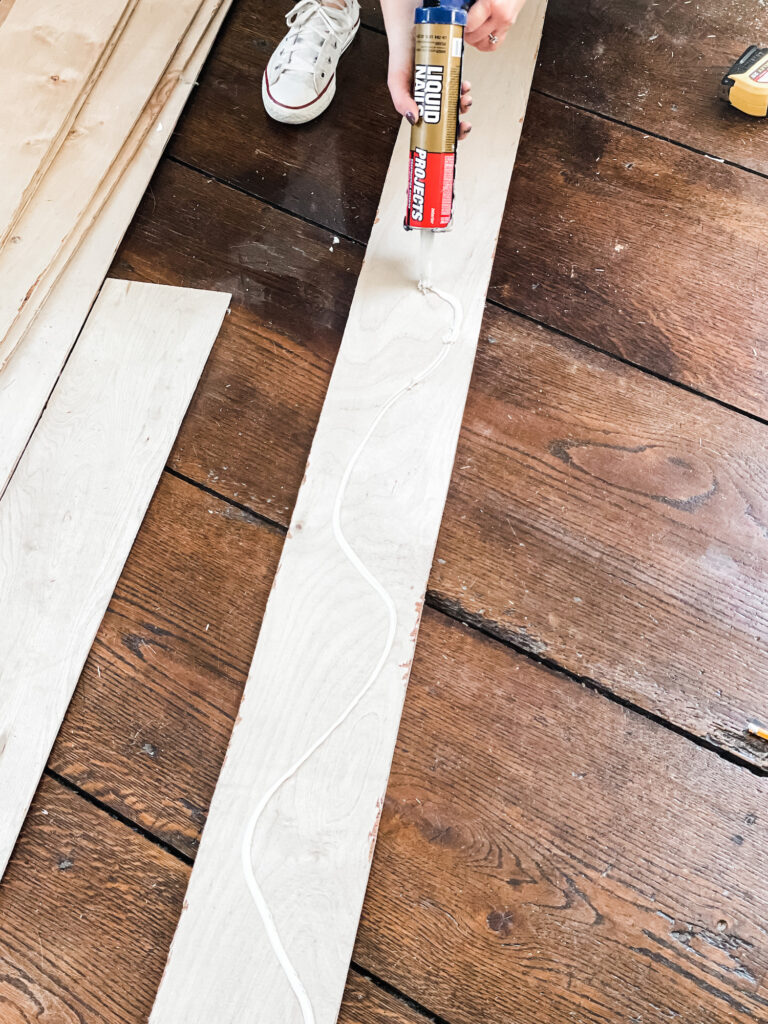
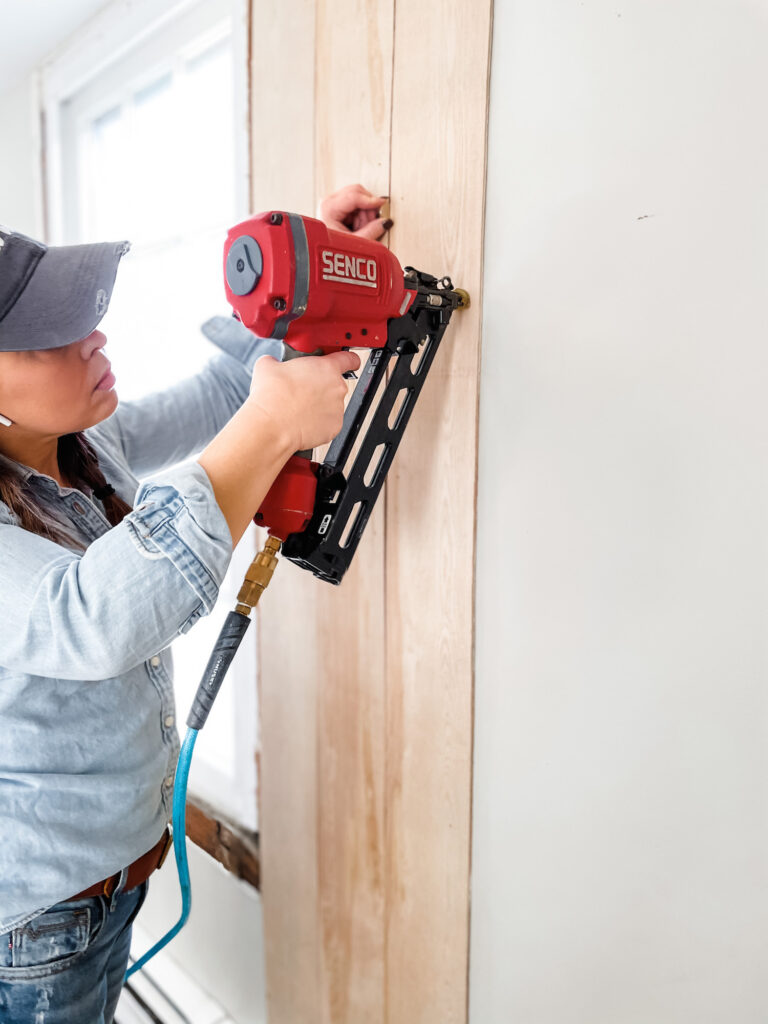
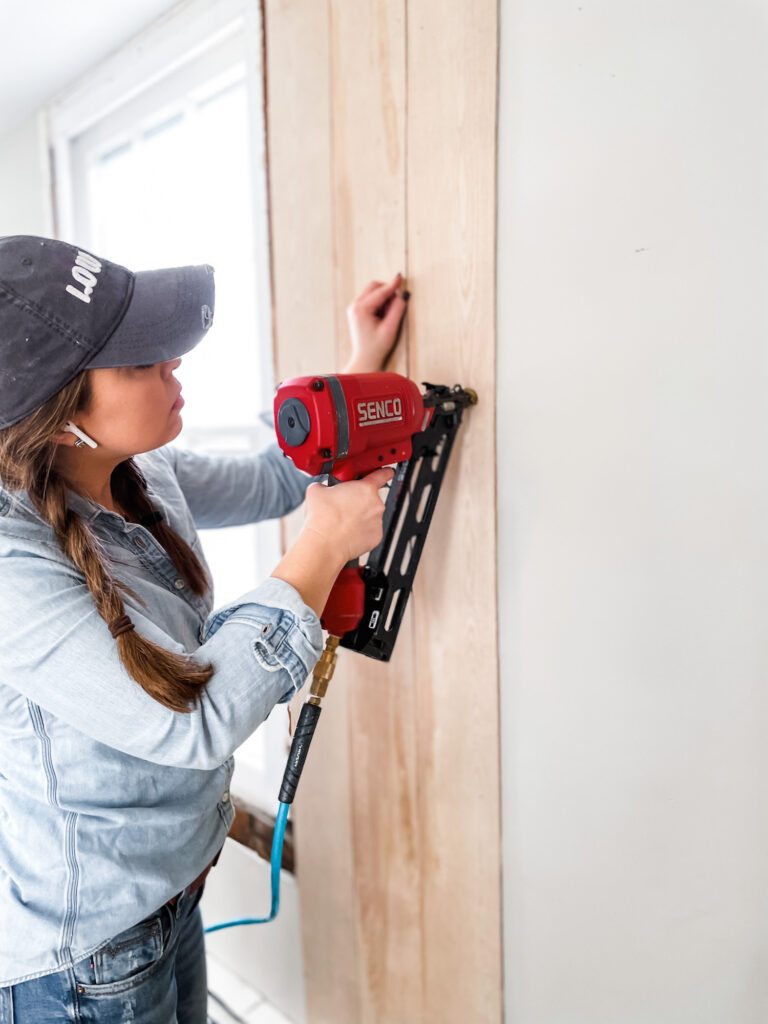
Once you’ve cut your board and got the wall marked, apply liquid nail to the back side of the board. Press it onto the wall and line it up to the level line. Once it’s in place and level, nail it into the wall with the finish nailer.
On the next board you will repeat the process, using a nickel to create the correct gap between the boards. Repeat until you’ve covered the whole wall!
When you run into sockets and switches, you’ll want to use a jigsaw to cut holes for the boards to fit around them, and most times you’ll need to rip down boards at one end of the wall so having a table saw on hand is also a good idea for this project.
Once all the shiplap is hung, fill the nail holes (this is the most tedious part) with nail filler, and then sand and you are ready to paint!
That’s it! If you’re wanting to try a project this is a good one to get started on, because once you get the hang of using a saw, measuring, etc. It’s pretty straightforward.
