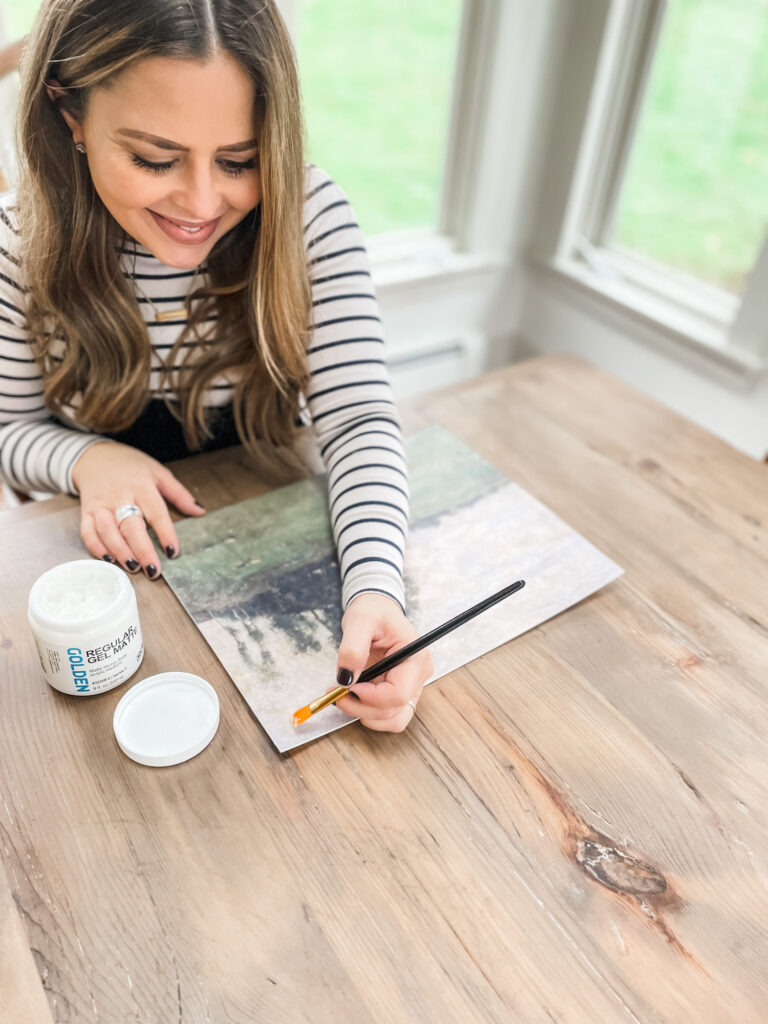
This is maybe the easiest and most satisfying DIY I have ever tried and is especially fun for someone like me who has very limited artistic talent when it comes to any kind of drawing or painting. If you love vintage art, keep reading!
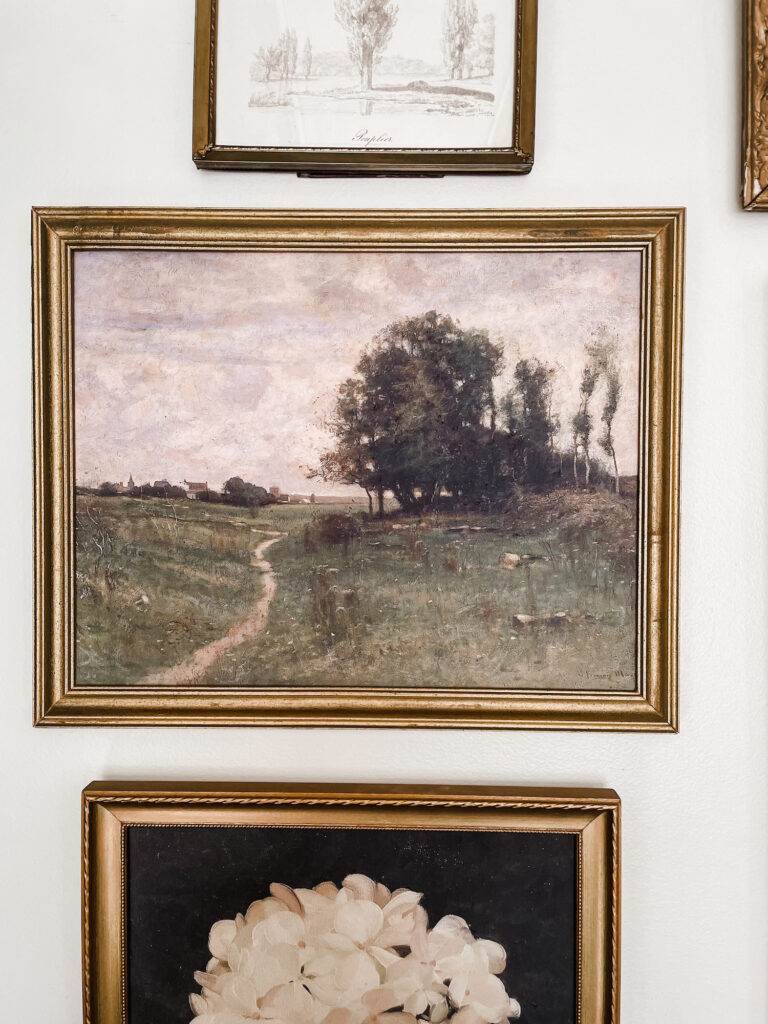
It’s no secret that I love vintage art. And while we’d all love to find a beautiful original piece for our homes, they aren’t always easy to locate or in budget. Most original art pieces run anywhere from the $200’s to the thousands. Luckily there are lots of great options for vintage art prints online that are very affordable, (you can check out my vintage art print shop here!) but I am always wishing I could make those prints look just a little more like an original. A little less flat and a little more textured. Now I can!
How to make a vintage art print look like an original.
The first step of this process is to have your art printed. I always choose the matte printing, and then I mount my art on a foam board (or have it mounted). By mounting the art on a foam board, it eliminates the need for glass in the frame. This is one of the keys, glass in the frame is a dead giveaway that the piece is a print, so have it printed in matte and remove that glass!
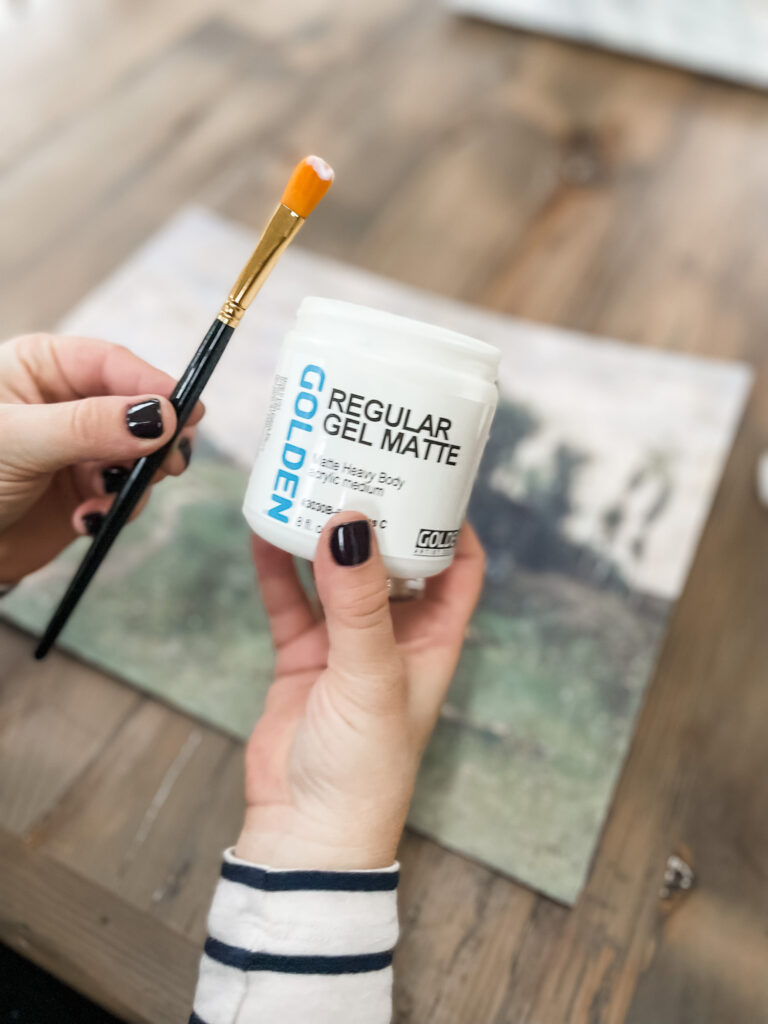
Next you are going to purchase a matte gel medium. You can find this in just about any craft store like Hobby Lobby or Michaels, or you can order it online. I got mine on amazon. And then you’ll want a small acrylic art brush or two. It really takes almost no supplies at all.
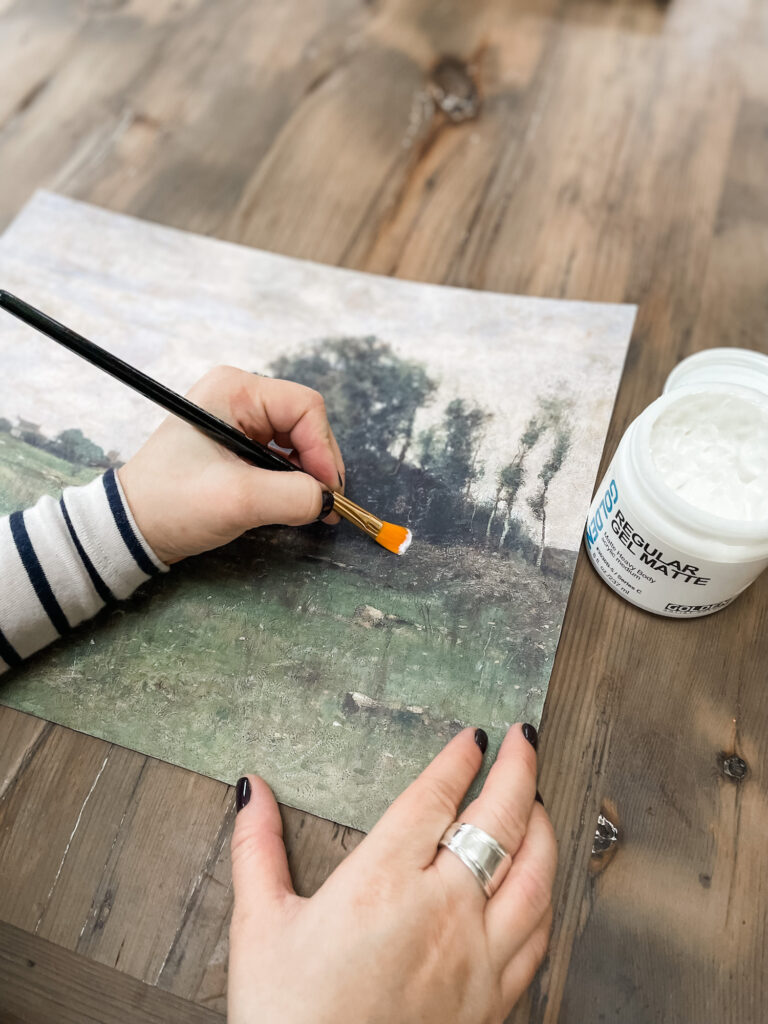
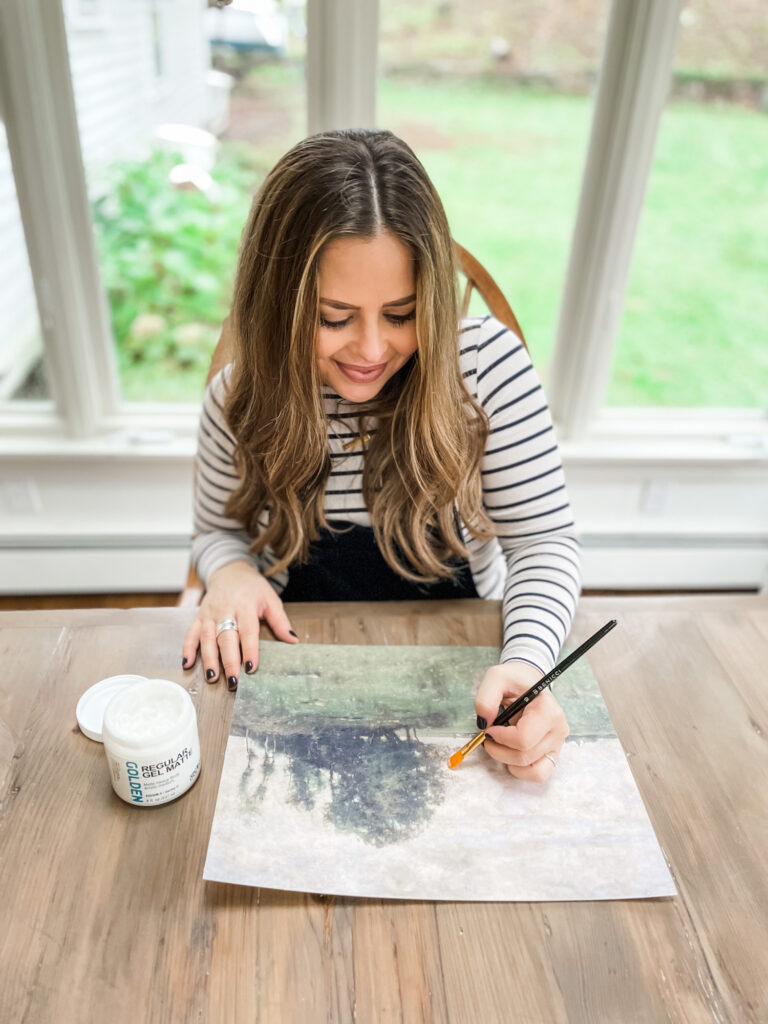
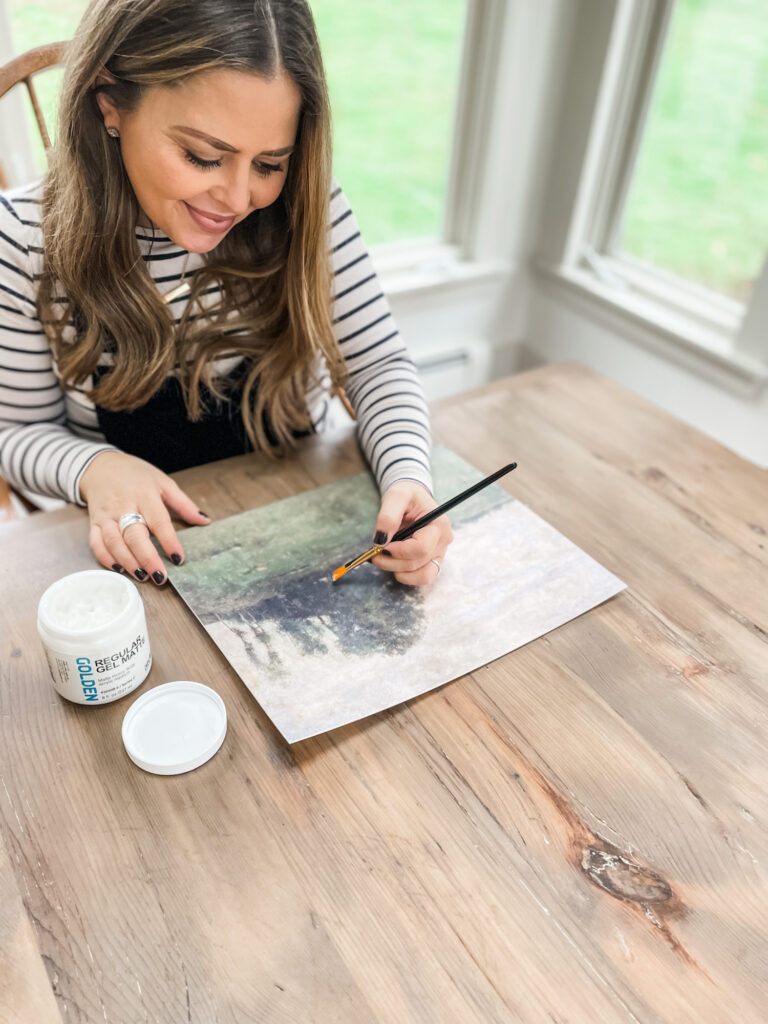
Once you’ve got your supplies you’re going to apply the gel medium using your brush and following the basic brush strokes of the painting. The point of this is to create the texture of the painting on the print so it looks like a real painting. The strokes don’t need to be perfect just loosely follow the strokes of the painting.
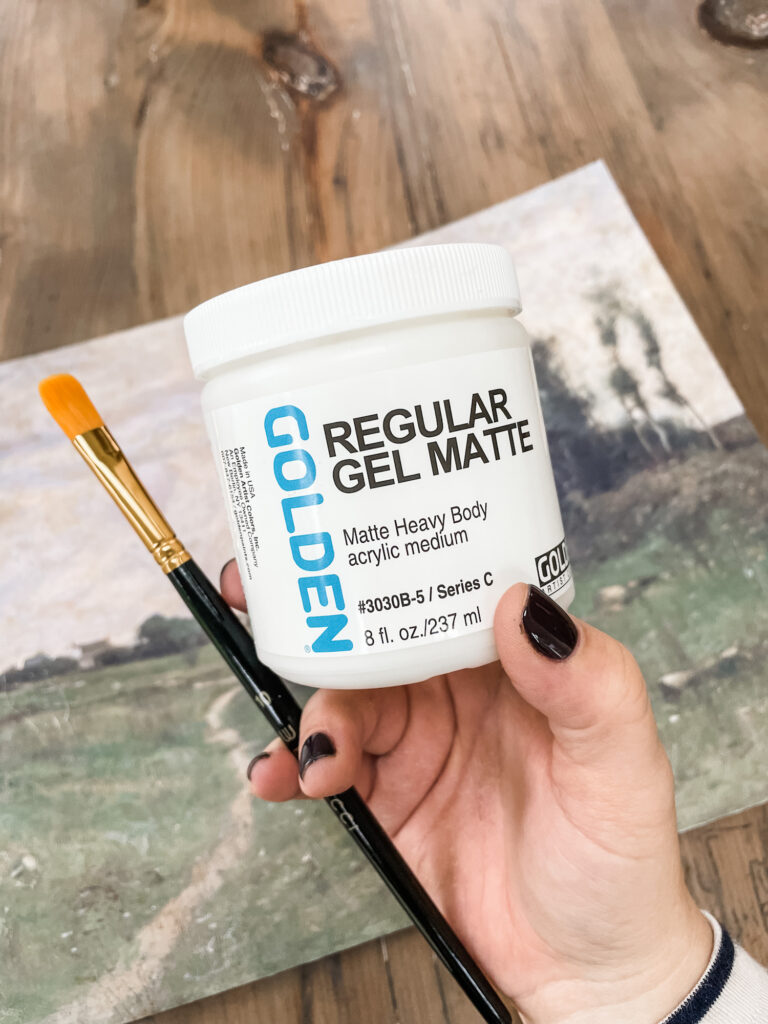
Once you’ve covered the entire print, allow it to dry overnight and you are ready to frame! The gel medium will go on milky but it dries clear, so don’t fret when you’re applying it. Just give it enough time to cure. That’s it! It’s so easy to do and a really fun and relaxing DIY.
My favorite framing supplies:
You can see where I find the best frames for vintage art and how I make them look great right here!
