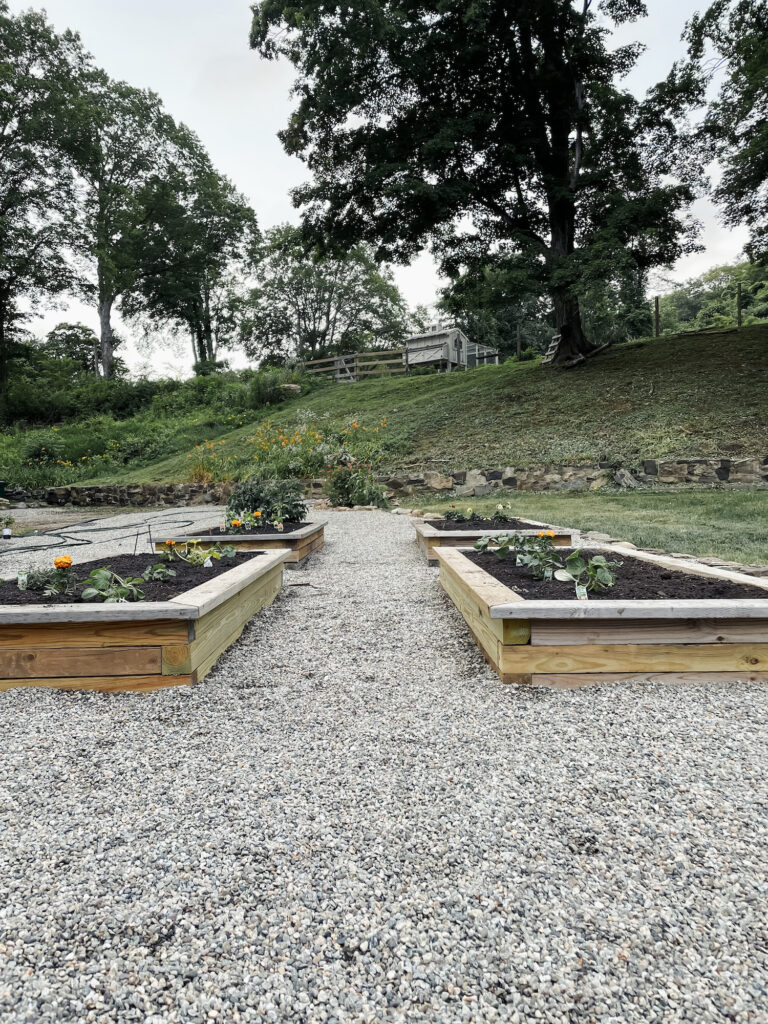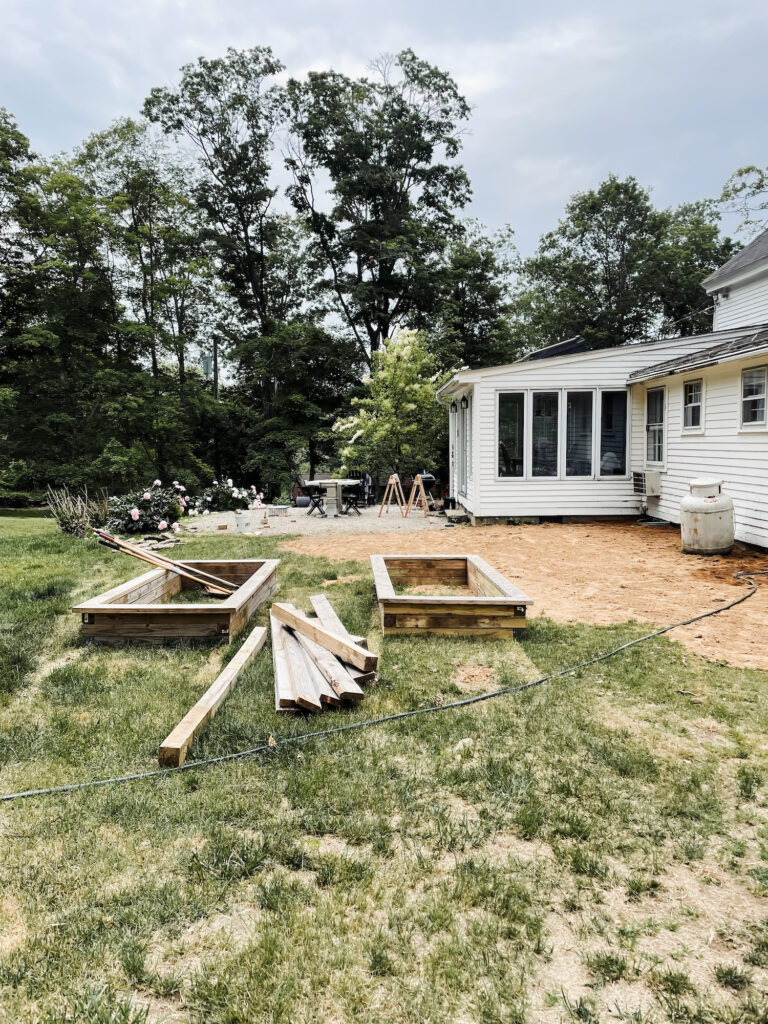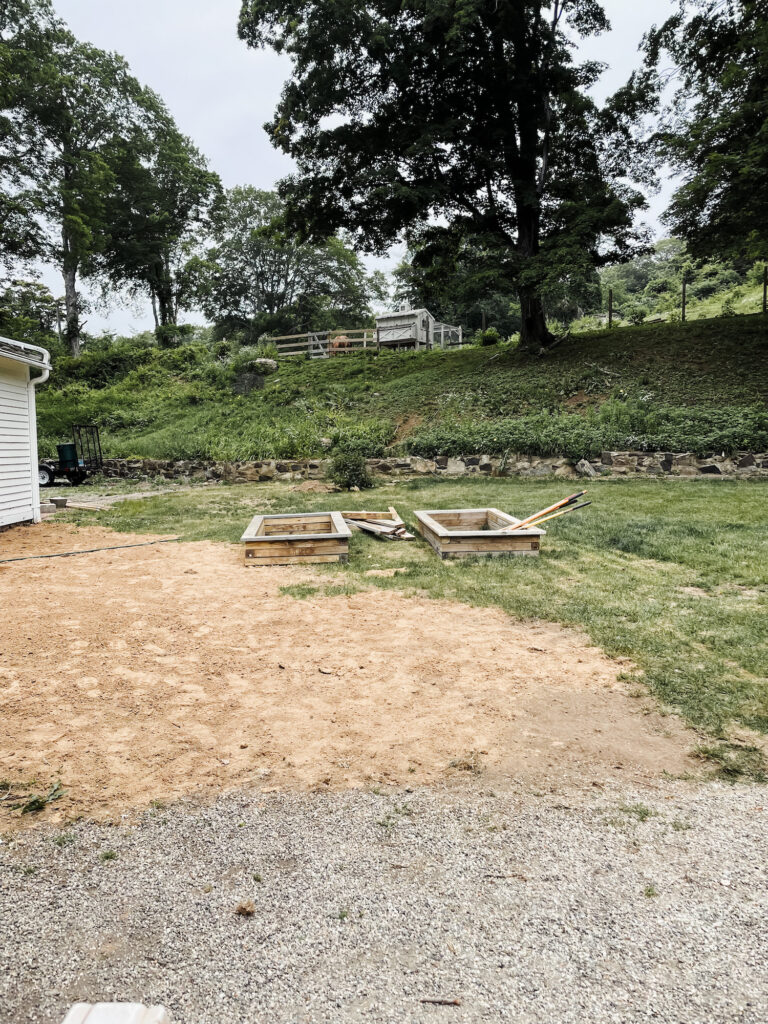
We’ve been busy little bees in June working on transforming an ugly unused part of our yard into a lovely European inspired garden. One of the first steps in the process was to build ourselves 4 raised garden beds. I’ve been growing a garden since 2019, but it was always on the upper section of our property next to our horse pasture, and it was quite large. And by large I mean, 4,000 square feet of dirt that needed to be tilled, planted, mulched, watered, weeded, and tended for the 4-5 months straight. During the last 2 garden seasons, especially with being pregnant and having a new baby, it became very obvious that having a garden that large and that far from the house wasn’t practical. I needed to relocate, reduce and simplify the whole thing. I decided that since I was moving the garden anyway, I might as well make lemonade out of lemons and transform the entire space into the European inspired garden of my dreams.
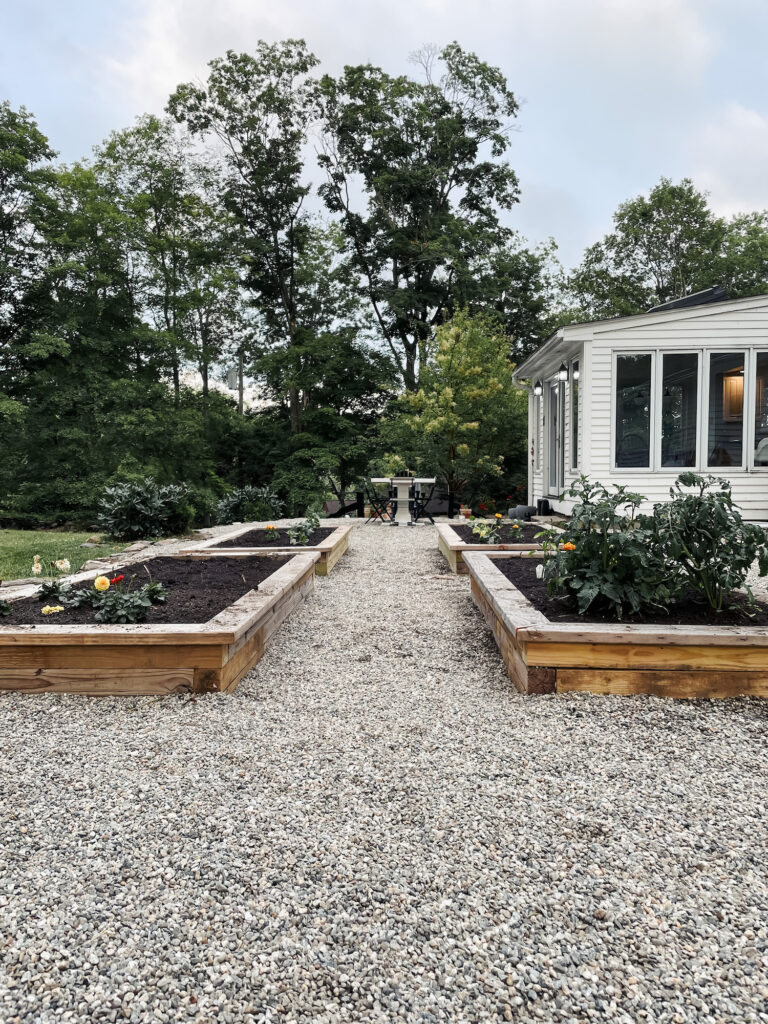
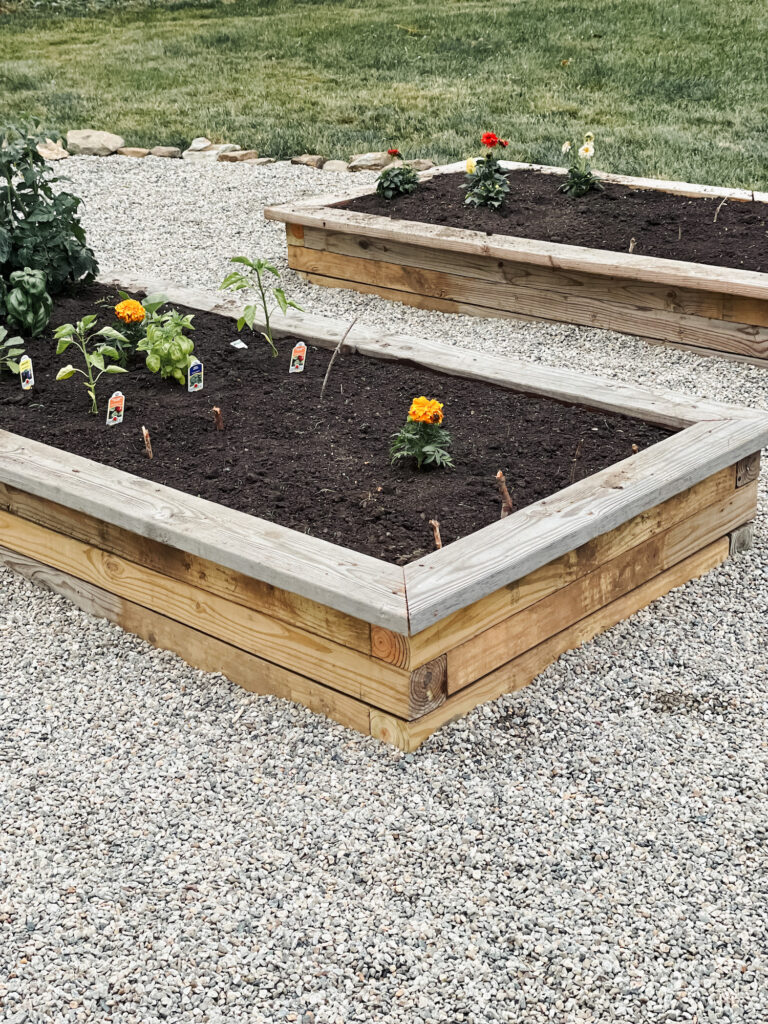
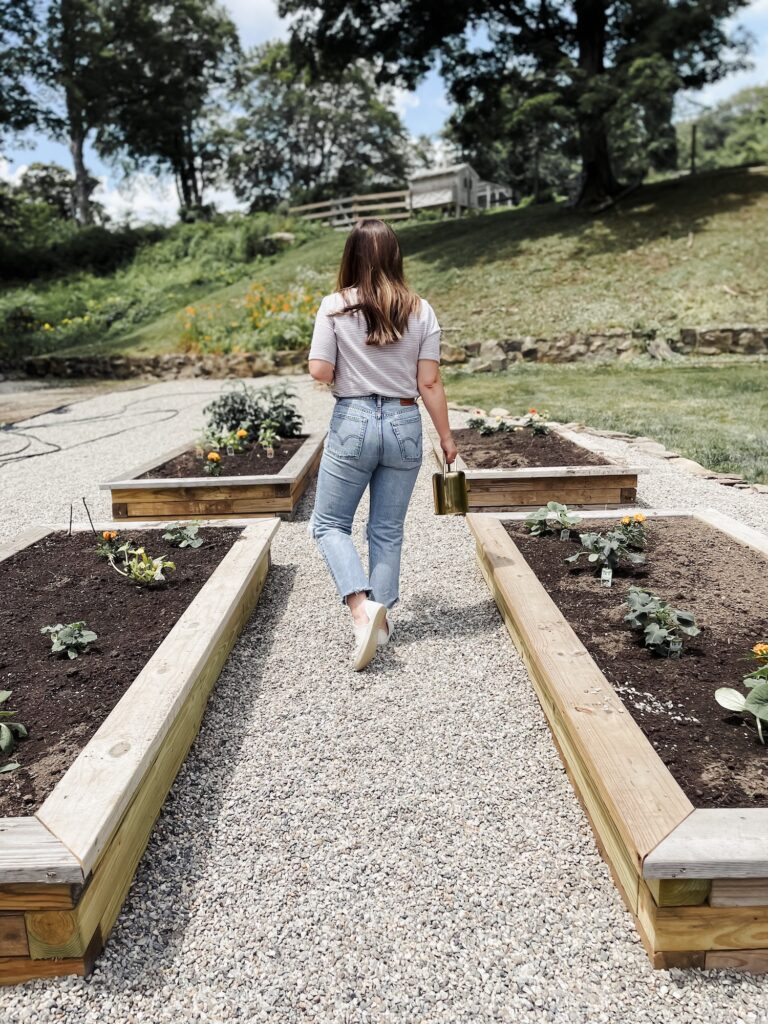
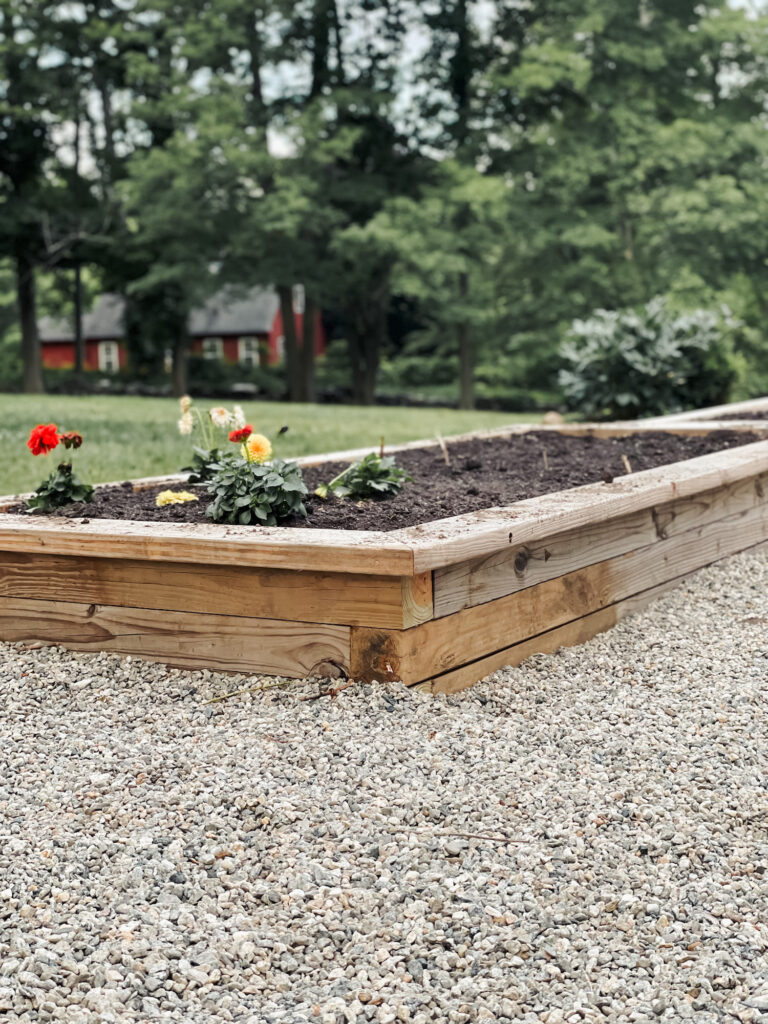
Building four rustic raised garden beds was a huge part of this project, and now that they are done, I cannot believe I ever gardened straight in the ground. Not only do I love how they turned out, but they’ve made the entire process of gardening easier. Plus they’re just so stinking pretty. If you’ve ever toyed with growing a garden, I highly recommend starting by building yourself one of these, and luckily, today I’m going to teach you how!
We were able to use reclaimed materials for part of this project, which saved us a bit in the budget area, but even if you don’t have an old fence to take down this project is pretty cost-effective and the end results are so pretty.
I’m going to break down the instructions step-by-step, for this project so you can make your own beautiful raised beds for your garden and I’ll also give you the measurements we used, but feel free to customize the size for whatever your space needs are.
Materials/Tools Needed (per box):
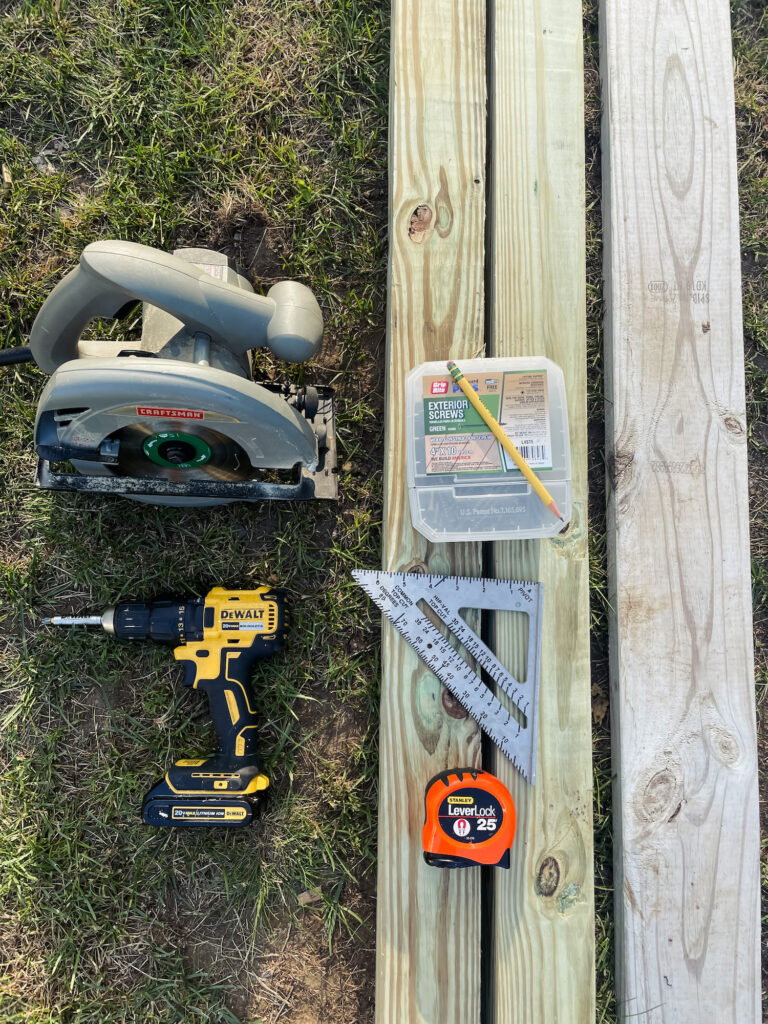
– 9: 4×4 boards (8 feet length)
– 3: 2×6 boards (10 foot length)
– drill (our drill is on sale for $60 off!)
Step 1: Gather Materials and Cut Lumber.
As I said, we used mostly reclaimed 4×4’s but you can buy them right at Home Depot. For each grow box you’ll need to cut the wood to the following dimensions:
4×4 boards: 6 pieces x 96 inches, 6 pieces x 40 inches
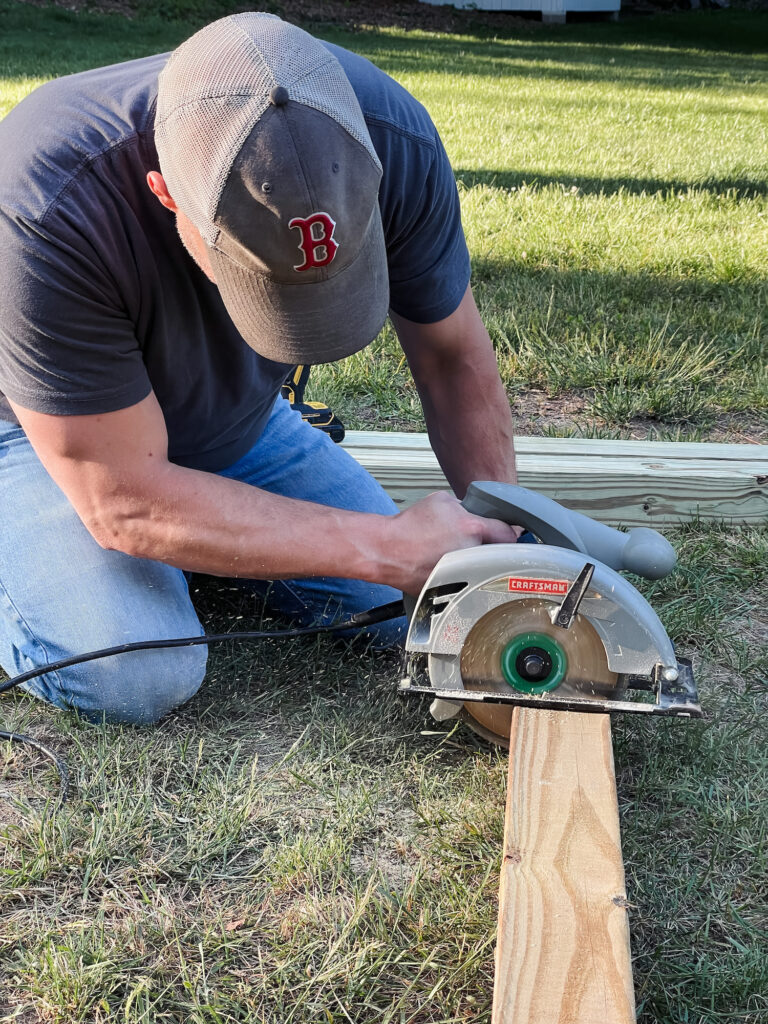
2×6 boards: 2 pieces x 104 inches, 2 pieces x 47 inches
Step 2: Assemble the Frame.
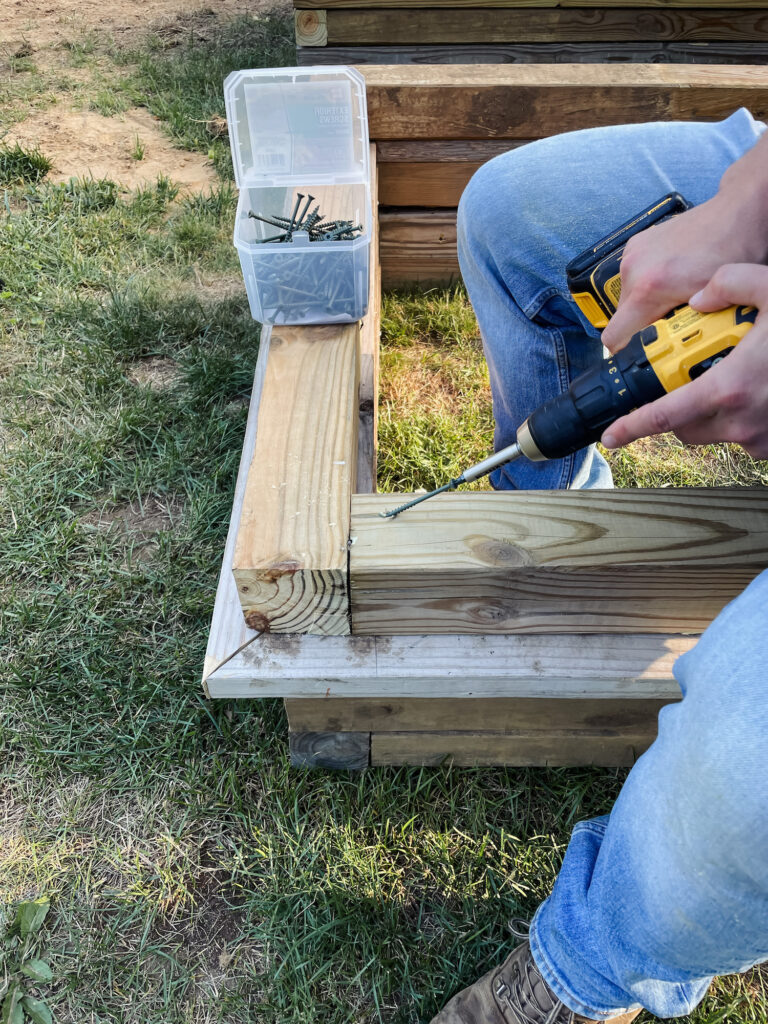
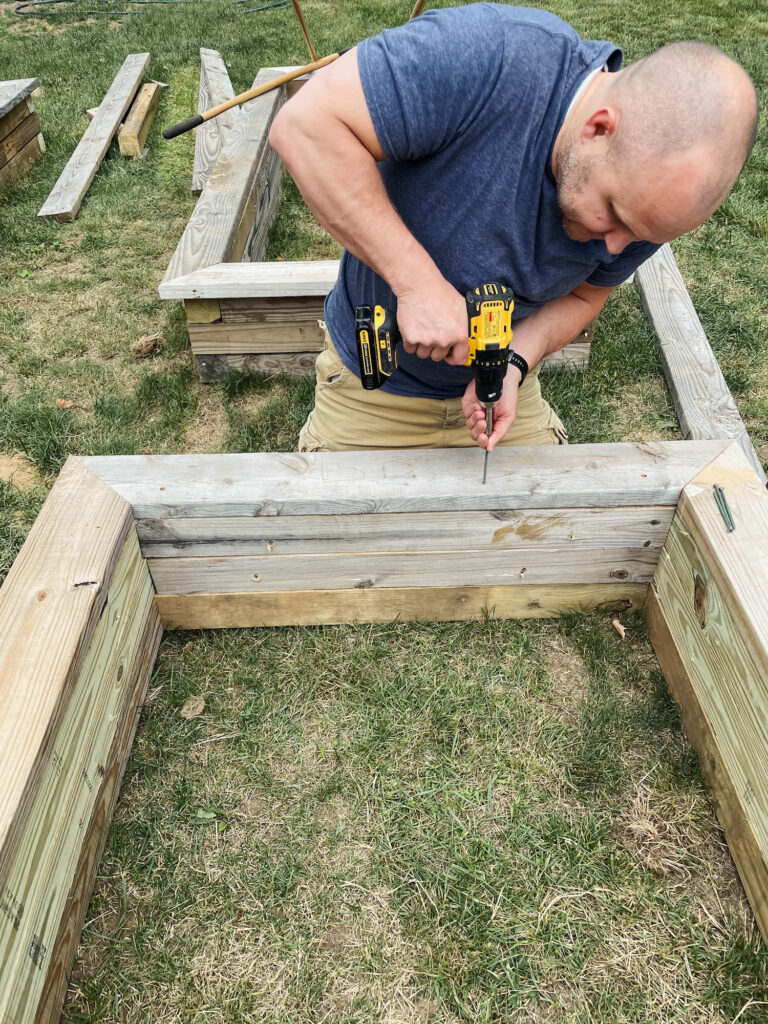
Lay out your precut 4×4’s, overlapping the edges of each side as seen above. Connect each side of the frame using 4-inch exterior screws by toe-nailing (screwing them in at an angle) the screws.
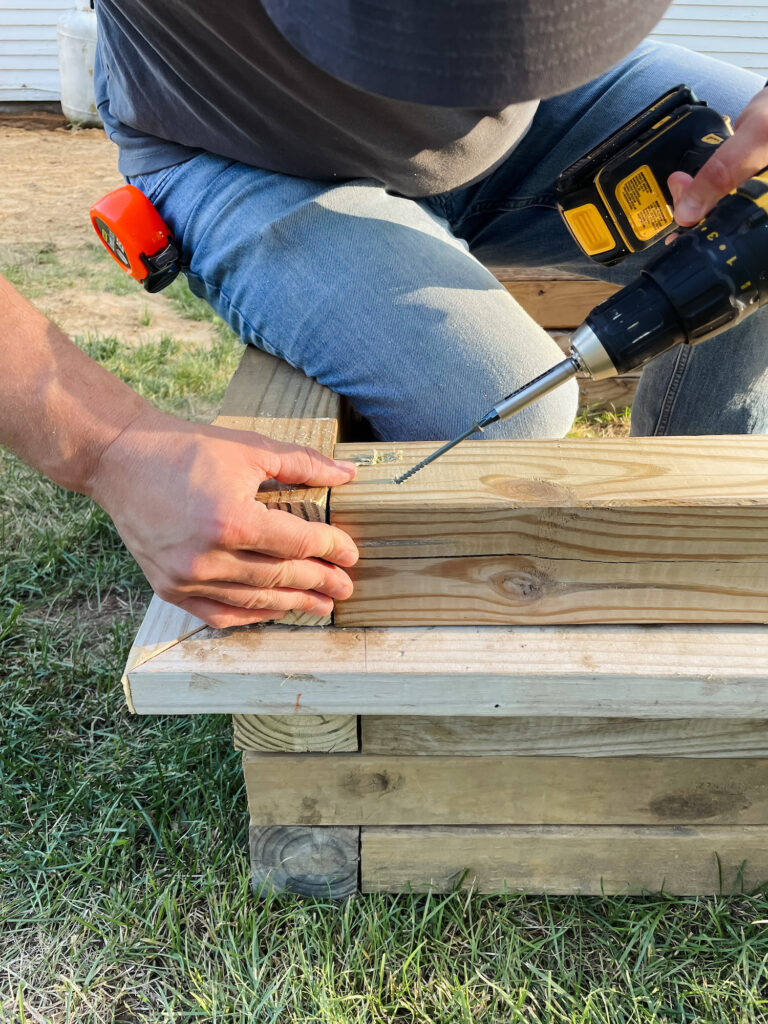
Step 3: Add Layers and Connect.
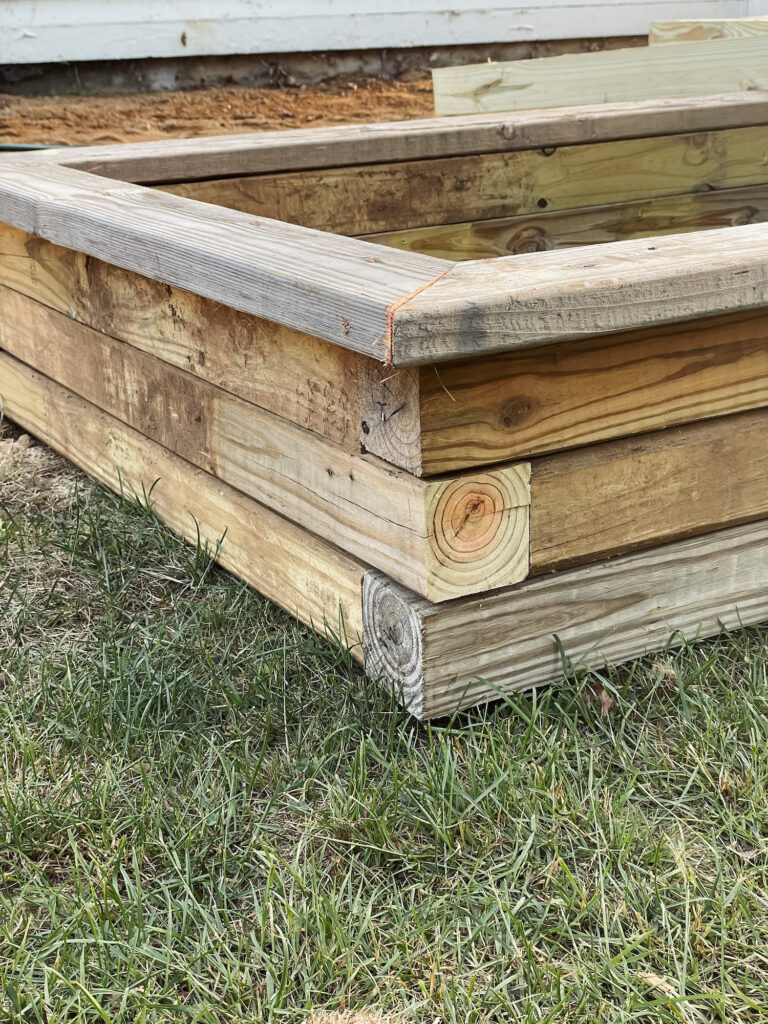
Make two more layers in the same way by repeating Step 2 twice, alternating the overlap as you go up. (See image.) Putting each layer on top of the frame. Once you have the layers in place, use 4 inch screws to connect the layers by toe nailing each layer together from the inside of the box. Insert a screw through each layer to make it the most stable.
Step 4: Cut and attach the top trim pieces.
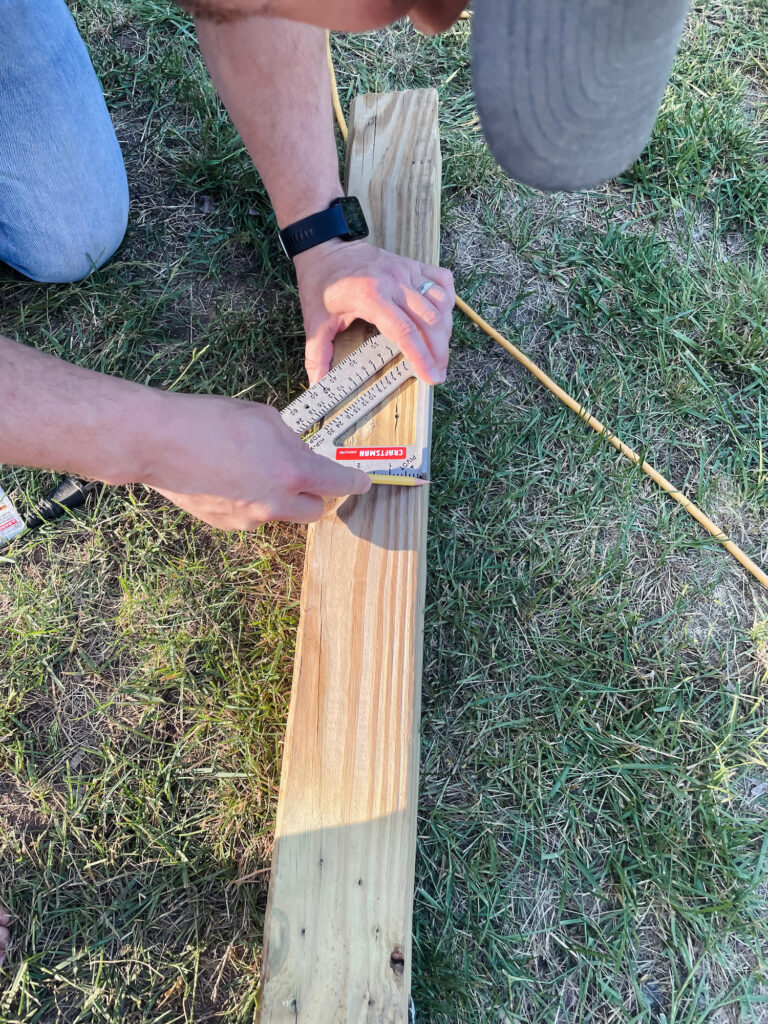
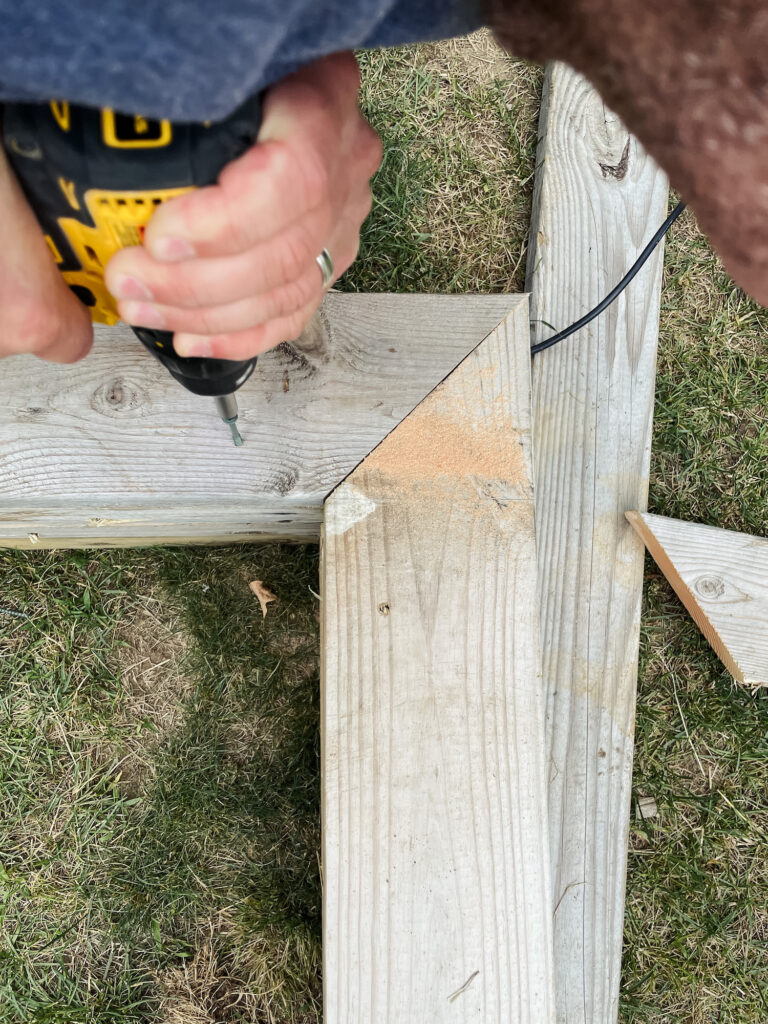
To finish the raised garden bed, cut your 2×6 wood pieces at a 45-degree angle on both sides to create a decorative border. Then attach these pieces to the top of the garden box using the screws. Craig likes to use a square and mark the length in place to make sure that he gets the trim pieces the exact length he needs.
Step 5: Prepare the Site.
Prep the area where you want to put the garden bed, by leveling the space and removing any overt grass, weeds, or debris that would be underneath it. You might consider putting some landscaping fabric or cardboard at the bottom of the bed to prevent weed growth. Once your site is prepared you can place the raised bed. Be sure to check that it is level.
Step 6: Fill the Bed with Soil and Plant!
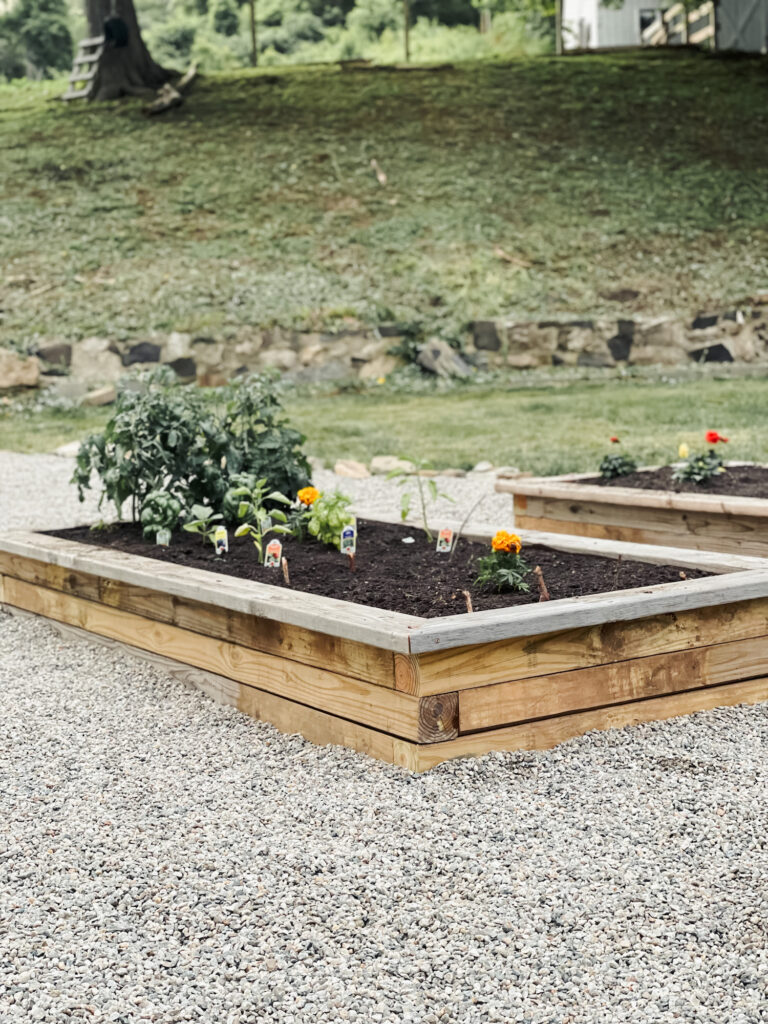
Fill the garden bed with soil and compost or organic matter and plant your garden! We filled our bottoms with horse manure and then had topsoil brought in. Once the garden beds were filled we planted!
More outdoor Inspo:
7 simple steps for getting started with a garden.

