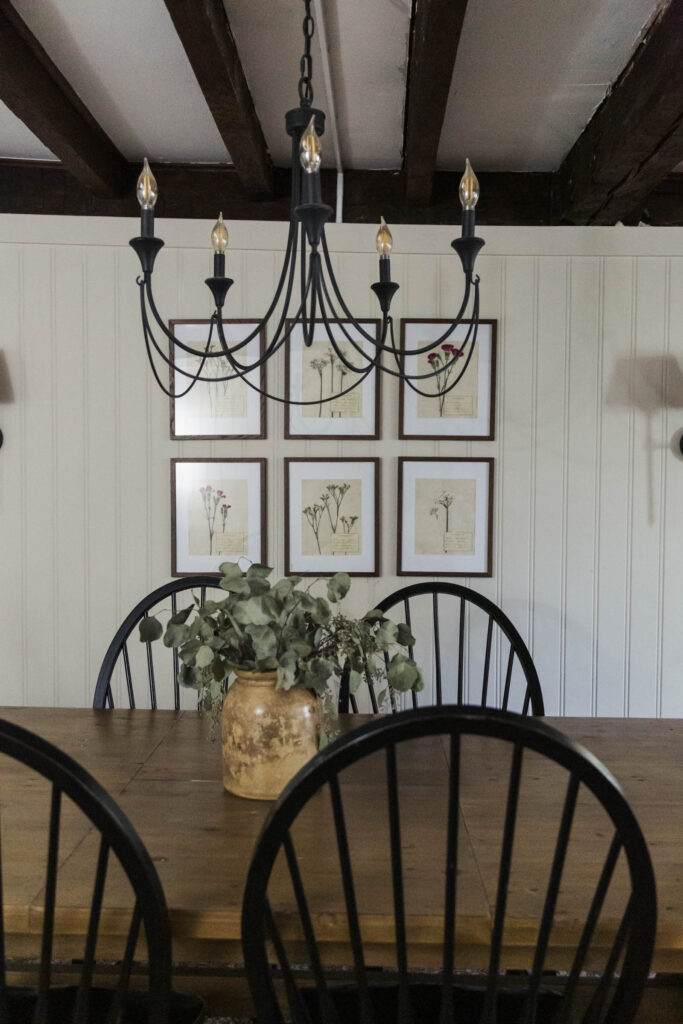
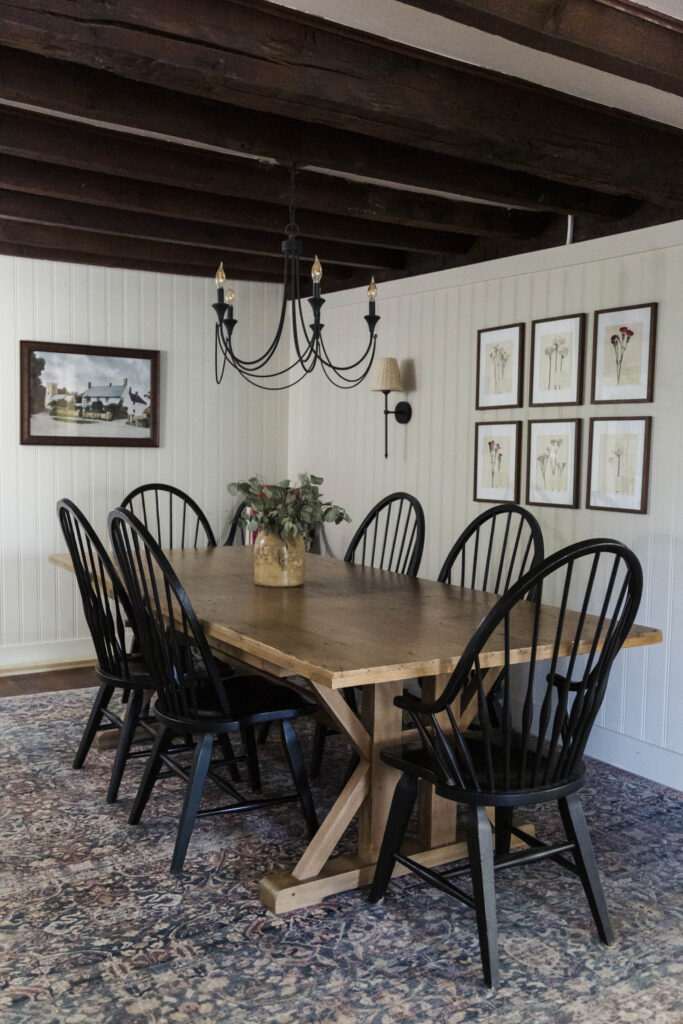
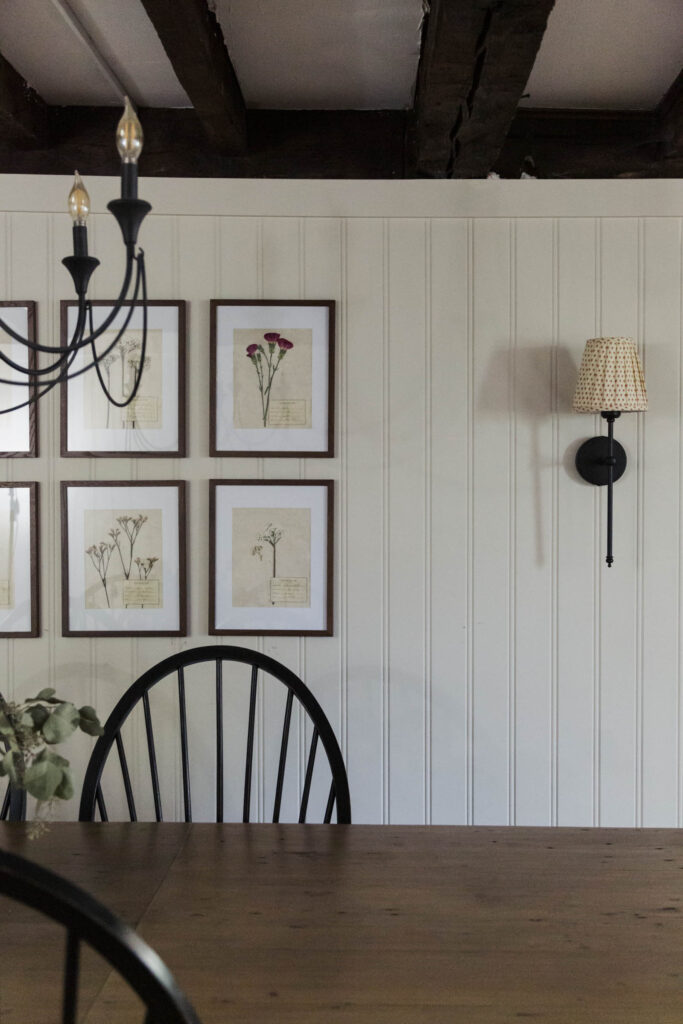
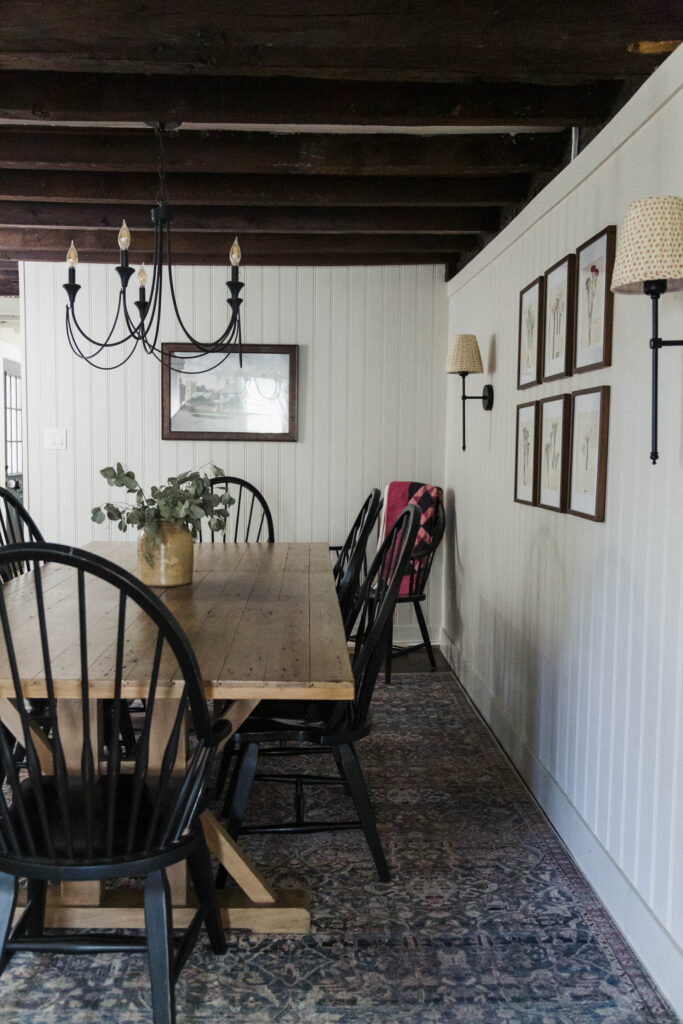
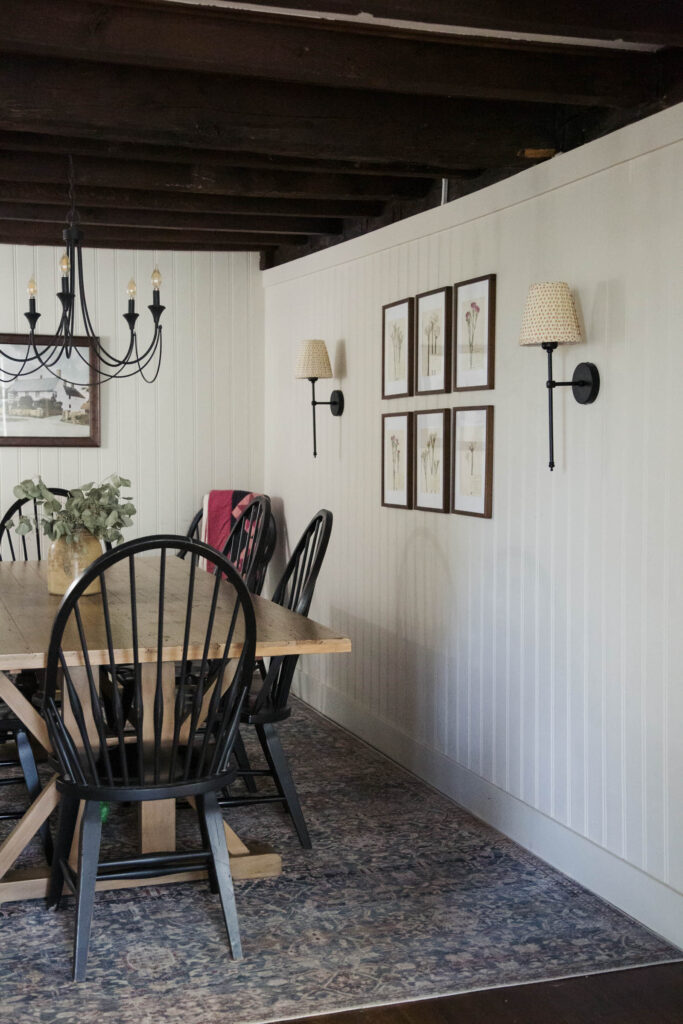
I fell in love with the look of a gallery wall made with vintage herbariums month ago and knew it would be the perfect thing to do on our dining room wall between the sconces. Unfortunately genuine vintage herbariums are very difficult to source (not to mention extremely delicate and pricey.) I started looking for alternative, but quickly realized that even the vintage herbarium prints I was finding were rather expensive and didn’t have the organic, real look I was going for. After studying lots and lots of vintage herbariums, I decided it was something I could probably make myself.
I’m happy to report that not only was this project super easy to do, it was also fun, affordable, and the results are floral magic. It turned out exactly like I was hoping, and Ava and I had so much fun putting these together. If you’ve been looking for a classic and affordable idea for filling an empty wall space in your home, I highly, highly recommend trying making your own DIY vintage inspired pressed flower herbariums.
I’ve included detailed instructions, plus all the supplies you need, as well as a free printable Herbarium card download, so you can make your own! If you need any help or have any questions, feel free to leave a comment!
Supplies you’ll need:

A flower press or heavy book
Sheets of blotting paper. (The flower press kit linked above comes with blotting paper and all the tools you’ll need).
Flowers to press. (You can cut these directly from outside or buy them at the store. We started this project in winter so I got my flowers at Trader Joe’s.)
Cardstock for the backdrop of your art (I used this gorgeous deckled Lokta paper, to give it a vintage look)
Q-tips
Frames (I used this set.)
Printable herbarium cards (I’ve got a free download the end of this post!)
Step 1: Gather your flowers to press.
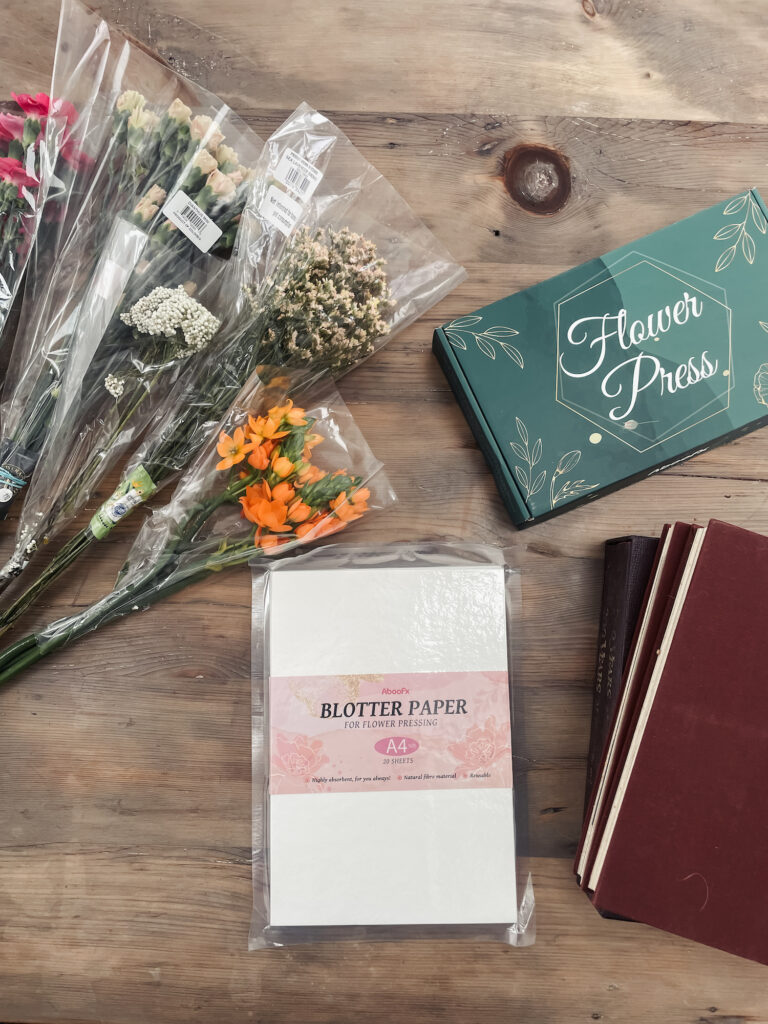
Gather your flower or herbs either from nature, your yard or pick them up at the store. Since we did this project in the winter, (wishful thinking for spring…) we bought our flowers at Trader Joe’s.
Step 2: Prep your flowers.
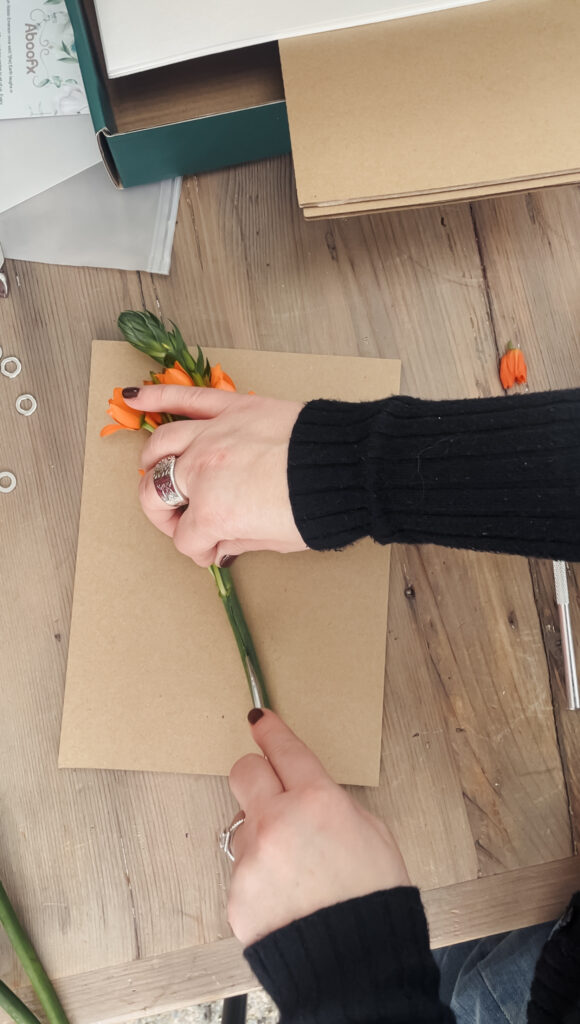
Ensure your florals are free from dirt and are dry. Using a razor and seven tool score the back of the specimen’s stem and poke holes into the back on any thick part. This ensures that the plant can drain and will dry well without getting moldy.
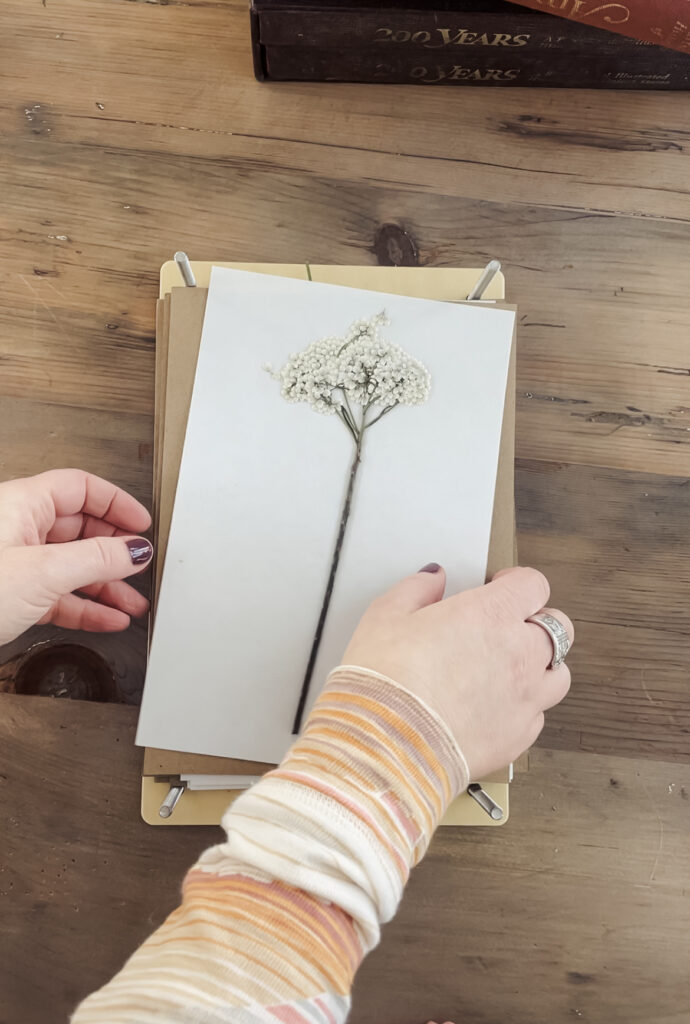
Step 3: Press your flowers.
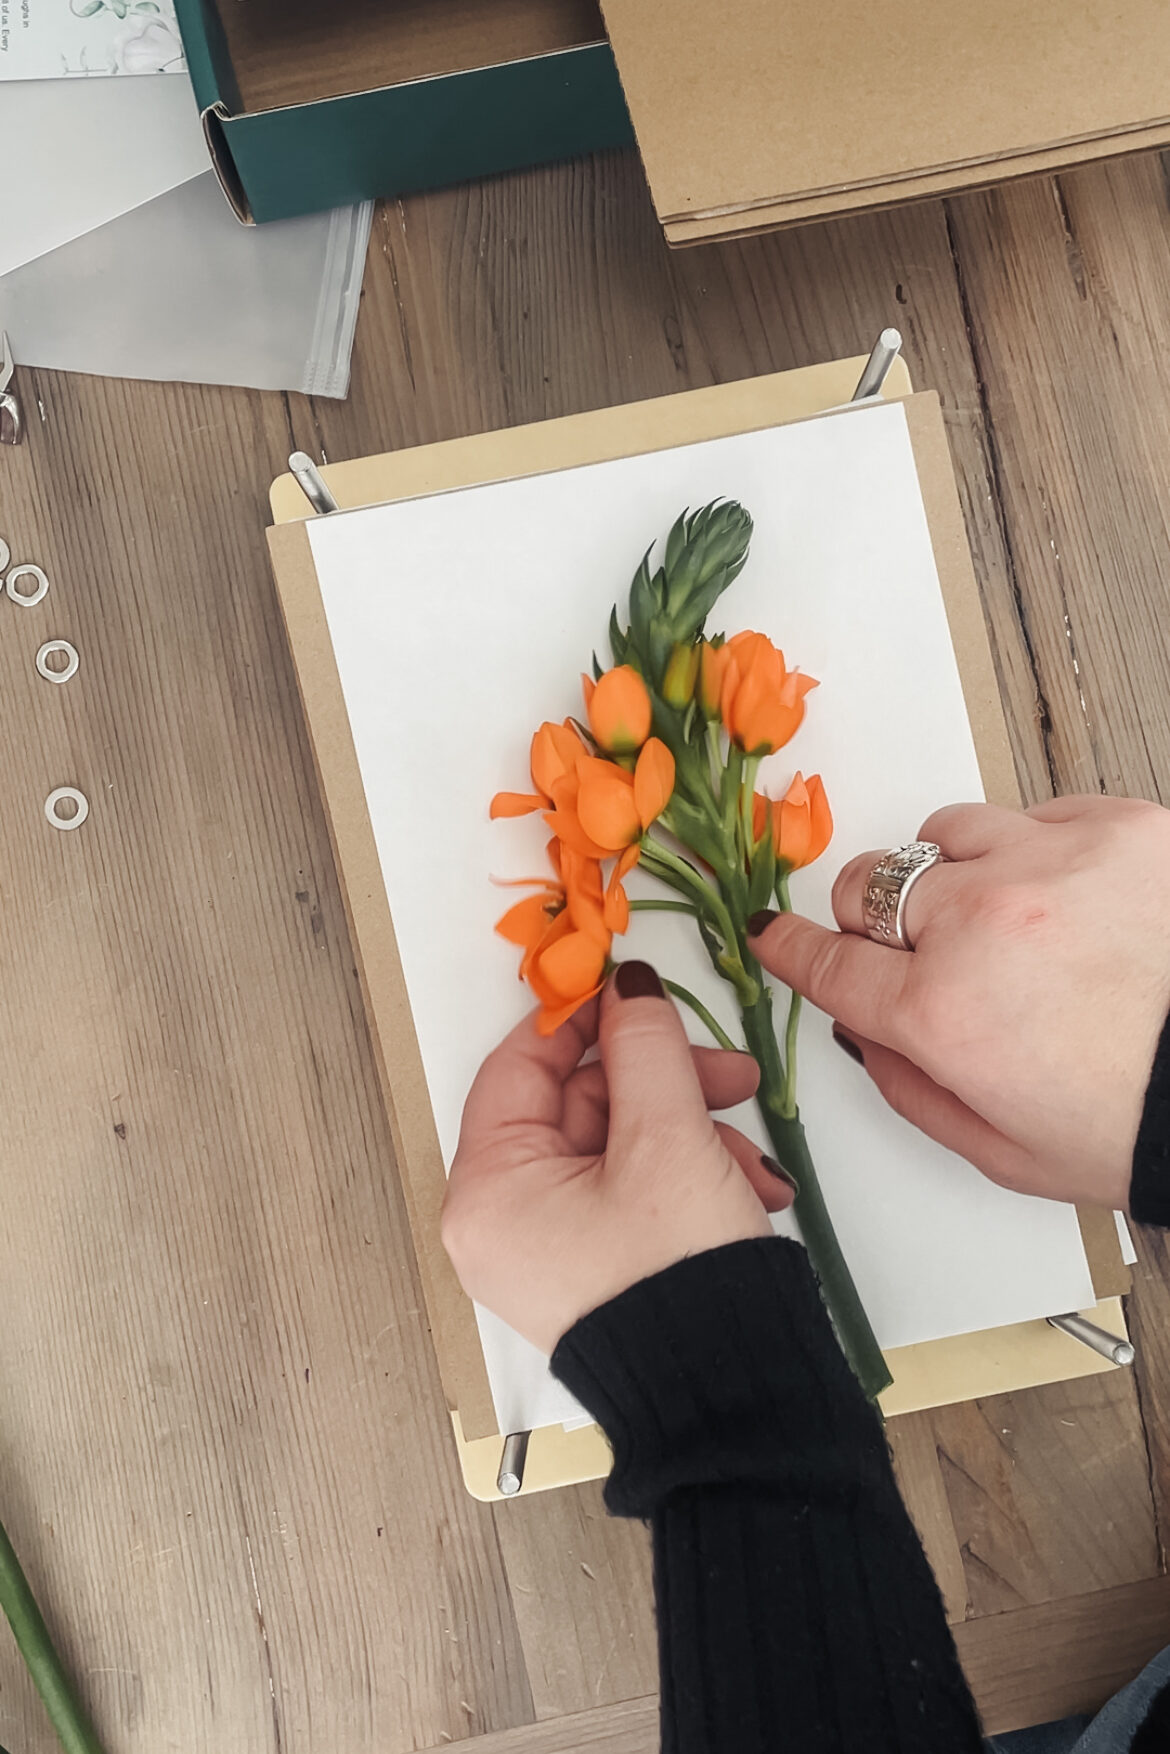
Place your flowers carefully on a sheet of blotting paper and arrange them as you want them to look when pressed. Cover them with a second sheet of blotting paper, then if you are using a flower press, add one of the cardboard pieces and add another specimen layer. If you are using a book, close the book and add something heavy to the top. Once the flower press is full (you can layer up to 6 layers) make sure you have tightened the bolts equally to provide even pressure across the page. Once the flowers are in the press, place them in a cool, dry place and let them press/dry for 2-4 weeks. Drying time will depend on the thickness of the flowers and humidity levels. Patience! I promise it will be worth it!
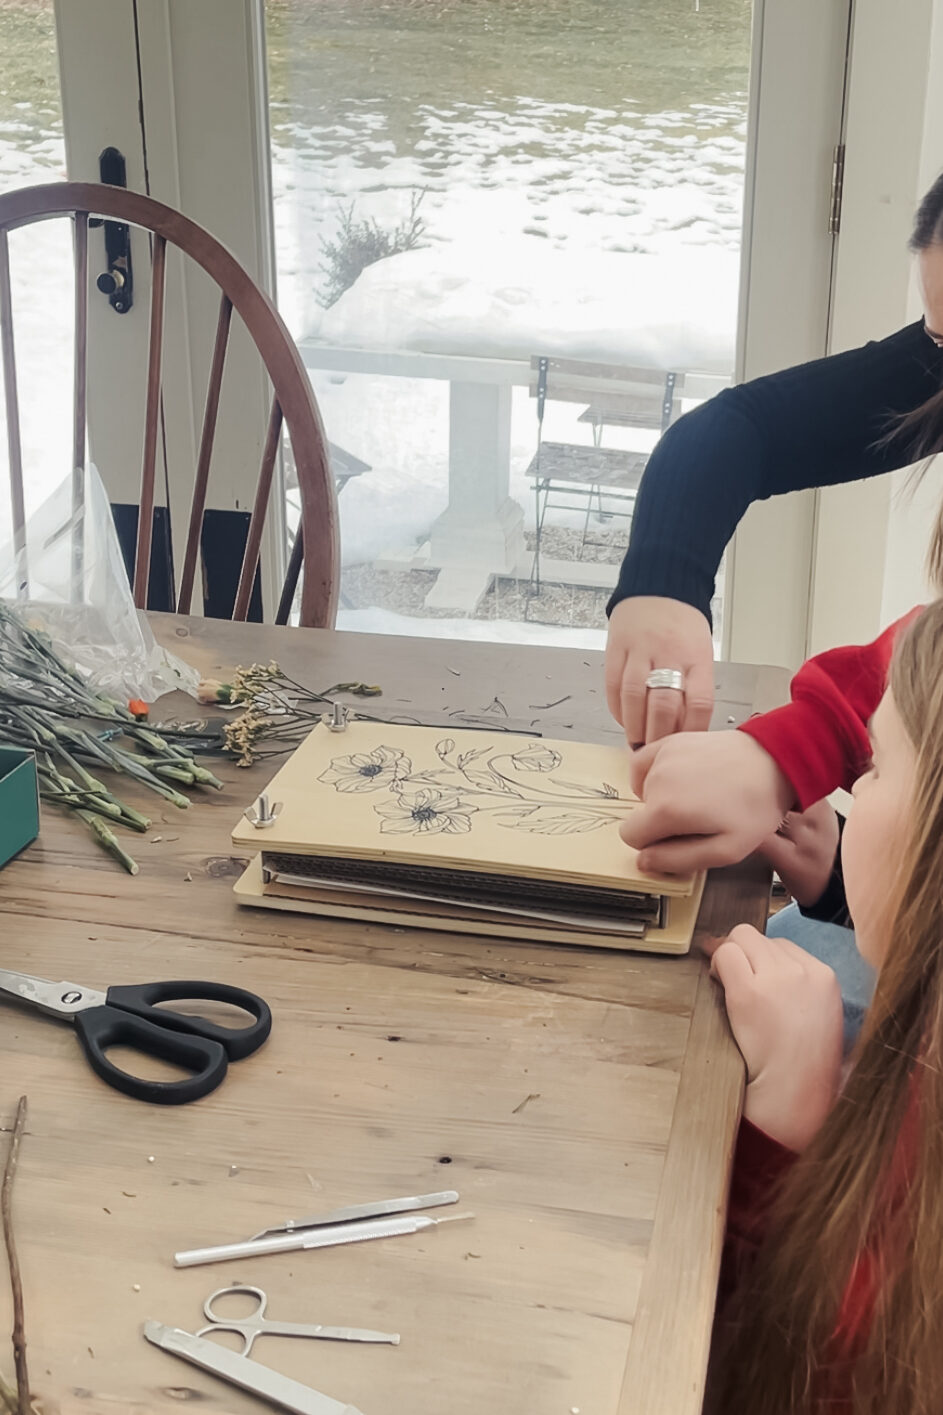
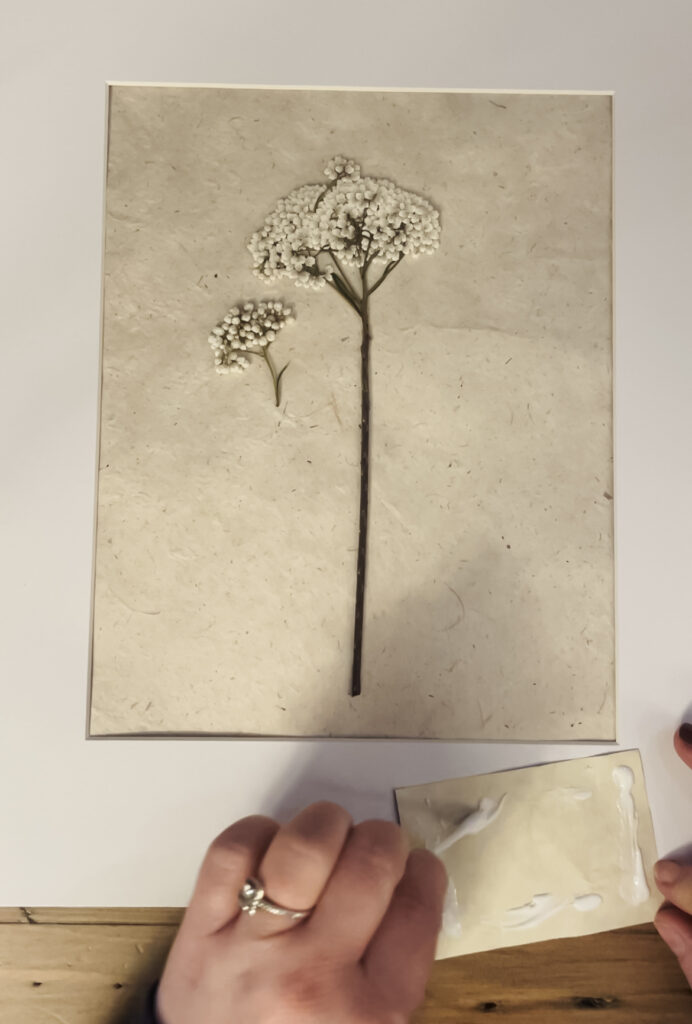
Step 4: Mount your Pressed Flowers
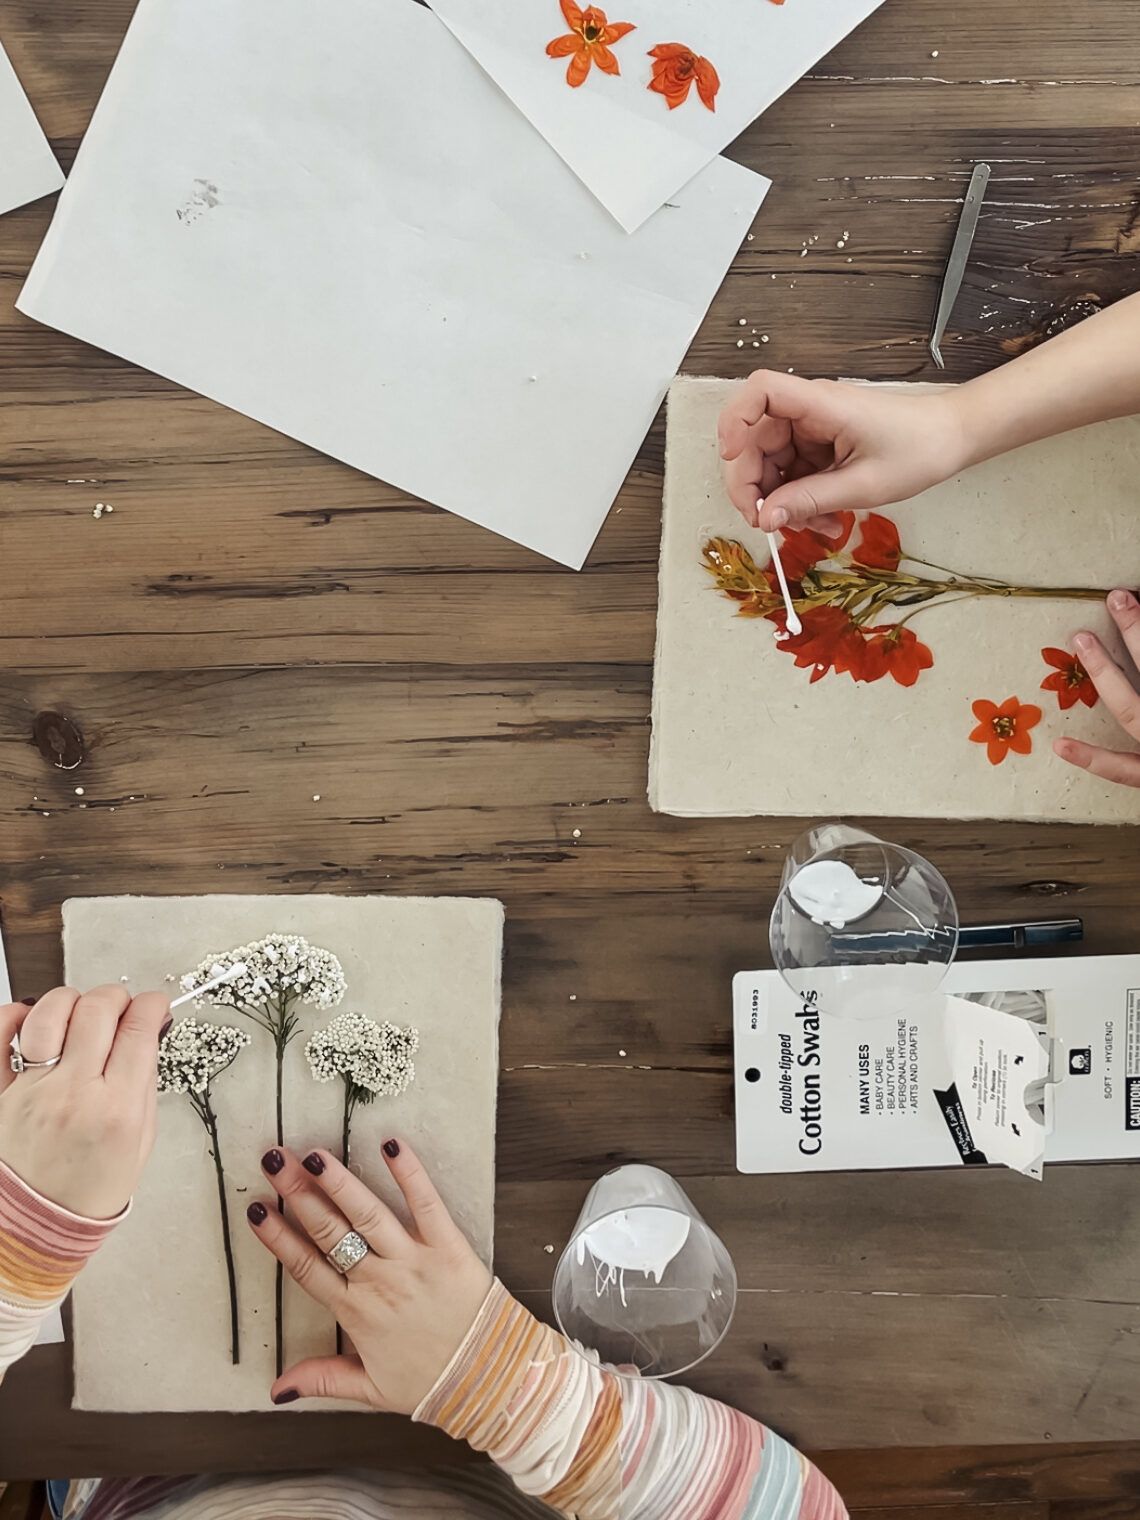
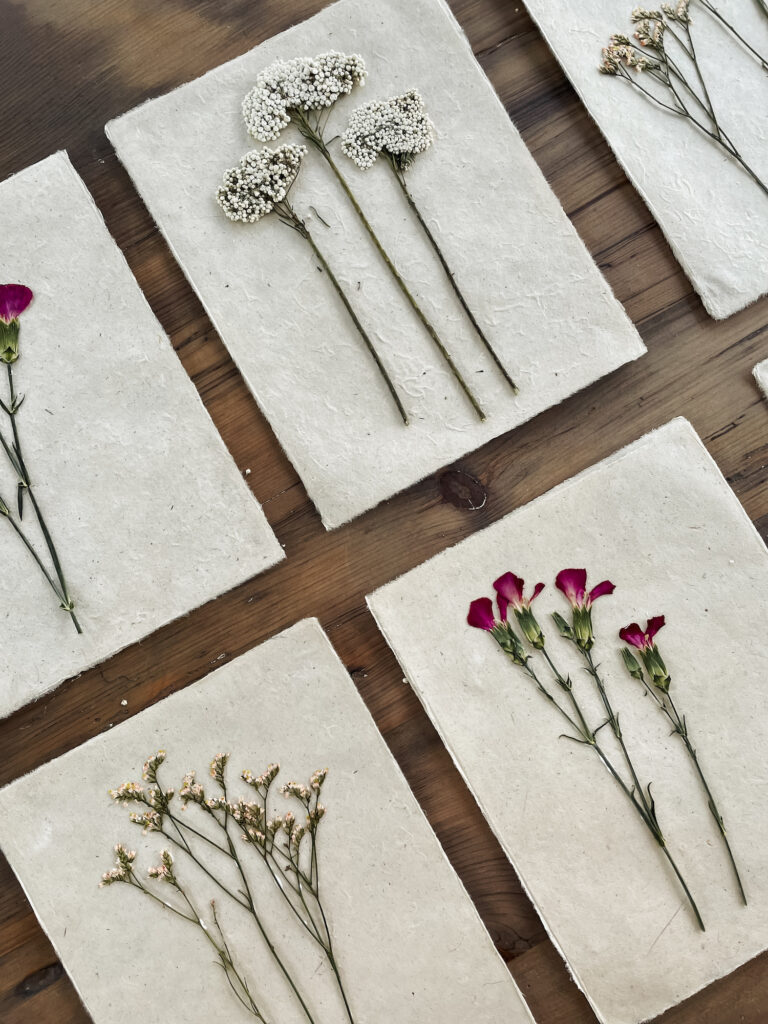
Once your flowers have completely dried, it’s time to mount them. Very carefully using the tools that came in your flower press kit, or some good tweezers, remove your specimens from the press and blotting paper and arrange them on the cardstock. Using q-tips and acid free craft glue, very carefully add glue to the back on the florals and attach them to the paper. Let them dry overnight.
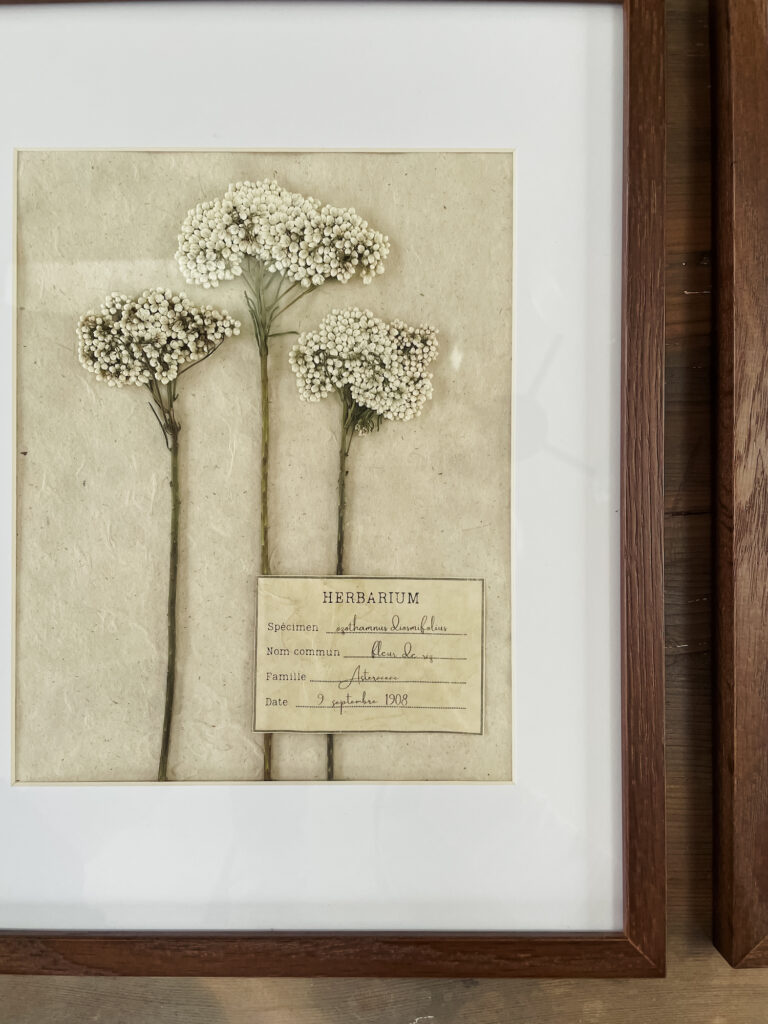
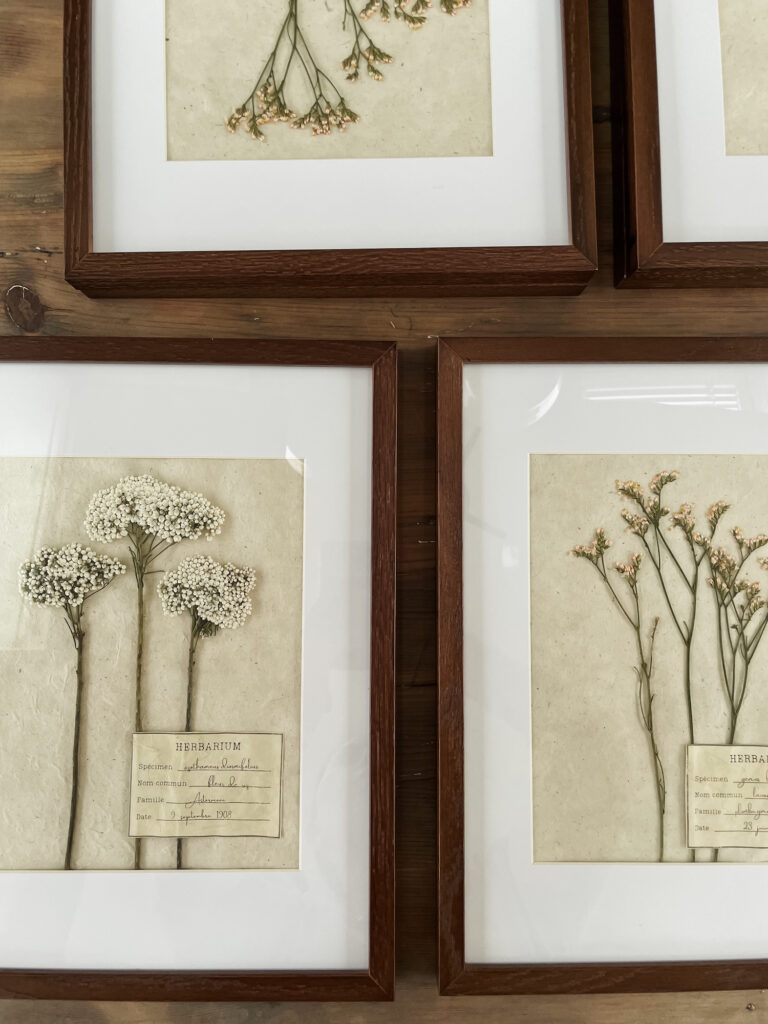
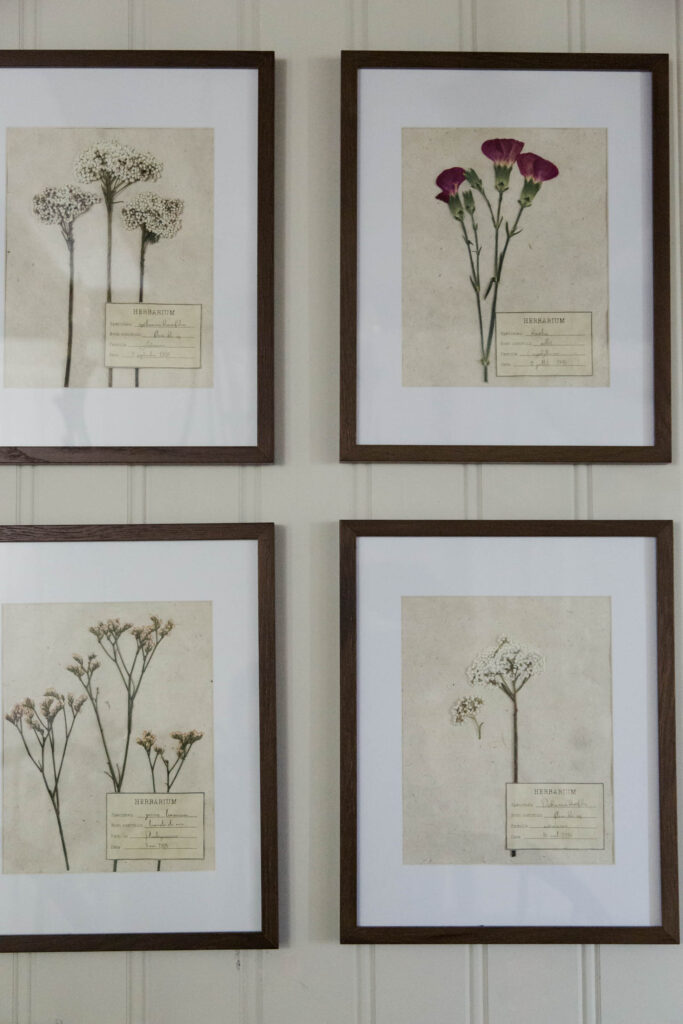
Step 5: Print, Fill in, and Mount Herbarium Cards:
Print and fill in your herbarium cards with their scientific and common names, specimen family when they where found, etc., then cut them out. I used an off-white cardstock which I tea-stained to get a good aged look. I also used old dates to keep with the vintage theme. You can download the vintage herbarium cards printable right here.
**To tea-stain, simply soak the cardstock in tea (I used chamomile tea) for 5 minutes and then baked it in the oven @ 200º for 10-15 minutes. It gave me a perfectly aged look. **
Once the herbarium cards are dry cut them out and mount them on each of the herbarium sheets with coordinating flower.
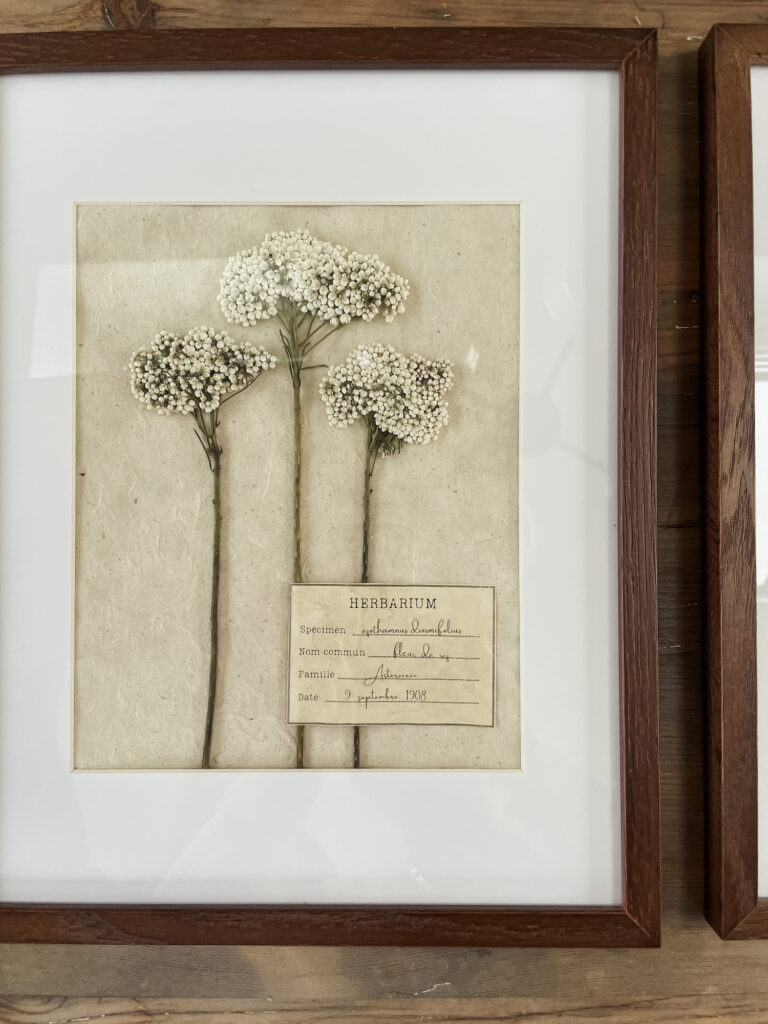
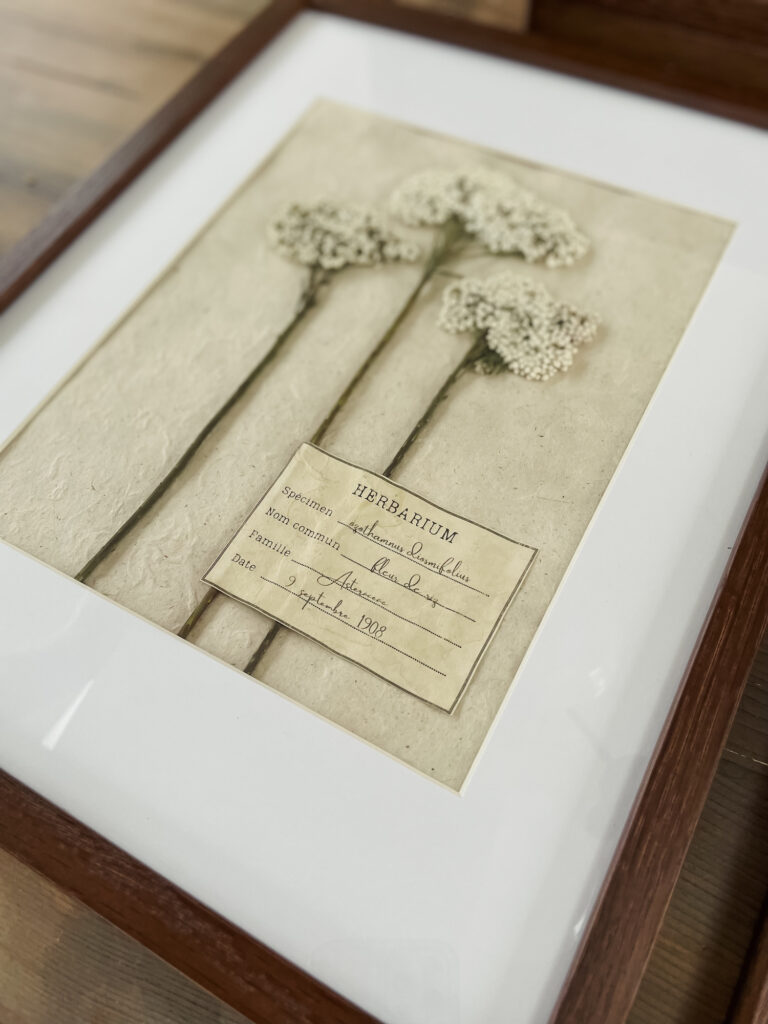
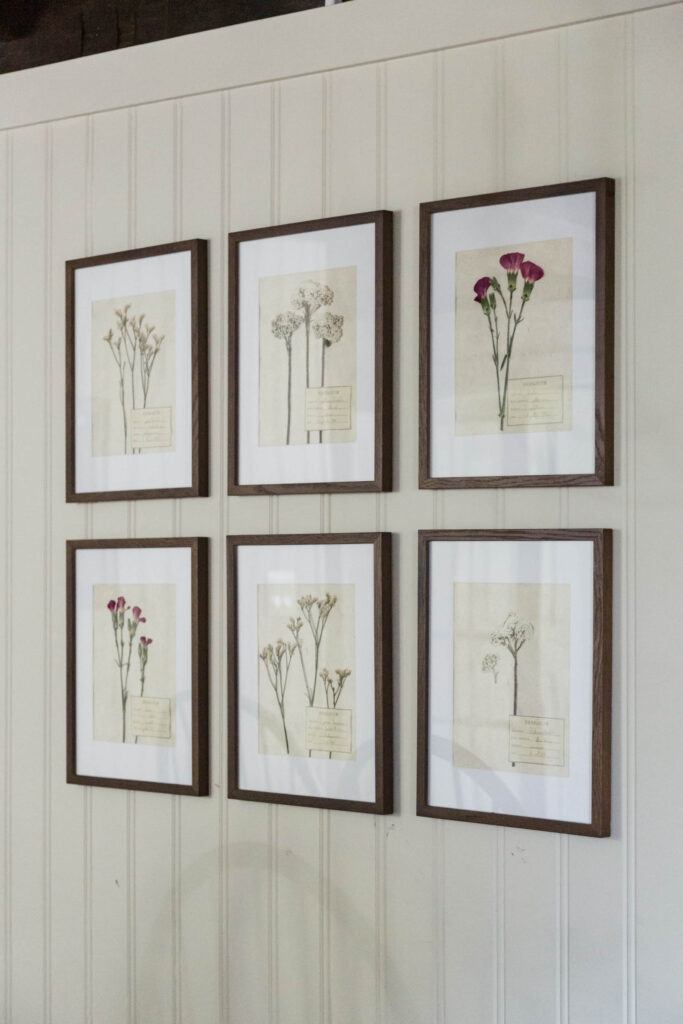
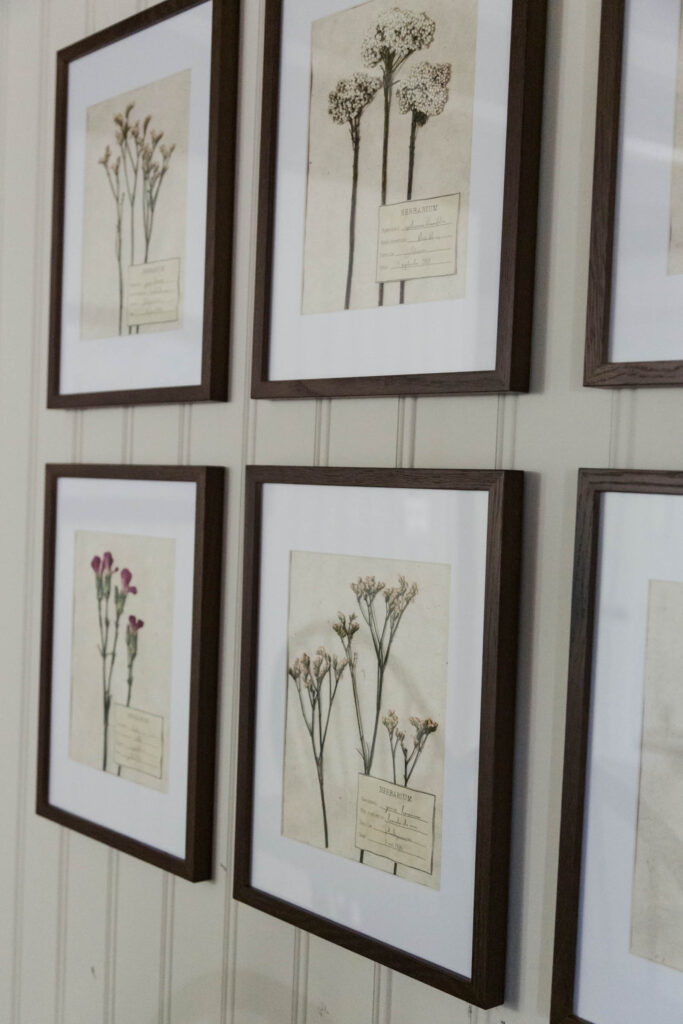
Step 6: Frame and Hang your Vintage Inspired Herbariums
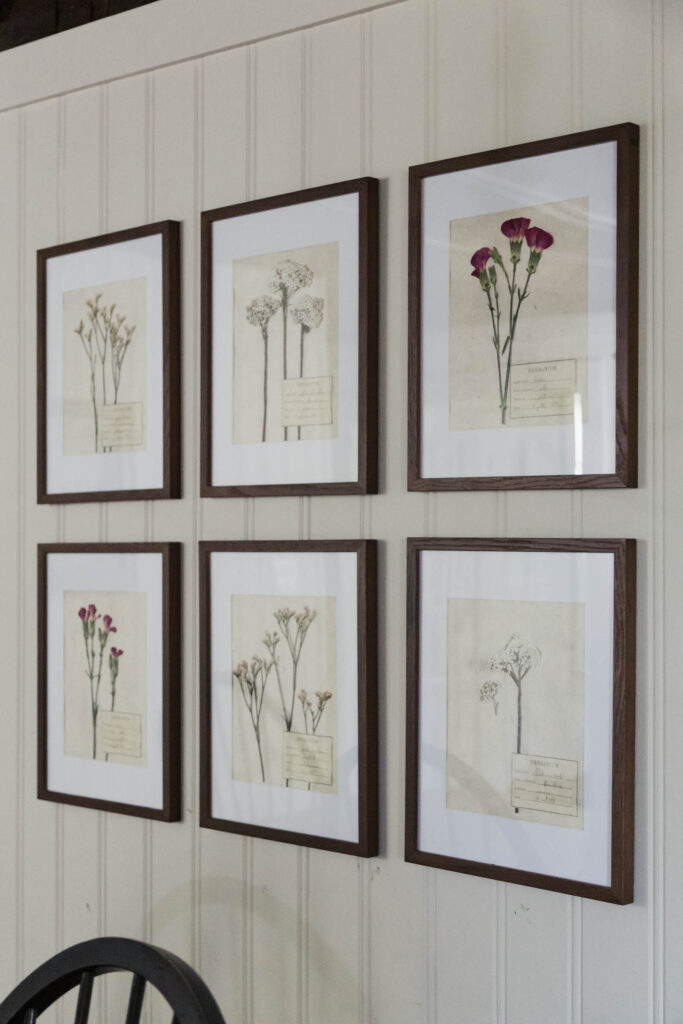
Once the herbarium cards are dried, your vintage inspired herbariums are ready to frame and hang. I did a set of six for a structured gallery wall look, and I got these frames. The quality is really good, and they are very affordable. See how they look hung in our old farmhouse below!
More DIY projects:
English inspired hutch makeover.

I love your pressed flowers and want to try to do some from my garden. I entered my email for the herbarium cards, but never received it. I’m hoping you can send it to me. thanks